Creating a basic scene and using it to generated synthetic data with Replicator#
Learning Objectives#
Through this tutorial, you will learn how to make a basic scene and then generate randomized synthetic data. This involves first making a scene, using the semantics schema editor to label the assets and writing the synthetic data.
Generating the scene#
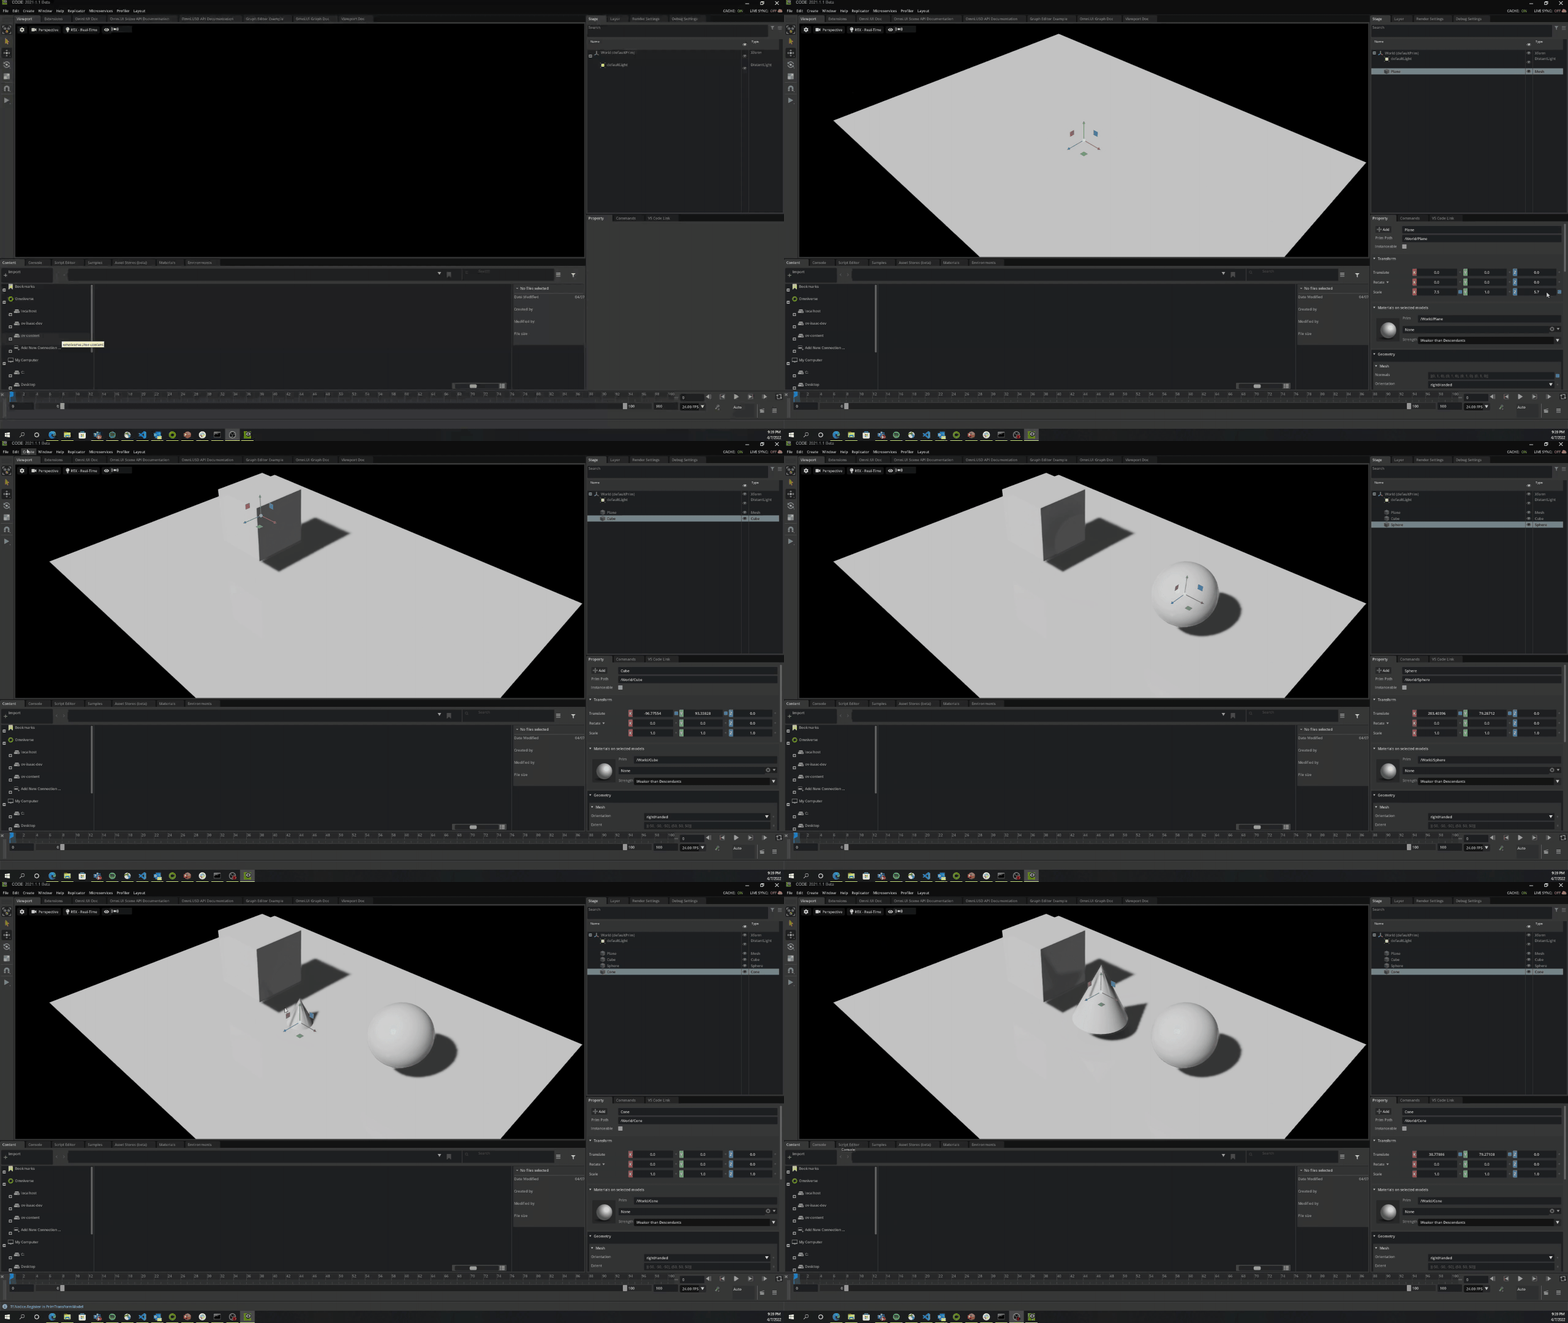
To generate the scene open Replicator and create the scene as shown in video.

Labeling the scene with the semantics schema editor#
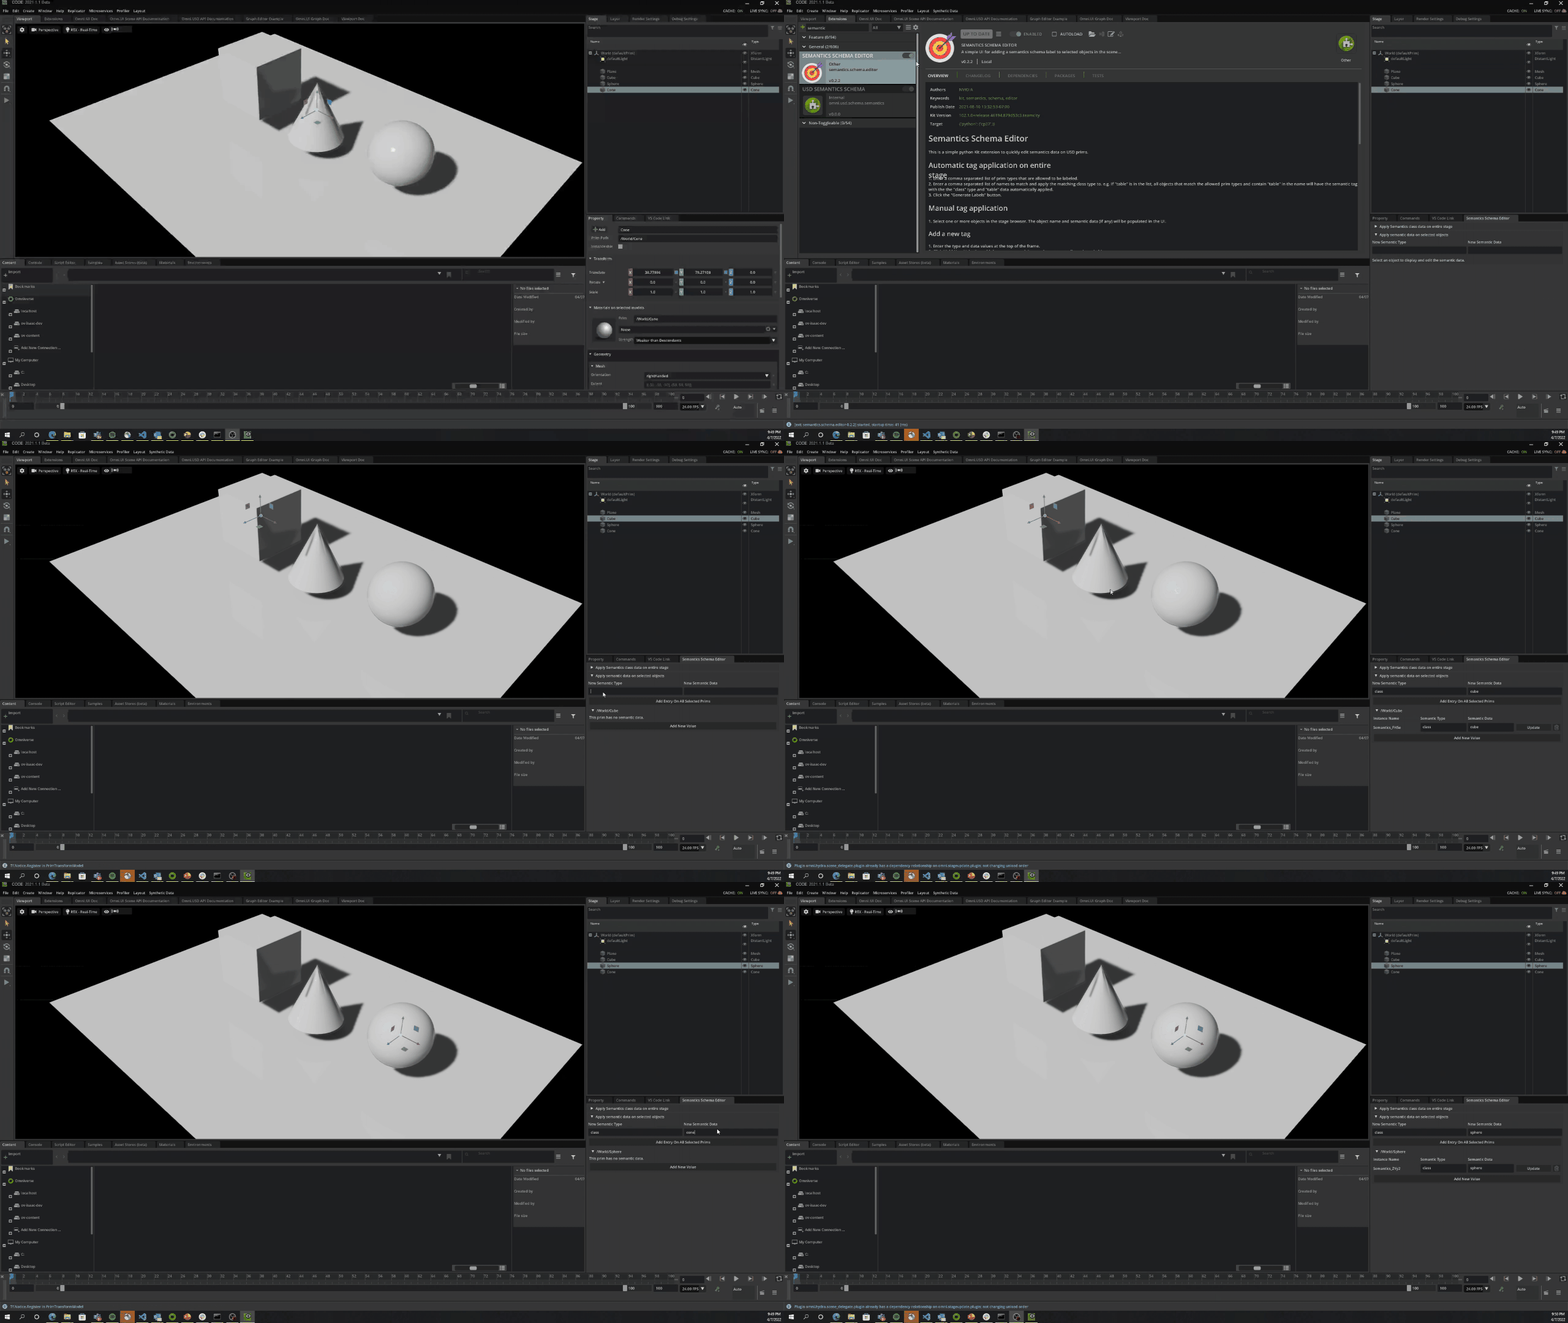
Once the scene is set up, the next step is to label the assets within that scene. For that we will use the Adding Semantics to a Scene as shown in the following video. Adding Semantics to a Scene allows you to add more than just class information.

Utilizing Replicator to randomize and write synthetic data#
To run the following script follow set up instructions in Setting up the Script Editor.
First, import Replicator and start a new USD layer to contain all randomizations. There, we create a camera at the desired position. Then make sure to store the render_product in the desired dimensions.
import omni.replicator.core as rep

with rep.new_layer():
    camera = rep.create.camera(position=(0, 0, 1000))
    render_product = rep.create.render_product(camera, (1024, 1024))
Now you are ready to make a randomizer with the shapes in the scene. For that you need to select the prims from your existing USD scene. For that we use get.prims(). There are multiple ways of finding the assets. The most common is through its semantic class, but we could also use the path as shown in the commented version of the code (use regex to find the assets!). In these example we randomize pose of the shapes with a uniform distribution in a certain region. Finally, we register the randomizer. Notice we only are getting two of the three shapes? Modify the script to find all three shapes!
def move_shapes():
    #shapes = rep.get.prims(path_pattern='[^M_]Cube$|[^M_]Cone$|[^M_]Sphere$')
    shapes = rep.get.prims(semantics=[('class', 'cube'), ('class', 'cone')])
    with shapes:
        rep.modify.pose(
            position=rep.distribution.uniform((-500, 50, -500), (500, 50, 500)),
            rotation=rep.distribution.uniform((0,-180, 0), (0, 180, 0)),
        )
    return shapes.node
rep.randomizer.register(move_shapes)
We are now ready to start the generation and randomization. In the following example randomization is triggered for for 100 frames.
with rep.trigger.on_frame(num_frames=100):
    rep.randomizer.move_shapes()

writer = rep.WriterRegistry.get("BasicWriter")
writer.initialize(output_dir="_output", rgb=True,   bounding_box_2d_tight=True)
writer.attach([render_product])
Once, you are done with this you are ready to run the code. After running the code, a graph is created describing the process. To actually run the generation, click on Replicator in the top left corner and press Run as shown in Running and Previewing Replicator. The output of the generated data is stored in the specified output directory, make sure to pass a valid path.
The whole code of the tutorial is below:
import omni.replicator.core as rep

with rep.new_layer():

    # Add Default Light
    distance_light = rep.create.light(rotation=(315,0,0), intensity=3000, light_type="distant")

    camera = rep.create.camera(position=(0, 0, 1000))
    render_product = rep.create.render_product(camera, (1024, 1024))

    def move_shapes():
        #shapes = rep.get.prims(path_pattern='[^M_]Cube$|[^M_]Cone$|[^M_]Sphere$')
        shapes = rep.get.prims(semantics=[('class', 'cube'), ('class', 'cone')])

        with shapes:
            rep.modify.pose(
                position=rep.distribution.uniform((-500, 50, -500), (500, 50, 500)),
                rotation=rep.distribution.uniform((0,-180, 0), (0, 180, 0)),
            )
        return shapes.node

    rep.randomizer.register(move_shapes)


    # Setup randomization
    with rep.trigger.on_frame(num_frames=100):
        rep.randomizer.move_shapes()

    writer = rep.WriterRegistry.get("BasicWriter")
    writer.initialize(output_dir="_output", rgb=True,   bounding_box_2d_tight=True)
    writer.attach([render_product])
Notice only two assets randomizing? That is tight the sphere is not called byt the semantics! Modify the script to also randomize the sphere.