Hotkeys#
Overview#
Work faster and more effectively by using hotkeys in Omniverse USD Composer. The Hotkey tool allows for customization of key bindings throughout Composer. This gives the ability to work faster and more effectively by giving the ability to assign actions to key or a combination of keys.
Interface#
The Hotkey interface can be broken into a few sections.
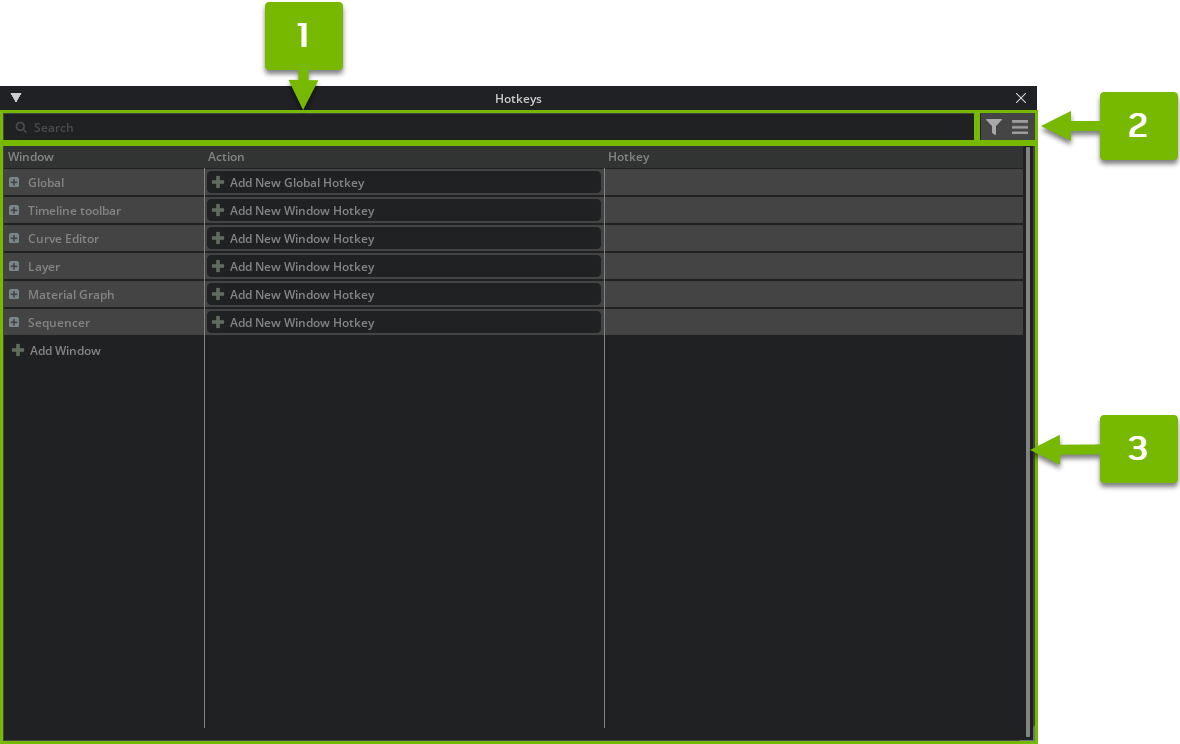
Search
Menu
Table
Search#
With so many actions and windows and hotkeys available, the Search Function performs the critical role of finding what you are looking for.
Search Bar#
Search through Actions, Hotkeys, and Windows to assist in editing bindings that are present. By default, searching will look though the entire tool finding and highlighting any text that has been input. This is a quick and fast way find hotkeys and modify them.
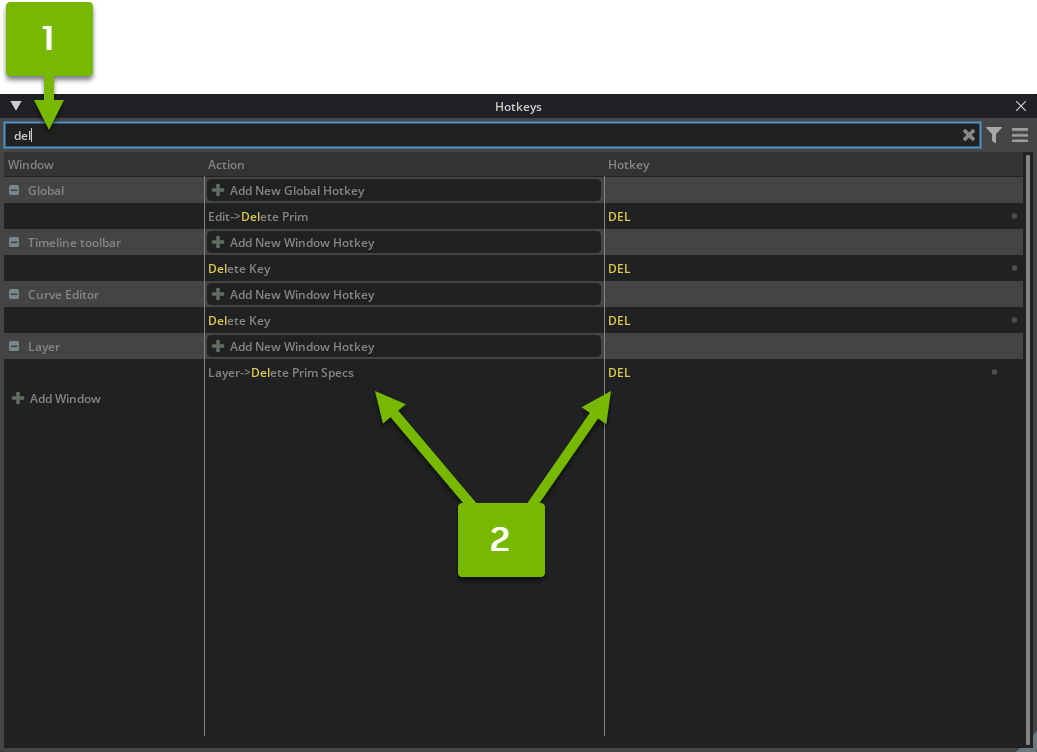
Typing in the search bar
Refines and Highlights results in the Table.
Search Filter#
The filter menu gives the ability to limit the search to a specific area of the tool.
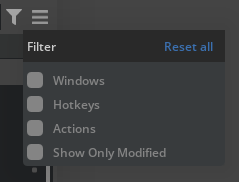
“Show Only Modified” will reveal only the key bindings that have been modified from the application default. Clicking “reset all” will clear all check boxes and return the search to its default mode of querying the entire tool.
Hamburger Menu#
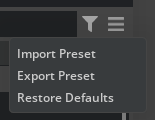
The hamburger menu in the top right corner of the dialogue gives the ability to Import/Export Presets
Presets are stored in a .json file format for easy editing and sharing.
Restore Defaults will remove all of the modifications that have been made and restore all hotkeys back to the application defaults.
Hotkey Table#
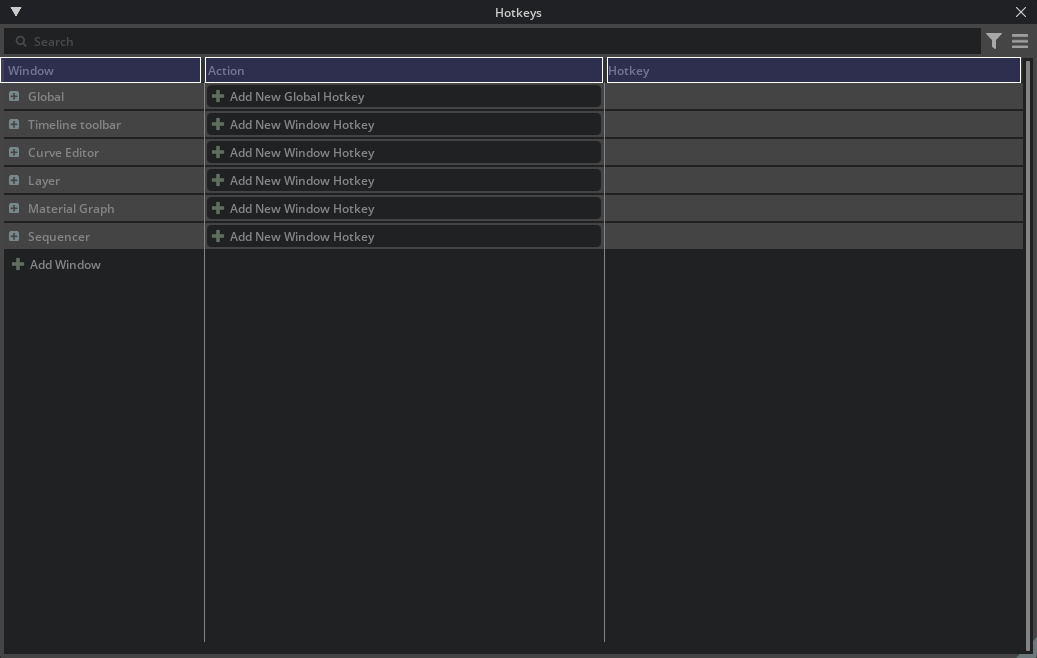
Most of the editing work happens here in the table. It contains three columns.
Window#
This column shows all of the windows that currently have actions assigned to them. Expanding a window will display a list all of the actions the window holds.
Note
Global hotkeys will operate anywhere in the application unless overridden by a hotkey in a window.
Action#
The action column displays a list of all actions that can be assigned to a hotkey,
Hotkey#
This column displays all of the hotkeys that are currently being used.
Basic Operation#
Using and setting hotkeys have been made as easy and intuitive as possible. Please review below for step by step instructions on the basic procedures for setting, editing, and managing hotkeys.
Adding A New Hotkey#

Here are the steps for adding a new action and binding a hotkey to it.
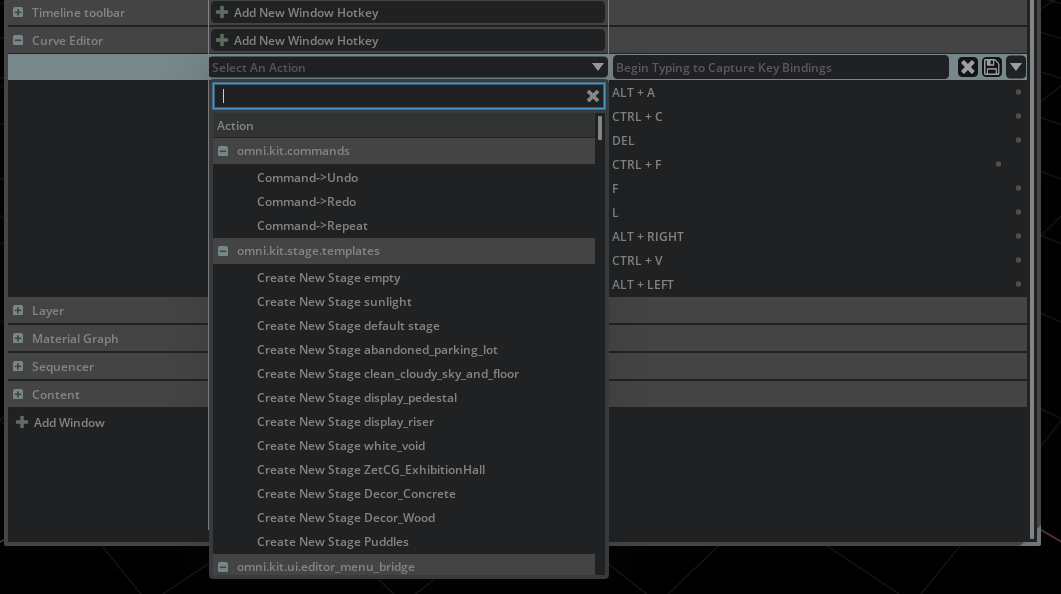
First expand the window where the new hotkey will be added.
Click on the “Add New Window Hotkey” button to display a list of actions to choose from.
Select the desired action from the list.
After the selection has been made begin typing a key or combination of keys.

“On Press” is the default but can be changed to “On Release” with the drop-down menu.
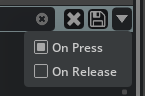
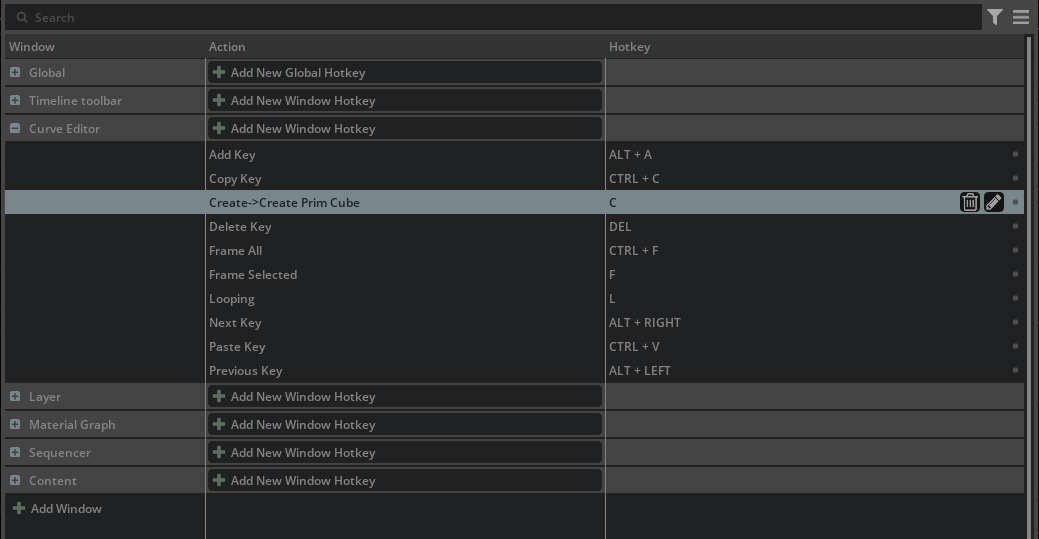
Once the key has been set click the “save” icon to complete the process.
Your new hotkey has been added to the window.
Note
The entire operation of Adding/Editing/Modifying a hotkey can be stopped by clicking on the “X” cancel button.
Modifying A Hotkey#
Sometimes a hotkey might need to be modified. Here are the steps to accomplish this.
Start by finding the hotkey that needs modification.
Click the “Edit” pencil icon to the right of the interface in the hotkey column.
Begin typing a key or combination of keys.
“On Press” is the default but can be changed to “On Release” with the drop-down menu.
Once the key has been set click the “save” icon to complete the process.
Your new hotkey has been added to the window.
Note
Restoring an individually modified hotkey can be done by clicking on the “blue” box

Unbinding A Hotkey#

Default hotkeys can be unbound from the actions that they are assigned to. Because some actions are default to a particular window they will remain after the binding has been broken. Newly added actions can be completely removed from the list. Here is how to Unbind a hotkey:
Start by finding the hotkey that needs to be unbound.
Click the “Edit” pencil icon to the right of the interface in the hotkey column.
Then click the “x” that appears in the hotkey entry field.
Once the key has been unbound click the “save” icon to complete the process.
Conflicting Hotkeys#
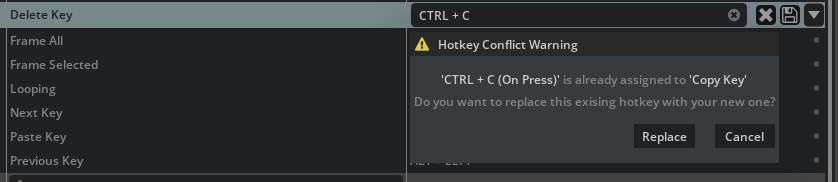
Hotkeys within a give window context must be used only once, if a key is used twice in a specific window context, a warning will appear allowing another selection for hotkey to be made.
Adding a New Window#
Click the “Add Window” button, this will produce a list of window contexts available in your app.
Once a window is selected from the list, hotkeys can be added by the method mentioned above.
Note
Clicking on a window in the list that already exist will simply start the process of adding a new hotkey to the existing window.