


Workflow User Guide#
This guide explains how to import E57 and PTS Point Cloud files into a USD scene and how to stream Point Cloud data from Nucleus, HTTPS, or local Potree2 sources, and NavVis IVION. You learn the required extensions, step-by-step import and streaming procedures, and troubleshooting tips for large datasets.
Importing Point Clouds#
You can import E57 Point Cloud files into a USD scene. This option loads the entire Point Cloud file. The extension converts the E57 file to a single USD file and writes it to the same folder. If the converted USD file already exists, the importer loads it as a reference into the scene immediately. If the E57 file contains multiple scans, the conversion process merges them.
The converted data references under an Xform containing a Points prim. The configured renderer displays all points in the scene at once, according to the selected representation.
Required Extensions#
The following extensions are required to import E57 and PTS Point Cloud data:
omni.kit.pointcloudsomni.usd.fileformat.e57omni.usd.fileformat.pts
Note
These extensions are included in the Kit App Template as a public release to import E57 or PTS formats. The Point Cloud Streaming bundle also loads these extensions automatically when installed.
Import Steps#
The workflow below serves as an example for the E57 import. PTS works in the same way.
Launch your Kit app.
Install and activate the
omni.kit.pointcloudsextension. The E57 file format extension pulls in automatically.Open File > Import. The Select File dialog opens.
Choose the E57 file you want to import. In the Options dialog, you can specify import settings:
Set RTX Point Material: Assigns the default
FlatPoints.mdlmaterial to the created points primitives and sets the “Invisible to secondary rays” flag for them.Merge scans: E57 files can contain multiple scans. With this feature activated, all scans are combined into a single
UsdGeomPointsprim (namedPoints_<scan_name>).Note
E57 files from LiDAR workflows often contain many scans (for example, 10–50+ scan positions around a building). Without merge, you get many separate USD prims, each with its own transform, which is heavier for the scene graph. With merge, you get one flat prim with all points baked into a single array. The scene graph is flatter, but you lose per-scan identity and the entire point cloud must fit in a single allocation.
Custom Point Size: Sets an explicit point size for the loaded data. If this value is 0.0 or lower, the NVIDIA RTX renderer determines an appropriate point size or falls back to the Points Default Width from the common rendering settings.
Path: Specifies the path where the extension stores the converted USD file. By default, the extension writes the USD file into the same directory as the source E57 file.
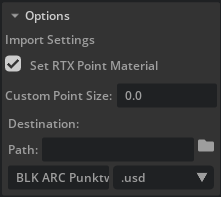
Import options for E57#
Select Import.
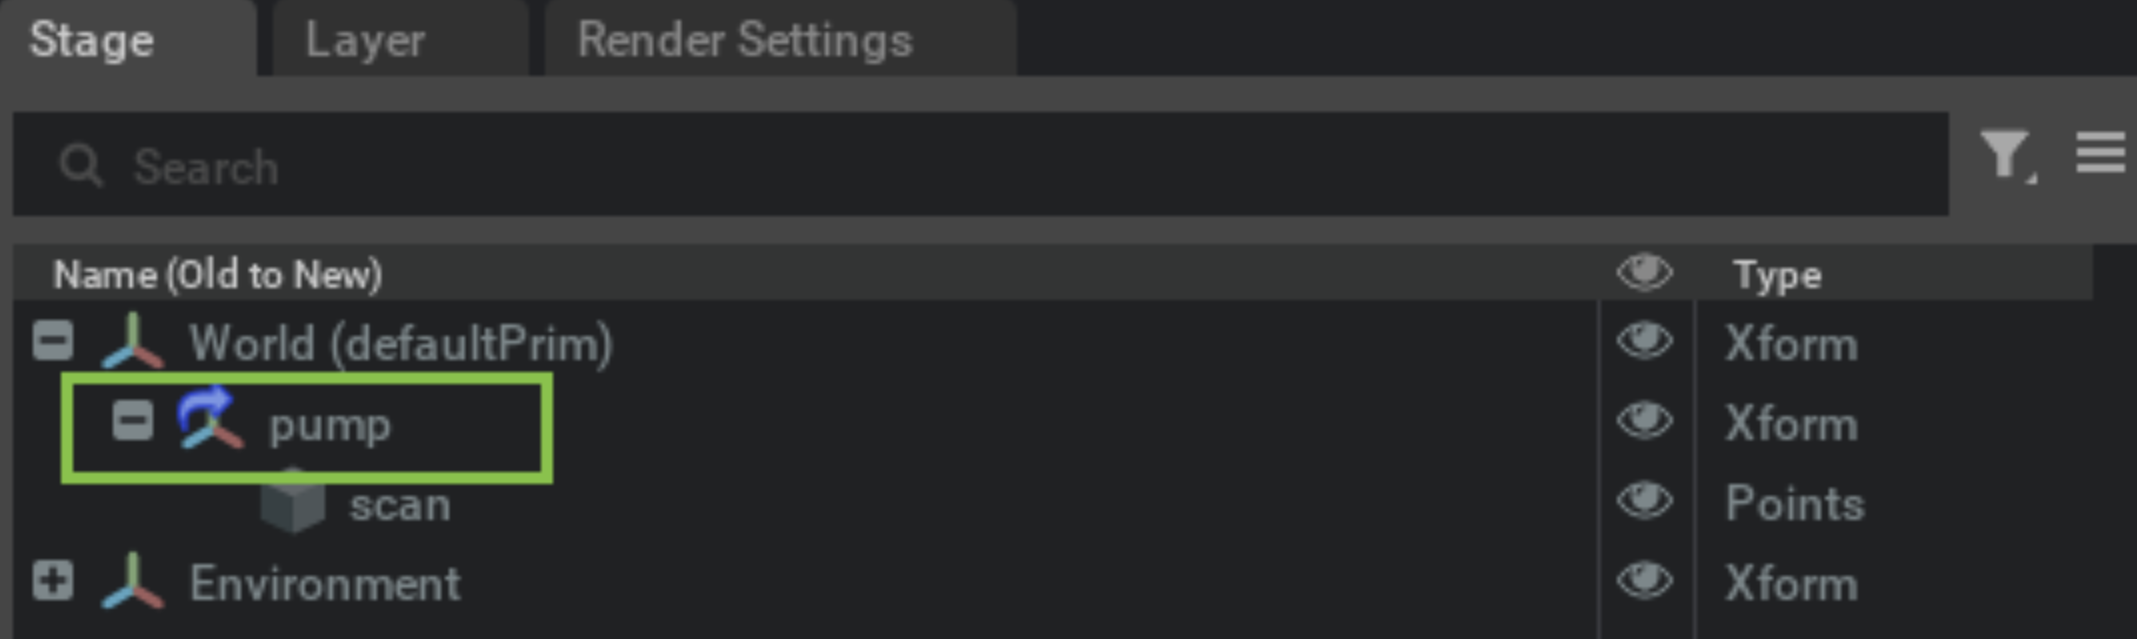
Complete the import. The imported Point Cloud is attached to a newly created Xform (payload) in the Stage and appears in the Stage tree.
PTS Import Settings#
For PTS files, the Options dialog provides these import settings:
Source file up axis: Choose which source axis should be used for the file up axis.
Default color: PTS files can be XYZ-only, XYZ+intensity, or XYZ+RGB. When a point has no color data, the Default color is used as the fallback instead of leaving it black.
Set RTX Point Material: Sets the default
FlatPoints.mdlmaterial to the newly created points primitives and sets the “Invisible to secondary rays” flag for them.Scan Split Factor: PTS files can contain more points than fit in a single GPU buffer. The split factor divides that max-per-prim size. A higher factor creates more, smaller prims — useful if you are hitting GPU memory issues even at the default split.
Path: Specifies the path where the converted USD file is stored. By default, the USD file is stored in the same location as the PTS file.
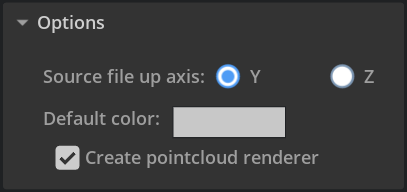
Import options for PTS#
Note
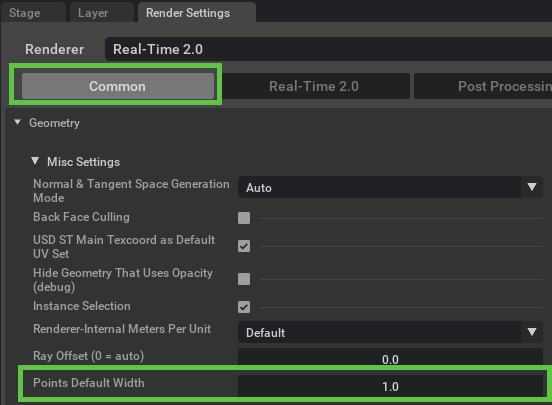
After the point cloud import, the default point width can be changed in Render Settings > Common > Geometry > Misc Settings.
Note
Points Default Width is a global setting and can increase compute demand. There is also an automatically calculated upper limit for point widths per points primitive. Changing the global Points Default Width can only make points smaller than this limit.
Performance and Limitations#
When importing an E57 file, the importer loads the entire dataset at once. This limits the size of supported datasets to the available system memory and GPU resources. Large files can fail to import if you have insufficient system resources.
Note
Point Clouds larger than 4 GB are split into smaller components during import. Multiple prims in the Stage represent them to avoid single file size issues.
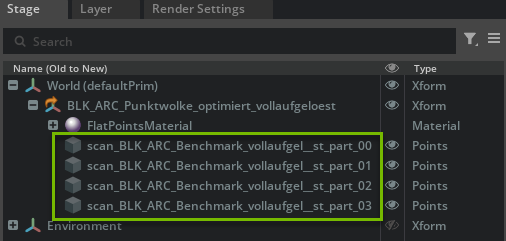
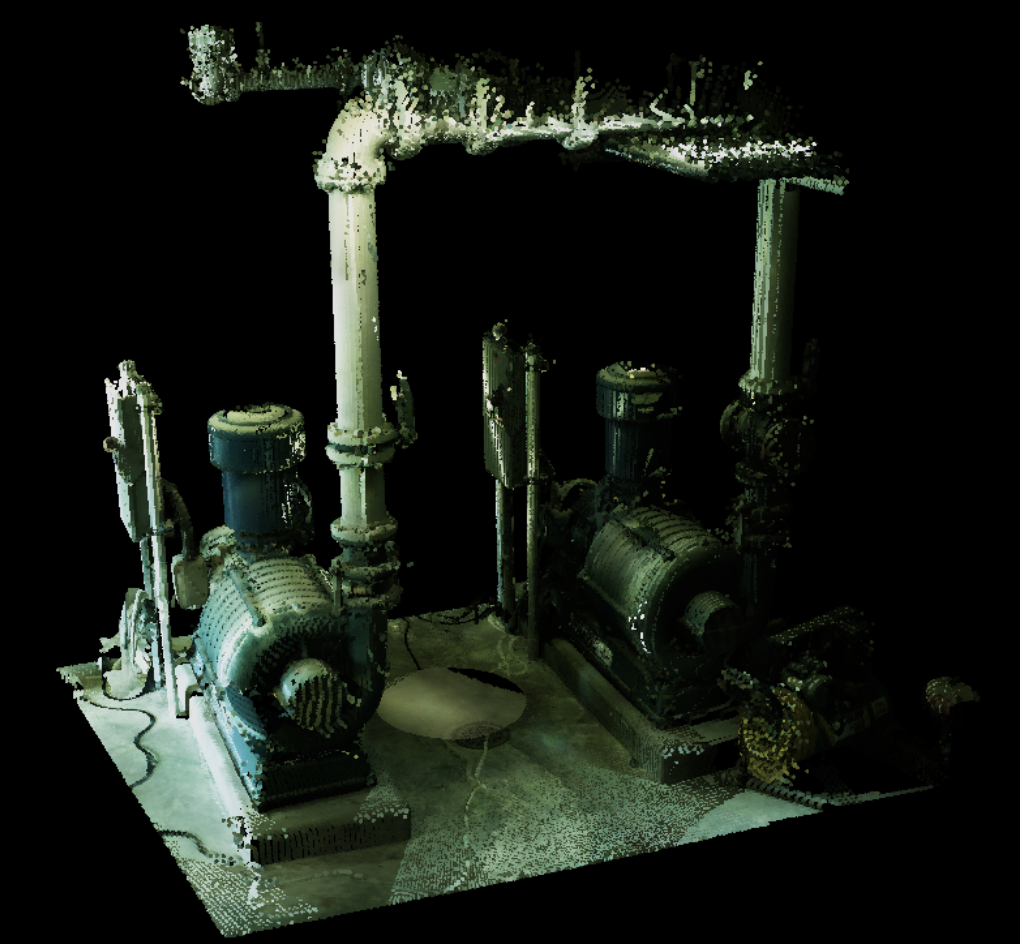
Scan components are sized to fit within the GPU buffer limit. To split them into smaller parts, open config/extension.toml inside the installed omni.usd.fileformat.e57 extension folder and add exts."omni.usd.fileformat.e57".scan_split_factor = 4 under the existing [settings] section. The default split factor is 2; increasing it to 4 halves the maximum number of points per component. Smaller components help limit the temporary GPU memory needed to build acceleration structures for ray tracing. Restart the application and reimport the E57 file to apply the change.
For import of PTS files the split factor can be set in the Import Options UI.
Troubleshooting#
If the converted USD file already exists, the importer loads it as a reference instead of reconverting the E57 file.
If rendering performance is poor, try lowering point resolution or using a lower representation mode in the renderer.
For very large datasets, consider using the streaming workflow instead of import. Refer to Stream Point Clouds from Nucleus and Other Locations for Nucleus, HTTPS, and local Potree2 sources, or Point Cloud Streaming from NavVis IVION for IVION.
Warning
Point Cloud Streaming uses Geometry Streaming. This feature is experimental. For more information, refer to Geometry Streaming.
Why Stream Instead of Import#
Point cloud streaming can handle extremely large datasets that often do not fit entirely in system memory. Streaming converts the data into a Potree-like hierarchical Level-of-Detail (LoD) structure and streams points successively. As you move closer to an object, the resolution increases dynamically.
Stream Point Clouds from Nucleus and Other Locations#
Stream Potree2 point cloud datasets from a Nucleus server, an HTTPS server, or files accessible to the Kit application. Add a source in the Content Browser, choose a dataset, and drag it into the Stage. A NavVis IVION account is not required for these sources.
The workflows below use the Potree Client storage implementation in
omni.pointcloud.potree2. It supports a single dataset’s metadata.json
or a .potree-sites.json catalog containing multiple sites and datasets.
Prerequisites#
Enable
omni.pointcloud.streaming.bundlein Window > Extensions. It includes the Content Browser integration, Potree2 server access, point cloud streaming, and point cloud UI extensions.Use an application with the Potree Client implementation. It was introduced in
omni.pointcloud.potree21.4.12 and is enabled by default on Kit 110.3 and newer. Older Kit versions default to the previous storage implementation. Confirm extension compatibility with your application before enabling it explicitly as described in Configure the Storage Client.Prepare a complete Potree2 dataset. The single-dataset loader expects
metadata.jsonand the associatedhierarchy.binandoctree.binfiles in the dataset directory. The metadata must declare"version": "2.0".Ensure that the Kit runtime can read the dataset files. For remote sessions, verify access from the remote runtime rather than only from the local system.
If conversion is needed, use a tool that produces compatible Potree2 data, such as PotreeConverter. Check the converter’s supported input formats. A source scan, such as an E57 file, may need an intermediate conversion before it can be processed by that tool.
Choose the Source URL#
Enter the complete URL, including its scheme and metadata filename. The example hosts and paths below are placeholders to replace with your own locations.
Location |
Example |
Access requirement |
|---|---|---|
Nucleus |
|
Nucleus connection and read permissions |
HTTPS |
|
Reachable files and byte-range support |
Multi-dataset catalog |
|
Catalog and all referenced datasets accessible |
Local file |
|
Files accessible to the Kit runtime |
Use metadata.json for one dataset. Use a filename ending in
.potree-sites.json for a catalog; the Content Browser displays the sites
and datasets described by that file. A catalog can also be stored on Nucleus
or the local filesystem. A server homepage, directory URL, or HTML directory
listing does not replace either metadata format.
Stream Point Cloud Data from a Nucleus Location#
Copy the complete converted dataset to a Nucleus location you can access. Keep
metadata.json,hierarchy.bin, andoctree.bintogether.Launch Kit, enable the required extensions, and open or create your stage. Establish access to the Nucleus server. Complete Nucleus authentication if prompted and confirm you can read the dataset.
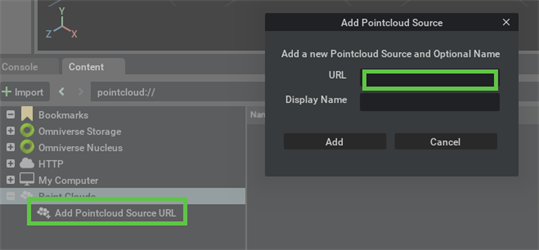
In the Content Browser, open Point Clouds and select Add Pointcloud Source URL. Enter the Nucleus URL of
metadata.jsonor a.potree-sites.jsoncatalog. Optionally enter a Display Name.Select Add. Expand the source and its site entry to find the dataset.
Drag the dataset from the Content Browser onto the intended parent in the Stage, such as the stage’s default prim.
Select the resulting point cloud in Stage and press F with viewport focus. Move closer to inspect the streamed detail.
Note
Earlier application builds can label the source action Set point cloud Server URL or Add New URL. This Content Browser dialog uses Add Pointcloud Source URL and the dialog title Add Pointcloud Source.
Nucleus file access uses the Omniverse client. The current backend relies on native Nucleus fetching that downloads entire files and caches them for subsequent reads. Large binary files can therefore make the first load slower and require substantial cache space, even though rendering uses levels of detail.
Stream Point Cloud Data from an HTTP or HTTPS Server#
Prepare the Server#
Host the converted dataset files at stable URLs while preserving their directory structure. For HTTPS, ensure certificates are trusted by the Kit runtime.
The server must support byte-range requests for the binary files. A successful ranged request returns an HTTP 206 Partial Content response.
The bundled generic HTTP client does not implement an interactive login flow for arbitrary web servers. A login page or a browser-only authenticated session does not make the data available to this client. Use an endpoint accessible to the Kit runtime or integrate the storage service’s authentication through a custom Potree Client adapter.
Add the Source and Stream#
Launch Kit with the required extensions and an open stage.
In Content Browser > Point Clouds, select Add Pointcloud Source URL.
Enter the HTTPS URL for a single dataset’s
metadata.jsonor a.potree-sites.jsoncatalog. Add an optional Display Name, then select Add.Expand the listed source and site to locate the desired dataset. A single-dataset URL lists that dataset; a catalog lists its configured entries.
Drag the dataset onto the intended parent in the Stage.
Select the point cloud and press F in the viewport. Navigate around it and check that more detail becomes visible as the view approaches the data.
Use Plain HTTP When Required#
HTTPS is supported by default. To connect to a server that specifically uses
http://, enable plain HTTP before the extension starts:
--/exts/omni.pointcloud.potree2/allow_http=true
Then add the complete http:// source URL. This option enables the protocol;
it does not provide authentication or add byte-range support to the server.
Publish a Catalog of Sites and Datasets#
A .potree-sites.json file describes the entries to display in the Content
Browser. It is separate from the metadata.json generated for each dataset.
The catalog does not discover arbitrary server folders automatically.
For example, arrange two converted datasets as follows:
pointclouds/
  factory.potree-sites.json
  scan-a/
    metadata.json
    hierarchy.bin
    octree.bin
  scan-b/
    metadata.json
    hierarchy.bin
    octree.bin
Save this catalog as factory.potree-sites.json:
[
  {
    "site": {
      "id": 1,
      "name": "Factory"
    },
    "site_storage_dir": "{dataset_name}",
    "datasets": [
      {
        "id": 1,
        "name": "scan-a",
        "title": "Scan A",
        "reference_system_id": 0
      },
      {
        "id": 2,
        "name": "scan-b",
        "title": "Scan B",
        "reference_system_id": 0
      }
    ]
  }
]
The top level is an array of site entries. Each site has an integer ID and name,
a site_storage_dir template, and a list of datasets. Give each dataset a
nonzero integer ID and a distinct name within its site.
The loader substitutes {dataset_name} and resolves the resulting directory
relative to the catalog file. In this example, scan-a resolves to the
adjacent scan-a/ directory. Use directory paths rather than complete URLs
in site_storage_dir; the backend retains the catalog’s server and scheme.
reference_system_id: 0 applies an identity dataset transform. It does not
register independently scanned datasets to each other. Prepare aligned inputs
or supply matching affine_ref_sys transform definitions when using nonzero
reference-system IDs. Inspect the resulting scale, orientation, and placement
in the destination stage.
Add the catalog URL through the same source dialog used for a single dataset:
omniverse://nucleus.example.com/Projects/PointClouds/factory.potree-sites.json
https://data.example.com/pointclouds/factory.potree-sites.json
Local Files#
For datasets on a local or mounted filesystem, add a file: URL that points
to metadata.json or a catalog. For example:
file:/data/pointclouds/scan-a/metadata.json
The path is resolved on the system running Kit. In a remote session, mount or copy the complete dataset into a location visible to that runtime before adding the source. A path on the computer displaying the session is not automatically available to the remote application.
Configure the Storage Client#
For applications that include the new Potree Client implementation, set the following startup option to select it explicitly:
--/exts/omni.pointcloud.potree2/use_potree_client=true
Application developers can also configure a source to add on startup. For
example, place these entries in the application’s existing [settings]
section, or create that section if it is absent:
[settings]
exts."omni.pointcloud.potree2".use_potree_client = true
exts."omni.pointcloud.potree2".hostname = "https://data.example.com/pointclouds/factory.potree-sites.json"
exts."omni.pointcloud.potree2".add_sites_to_browser_on_startup = true
Despite its name, hostname accepts the complete source URL. Include the
scheme and metadata filename: with the new client, a value without a scheme
is interpreted as an IVION address. Restart Kit after changing startup settings.
For an HTTP proxy, configure:
--/exts/omni.pointcloud.potree2/proxy=http://proxy.example.com:8080
The explicit proxy takes precedence over environment or system proxy settings
for the HTTP client. It does not configure Nucleus access. The NavVis
livestream_client_auth settings belong to IVION authentication and do not
establish access to generic HTTPS files or Nucleus servers.
Check the Result and Troubleshoot#
After adding a dataset, confirm that its point cloud entry appears in Stage, that the viewport displays points, and that navigating changes the visible level of detail. Color is available when the source contains supported color attributes. Loading time and responsiveness depend on dataset size, network access, cache state, and rendering settings.
Symptom |
Check |
|---|---|
Source is unsupported or nothing is listed |
Confirm the Potree Client is enabled and the URL ends in
|
Plain HTTP URL is rejected |
Enable |
Metadata loads but points do not appear |
Verify that both binary files exist and are readable. For HTTPS, confirm ranged requests receive 206 responses. For catalogs, check the resolved dataset directories. |
JSON parsing or version error |
Confirm the response is JSON rather than an HTML login/error page.
Single-dataset metadata must declare version |
401, 403, or Nucleus access error |
Check the Kit runtime’s permissions and authentication. Desktop browser access does not confirm application access. |
Works locally but fails in a remote Kit session |
Check network routing, DNS, proxy configuration, and access from the remote runtime. For file URLs, check the runtime’s mounted paths. |
First Nucleus load is slow |
Account for whole-file downloads and caching. Check available cache space and the size of the binary files. |
Points are outside the expected scene region |
Frame the dataset and inspect its bounds, units, and transforms. A catalog with identity transforms does not align separate scans. |
Point Cloud Streaming from NavVis IVION#
Point Cloud Extensions let you connect to the NavVis IVION platform and stream Point Cloud data directly into a USD scene for real-time visualization and integration.
Setup Steps#
The following steps describe how to set up a streaming workflow from NavVis IVION:
Enable the bundle extension
omni.pointcloud.streaming.bundle. This extension pulls in the other required extensions automatically.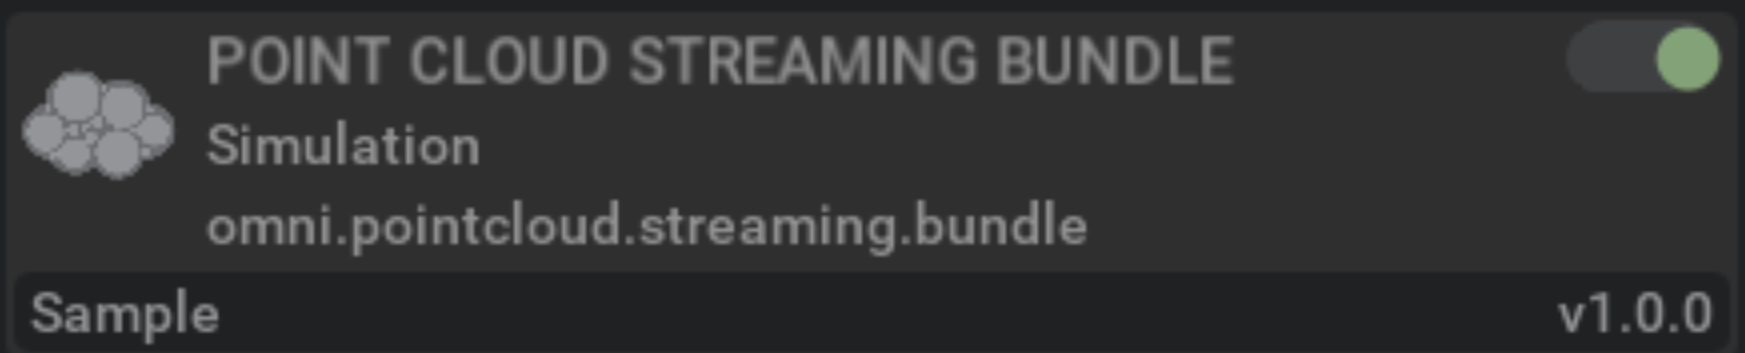
In the Content Browser, select Add Pointcloud Source URL. Paste the URL of your NavVis IVION instance. Optionally enter a Display Name.
Note
When Potree Client is active, prefer the
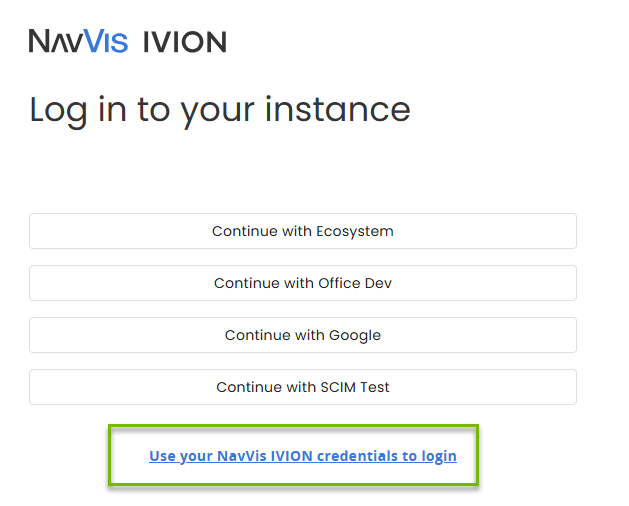
ivion://prefix.https://is still supported for common hostnames.Select Add. A browser-based login window to the NavVis IVION platform opens.
Note
Configure the URL during implementation to point to your individual site on NavVis IVION.
In the login window, select Use your NavVis IVION credentials and log in.
Note
When you launch multiple streams in quick succession, the web browser’s popup blocker can prevent the NavVis login tab from appearing. Disable the popup blocker for the site, then select Retry in Kit.
When logging in to a partner page, accept all cookies in the browser window.
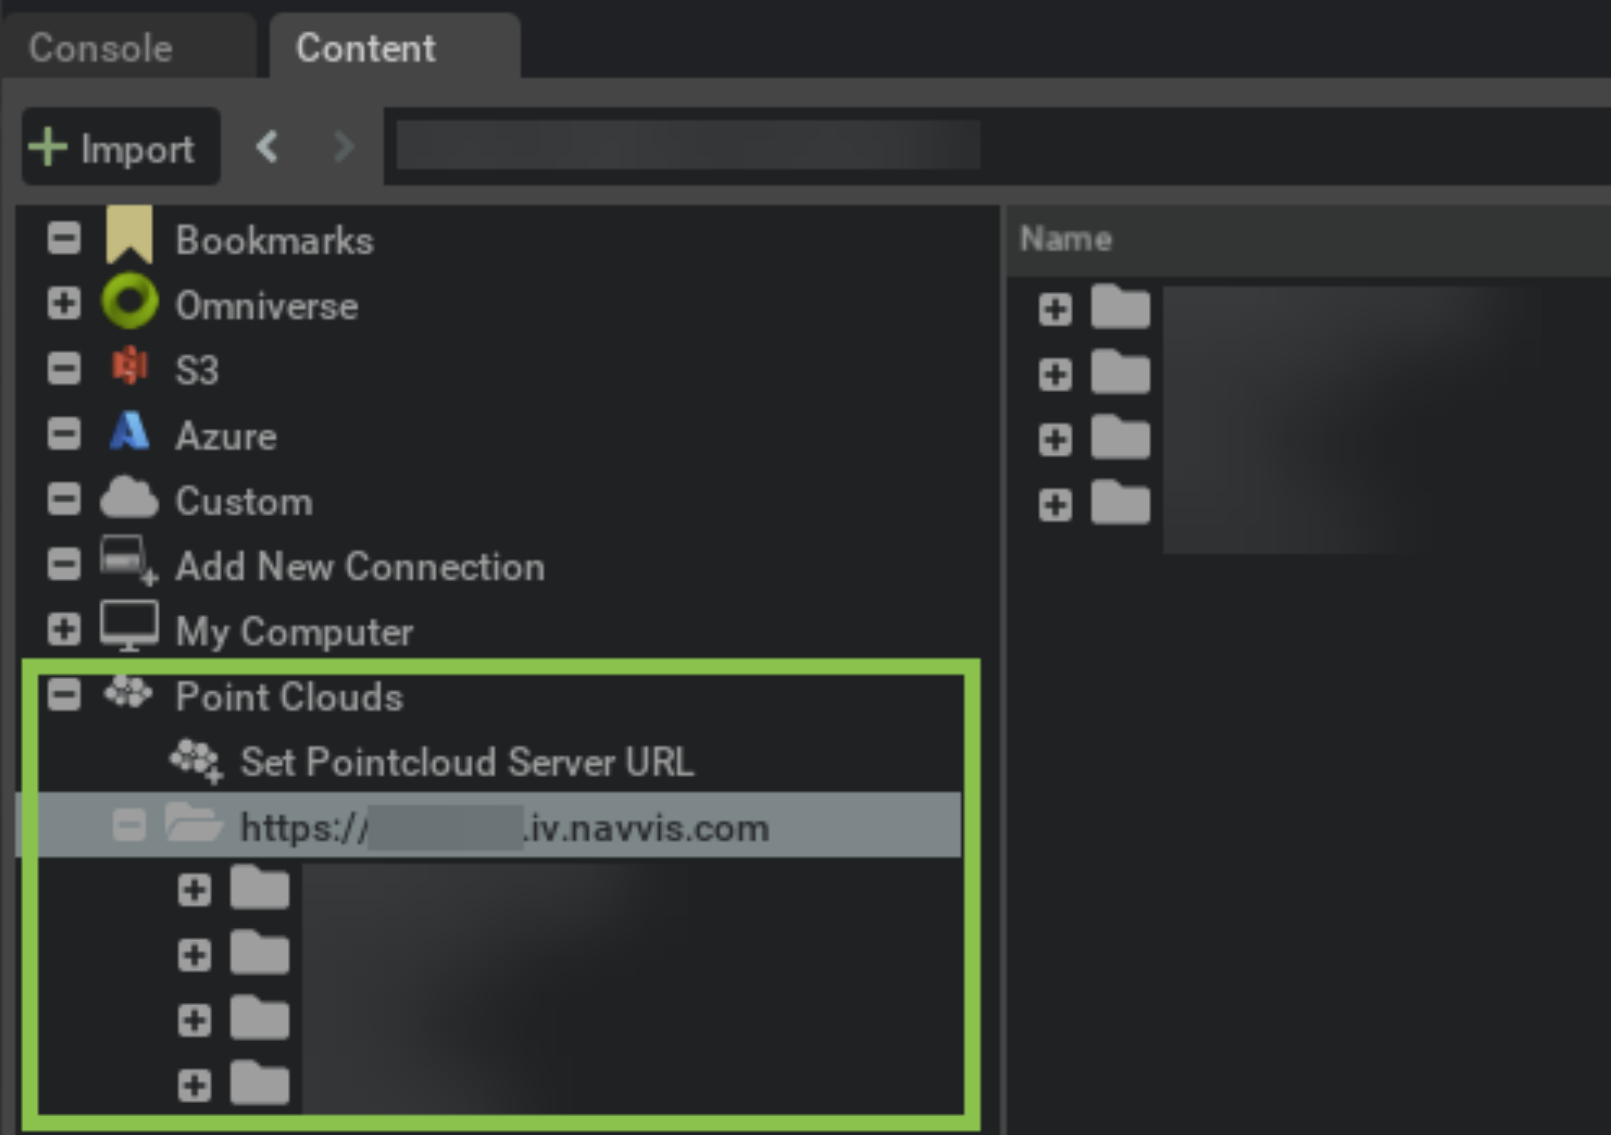
After login, open the Content Browser and navigate to the Point Clouds folder that contains the datasets you can access.
Note
If login fails, select Add Pointcloud Source URL in the Content Browser and confirm the URL to reconnect to NavVis IVION.
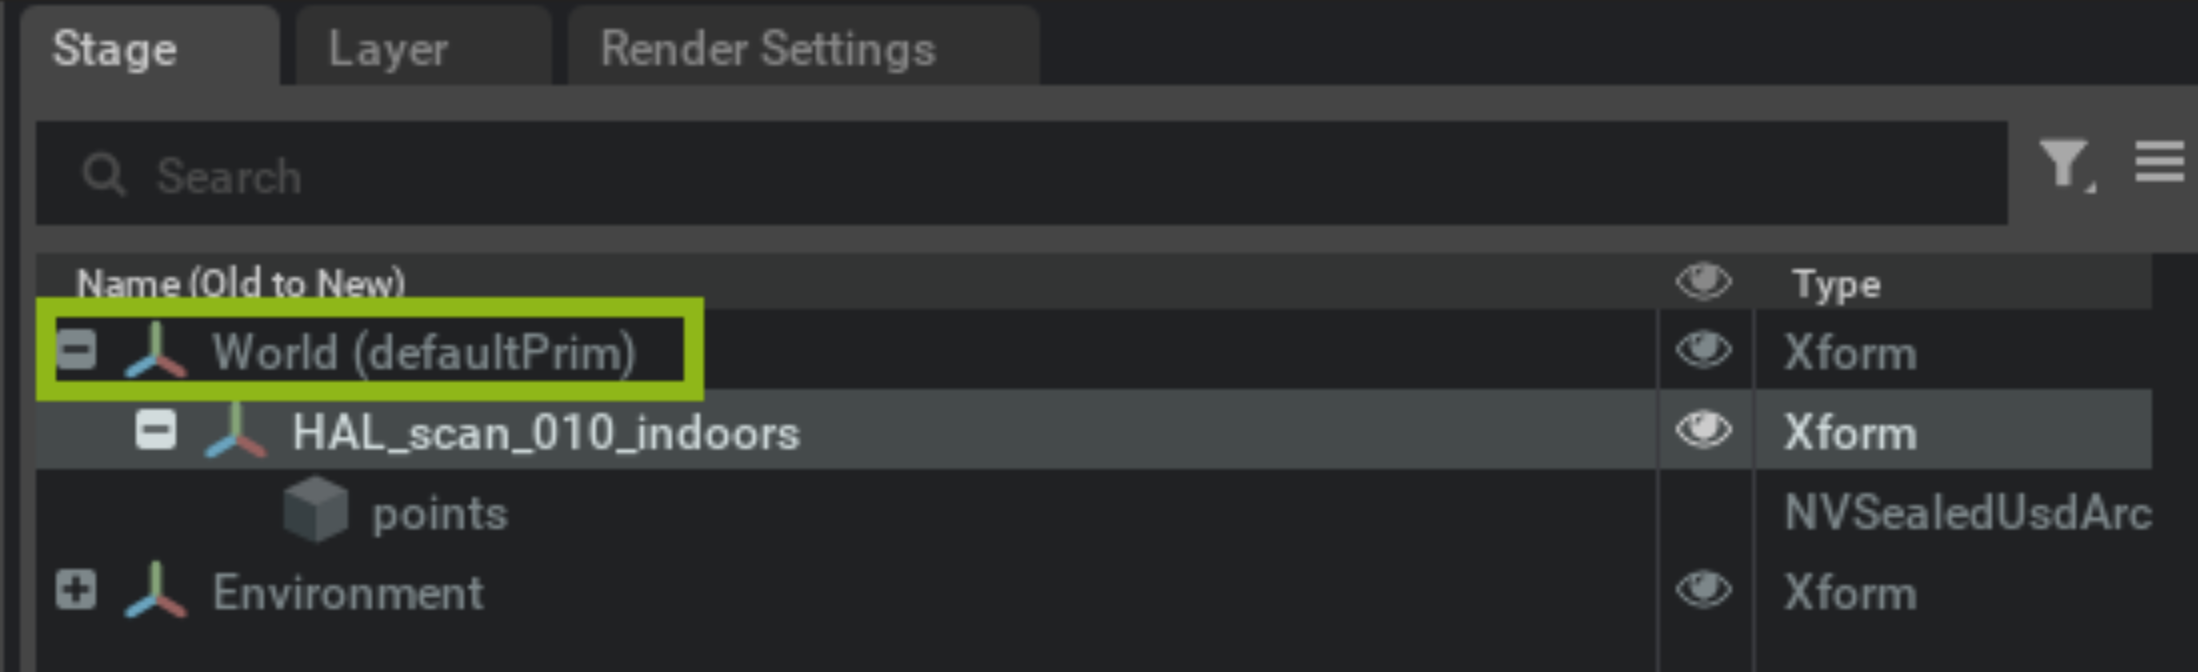
Drag a dataset (or multiple datasets) from the Content Browser onto the default prim in the Stage. Press F to frame the streaming Point Cloud in the viewport.
Troubleshooting and Tips#
Ensure you correctly configure the NavVis IVION URL for your site.
Disable the browser’s pop-up blocker for the NavVis IVION site if the login tab does not appear.
Accept cookies on partner login pages when requested.
You can import or stream Point Cloud data into a USD scene using the workflows in this guide. To edit streamed or imported subsets in the viewport, refer to Point Cloud Editing. To enable the extensions in a custom Kit application, refer to Developer Integration Guide.