Scene Optimizer#
Scene Optimizer is a tool for quickly optimizing meshes, correcting bad geometry, creating automated UVs, and generating collision/proxy geometry. The user can pick any of six optional tools to run, and run them all on either selected meshes or all meshes in a given scene.
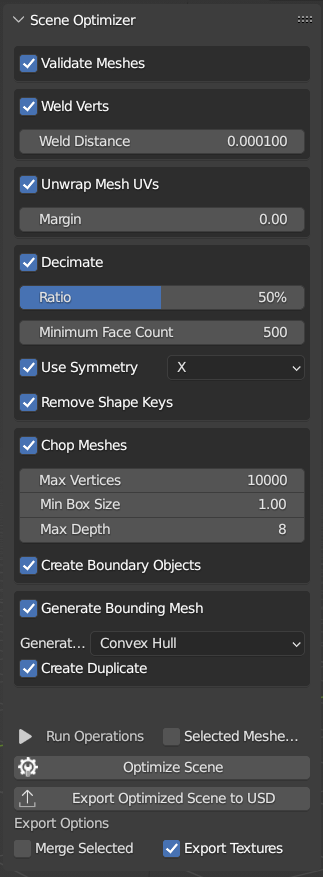
Ref # |
Link |
|---|---|
1 |
|
2 |
|
3 |
|
4 |
|
5 |
|
6 |
Validate and Weld#
The Validate Meshes option looks for degenerate geometry (for example: edges where both the head and tail are assigned to the same vertex) and deletes it. If geometry imported from CAD software causes mesh editing tools in Blender to crash, this option might fix the issue.
Weld Verts welds duplicate vertices in your meshes. The Weld Distance amount can be changed to weld across greater distances.
Unwrap Mesh UVs#
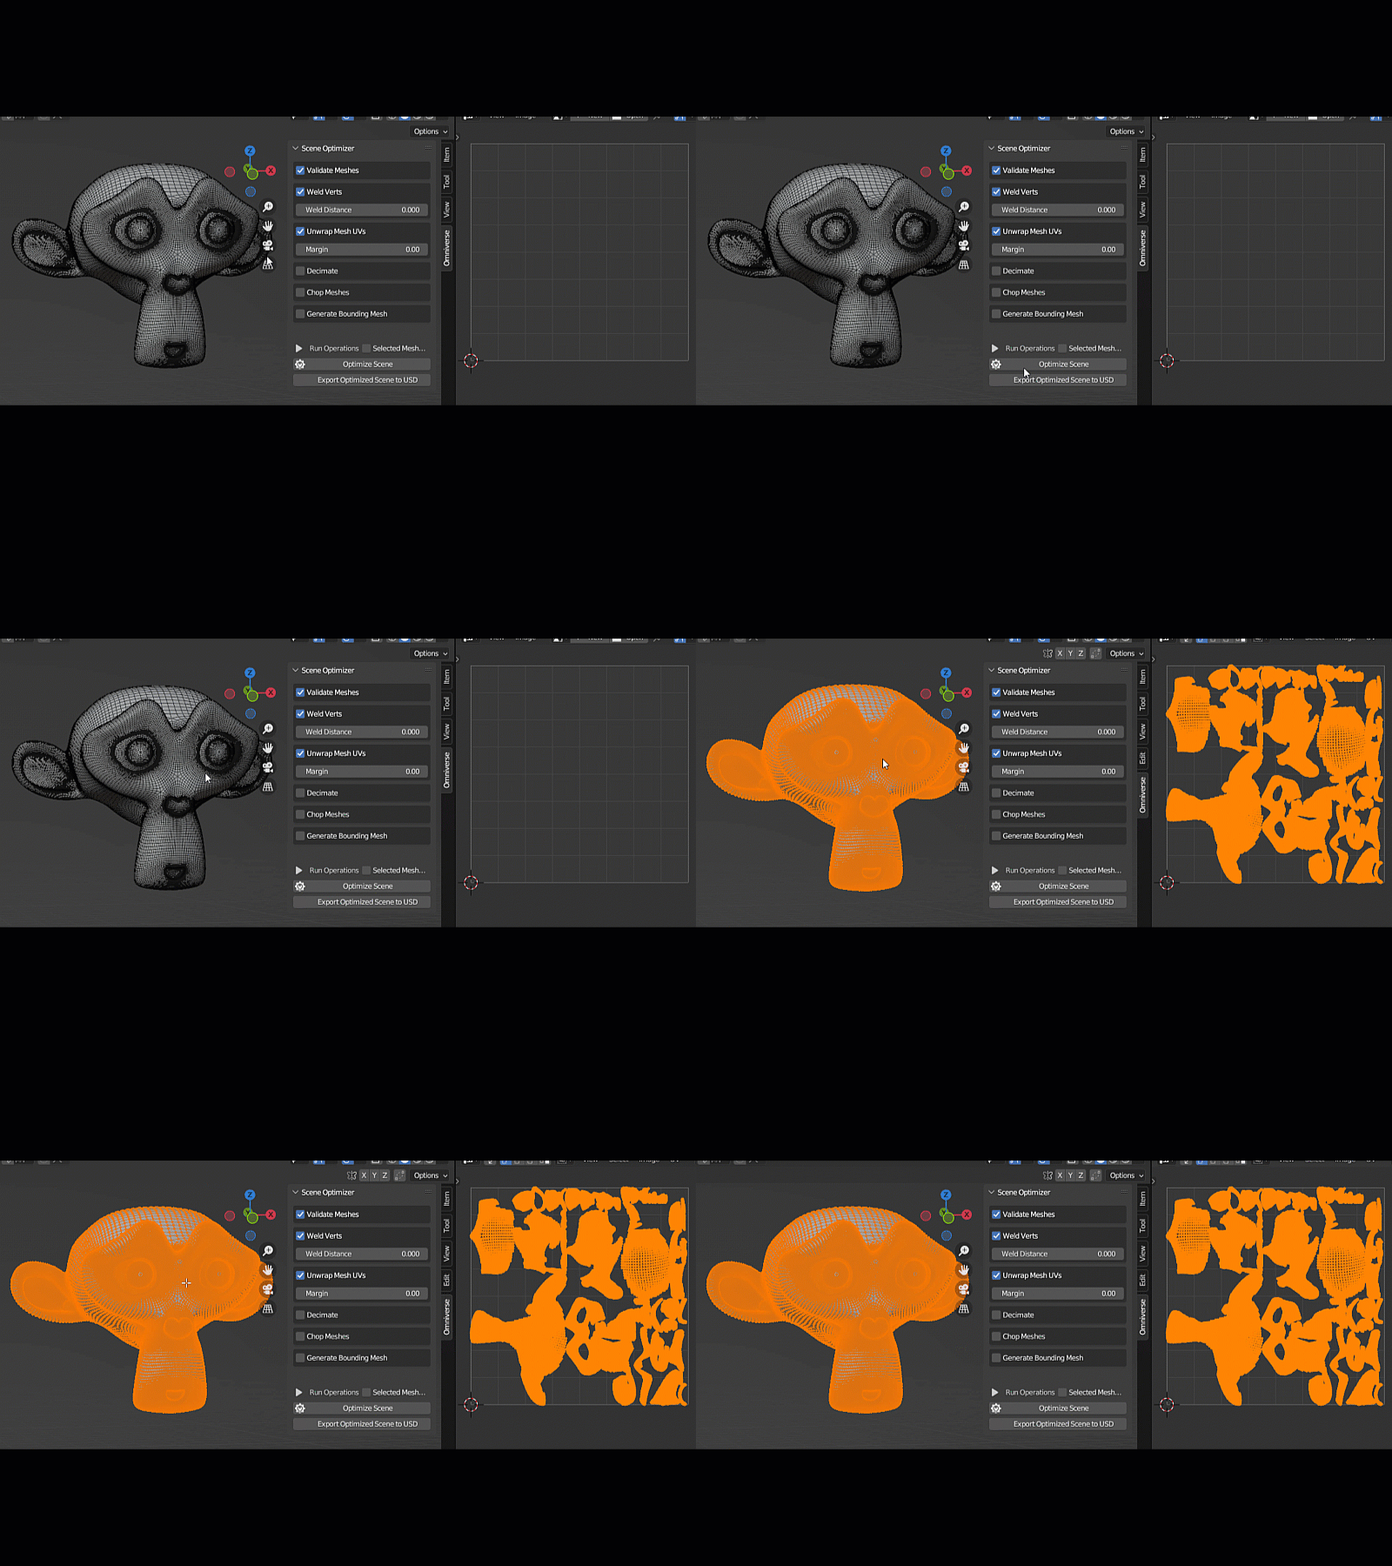
This option uses Blender’s built-in Smart Unwrap functionality to add UVs to meshes. Please note that objects with higher polygon counts, where Smart Unwrap splits the object into hundreds of small islands, will cause this operation to take a lot of time.
The Margin option will give a small margin to each UV island, which could be good for baking. Increasing Margin will increase the time it takes for UVs to calculate. Also, if your object’s UVs get split into many small islands, even a Margin of 0.01 can cause the UVs to become extremely small as they push away from each other. The default value is 0.0.
Decimate#
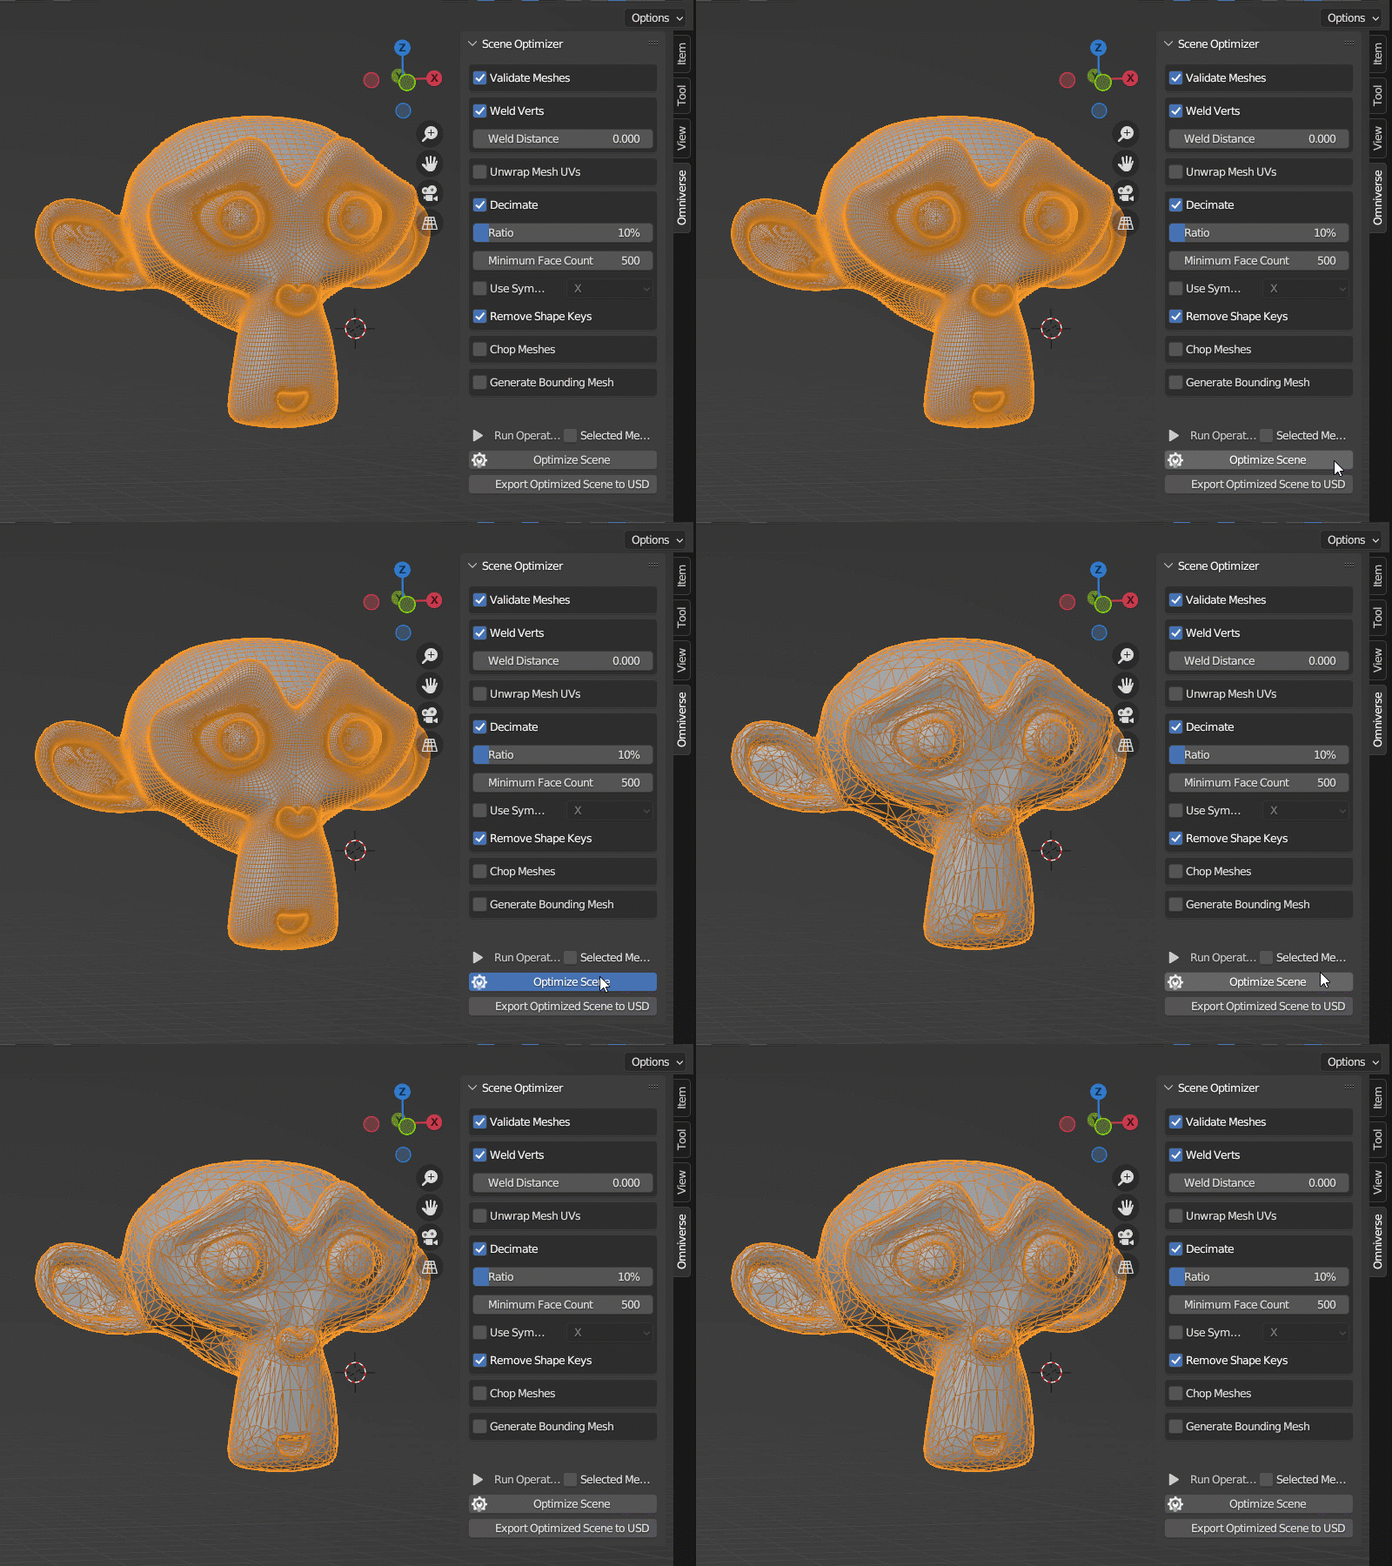
The Decimate option uses Blender’s built-in Decimate modifier to reduce polygon count.
Option |
Description |
|---|---|
Ratio |
Percentage of original faces to reduce to (50% will be half the original face count) |
Minimum Face Count |
Meshes below this face count will not be decimated. |
Use Symmetry |
Use symmetry when decimating; useful for symmetrical meshes. |
Symmetry Axis |
Choose the axis to use for symmetry. |
Remove Shape Keys |
Removes all shape keys from the object before decimating. |
Keep in mind that objects which have shape keys cannot be decimated by the Decimate modifier; if Remove Shape Keys is not checked, meshes with shape keys will be skipped.
Chop Meshes#
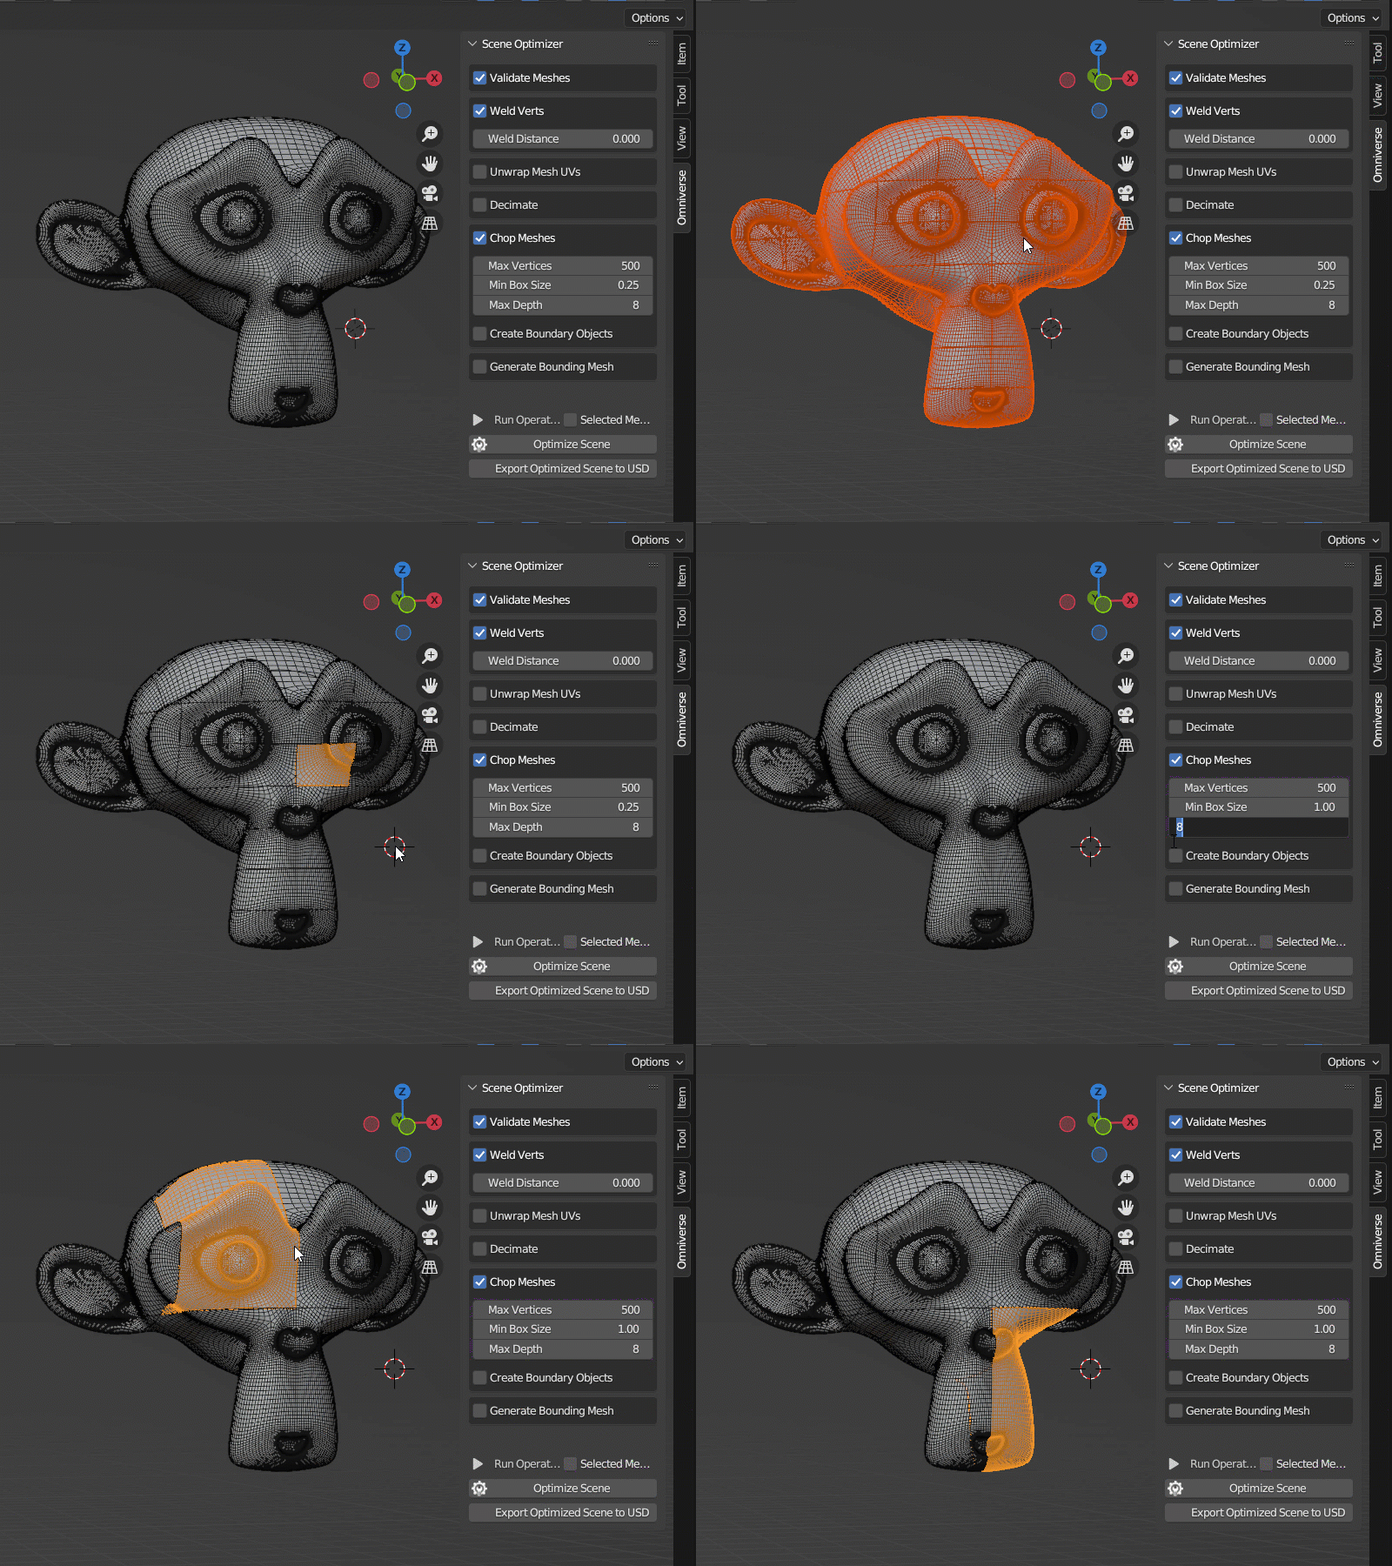
Chop Meshes splits objects in the scene into objects with fewer points. This can be useful for visibility culling based on the camera frustum, so that portions of high-resolution meshes can be hidden when not on screen. It is not recommended to run Chop Meshes at the same time as Generate Bounding Mesh.
Option |
Description |
|---|---|
Max Vertices |
Attempt to keep each new object’s vertex count under this amount. |
Min Box Size |
Minimum grid size for the new objects, in Blender units (meters). |
Max Depth |
Objects will be subdivides a maximum of this many times before the algorithm will stop subdividing. |
Create Boundary Objects |
For debugging: create objects that visually show where the meshes were cut. |
Generate Bounding Mesh#
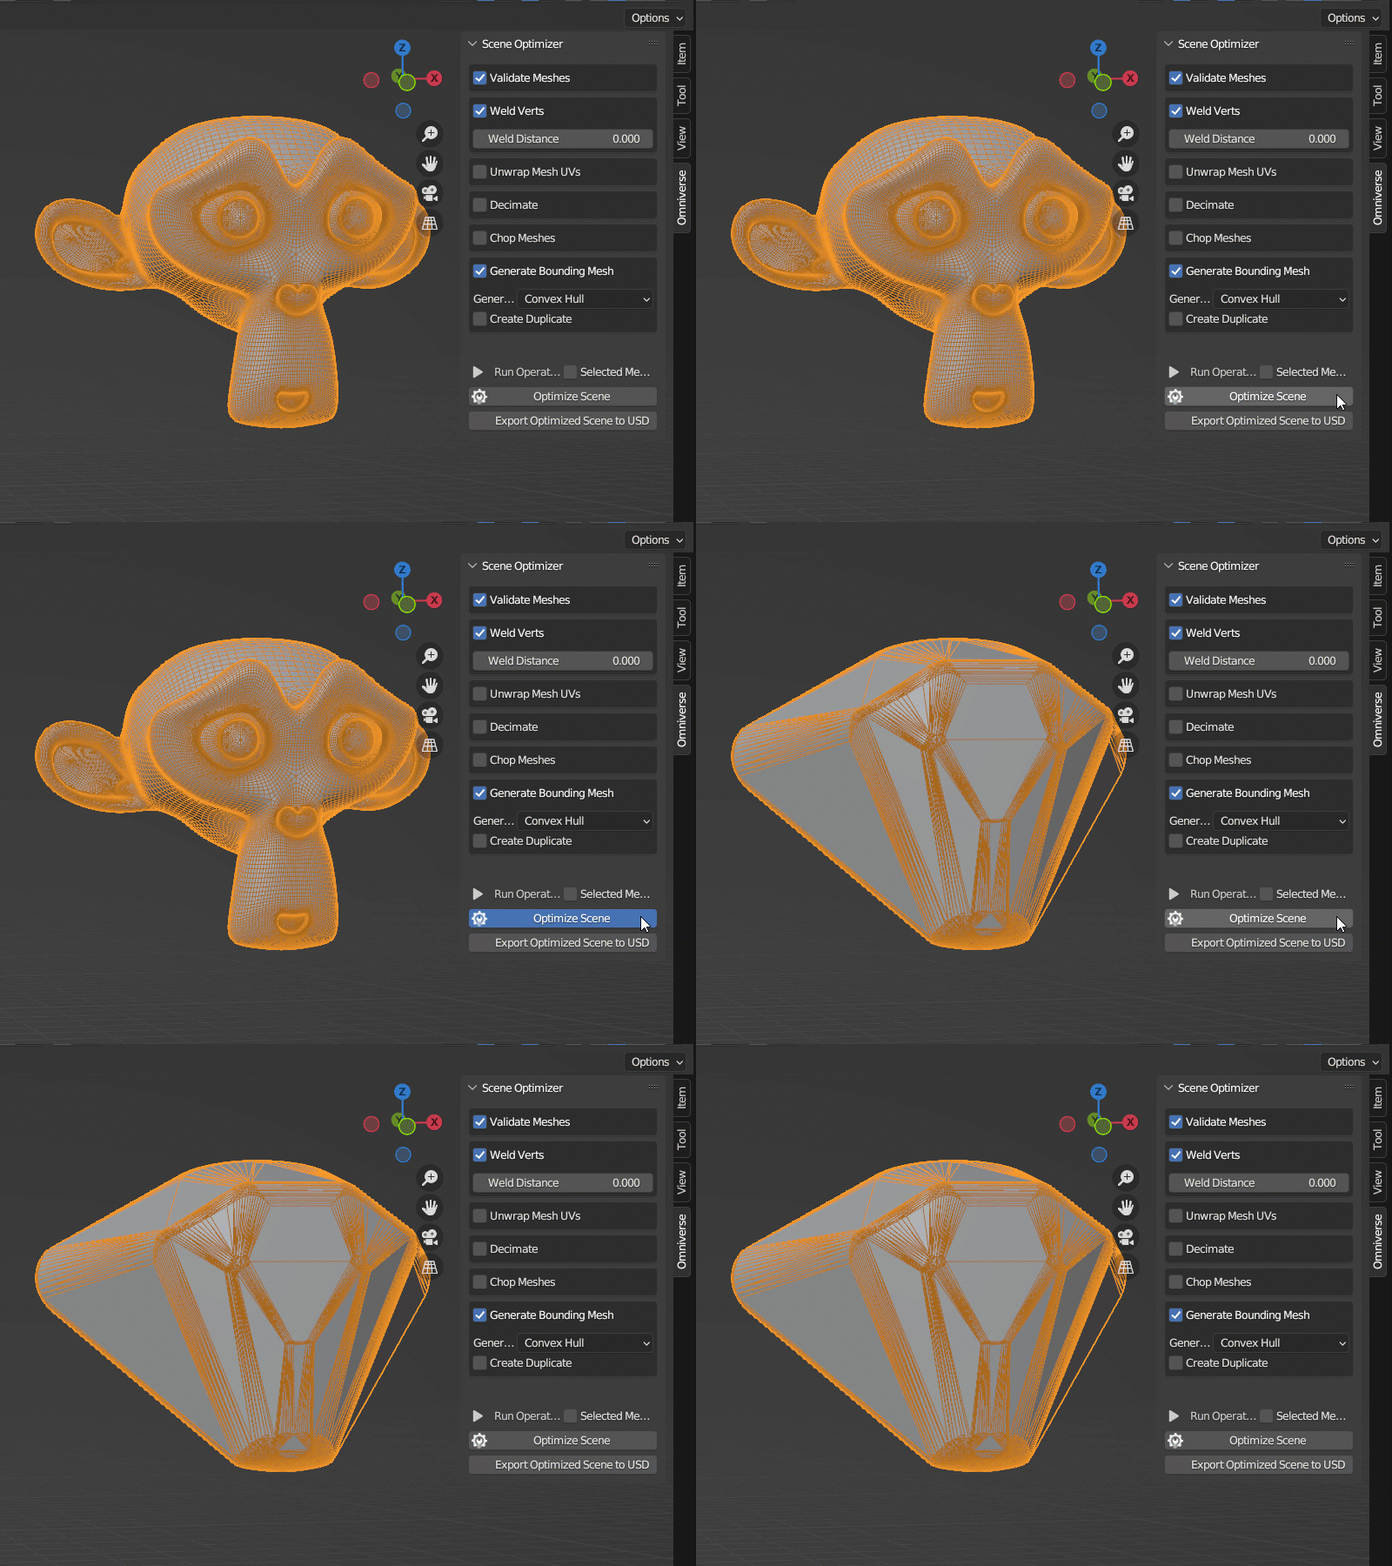
This section is for generating convex hulls or bounding boxes. It is not recommended to run Generate Bounding Mesh at the same time as Chop Meshes.
Option |
Description |
|---|---|
Generate Type |
Type of geometry to generate. Can be either convex hull or bounding box. |
Create Duplicate |
If checked, the bounding geometry will be created as a new object and parented next to its matching mesh. If unchecked, meshes in the scene will be converted into this bounding geometry. |
Run Operations#
The Run Operations buttons take into account all the above optimzer steps, and run them in order. If Selected Meshes is checked, these will only be run on selected objects.
Optimize Scene will run the optimizer stages on the current scene.
Export Optimized Scene to USD will start a background process, running the optimizer stages on the entire scene (regardless of selection) and generating an optimized USD file without changing the scene you have open.
Option |
Description |
|---|---|
Merge Selected |
If checked, selected meshes will be optimized, combined, and exported as a single mesh with all modifiers applied. |
Export Textures |
Leave checked to export textures when exporting an optimized scene. |