User Manual (200.1.0 and prior)#
Note
This guide is for Creo Connector versions 200.1.0 and prior. Find the latest doc here .
Install the Connector#
Follow our Connector installation instructions to install this Connector.
Note
We recommend to only have one version of Omniverse Creo connector installed on your machine.
Once the Connector has been installed, you will see a new shortcut on your desktop called OmniCreo[Creo version] ending with the PTC Creo Parametric version you have installed on your computer. To start PTC Creo with the Omniverse Creo connector, use the new desktop shortcut.
The shortcut launches PTC Creo with the Omniverse Creo Connector in this location:
\Users\[username]\AppData\Local\ov\pkg\creo-connector-[version]\Creo[version]
Note
We recommend not to change or delete this shortcut from your desktop.
User Interface#
The Omniverse Creo Connector brings PTC Creo into the NVIDIA Omniverse™ Platform through the use of NVIDIA Omniverse™ Connect tools similar to other NVIDIA Omniverse™ Connect applications.
The Omniverse menu in PTC Creo is not visible in the user interface until PTC Creo data has been loaded.
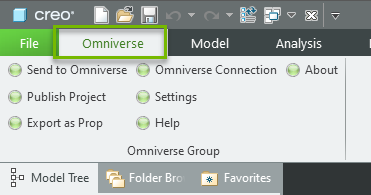
Clicking this menu will reveal the ribbon panel for Omniverse Interactions.
Option |
Description |
|---|---|
Send to Omniverse |
Sends the scene directly to your chosen Kit Application for viewing (to configure in settings). |
Publish Project |
Exports as a USD scene within a project container. |
Export as Prop |
Exports scene as a prop (No project container). |
Omniverse Connection |
Allows sign in to an Omniverse NVIDIA Omniverse™ Nucleus server. |
Settings |
Adjust connections and settings of the Omniverse Creo Connector. |
Help |
Directs users to this page. |
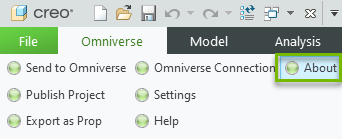
About |
Displays version and other useful information regarding the Omniverse Creo Connector. |
Publish Project#
Publishes your current scene set to the desired location as a named Project.
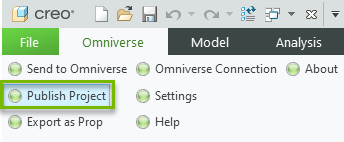
When Publish Project is clicked, a window appears to configure the export.
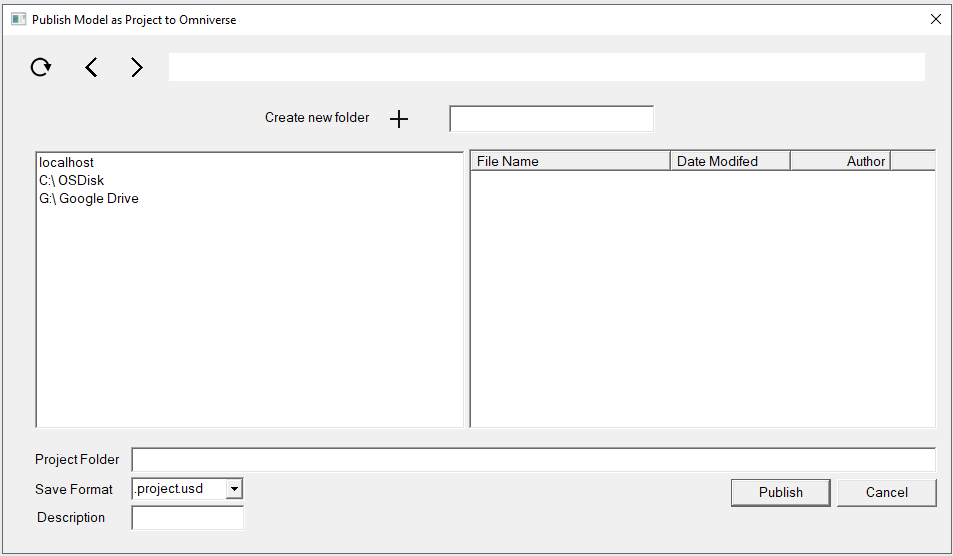
Element |
Result |
|---|---|
Refresh |
Updates the Window with Latest Data
|
Left/Right |
Moves Through the Current Directory Structure in a Step By Step Fashion
|
Create New Folder |
Creates a New Directory at Current File Path
|
Left Pane |
Lists Nucleus Directories and Local Drives/Directories
|
Right Pane |
Lists Files in Currently Selected Directory
|
Project Folder |
The location and name of the project to create
|
Save format |
Allows Selection of File Export Type
|
Description |
Text to be used as the text on the file checkpoint
|
Publish |
Publishes the PTC Creo file to your desired location
|
Cancel |
Stops the Export Process and Closes Publish Dialogue
|
Note
The file name needs to be entered in field Project Folder.
Export as Prop#
This feature exports your scene to the desired location as a more compact USD data set without creating additional folder or sub-USDs. This is helpful when exporting items like gears, housing, and other accessories to a scene.
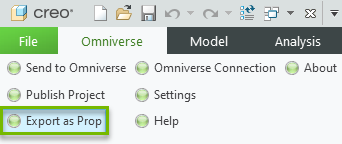
When Export as Prop is clicked, a window appears to configure the export.
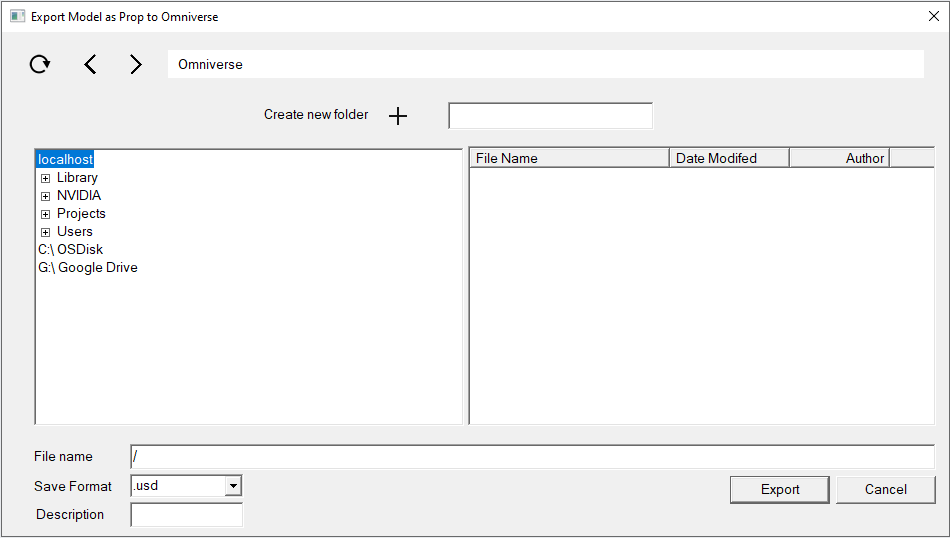
Element |
Result |
|---|---|
Refresh |
Updates the Window with Latest Data
|
Left/Right |
Moves Through the Current Directory Structure in a Step By Step Fashion
|
Create New Folder |
Creates a New Directory at Current File Path
|
Left Pane |
Lists Nucleus Directories and Local Drives/Directories
|
Right Pane |
Lists Files in Currently Selected Directory
|
File name |
The location and name of the file to save
|
Save format |
Allows Selection of File Export Type
|
Description |
Text to be used as the text on the file checkpoint
|
Export |
Exports the PTC Creo file to your desired location
|
Cancel |
Stops the Export Process and Closes Export Dialogue
|
Note
The file name needs to be entered in field File name.
Omniverse Connection#
Allows users to log into a specified NVIDIA Omniverse™ Nucleus server
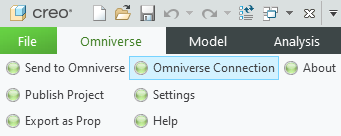
When Omniverse Connection is clicked, a window appears to choose a NVIDIA Omniverse™ Nucleus server. Additional servers can be added by manually entering them. Please make sure that the name of the server is entered correctly.
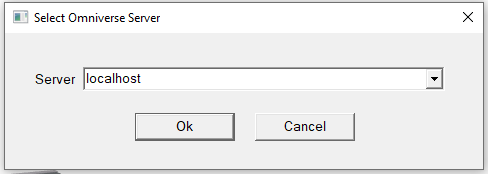
Setting |
Result |
|---|---|
Server |
Address of Omniverse Nucleus Server
|
Ok |
Begins the Connection with Selected User/Server
|
Cancel |
Stops the Sign-In Process and Closes the Sign-In Window
|
Note
The live sync feature is not implemented in this Omniverse Creo Connector version.
Settings#
The settings menu allows you to select a preferred Kit Application install as your viewer.
Note
You will need to have your preferred Kit Application installed and selected to use Send to Omniverse.
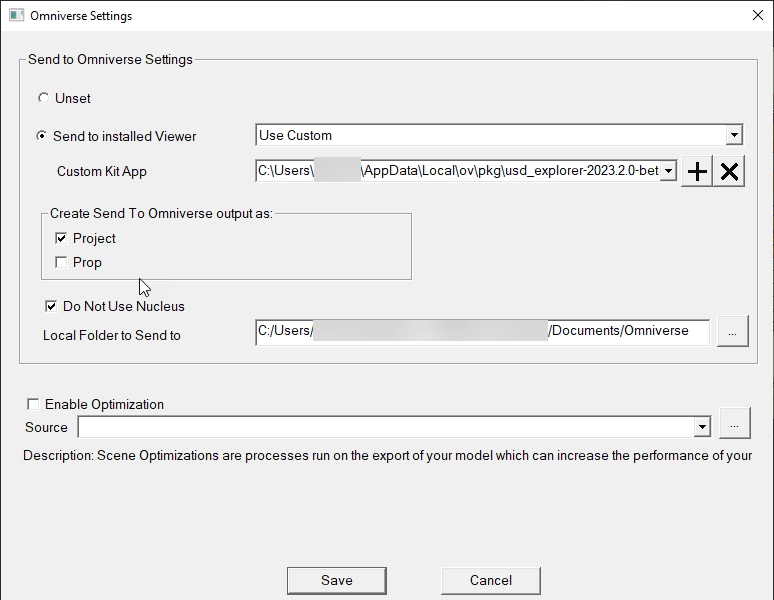
Setting |
Description |
|---|---|
Unset |
No App Settings (This setting disables Send to Omniverse). |
Send to installed Viewer |
Choose between different Kit Application Launch Path. |
Custom Kit App |
Allows manual selection of Kit Applications not found automatically. |
Create Sent to Omniverse output as |
Determines the output type when using Sent to Omniverse. See Publish Project and Export Prop for details. |
Do Not Use Nucleus |
Sent to Omniverse will bypass Nucleus and save to the specific folder, OFF by default. |
Enable Optimization |
Runs USD optimizations on scene data for USD export or sending to Omniverse. |
Save |
Commits the Changes and Closes the Window. |
Cancel |
Closes the Window and Discarding the Changes. |
Custom Kit App#
If you want to use custom Kit Application that should be used for Send to Omniverse feature, it can be set with Custom Kit App. To use a different Kit Application, click > + then navigate to the desired Kit file.
Kit files can be found in this location:
\Users\[username]\AppData\Local\ov\pkg\[Kit app]
Enable Optimization#
Scene Optimization utilizes core optimization libraries found in the standalone application and kit extension that performs scene optimizations at the USD level. This allows complex scenes to be converted into more lightweight representations which can be displayed and evaluated more quickly.
The integration provides various processes which can be used individually or in combination stack to optimize a scene. A few base configurations have been provided in the connector to optimize the data prior to sending to your preferred Kit Application.

To use a different optimization preset, click > + then navigate to the desired json configuration file.
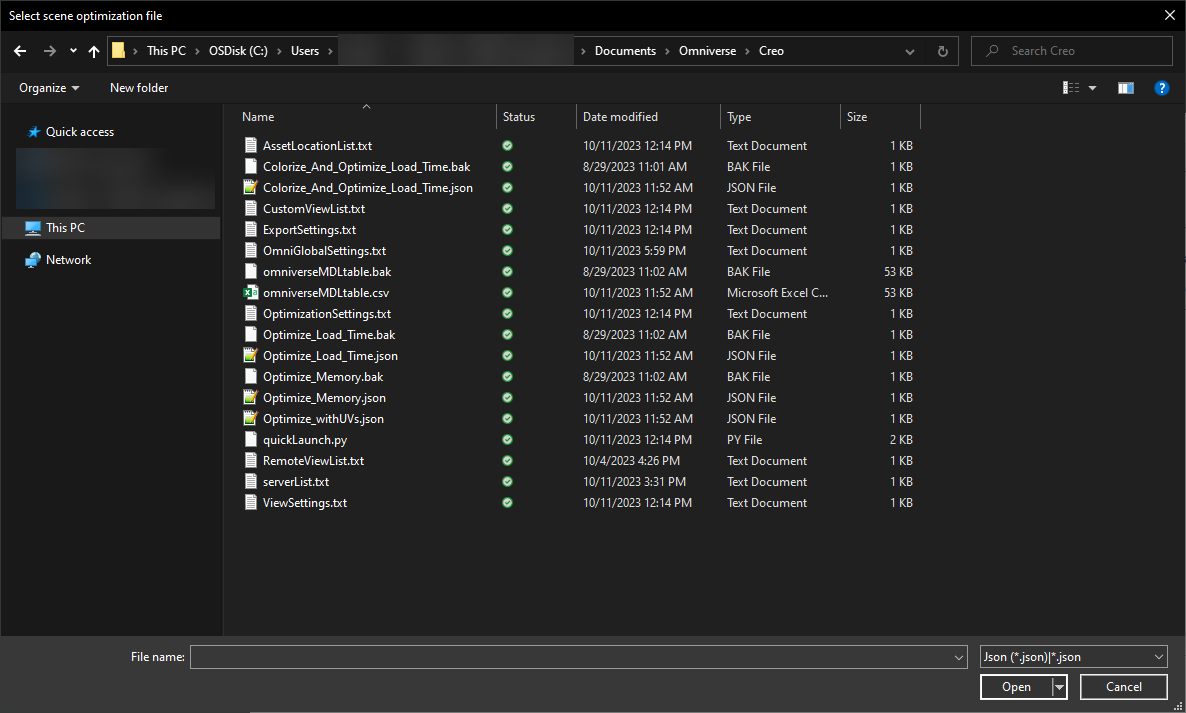
Please see the Scene Optimizer user manual for information on the optimization operations and how to create custom configuration files.
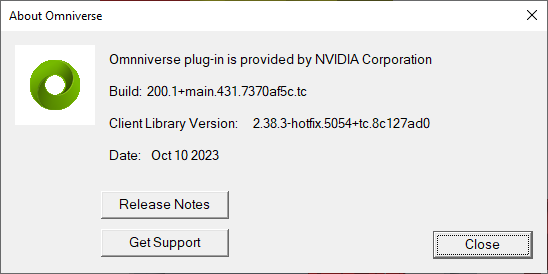
About#
Simple informational dialogue displaying relevant Omniverse Creo Connector version information.
