Isaac Sim Workflows#
Learning Objectives#
This tutorial summarizes the different workflows for developing in Isaac Sim and ways to interface with it with your existing systems. After this tutorial, you understand the uses and benefits of each workflow and the best way to include Isaac Sim in application.
10-15 Minute Tutorial
Getting Started#
There are three main workflows when developing in Isaac Sim: GUI, extensions, and standalone Python. Here is a quick summary of the key features and their recommended usages:
GUI
Key features: Visual, intuitive, specialized tools for populating, and simulating a virtual world.
Recommended usage: World building, assemble robots, attach sensors, and initializing ROS bridges.
Extensions
Key features: Run asynchronously to allow interactions with the stage, hot reloading to reflect changes immediately, adaptive physics step for real-time simulation.
Recommended usage: Building interactive GUIs, custom application modules, and real-time sensitive applications.
Standalone Python
Key features: Control over timing of physics and rendering steps, can be run in headless mode.
Recommended usage: Large scale training for reinforcement learning, systematic world generation, and modification.
GUI#
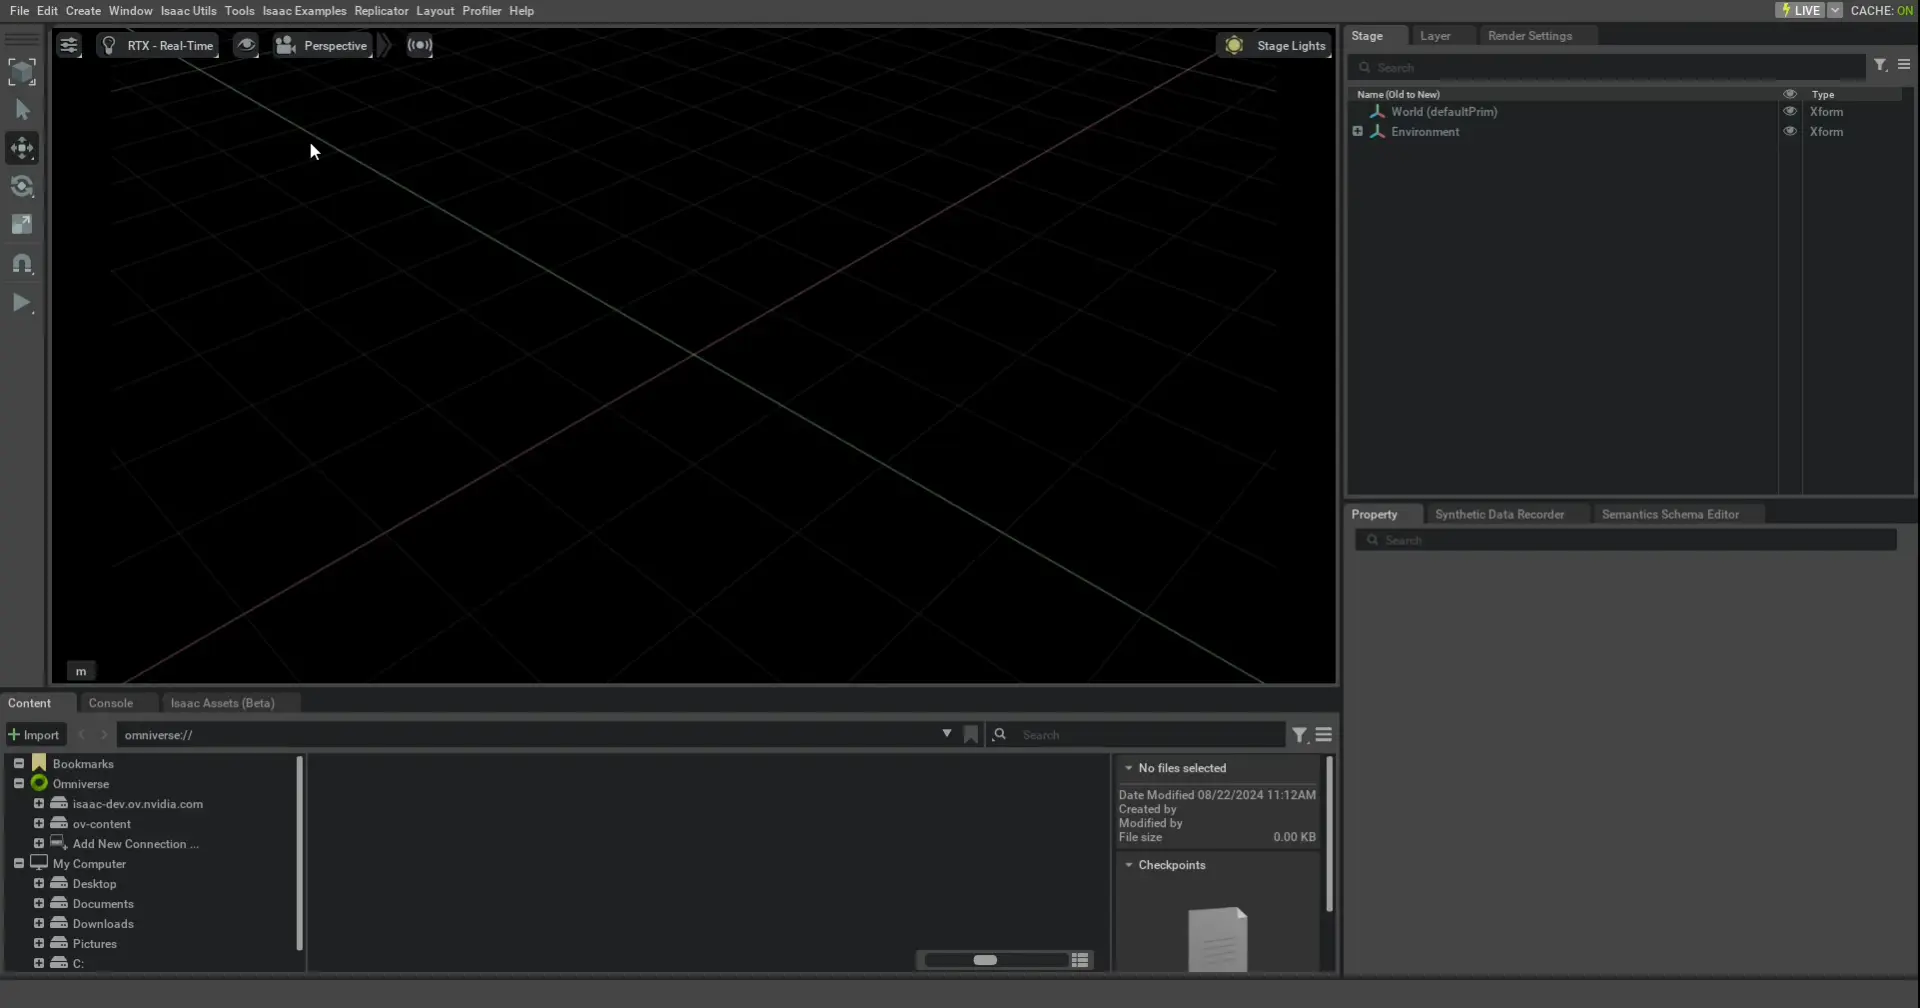
Isaac Sim’s GUI interface features are the same ones used in Omniverse USD Composer, an application that is dedicated for world-building. Create tools make it easy to assemble, illuminate, simulate, and render scenes large and small, therefore making it the ideal place to build your virtual worlds, assemble robots, and examine physics.
If you completed the introductory tutorials of Isaac Sim Interface, Environment Setup, Add Simple Objects, then you’ve already had a taste of using the GUI. To learn more about how to leverage the GUI for your robotics application, continue the GUI tutorial series with Assemble a Simple Robot.
Extensions#
Extensions are the core building block of Omniverse Kit based applications. They are individually built application modules. All the tools used in Isaac Sim are built as extensions. They can be used across different Omniverse applications by installing it in the Extensions Manager.
One main feature of this workflow is that the application runs asynchronously. This enables the extension applications to interact with the USD stage without blocking rendering and physics stepping. It also allows for hot reloading, so you can change the application code while Isaac Sim is running and then see the reflected changes in your application after saving the file, without shutting down or restarting Isaac Sim. Most of the action in an extension is done using callbacks that are triggered with certain events, such as a physics or rendering step, stage events, or ticks in time.
Writing a Custom Python Extension#
To get started using the Extension workflow, use the Isaac Sim Extension Template Generator to populate a UI-based extension on your local machine. The available extension templates give a useful starting point for many Isaac Sim applications and are structured to help you learn how to build a custom UI tool that meets your needs.
Note
For more information on the structure and implementation details of the custom extensions, see Isaac Sim Extension Template tutorial..
To create and enable a new extension using the Extension Template Generator, follow these steps or reference the video below:
Create a folder on your computer where you want Isaac Sim to search for user extensions.
Navigate to Isaac Utils > Generate Extension Templates in the toolbar.
Select the type of template that you want to start with, and fill in the required fields.
Navigate to Window > Extensions in the toolbar to open the Extensions Manager.
Click the hamburger icon in the Extensions Manager, and then Settings in the sub-menu to add the path to the folder you created for your user extensions.
Find your extension in the Extensions Manager under Third Party Extensions and enable it. Verify that it appears in the toolbar.
An alternative way to enable extensions is to add command-line arguments when running Isaac Sim from the terminal: ./isaac-sim.sh --ext-folder {path_to_user_ext_folder} --enable {ext_directory_name}
Note
On Windows use
python.batinstead ofpython.sh.The details of how
python.shworks below are similar to howpython.batworks.
Each extension template is meant to be self-explanatory. Get familiar with the template code by reading the README.md file in the provided Python module.

Writing a Custom CPP Extension#
If you want to write your own extension containing C++ code, Omniverse Kit provide an extension template as well as examples of its usage. Go to Kit C++ Extension Template for instructions.
Standalone Application#
In this workflow, Isaac Sim is launched using a Python script, inside which the rendering and physics are stepped manually, to guarantee that stepping only happens after ascertaining the completion of a set of commands.
Running Your First Standalone Application#
Open the terminal.
Navigate to the package path and run the
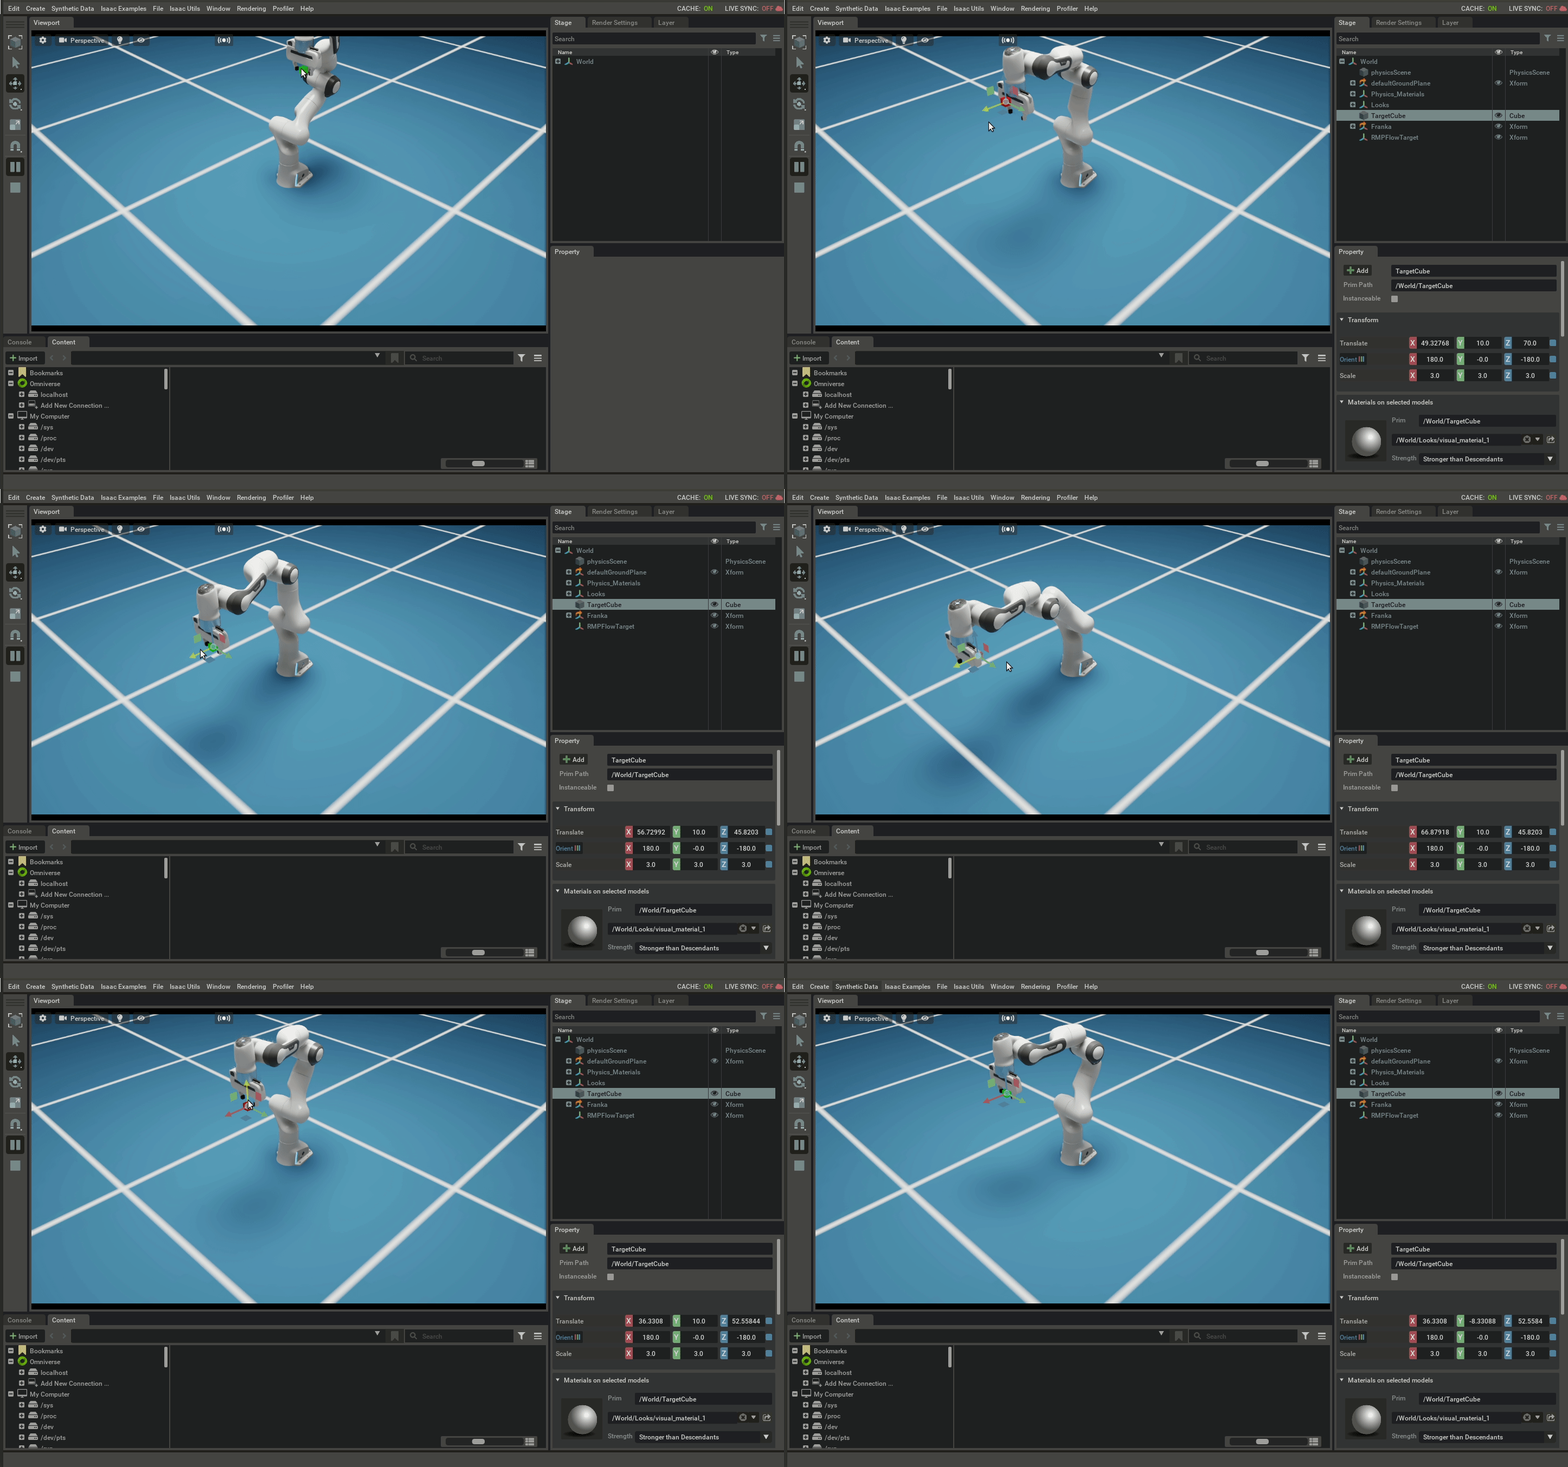
follow_target_with_rmpflow.pyscript:./python.sh standalone_examples/api/omni.isaac.franka/follow_target_with_rmpflow.pyMove the target prim by selecting it in the viewport so that Franka follows it.

Using Jupyter to Develop a Standalone Application#
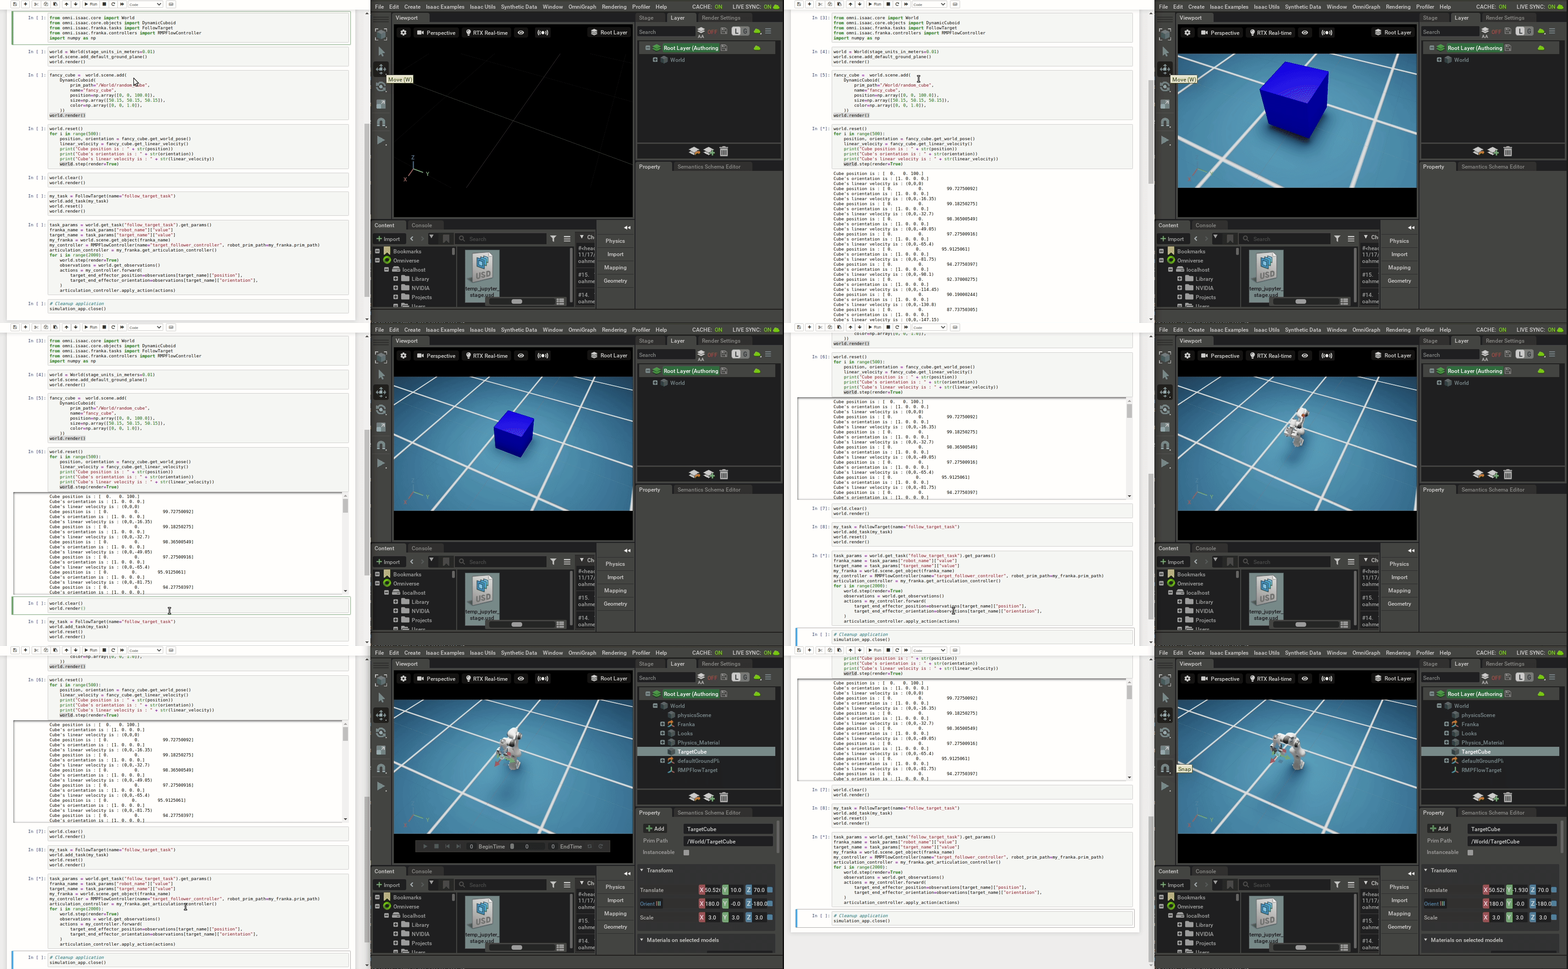
Isaac Sim can be launched as headless in this workflow (that is, without a visible and updating GUI). It can also be launched via a Jupyter notebook (Linux only). In the clip below, the Jupyter notebook live syncs to the same USD so that changes are reflected in another Isaac Sim process launched through the terminal or the launcher.
Hello World covers this workflow in detail.

ROS Application#
For more information about using Isaac Sim with ROS, see the ROS tutorial series starting with URDF Import: Turtlebot.
Summary#
This tutorial covered the following topics:
The different workflows to develop an application in Omniverse Isaac Sim
Running an example using each workflow
Next Steps#
Choose continue on to the next tutorial that suits your workflow:
Standalone and Extension: Hello World
Further Learning#
For a more in-depth look into the concepts covered in this tutorial, see the following reference materials:
Extensions