Environment Setup#
Isaac Sim is built on NVIDIA Omniverse using tools provided in Omniverse Kit. Omniverse Kit comes with a default UI that allows you to edit a USD stage with ease. In this tutorial, you learn the basic steps for setting up an environment, adding and editing simple objects and their properties on a USD stage, rigging rigid bodies with joints and articulations, and adding cameras and sensors. The goal is to build your basic skills in navigating Isaac Sim, becoming familiar with frequently used terms, and using the GUI to build an environment and set up your robots.
Learning Objectives#
This tutorial teaches you to build a physics-enabled virtual world using the tools provided in the Isaac Sim GUI, including:
Setup global stage properties
Setup global physics properties
Add ground plane
Add lighting
Getting Started#
Prerequisites
Complete the Isaac Sim Interface tutorial prior to beginning this tutorial.
To start with a clean Isaac Sim stage, go to the File menu and click on New.
The stage provided has a default World Xform, and a defaultLight. Both can be found on the stage tree on the left under the Stage tag.
Setting up Stage Properties#
Before anything is added onto the stage, verify that the current stage property setup matches the your expected conventions.
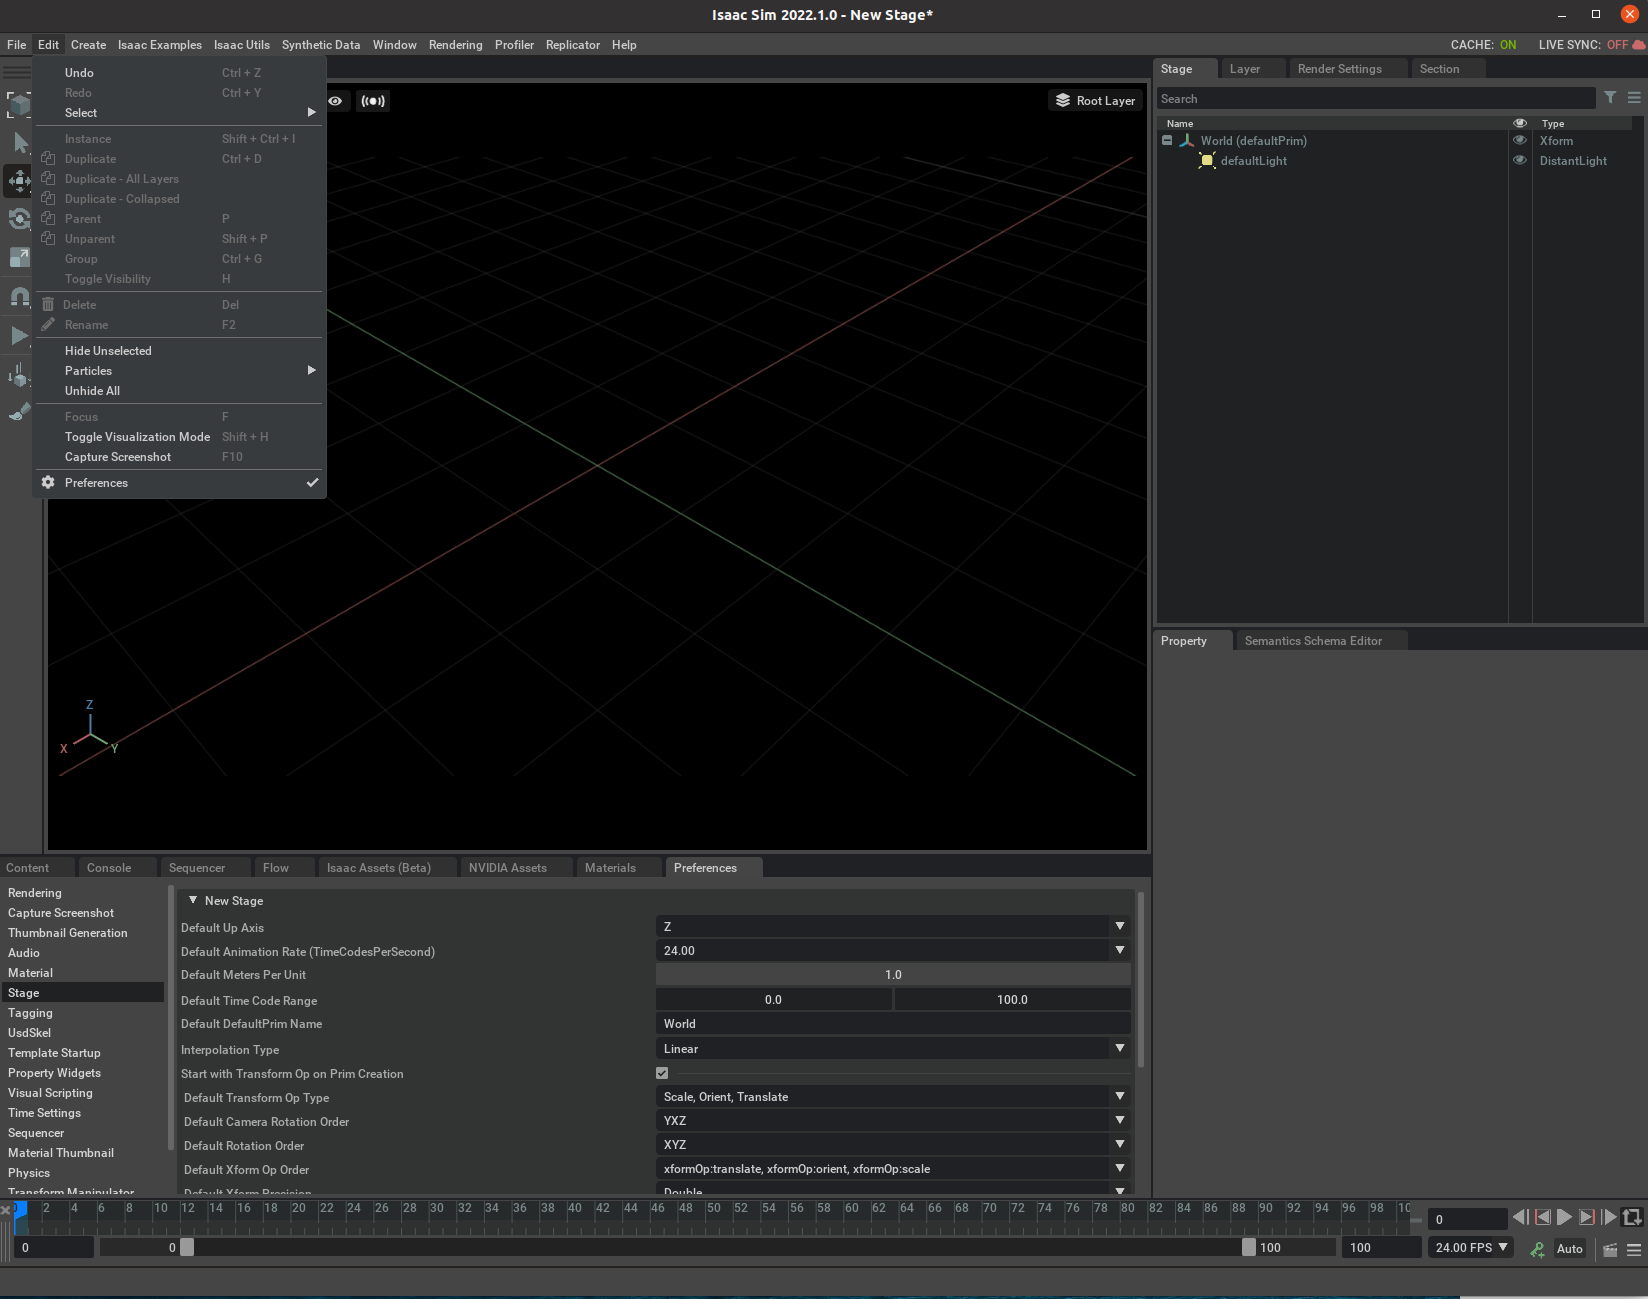
Go to Edit > Preferences to open up the Preference panel.
Browse the many types of settings inside Omniverse Kit grouped into categories in the column on the left of the panel.
Select Stage from the left column and review the properties such as:
The axis that determines Up. The default in Isaac Sim is Z. If your asset is created in a program with a different up-axis, it causes your assets to be imported rotated.
- Stage units. Isaac Sim versions prior to 2022.1 have stage units in centimeters, but the default is now meters. However, the default units for Omniverse Kit is still in centimeters.
Keep that in mind if you see USD units that are seemingly off by 100x.
Default rotation order. The default is set to execute rotation in X, then Y, and last Z.
Creating the Physics Scene#
To add a Physics Scene to simulate real world physics, including gravity and physics time steps:
Go to the Menu Bar and click Create > Physics > Physics Scene.
Validate that a PhysicsScene is added to the stage tree.
Click on it to examine its properties. You can see that gravity is set to point at the -Z direction with a magnitude of 9.8, a reminder that the default unit of length is meters.
Unless you are simulating hundreds of rigid bodies and robots, it is more efficient to use a CPU solver instead of GPU, so for the purpose of this tutorial:
Disable GPU dynamics and use MBP Broadphase inside the Physics Scene’s Property tab.
Adding a Ground Plane#
The ground plane prevents any physics-enabled objects from falling below it. The ground plane’s collision property extends indefinitely even though the plane is only visible up to 25 meters in each direction.
To add a ground plane to the virtual environment:
Go to the top Menu Bar and click Create > Physics > Ground Plane.
Turn on the grid to make the ground plane easier to see:
Lighting#
Every new Stage is pre-populated with a defaultLight — otherwise you wouldn’t see anything.
To create additional spotlights:
Add a ground plane, if there isn’t already one, so we can see the reflection of the light. Create > Physics > Ground Plane.
Go to Create > Light > Sphere Light.
Move it up and turn it face down by moving it 7 units up and void the rotation in X and Y axis.
Inside the Property Tab, change its color in Main > Color by clicking on the color bar and pick a color of your choice.
Change its intensity Main > Intensity to 1e6; Main > Radius to 0.05, Limit the scope of the spot in Shaping -> cone:angle to 45 degrees, and soften the edge of the spotlight in Shaping -> cone:softness to 0.05.
To make the new spotlight easier to see, we will reduce the intensity of the default light by going to its Property tab and set Main > Intensity to 300.
Summary#
This tutorial begins the necessary steps to create a virtual world suitable for physics simulation and testing Isaac Sim. The following topics were covered:
Adding a ground plane, lighting, and physics scene.
Next Steps#
Continue on to Add Simple Objects to learn how to add simple objects to Isaac Sim and edit their properties.
Further Learning#
For more in-depth and creative world-building tools, refer to our sister Omniverse tool Composer.