ROS 1 to ROS 2#
Warning
ROS 2 Foxy is no longer tested or supported. This may result in potential issues when ROS 2 Foxy is used in conjunction with Isaac Sim 4.2 or later.
Learning Objectives#
This tutorial demonstrates how to subscribe and publish to ROS 2 topics using ROS 1 nodes.
Specifically, you learn to:
Run a Docker container with a ROS 1 to ROS 2 bridge using different parameters
Control an Isaac Sim ROS 2 robot using ROS 1 nodes
Visualize the sensor data from ROS 2 in ROS 1
Getting Started#
Prerequisite
roscoreis running.Install the
teleop_twist_keyboardROS package:sudo apt-get install ros-noetic-teleop-twist-keyboard
Running ROS 1 to ROS 2 Nodes#
This tutorial runs the ros1_bridge package, which allows communication between most ROS 1 and ROS 2 standard topics and interfaces. The ROS distros supported by both ros1_bridge package and Isaac Sim are Foxy and Noetic. This example assumes that Foxy is not installed on the system and Isaac Sim will therefore be run with Foxy internal libraries. The tutorial also runs Nova Carter, which is a ROS 2 only robot. You will learn to control the robot using ROS 1 Noetic.
Open the Isaac Sim App Selector and select the following parameters:
ROS Bridge Extension: omni.isaac.ros2_bridge
Use Internal ROS 2 Libraries: foxy
Click START and wait for Isaac Sim to load.
Open the ROS 2 Navigation scene containing the Nova Carter ROS 2 robot by going to Isaac Examples > ROS2 > Navigation > Carter Navigation and after it has loaded, click Play.
Use the Docker container with Foxy and ros1_bridge package and run the ROS 2 command for the dynamic_bridge node. The dynamic_bridge node dynamically looks for ROS 2 and ROS 1 topics and creates a connection across both ROS distros when any topic is available. Start with the default configuration to ensure that the dynamic_bridge only bridges topics when there is an active subscriber, to save bandwidth and reduce any performance impact.
xhost +

docker run -it --rm --net=host --env="DISPLAY" --env="ROS_DOMAIN_ID" --env ROS_MASTER_URI=http://localhost:11311 osrf/ros:foxy-ros1-bridge /bin/bash -c 'ros2 run ros1_bridge dynamic_bridge'
In a ROS1-sourced terminal, start the teleop_twist_keyboard node and drive the robot. Verify that Nova Carter, a robot simulated with ROS 2 OmniGraph nodes, responds to your teleop commands originating from ROS 1.
rosrun teleop_twist_keyboard teleop_twist_keyboard.py
Stop the ros1_bridge Docker container and restart the container after passing in the
--bridge-all-topicsflag to the dynamic_bridge node. This flag ensures that all advertised topics are bridged, regardless of whether there is an active subscriber present. This can impact performance, but is required when manually adding ROS 1 topics to visualize in RViz. Alternatively you can pass in the--bridge-all-2to1-topicsflag.xhost + docker run -it --rm --net=host --env="DISPLAY" --env="ROS_DOMAIN_ID" --env ROS_MASTER_URI=http://localhost:11311 osrf/ros:foxy-ros1-bridge /bin/bash -c 'ros2 run ros1_bridge dynamic_bridge --bridge-all-topics'
In a new ROS 1 terminal, open RViz. Near the top left corner of the window, change the global frame to
odom.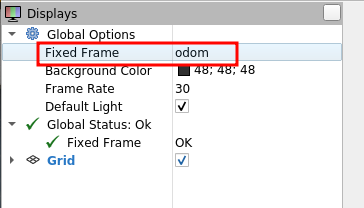
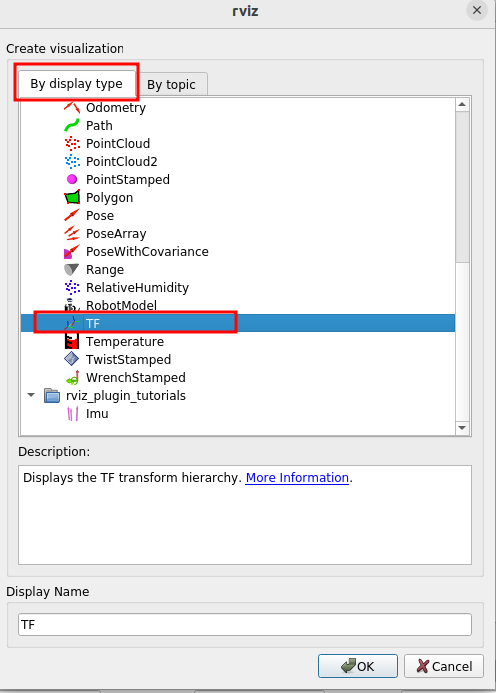
Add topics in RViz. Click the Add button found near the bottom left corner of the window.
Choose TF from the popup window and click Ok.
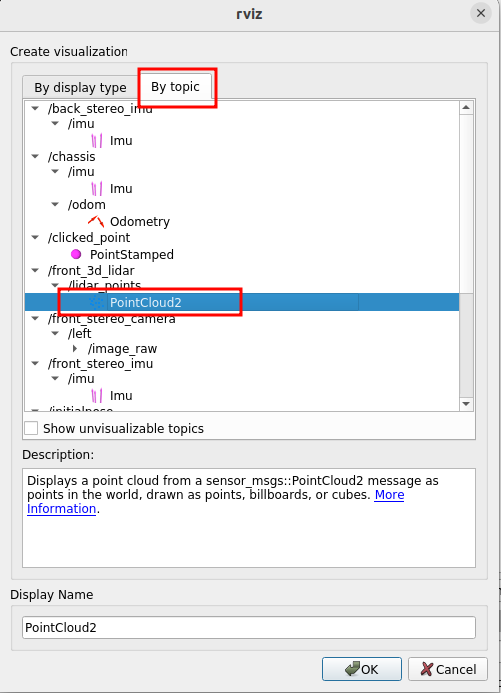
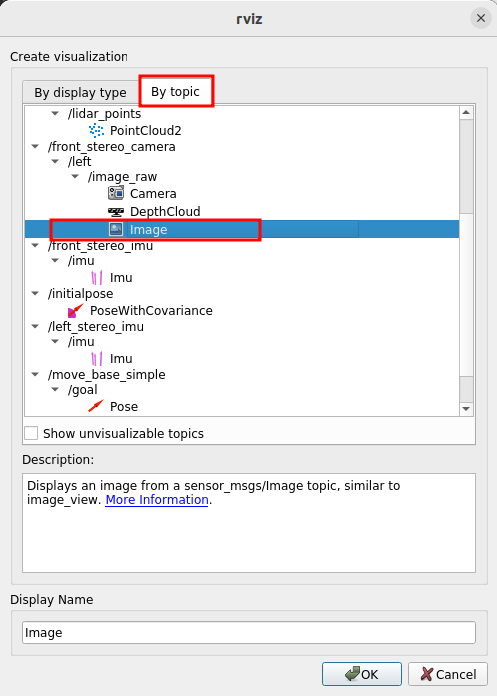
Repeat steps 8 and 9 to add the point cloud and image topics as shown:
Go to the terminal with teleop_twist_keyboard node and continue to drive the robot. Verify that the 3D Lidar point cloud, image, and the robot TF appear in Rviz.
To visualize a full point cloud, set the
Decay Timeparameter to 1 as shown: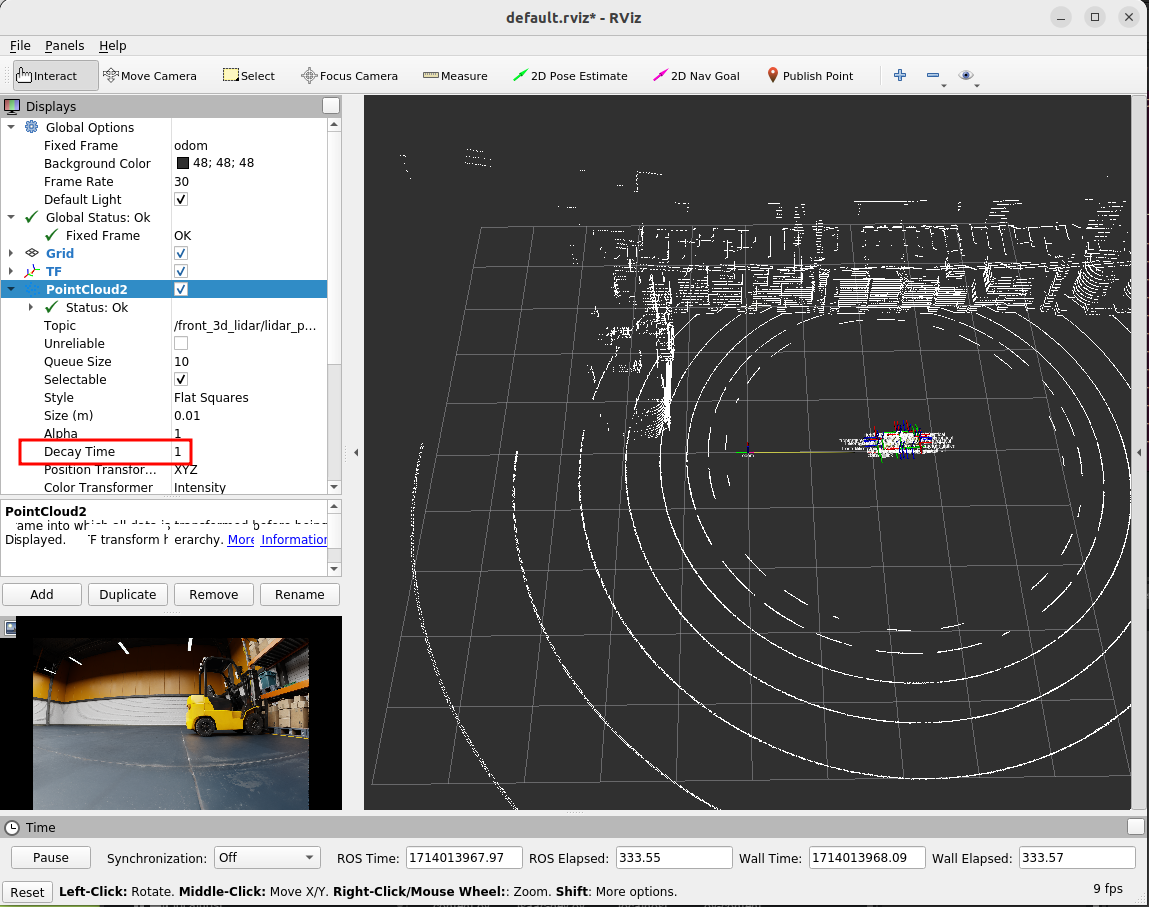
Summary#
This tutorial covered:
Running a Docker container with the ros1_bridge package and Foxy.
Connecting the Isaac Sim Foxy ROS 2 bridge running with internal libraries to the external Docker container.
Controlling a ROS 2 robot from a ROS 1 node.
Retrieving sensor data published in ROS 2 and visualizing it using a ROS 1 node.
Further Reading#
Here we covered running the dynamic_bridge node from the ros1_bridge package for standard and common ROS messages/interfaces. To learn more about the other nodes from the ros1_bridge package or to understand how to incorporate custom messages and interfaces visit the ros1_bridge package description page.