


Get Started#
This section walks you through the prerequisites, build, sample data, and application settings for Kit-CAE 3.0.
Prerequisites#
Hardware
An NVIDIA RTX GPU for rendering and GPU-accelerated computation
Software
Git: Download it from git-scm.com if needed.
Git LFS: Install it from git-lfs.com, then run
git lfs installonce.Windows: Visual Studio 2026 (recommended), 2022, or 2019 with the Desktop development with C++ workload.
Linux: A C++ development environment with GCC or Clang.
Clone and Build Kit-CAE#
Clone the public repository:
git clone https://github.com/NVIDIA-Omniverse/kit-cae.git
cd kit-cae
Build a release configuration.
Windows:
repo.bat build -r
Linux:
./repo.sh build -r
The first build downloads dependencies, generates the Universal Scene Description (USD) schemas, and compiles the application. It may take several minutes.
Note
On Windows, if the build cannot find a compiler, open the Visual Studio Installer and confirm that Desktop development with C++ is installed.
Sample Data#
The main guide and examples use one downloadable archive:
Download the Kit-CAE user guide data
Extract the archive to a convenient location. The Examples page identifies the files for each independent example.
Main Guide Dataset#
The Try It sections use a steady-state external-aerodynamics simulation around a concept vehicle:
{path to}/kit_cae_user_guide_data/main_guide/auto_aero_solver_result.cgns
Field |
Type |
Description |
|---|---|---|
|
float32 |
Cell-associated gauge pressure |
|
float32 |
Streamwise velocity component |
|
float32 |
Lateral velocity component |
|
float32 |
Vertical velocity component |
The mesh contains approximately 7.9 million nodes and 7.2 million polyhedral cells. Surface sections include body_Surface, front_wheels_Surface, rear_wheels_Surface, front_wheels_Seal, and rear_wheels_Seal. The dataset is a steady-state snapshot.
Launch the Application#
From the kit-cae directory, launch the standard app.
Windows:
repo.bat launch -n omni.cae.kit
Linux:
./repo.sh launch -n omni.cae.kit
The first launch may pause for a minute or two while the app compiles shaders for your GPU.
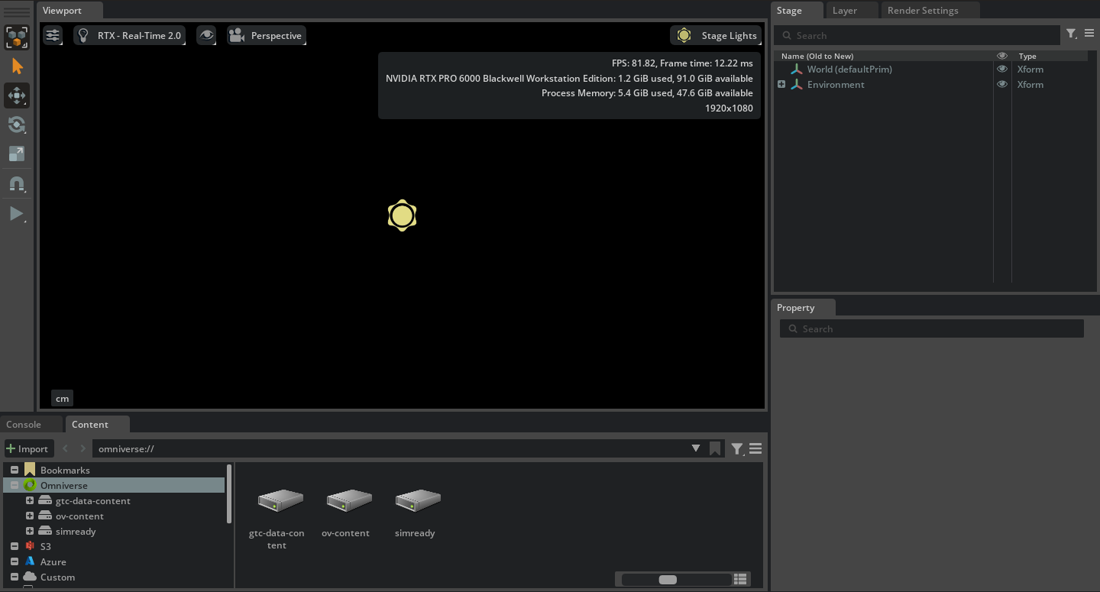
Preferences#
Select Edit > Preferences, then select the CAE page. Scroll through the page to see the settings contributed by the loaded CAE extensions.
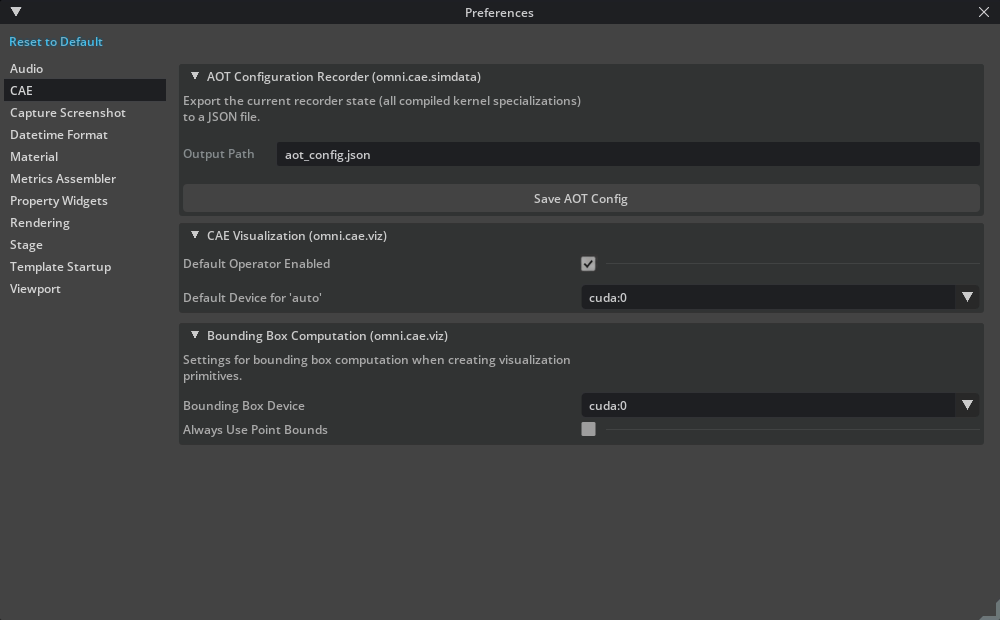
CAE Visualization
Default Operator Enabled: Run newly created operators immediately. Keep this setting enabled for general use. Disable it only when you need newly created operators to remain inactive while you configure an expensive pipeline, then restore it when you finish.
Default Device for ‘auto’: Select the device used when an operator’s Compute Device is
auto.
Bounding Box Computation
Bounding Box Device: Select the device used to calculate dataset bounds.
Always Use Point Bounds: Calculate bounds from points instead of cells. This can be faster for large meshes and is required for datasets without cells.
AOT Configuration Recorder
Output Path: Set the JSON file that receives the current compiled-kernel configuration.
Save AOT Config: Save the current recorder state to that file for later application packaging or deployment.

Note
Kit-CAE creates Z-up stages by default. If imported geometry uses another up axis, rotate the imported prim after import.