Get Started#
This section walks you through everything you need to get Kit-CAE 2.0 running on your machine, from installing prerequisites to configuring the application.
Prerequisites#
Before you begin, make sure you have the following:
Hardware
An NVIDIA RTX GPU (required for rendering and GPU-accelerated computation)
Software
Git: Download from git-scm.com if you do not already have it installed. During installation on Windows, accept the default settings.
Git LFS: Git Large File Storage is required for downloading binary assets. Install it from git-lfs.com, then run the following command once in any terminal:
git lfs installVisual Studio (Windows only): Visual Studio 2019, 2022, or 2026 is required (Community, Professional, or Enterprise editions all work). If you do not have Visual Studio installed, download Visual Studio Community (the free edition). During installation, select the Desktop development with C++ workload. The Kit-CAE build system detects your Visual Studio version automatically.
Linux: A standard development environment with a C++ compiler (GCC) is sufficient.
Clone and Build Kit-CAE#
Clone the Repository
Open a terminal (or Developer PowerShell on Windows) and run:
git clone https://github.com/NVIDIA-Omniverse/kit-cae.git
This downloads the Kit-CAE source code to a kit-cae folder in your current directory. The clone may take a few minutes as Git LFS downloads binary assets.
Build the Application
Navigate into the cloned directory:
cd kit-cae
Run the build command:
Windows:
repo.bat build -r
Linux:
./repo.sh build -r
The build process downloads dependencies, generates USD schemas, and compiles the application. This may take several minutes the first time. When it completes without errors, you are ready to launch.
Note
If you encounter build errors related to Visual Studio on Windows, verify that the Desktop development with C++ workload is installed. Open the Visual Studio Installer, click Modify on your installation, and confirm the workload is checked.
Sample Data#
The main guide and examples use sample datasets that are not included in the Kit-CAE repository. Download the sample data before you begin:
Unzip the archive and place the contents in a location that is easy to access, such as your Desktop or Documents folder. The download includes data for both the main guide and the Examples.
Main Guide Sample Data#
The Try It sections throughout the main guide use a single dataset: a steady-state external aerodynamics simulation around a concept vehicle. The file is located at:
{path to}/kit_cae_user_guide_data/main_guide/auto_aero_solver_result.cgns
File |
Format |
Field |
Description |
|---|---|---|---|
|
CGNS |
Pressure |
Gauge pressure at each cell (float32) |
|
CGNS |
Velocity_0 |
Streamwise velocity component (float32) |
|
CGNS |
Velocity_1 |
Lateral velocity component (float32) |
|
CGNS |
Velocity_2 |
Vertical velocity component (float32) |
Mesh: ~7,900,000 nodes, ~7,200,000 polyhedral cells
Surfaces:
body_Surface,front_wheels_Surface,rear_wheels_Surface,front_wheels_Seal,rear_wheels_SealTime: Steady-state (single snapshot)
Launch the Application#
From the kit-cae directory, launch the application:
Windows:
repo.bat launch -n omni.cae.kit
Linux:
./repo.sh launch -n omni.cae.kit
Note
The first time you launch Kit-CAE, it may appear unresponsive for a minute or two while it compiles shaders for your GPU. Allow this initial setup to complete.
Kit-CAE also supports importing VTK file formats through an optional variant that requires additional pip dependencies. See the Kit-CAE repository documentation for VTK setup instructions.
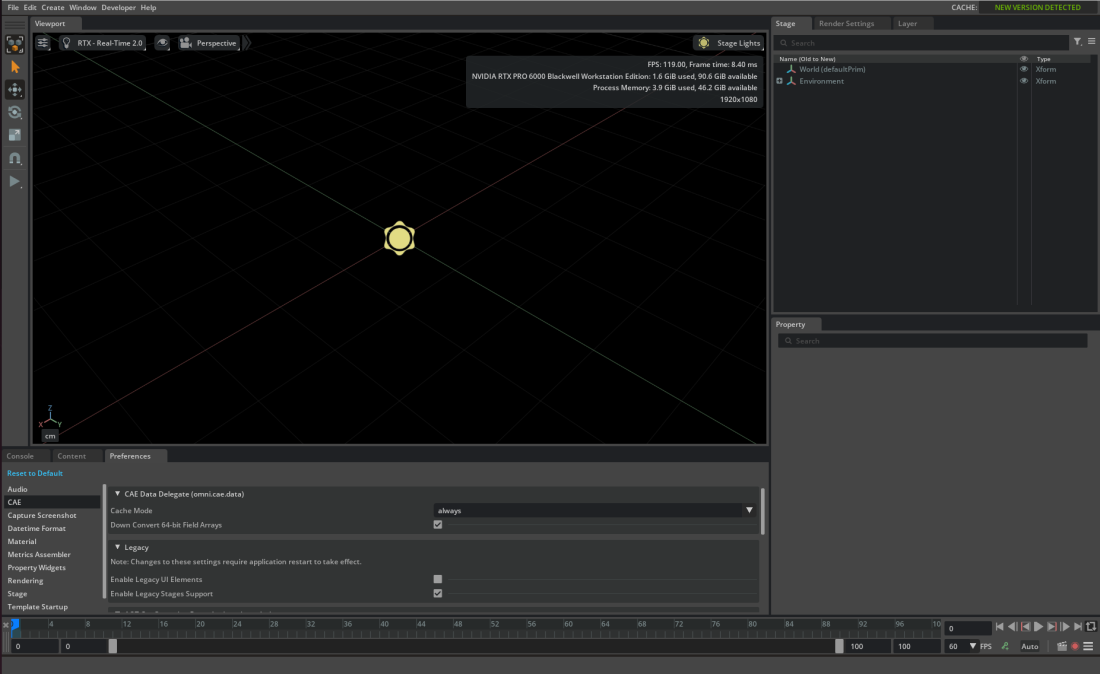
Preferences#
Kit-CAE 2.0 exposes user-configurable settings that persist across sessions. To access them, navigate to Edit > Preferences and select the CAE page.
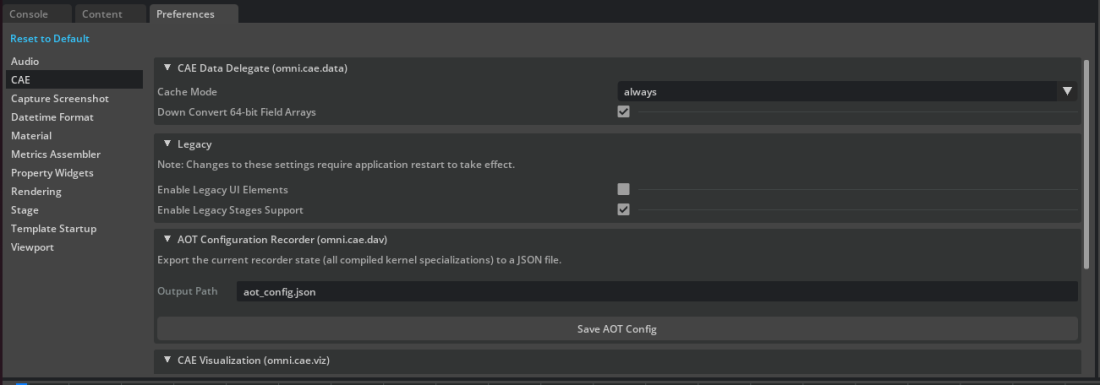
Caching
Controls for caching raw data and intermediate computation results. Caching improves performance by avoiding redundant reads and re-computation.
Default Operator Enabled
When checked, newly created operators execute immediately. Uncheck this if you are on a slower machine and prefer to configure the full pipeline before any operator runs.
Compute Device
Select the default device for operator execution: CPU, CUDA, or other available devices. Individual operators can override this setting.
Legacy Settings
Legacy CAE menus are disabled by default. If you open a stage created with an earlier version of Kit-CAE, it still works. To re-enable legacy menus, check the legacy option in Preferences.
Note
Kit-CAE 2.0 uses Z-up by default, matching the convention of most CAE solvers. If your data was authored with a different up axis (for example, Y-up), apply a rotation after import to align it with the stage (see Import Data).
Bounding Box Computation
Two methods for computing dataset bounds:
Cell bounds (default): Computes bounds using the cells in the dataset. More accurate for polyhedral data but can be slower for very large datasets.
Point bounds: Computes bounds using only the points. Faster, and automatically used when the dataset has no cells.