Publishing#
Your company needs to be onboarded before you can publish to NVIDIA’s Graphics Delivery Network (GDN). For further information on GDN and how to request onboarding, email gdn@nvidia.com or visit the GDN webpage. As part of the onboarding process you are assigned a Customer Program Manager who provides access to the Developer Portal.
Note
Account must be set up before accessing the following resources.
An NVIDIA Customer Program Manager (CPM) can assist with the following steps:.
Organization setup, including admin and team member accounts.
Creating a configurator title.
Setting up a Deep Link for the title.
Note
Every team member needs an Ultimate GFN account in order to test on RTX hardware.
Once an organization is onboarded, the title can be set up for use with the following steps:
Setting up your title to stream to your website.
Uploading the configurator package. This may be uploaded manually through the GFN Developer Portal, or
By using the build APIs.
Testing the title. There are different test workflows available, although for developers, we recommend using the QA Test Workflow.
GDN has the concept of Builds and Packages.
Build: Groups of files containing all executables, binaries, and other assets necessary to run a title. Package: GFN-specific representation of a build that includes other metadata necessary to run a title on the GFN platform.
Publish a New Build#
Log into GeForce Now Developer Portal.
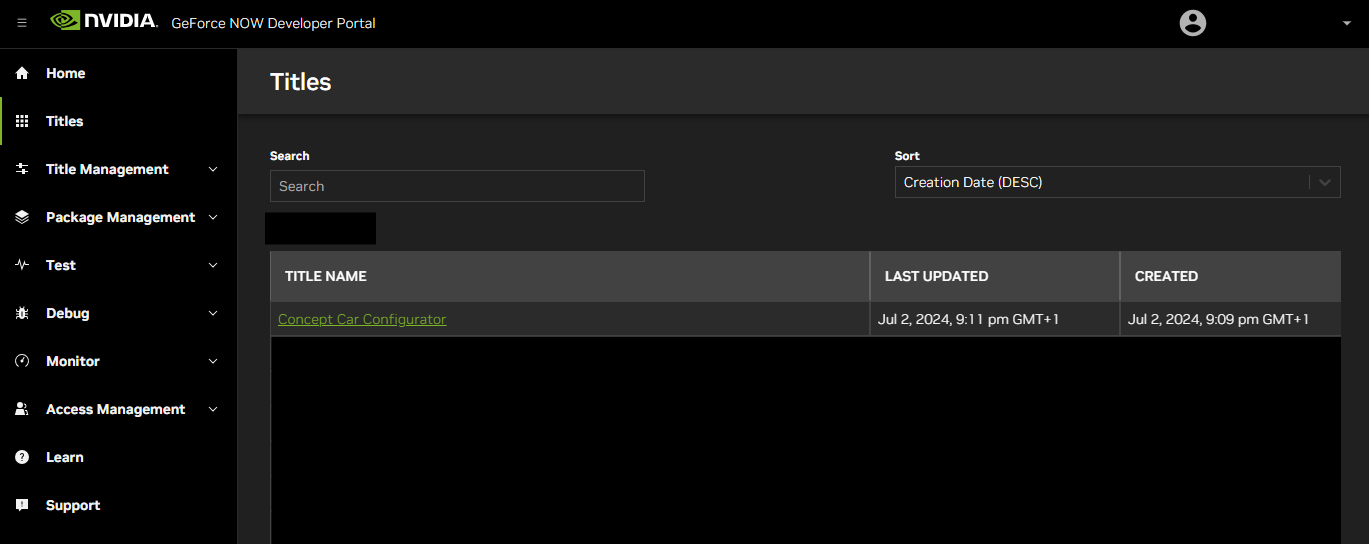
In Titles, select the title you want to publish. In this example, the title is “Concept Car Configurator”
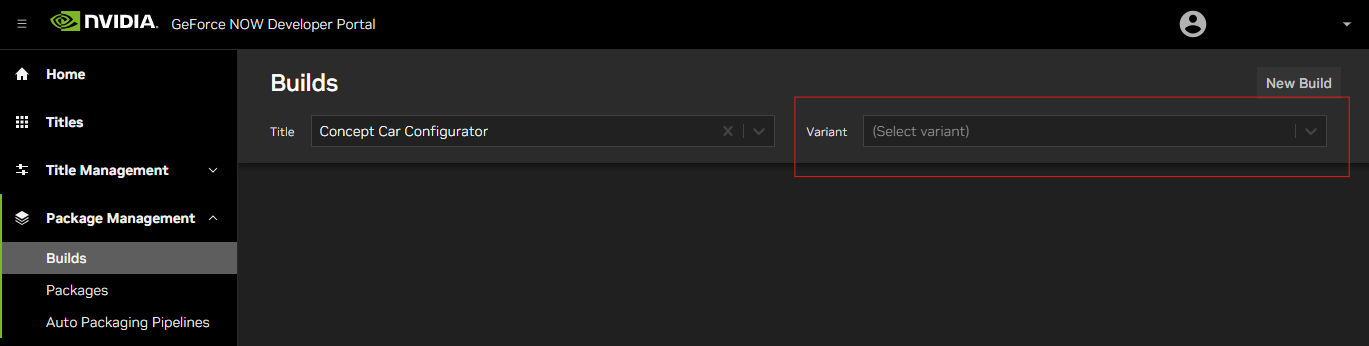
In the sidebar select Package Management > Builds. If there are multiple variants, select the variant you want to publish to from the dropdown menu.
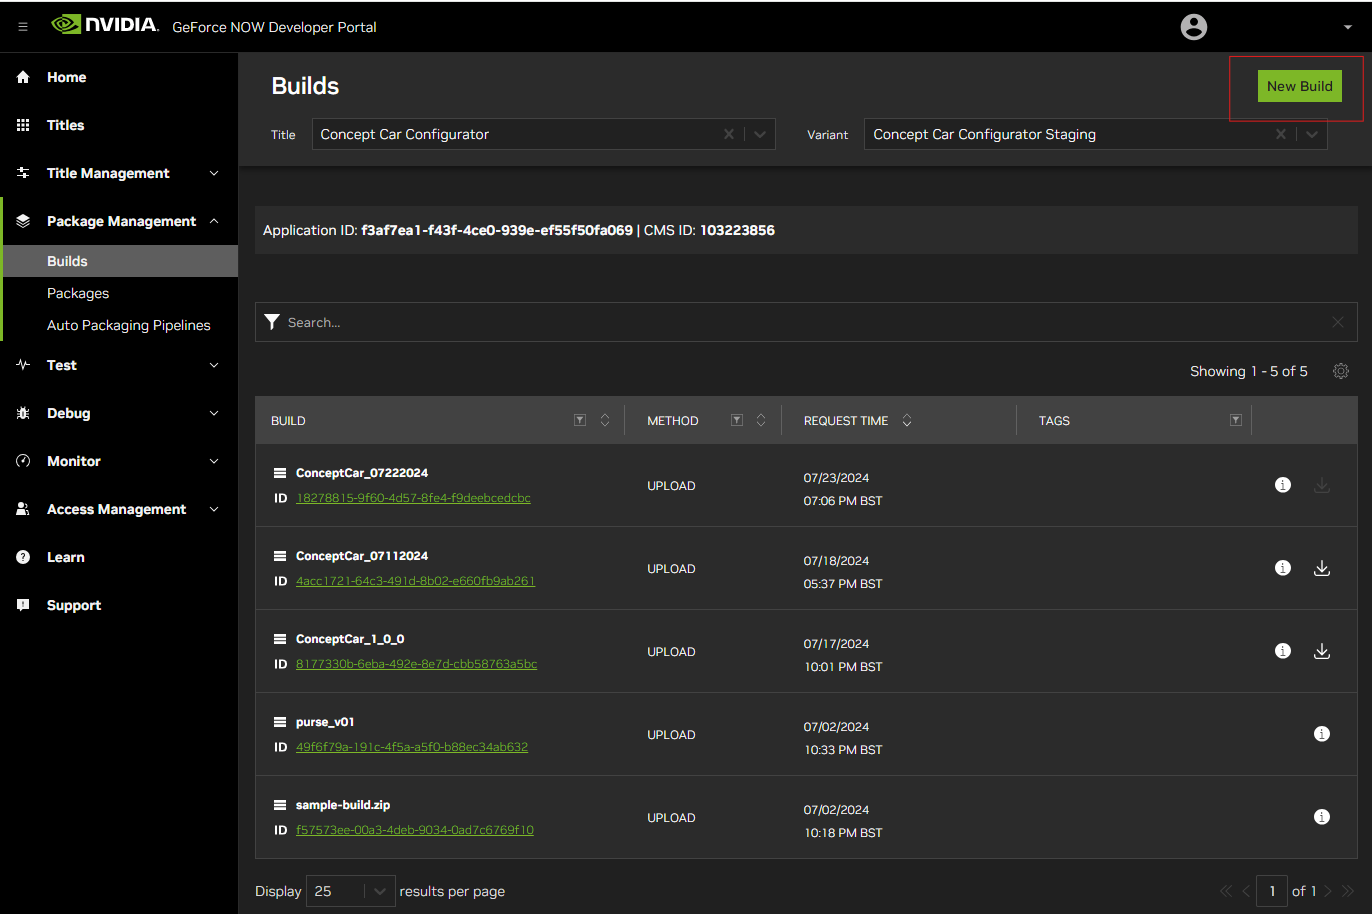
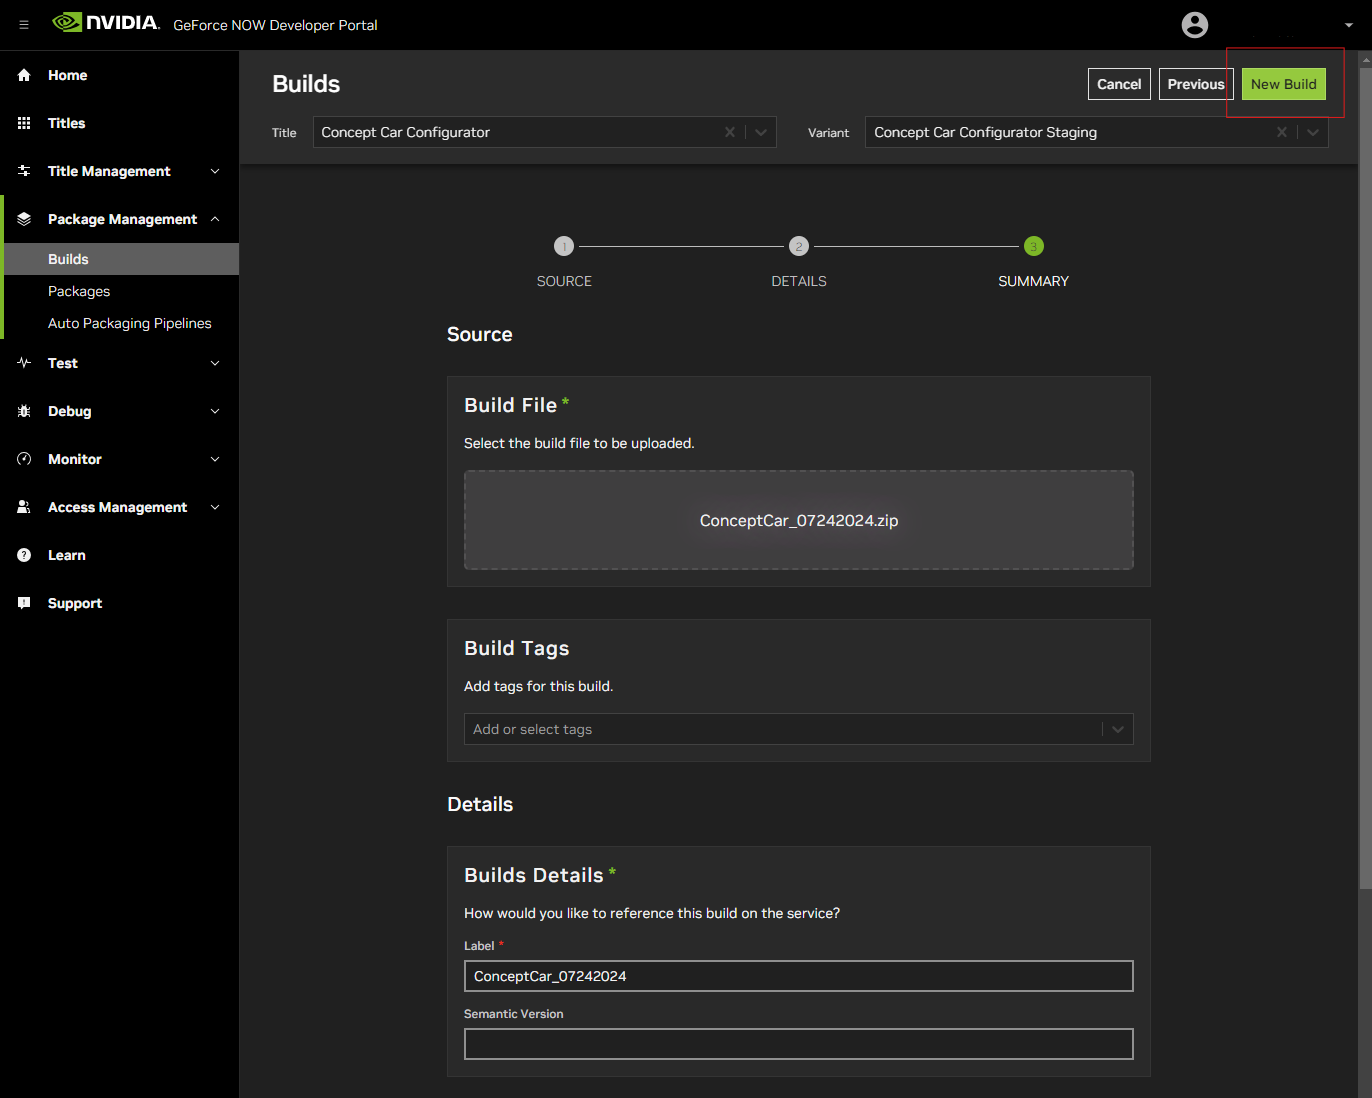
All published builds related to that title variant are listed on the page. At the top right of the page select the New Build button.
To create a new build, drag and drop, or browse to the folder location of the asset zip file you created in the Package and Publishing section above. Once you have added the zip file, select the Next button at the top right of the page.
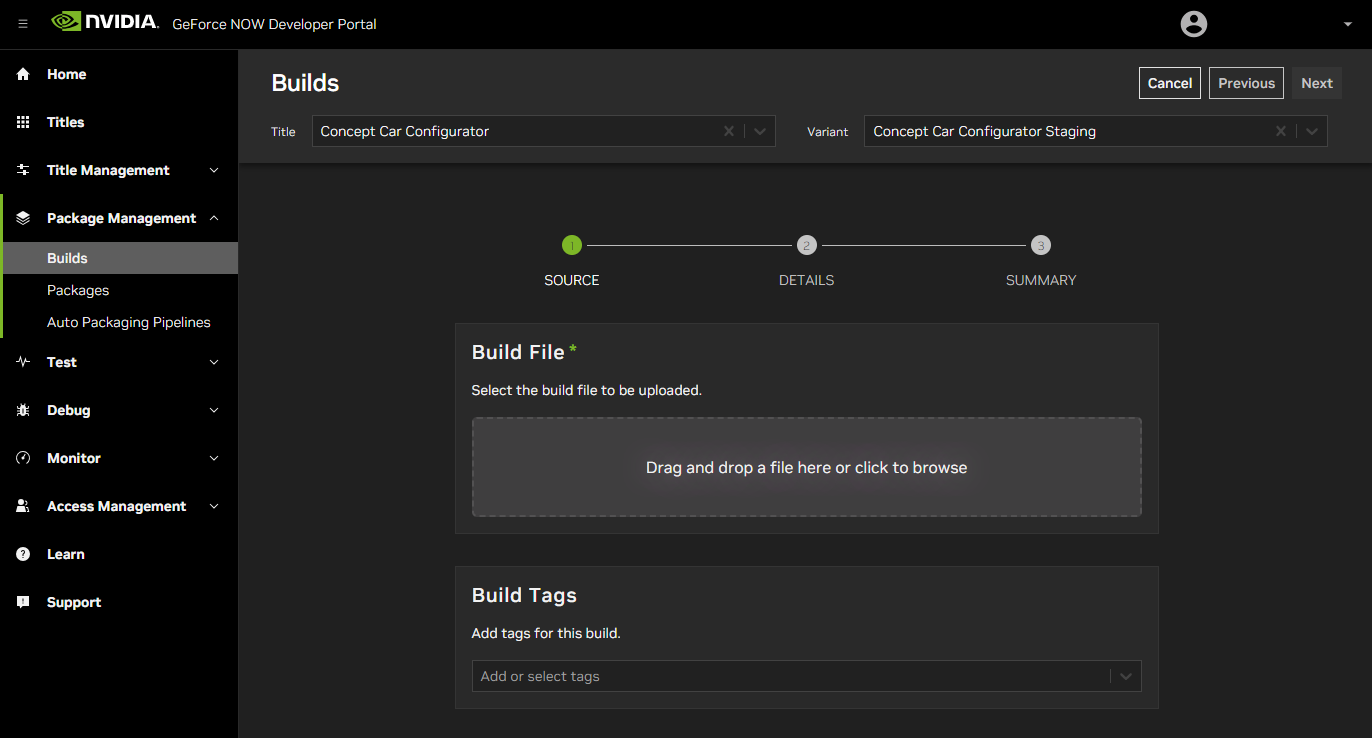
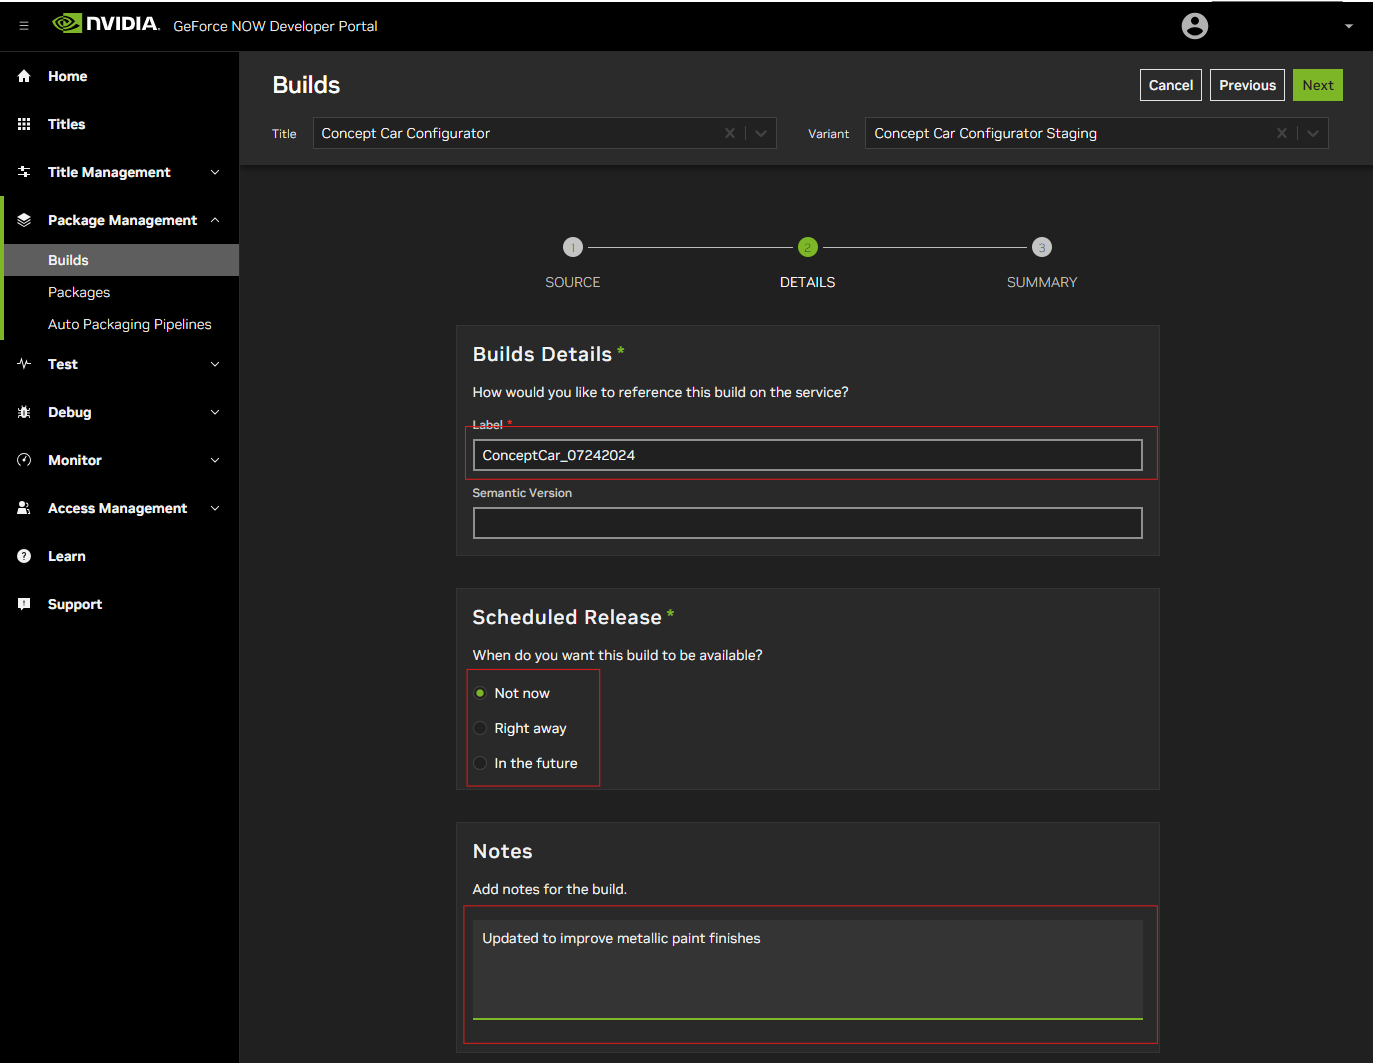
The next page has metadata fields that help your team understand the build version. For example, you see the label, semantic version, and release schedule.
For a development variant (not publicly released), specify “Right away”, otherwise the package will never manifest. For a production variant (updating publicly-available content), choose either “Right away” or “In the future”.
There is also a notes field you can use to further describe changes to the build zip. Once you have added the metadata, select the Next button.
The final build page confirms the summary information already entered. Select the New Build button to complete the build process.
➤ Next: Testing Titles on GDN