Usage#
USD Code API can be integrated with a common IDE such as Visual Studio Code, as well as used in an Omniverse Kit based sample application, such as ChatUSD. You can use this Kit application to accelerate your workflows.
The easiest way to experience USD Code is to use the Preview API via the API catalog. To obtain an API key for your trial purposes, click the Get API Key button and follow the steps to generate a key. More detailed instructions can be found in the API key generation instructions.
To fully deploy USD Code in your own infrastructure and expose API endpoints, please refer to the instructions in the USD Code deployment and configuration instructions.
This table maps the setup of various usages with different settings:
Use in Visual Studio Code |
Use in ChatUSD Sample Extension via UI |
|
|---|---|---|
Preview API via API Catalog (limited credits) |
||
Self-hosted API |
Integrate self-deployed API into VS Code, Install Helper Functions |
Integrate USD Code into an IDE#
Using USD Code Preview API#
This page contains setup instructions to integrate USD Code API directly into Visual Studio Code (VS Code) by leveraging Continue.dev, which is an open-source AI coding assistant that enables custom chat experiences inside an IDE.
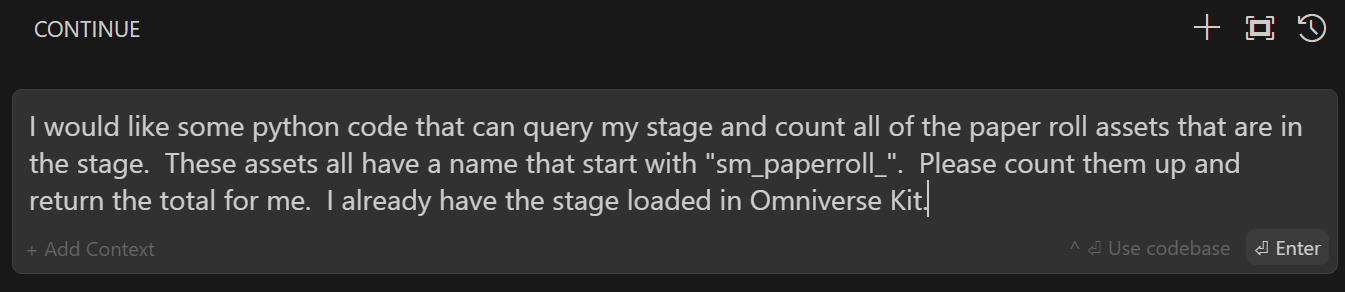
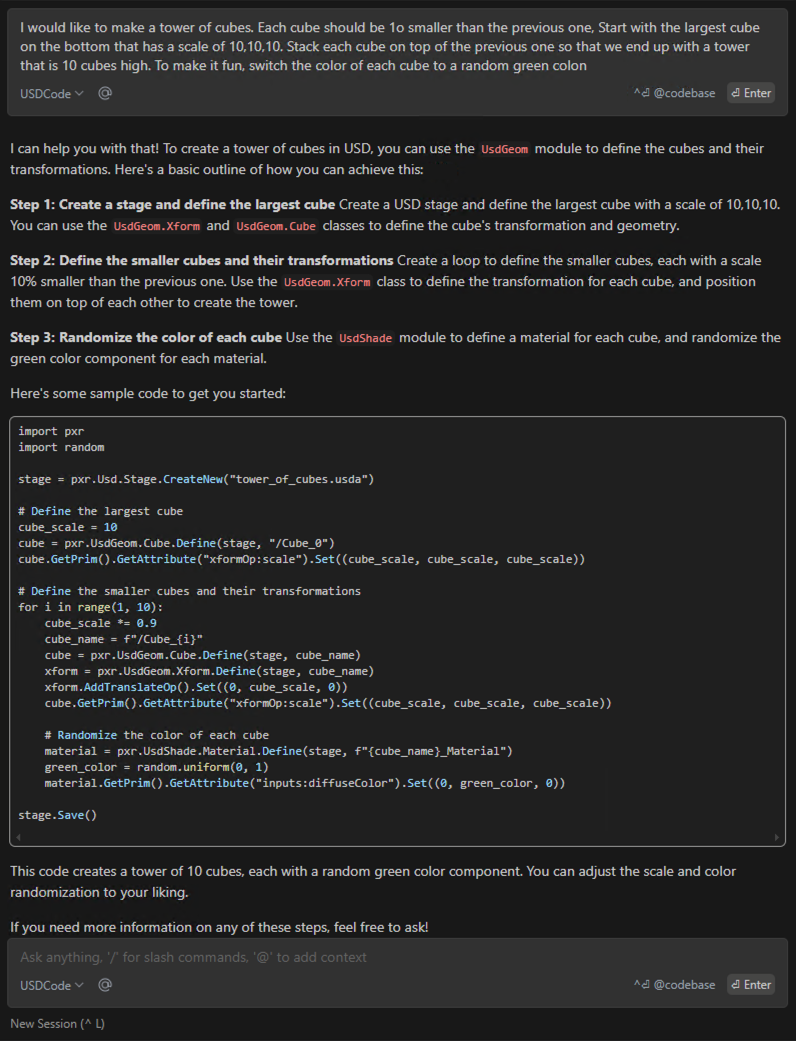
Here is an example of a prompt entered into Continue:
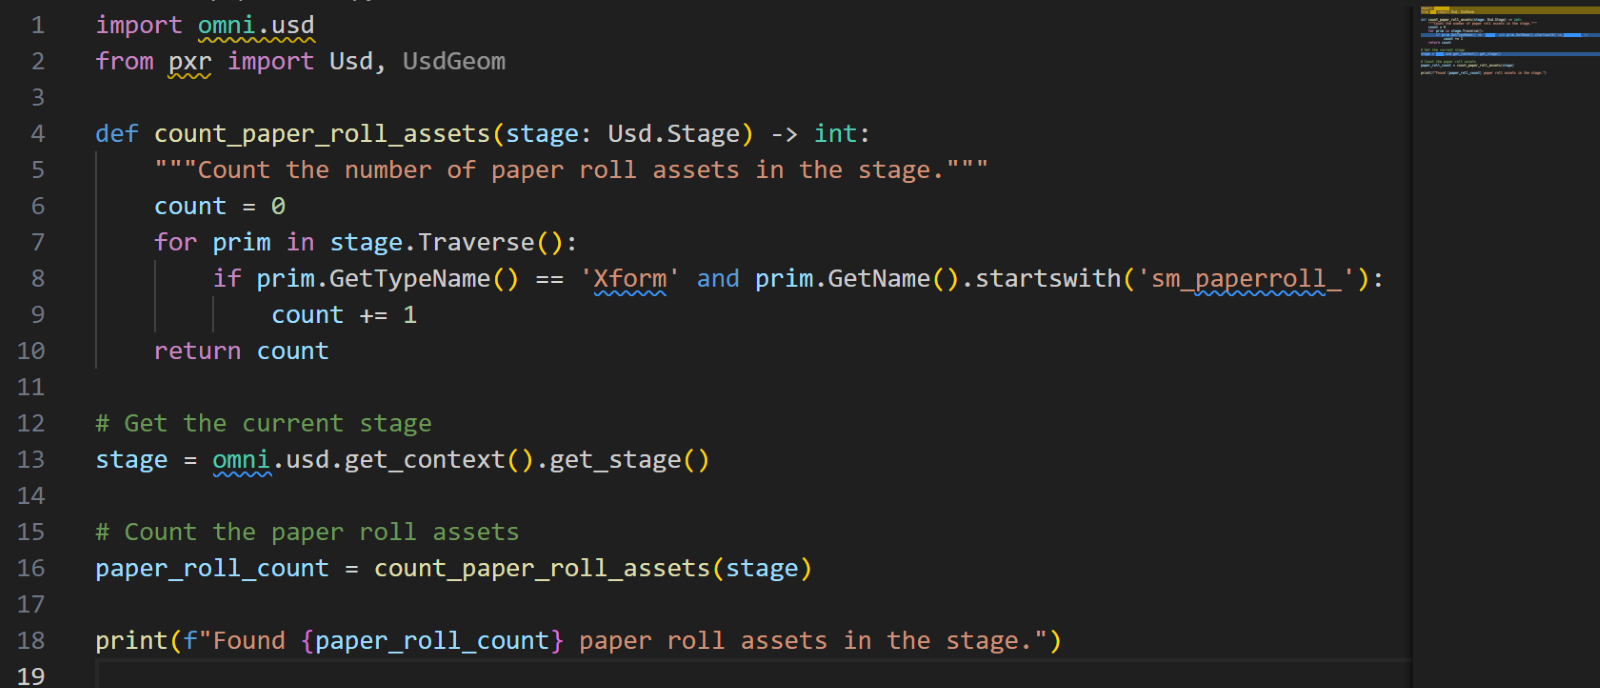
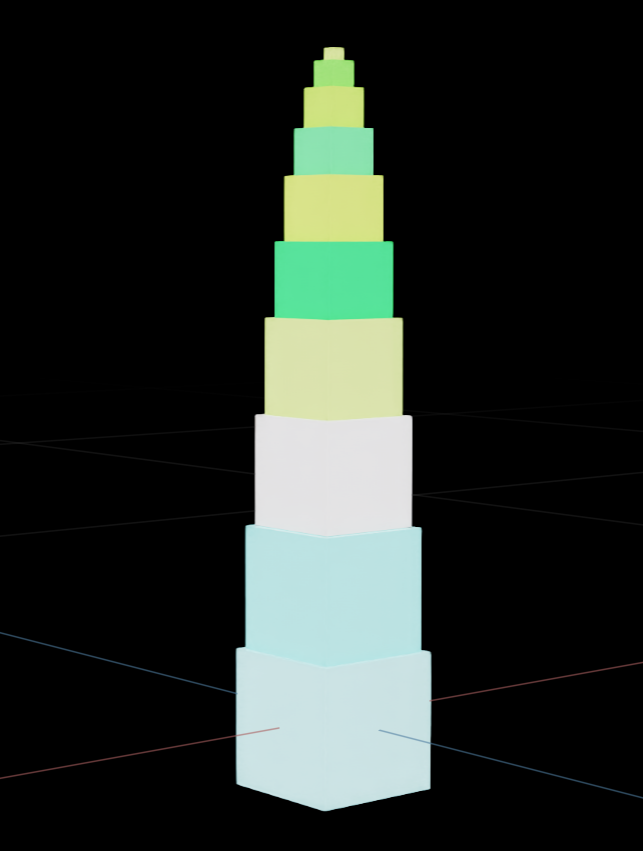
And here is the resulting generated code:
This two step example will demonstrate how to chat with USD Code API directly inside of VS Code. The Continue extension is one way of leveraging a custom model pipeline and is configured with a few lines of json. You can adjust these configurations to suit your own APIs or custom models.
In the example, we have USD Code API running already as a sample API endpoint established as a Preview API on NVIDIA API Catalog.
Note
This example uses Visual Studio Code as the IDE but Continue also supports other IDE’s, such as JetBrains, with similar simple configuration steps.
Requirements#
USD Code API endpoint key from NVIDIA API Catalog. See the API key generation example in the NVIDIA API Catalog).
VS Code must be installed
Step 1: Install Continue into your VS Code#
Find Continue in the Visual Studio Marketplace and follow the installation steps below:
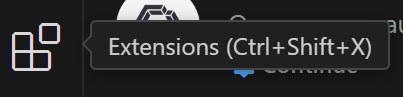
Open VS Code Extensions manager by the button on the left or pressing ctrl + shift + X
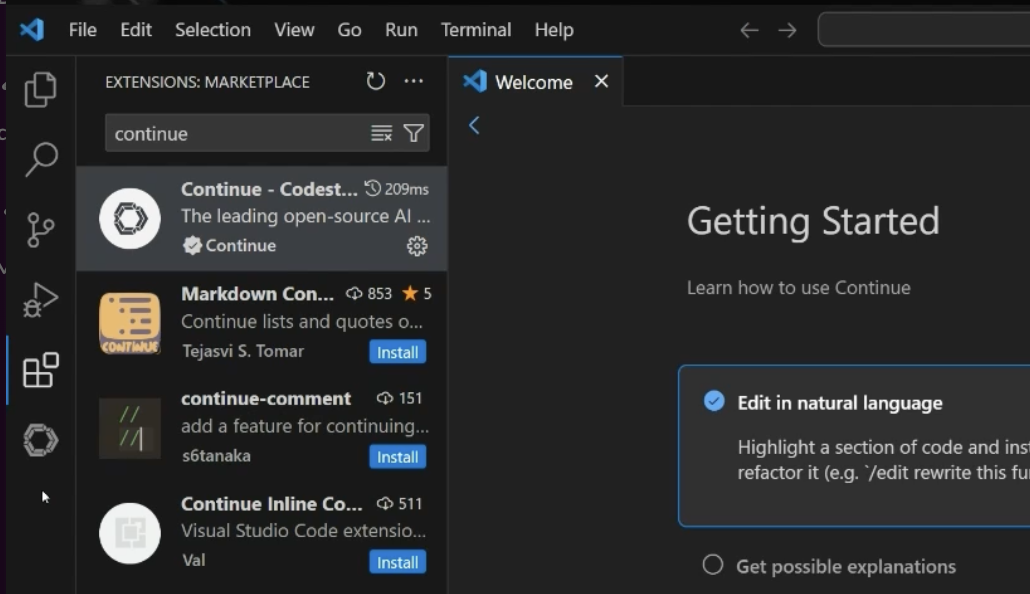
Using the search box, search for “Continue” and click the Install button.

Once the installation is complete, verify that the Continue extension has been added to the VS Code panel on the left. Select the Continue extension.
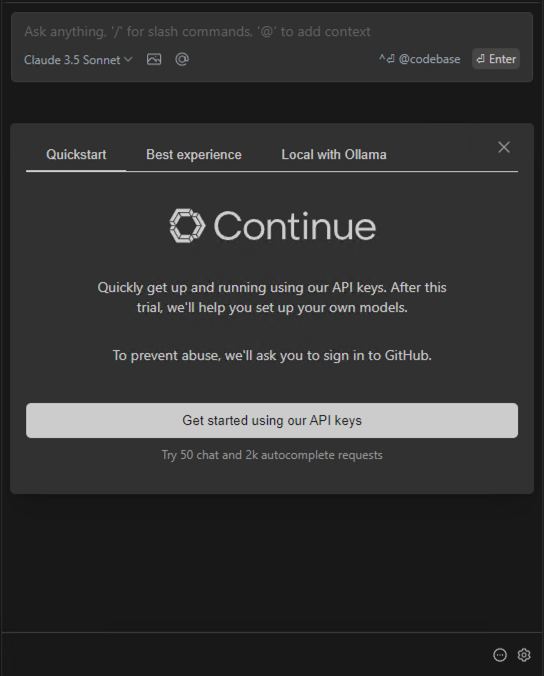
This should open a welcome screen with a chat window and Quickstart page.
Step 2: Configure Continue to Use Preview USD Code API#
Select the ⚙ (gear) icon at the bottom right of the interface. This will automatically open the config.json file, which will store the model configuration.
If you’re unable to find the gear icon, press ctrl + shift + P (or cmd + shift + P on Mac) to open the VS Code search bar, and search for Continue: Open Config.json, then select Continue: Open Config.json in the dropdown.

Add the following code snippet to your “models” section in the default config.json from Continue.dev. You can keep the rest of the default config file as it is.
{
    "provider": "openai",
    "title": "USDCode",
    "model": "nvidia/usdcode-llama-3.1-70b-instruct",
    "apiKey": "nvapi-xxxx",
    "apiBase": "https://integrate.api.nvidia.com/v1"
}
Next, find the “apiKey” subsection and insert the API key in place of the xxxx placeholder. Place the API key inside the “” (do not remove the quotation marks).
If set up correctly, the config file should look similar to the code snippet below.
{
    "models": [
        {
            "provider": "openai",
            "title": "USDCode",
            "model": "nvidia/usdcode-llama-3.1-70b-instruct",
            "apiKey": "nvapi-xxxx",
            "apiBase": "https://integrate.api.nvidia.com/v1"
        }
    ],
    "tabAutocompleteModel":
    {
        "title": "Codestral",
        "provider": "mistral",
        "model": "codestral-latest",
        "apiKey": ""
    },
    "customCommands": [
        {
            "name": "test",
            "prompt": "{{{ input }}}\n\nWrite a comprehensive set of unit tests for the selected code. It should setup, run tests that check for correctness    including important edge cases, and teardown. Ensure that the tests are complete and sophisticated. Give the tests just as chat output, don't edit    any file.",
            "description": "Write unit tests for highlighted code"
        }
    ],
    "contextProviders": [
        {
            "name": "code",
            "params": {}
        },
        {
            "name": "docs",
            "params": {}
        },
        {
            "name": "diff",
            "params": {}
        },
        {
            "name": "terminal",
            "params": {}
        },
        {
            "name": "problems",
            "params": {}
        },
        {
            "name": "folder",
            "params": {}
        },
        {
            "name": "codebase",
            "params": {}
        }
    ],
    "slashCommands": [
        {
            "name": "share",
            "description": "Export the current chat session to markdown"
        },
        {
            "name": "cmd",
            "description": "Generate a shell command"
        },
        {
            "name": "commit",
            "description": "Generate a git commit message"
        }
    ]
}
Note
To configure the self-hosted USD Code API, please refer to this section to set up the configuration script via Continue.dev.
Save and close the config.json tab.
If configuration is successful, the USD Code model will appear as a choice in the model pull downs on the left side of the Continue chat window, just shown as the title in your configuration file.
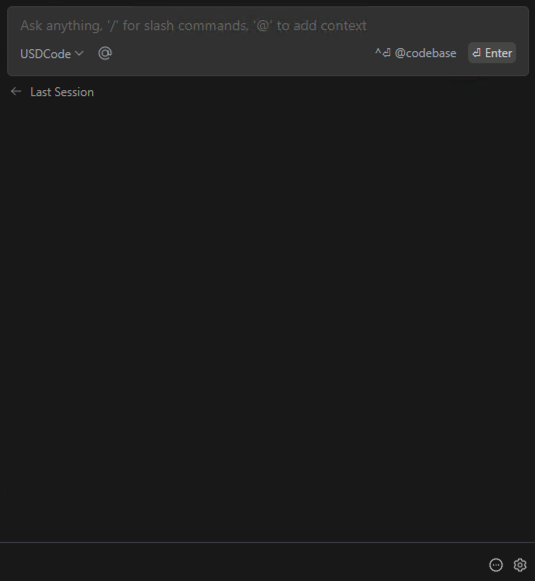
You can now start chatting with USD Code API directly in VS Code. Typing in a prompt in the textbox and pressing enter generates code.
You can also use the following shortcut:
Select code in the main panel and then press ctrl + L (or cmd + L on Mac) to send that selection to the prompt panel. Use this command and then ask USD Code API to debug, explain, or add comments to your code.
See full functionality on code commenting, code generation using Continue.dev with VS code, please refer to Continue.dev tutorial
Use self-hosted USD Code API#
Follow all the instructions provided in IDE integration with USD Code Preview API.
Important
Instead of step 5, add the following code snippet to your “models” section in the default config.json file.
{
    "provider": "openai",
    "title": "USDCode",
    "model": "nvidia/usdcode-llama-3.1-70b-instruct",
    "apiKey": "nvapi-xxxx",
    "apiBase": "http://localhost:8000/v1"
}
Next, find the “apiKey” subsection and insert the API key in place of the xxxx placeholder. Place the API key inside the quotation marks.
Your config file should look similar to the file below:
{
    "models": [
        {
        "provider": "openai",
            "title": "USDCode",
            "model": "nvidia/usdcode-llama-3.1-70b-instruct",
            "apiKey": "nvapi-xxxx",
            "apiBase": "http://localhost:8000/v1"
        }
    ],
    "tabAutocompleteModel": {
        "title": "Codestral",
        "provider": "mistral",
        "model": "codestral-latest",
        "apiKey": ""
    },
    "customCommands": [
        {
        "name": "test",
        "prompt": "{{{ input }}}\n\nWrite a comprehensive set of unit tests for the selected code. It should setup, run tests that check for correctness including important edge   cases, and teardown. Ensure that the tests are complete and sophisticated. Give the tests just as chat output, don't edit any file.",
        "description": "Write unit tests for highlighted code"
        }
    ],
    "contextProviders": [
        {
        "name": "code",
        "params": {}
        },
        {
        "name": "docs",
        "params": {}
        },
        {
        "name": "diff",
        "params": {}
        },
        {
        "name": "terminal",
        "params": {}
        },
        {
        "name": "problems",
        "params": {}
        },
        {
        "name": "folder",
        "params": {}
        },
        {
        "name": "codebase",
        "params": {}
        }
    ],
    "slashCommands": [
        {
        "name": "share",
        "description": "Export the current chat session to markdown"
        },
        {
        "name": "cmd",
        "description": "Generate a shell command"
        },
        {
        "name": "commit",
        "description": "Generate a git commit message"
        }
    ]
}
Continue to follow along with the remaining instructions to finish setup.
Find USD Code Helper Function Package#
You can access the USD Code Helper Function package directly by running the following script on your local machine.
First download the wheel file, then install it with “usd-core”, “numpy” and “pillow”
pip install usdcode-0.1.1-py3-none-any.whl "usd-core>=22.11" numpy==1.26.4 pillow==11.0.0
Check if the installation was successful. No output means the installation was successful.
python -c "import usdcode"
Note
To execute the generated USD Code Helper Function, please make sure you’ve exercised the above steps, or else the generated code will not run.
Integrate into an Omniverse Kit-based Application#
This section explains how you can use the Preview API of USD Code and integrate it into an Omniverse Kit-based application using the ChatUSD sample extension.
To integrate into an Omniverse Kit-based Application and work out of the UI, start from a Kit App Template. You can choose between Kit Base Editor and USD Explorer.
Installation#
Follow the instructions in the Kit App Template setup instructions to clone the latest repository, build, and launch a Kit App Template (You should start with Kit Base Editor). Use Command Prompt in Windows, not Windows Powershell.
To use the USD Explorer Kit App Template instead of Kit Base Editor, follow the instructions in the USD Explorer Kit App Template instructions.
With the Kit SDK now installed, and the template application built, launch the template application using the following terminal command:
.\repo.bat launch -d
./repo.sh launch -d
Select Kit Base Editor, USD Explorer, or USD Composer to launch.
Navigate to the Developer menu and select Extensions (Developer > Extensions). In the Extensions search bar, search for chat usd.
Install ChatUSD Bundle. If installed correctly, a gray toggle button will replace the Install button.
Enable the extension by toggling the gray toggle button and waiting until it turns green. A chat window should automatically open.
Navigate back to the Extensions Window. Select the AUTOLOAD button. A checkmark should appear.

Next, select the pencil button shown below.

This will automatically open the extension.toml file.
Note
If in any case, the extension.toml file doesn’t open in your IDE, you may navigate manually to the filepath to modify the file. You will find the filepath by hovering over the pencil button.
Configuration#
Use Preview API#
Navigate to the following section of the extension.toml file:
[package]
version = "1.1.18"
authors = ["Omniverse GenAI Team"]
title = "Chat USD (Preview)"
description = "Integration of the USD Code API & Agents into Kit"
readme = "docs/README.md"
repository = ""
category = "Internal"
keywords = ["ai", "LangChain", "core"]
changelog = "docs/CHANGELOG.md"
preview_image = "data/preview.png"
icon = "data/icon.png"

[dependencies]
"omni.ai.langchain.agent.usd_code" = { version = "1.1.14" }
"omni.ai.langchain.widget.core" = { version = "1.1.6" }
"omni.kit.clipboard" = {}
"omni.kit.widget.text_editor" = {}

[[python.module]]
name = "omni.ai.chat_usd.bundle"

[settings.exts."omni.ai.chat_usd.bundle"]
# Alternative to NVIDIA_API_KEY
nvidia_api_key = "" # Put your API key here

# enable/disable the ChatUSD agent
register_chat_usd_agent = true

# the url of your USD Search NIM server
usd_search_host_url = "https://ai.api.nvidia.com/v1/omniverse/nvidia/usdsearch"

chat_usd_multishot = true

# the url of your self-deployed USD Code API model server
# custom_chat_model = "http://127.0.0.1:9901/"

chat_usd_developer_mode = false

[settings.exts."omni.ai.langchain.widget.core"]
window_name = "Chat USD"

[documentation]
pages = ["docs/Overview.md", "docs/CHANGELOG.md"]

[[test]]
stdoutFailPatterns.exclude = [
    "*Warning:*",
]
To use Preview API of USD Code via API catalog, place your API key between the quotation marks to set the nvidia_api_key variable (line 25). (See USD Code API on API Catalog section for how to generate key)
Save and close the extension.toml file.
Close your Kit app template and relaunch by repeating step 2 in the installation section. A chat window should automatically open. If configured correctly, the Chat Model will be set to
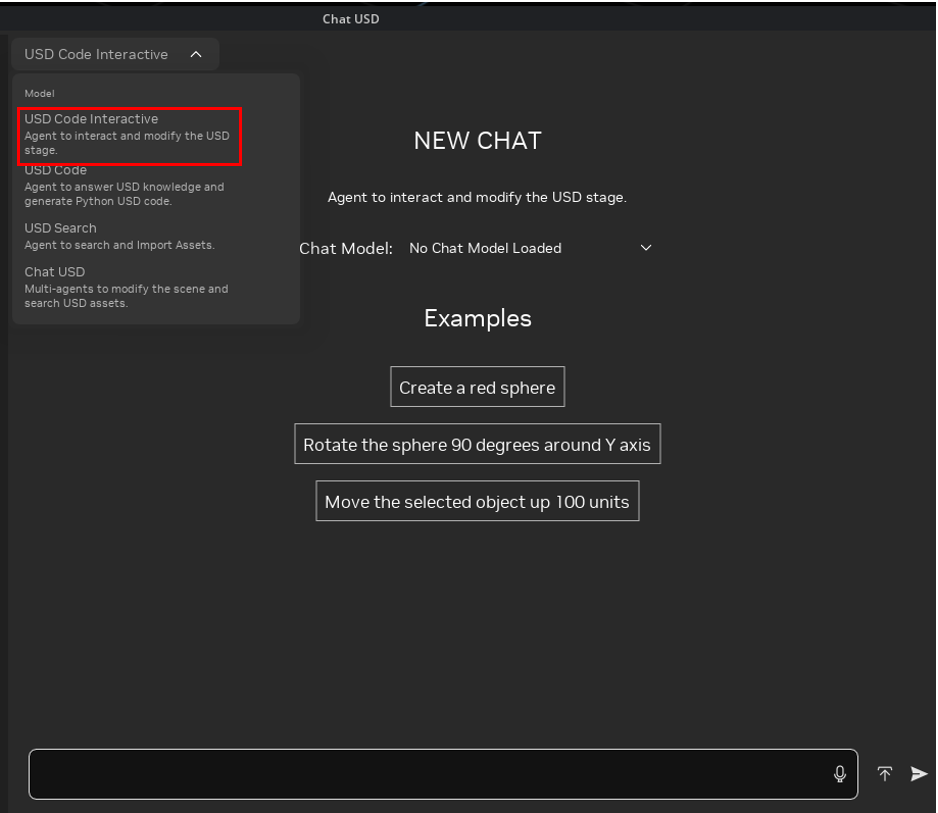
nvidia/usdcode-llama-3.1-70b-instruct.Select USD Code from the Node dropdown to generate code and ask knowledge questions.
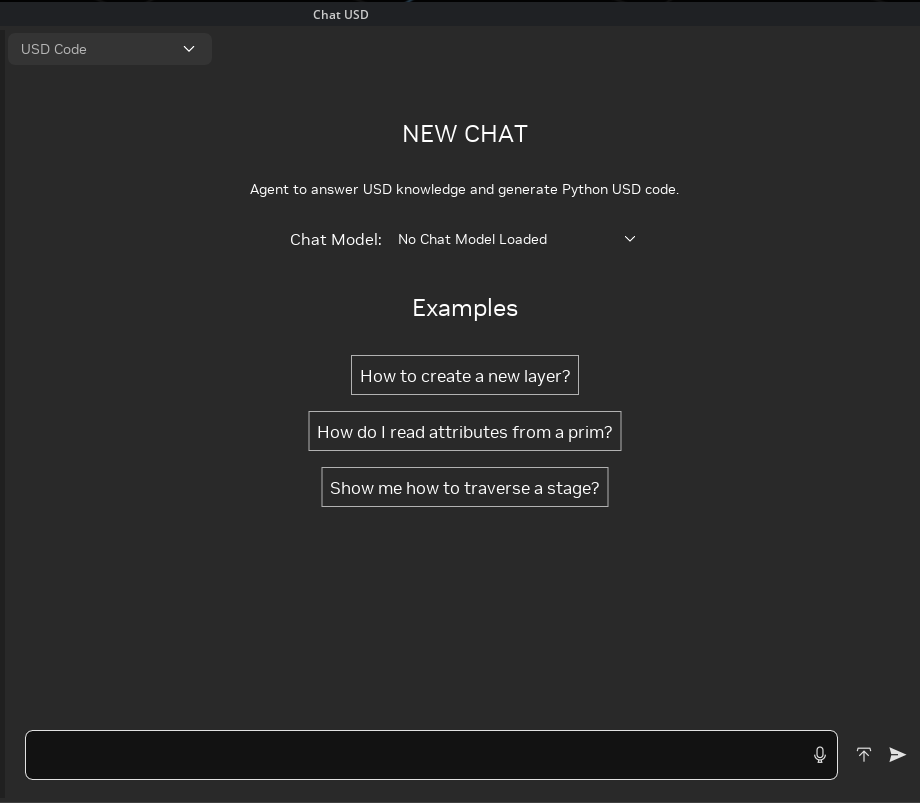
Select USD Code Interactive from the Node dropdown to generate high-level Python-USD code (leveraging the built-in Python-USD USD Code Helper function library), and perform Natural Language Driven Stage Modification.
You may now start chatting with USD Code. Type a prompt into the text box at the bottom of the screen, and press Enter. To convert the window to a tab, drag the chat window towards the Console and Content tabs.
Since the Autoload button was selected, the chat window will automatically open when a new application session is launched, which includes the extension at runtime.
To permanently include the extension in the application at build time, follow the instructions found in the instructions for adding an extension to the Kit file.
Use Self-hosted API to integrate into ChatUSD Sample Kit Extension#
Once you’ve managed to self-deploy USD Code API on your own choice of infrastructure, please enter the IP address of the self-hosted API in line 40 of the extension.toml:
# the url of your self-deployed USD Code API model server, replace with your own IP address belowSave the file.
Exit the kit app, and relaunch.
Your extension.toml file should look something like this:
[package]
version = "1.1.18"
authors = ["Omniverse GenAI Team"]
title = "Chat USD (Preview)"
description = "Integration of the USD Code API & Agents into Kit"
readme = "docs/README.md"
repository = ""
category = "Internal"
keywords = ["ai", "LangChain", "core"]
changelog = "docs/CHANGELOG.md"
preview_image = "data/preview.png"
icon = "data/icon.png"

[dependencies]
"omni.ai.langchain.agent.usd_code" = { version = "1.1.14" }
"omni.ai.langchain.widget.core" = { version = "1.1.6" }
"omni.kit.clipboard" = {}
"omni.kit.widget.text_editor" = {}

[[python.module]]
name = "omni.ai.chat_usd.bundle"

[settings.exts."omni.ai.chat_usd.bundle"]
# Alternative to NVIDIA_API_KEY
nvidia_api_key = "" # Put your API key here

# enable/disable the ChatUSD agent
register_chat_usd_agent = true

# the url of your USD Search NIM server
usd_search_host_url = "https://ai.api.nvidia.com/v1/omniverse/nvidia/usdsearch"

chat_usd_multishot = true

# the url of your self-deployed USD Code API model server, replace with your own IP address below
# custom_chat_model = "http://127.0.0.1:9901/"

chat_usd_developer_mode = false

[settings.exts."omni.ai.langchain.widget.core"]
window_name = "Chat USD"

[documentation]
pages = ["docs/Overview.md", "docs/CHANGELOG.md"]

[[test]]
stdoutFailPatterns.exclude = [
    "*Warning:*",
]
Decide which node to select in a Kit App Template#
Refer to the following descriptions of the USD Code and the USD Code Interactive nodes when deciding which should be used in a Kit App Template.
USD Code node: A code generation and validation assistant that creates general USD code snippets and performs checks to ensure code executability. USD Code is ideal for developing and testing USD scripts, but does not have knowledge or context of the current stage.
USD Code Interactive node: A real-time USD stage modification tool that generates and executes compact, efficient code to instantly alter the current stage. USD Code Interactive leverages the custom utility library for optimized performance, enabling immediate visualization of changes in the scene.
Recommended Node for Each Capability |
USD Code |
USD Code Interactive |
|---|---|---|
Asking Knowledge Questions |
✔ |
X |
Code Generation (Core Python USD) |
✔ |
X |
Natural Language Driven Stage Modification with USD Code Helper Functions |
X |
✔ |
Example Workflow#
See how USD Code API, USD Search API can be used to augment digital twin building workflow, please refer to the synthetic data generation workflow guide
Best Practices to Prompt USD Code#
Lower your prompt size#
Split larger prompts into small, sequential iterative instructions. For example, the following prompt:
Create a ring of 50 spheres around the point (0, 0, 0) with every other sphere being 2 times larger, assign dark green paint to the large spheres and red paint to the small spheres.
should be split into the following sequence of prompts to achieve expected result:
Create a ring of 50 spheres around the point (0, 0, 0).
Scale every other sphere by 0.75 in all dimensions.
Assign a red paint material to all the spheres.
Assign a black paint material to the large spheres.
Make your prompts Specific#
Specify exact dimensions, transformations, axes, and scaling wherever possible. Place numerical types in parentheses, such as:
Rotate the car prim by (0, 45, 0) along the y axis.
Scale the selected prim by 1.5 in all dimensions.
Name and select prims#
Providing descriptive names for prims helps USD Code Interactive infer which prims to modify. If USD Code Interactive is unable to find the desired prim, either select it in the Viewport and refer to the prim as the “selected prim”, or include the prim path in the prompt. Multiple prims can be selected and modified at once.
Use hierarchy in your stage structure#
Structuring a stage in a hierarchy rather than flatly helps USD Code Interactive infer which prims to modify, and also makes it easier to select the desired prims in the Viewport.
Handle unexpected answers#
If USD Code gives an unexpected answer, or enters a long loop of error correction, try starting a new chat and inputting the same prompt.