
Kit Testing#
Goal: Connect from Kit to your local (unauthenticated) Storage deployment to browse and test storage.
Choose Your Testing Route#
Omniverse Kit 109 and above can be used to test Storage API deployments. How Kit connects to a local, unauthenticated deployment depends on your Kit version:
Route |
Testing route |
|---|---|
Connect directly from the Content Browser using Add Omniverse Storage. No launch-script changes are required. |
|
A known issue prevents adding a connection to an unauthenticated deployment through the Content Browser (fixed in Kit 110.2). You must set |
Both routes share the same Download the Kit SDK step below. After downloading, follow the steps for your Kit version.
Download the Kit SDK#
(Shared by both routes.)
Download the Kit SDK Download from the appropriate link: Linux or Windows. Route A requires Kit 110.2 or later; Route B applies to Kit 109 through 110.1.
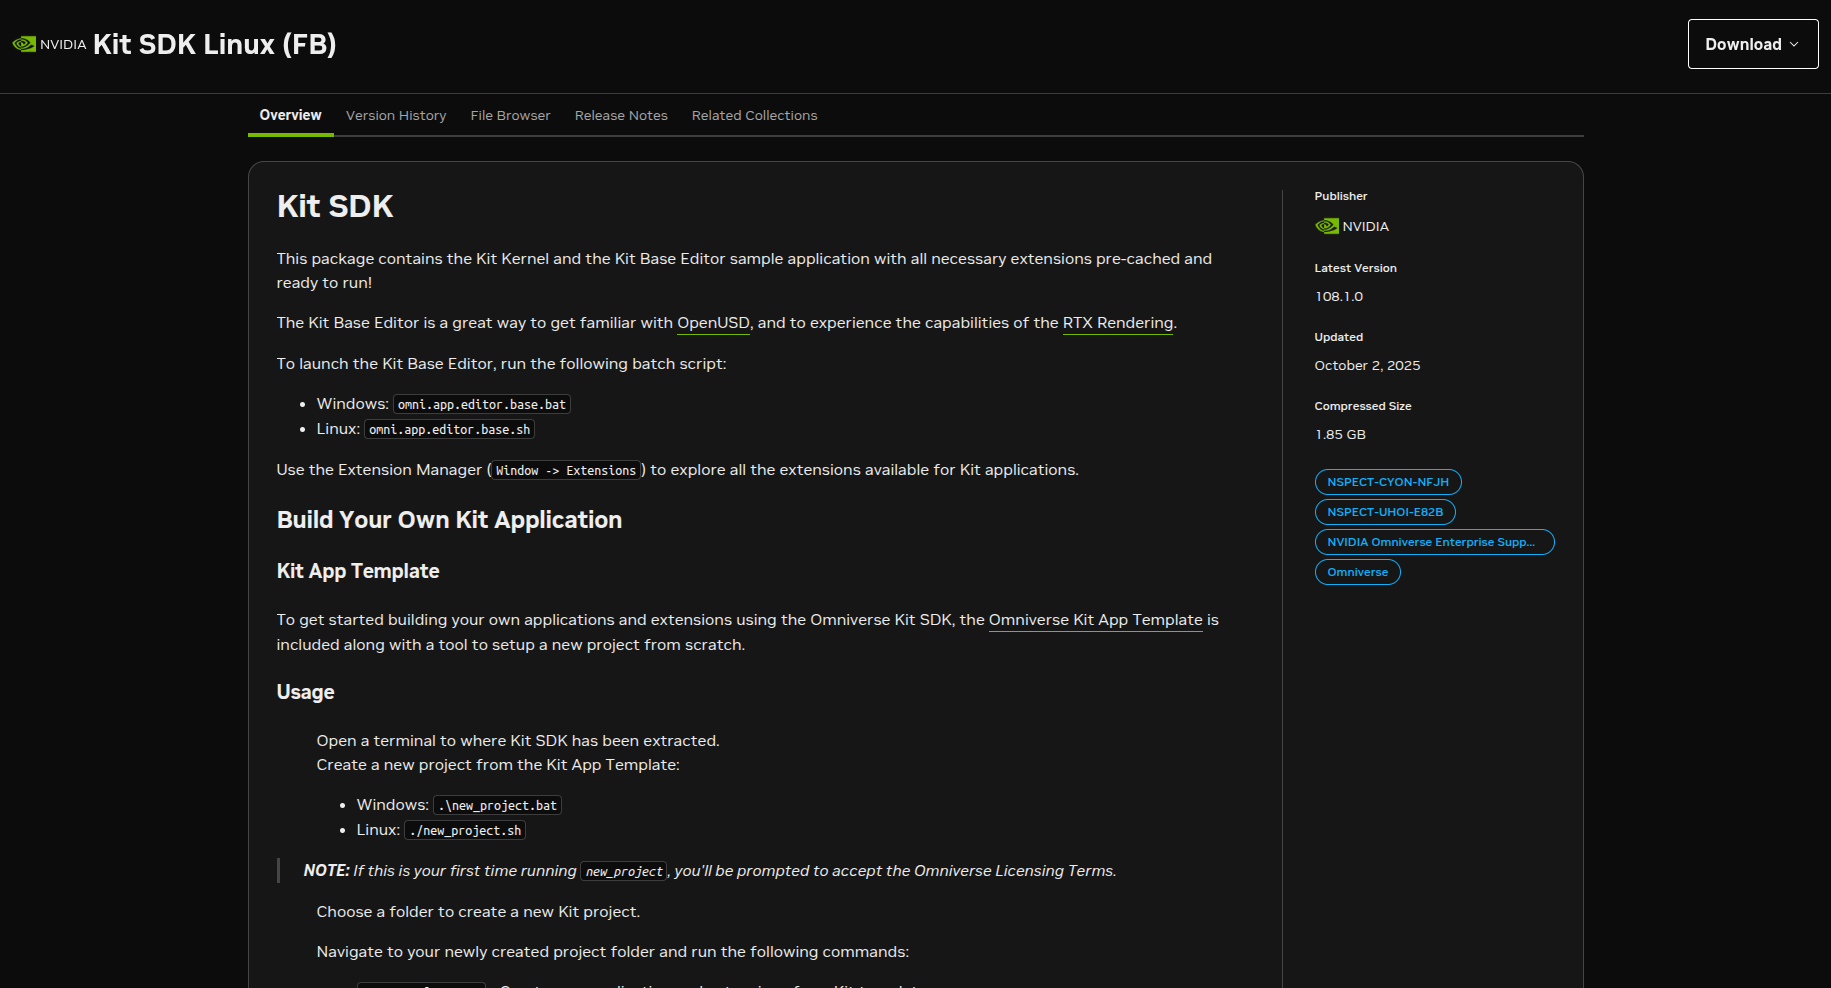
Extract and Prepare the SDK Unzip the downloaded archive, then change (
cd) into the extracted directory. Replace{kit-version}with the version you downloaded.cd kit-sdk-linux-{kit-version}
Route A — Kit 110.2 and Later#
Step 1: Launch Kit#
No launch-script configuration is required — the OMNI_STORAGE_DISCOVERY step that was needed in Kit 109 through 110.1 is not needed any longer. Kit discovers the Storage deployment automatically. Simply launch Kit:
./omni.app.full.sh # or the .bat file on Windows
Step 2: Connecting to the Storage Deployment#
With Kit running, connect to your Storage deployment:
Add Omniverse Storage In the Content Browser, expand Omniverse Storage and click Add Omniverse Storage. Enter your Discovery Service address (for the local MicroK8s deployment, the port-forwarded Discovery address, for example
http://localhost:8080) and, optionally, a display name. Click Add.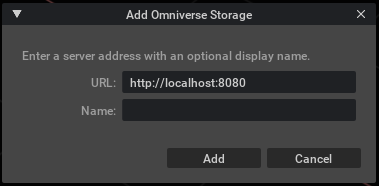
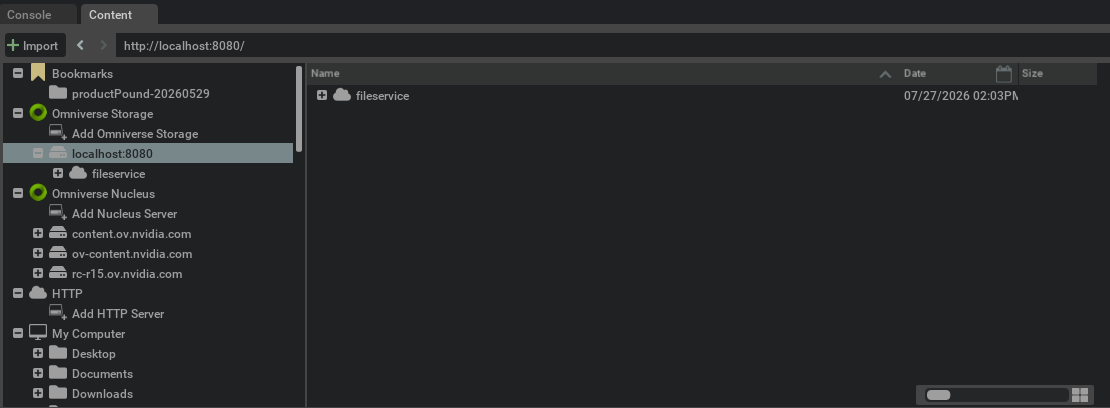
Browse and Test Storage Your deployment now appears under Omniverse Storage in the Content Browser. Browse the contents; try creating, opening, editing, and saving files to verify access.
Note
When using the local filesystem example service in this deployment, it does not include notification support. This means when you create new files or directories, or rename files, you will need to right-click –> Refresh to see the changes.
It is possible for you to use the notification-apis to build your own notification support for the local filesystem deployment if you choose. You can get more information about the notification-apis in the Notification APIs documentation.
Route B — Kit 109 through 110.1#
There is a known issue in these Kit versions: when no authentication is needed for a deployment, you cannot add the connection through the Content Browser. This is fixed in Kit 110.2 (use Route A instead). To test on Kit 109 through 110.1, seed a file with the REST API, configure the Discovery URL, and open the file with File > Open.
Step 1: Seed a Test USD File#
Create the USD file Save the file below to your local machine as
cube.usda.#usda 1.0 ( customLayerData = { dictionary cameraSettings = { dictionary Front = { double3 position = (0, 0, 50000) double radius = 500 } dictionary Perspective = { double3 position = (31.228726468341044, 6.955740397133659, 15.62341018564353) double3 target = (0.06364292377851655, 3.4744941220079357, -0.9826701764198784) } string boundCamera = "/OmniverseKit_Persp" } } ) def Xform "World" { def Cube "Cube" { } def SphereLight "KeyLight" { float inputs:intensity = 10000 double3 xformOp:scale = (8, 8, 8) double3 xformOp:translate = (10, 10, 0) uniform token[] xformOpOrder = ["xformOp:translate", "xformOp:scale"] } }
Upload the file to the storage service Save the USD data to the storage service.
#generate the USD data
export USD_DATA="$(cat cube.usda)"
# get the data size
export SIZE="$(echo -n "${USD_DATA}" | wc -c)"

# upload the usda file to the storage service
curl -X PUT "http://localhost:8011/v1beta/fileobject/by-address/file-storage%3A%2F%2Ffileservice%2Fcube.usda?data_object_size=${SIZE}&upload_preference=body" -H "Content-Type: application/json" --data "${USD_DATA}"
Validate the upload You should see the proper response from the storage service, and you can list what’s in the storage service.
# list the top level of the storage service
curl "http://localhost:8011/v1alpha/filefolder/list/file-storage%3A%2F%2Ffileservice"
Step 2: Configure and Launch Kit#
Configure Kit for Your Deployment Edit the shell file you use to launch Kit (
omni.app.full.shon Linux, or the.batfile on Windows) and set the Discovery service URL usingOMNI_STORAGE_DISCOVERY:kate omni.app.full.shInsert the line below into your launch script before the executable line (for example, before the
${EXEC:-exec}line inomni.app.full.sh). Replace{discovery-url}with the URL of your Discovery service:# for local deployment or deployments that do not use secure connections use http://{discovery-url} instead of https://{discovery-url} export OMNI_STORAGE_DISCOVERY=http://{discovery-url}
Launch Kit Save your launch-script changes and start Kit:
./omni.app.full.sh
Step 3: Open the USD File (File > Open)#
File > Open Because of the limitation described above, you cannot add the connection to the Content Browser. Instead, open the USD file by selecting File > Open.
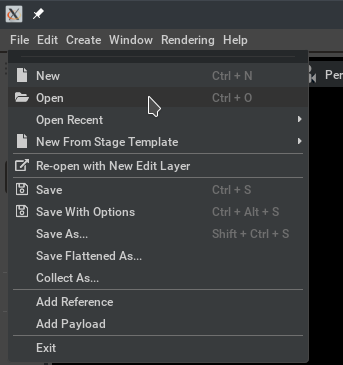
Enter Your Storage URL Use the file path (without percent encoding):
file-storage://fileservice/cube.usda.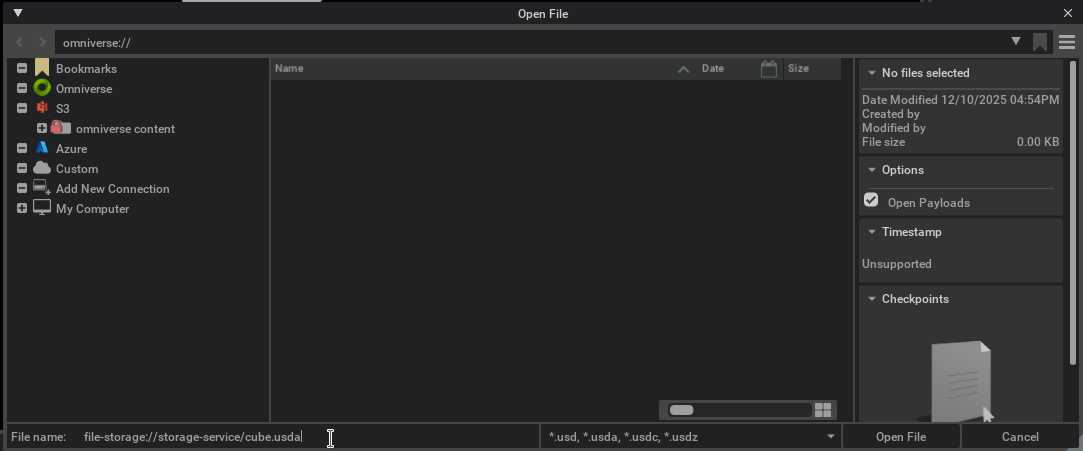
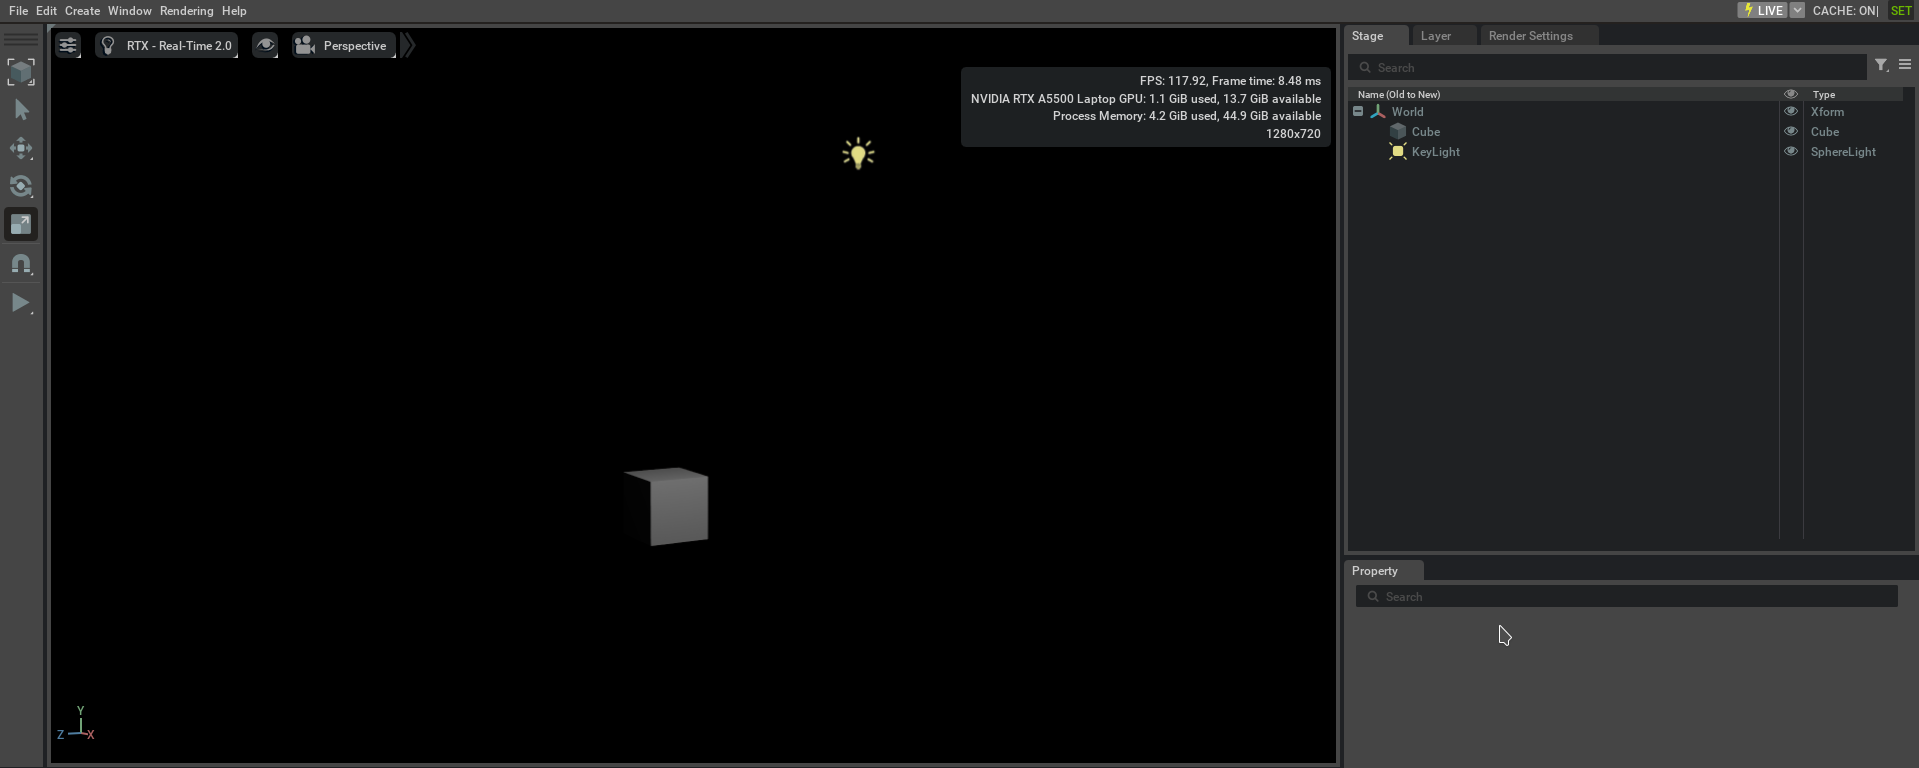
Open the USD File After the file opens, you should see a view like the one below.