Authentication and User Management#
Authentication#
Users will be asked to authenticate when accessing content stored within an Enterprise Nucleus Server. Upon authentication a connection token is stored locally on the workstation. (Tokens reduce the need to re-authenticate.) If content has not been accessed for some time, the token will expire requiring the user to reauthenticate which will refresh the token re-allowing access.
User Management#
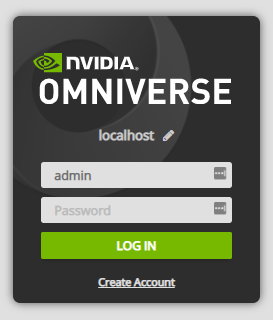
Click the User Management icon to access user accounts and groups.
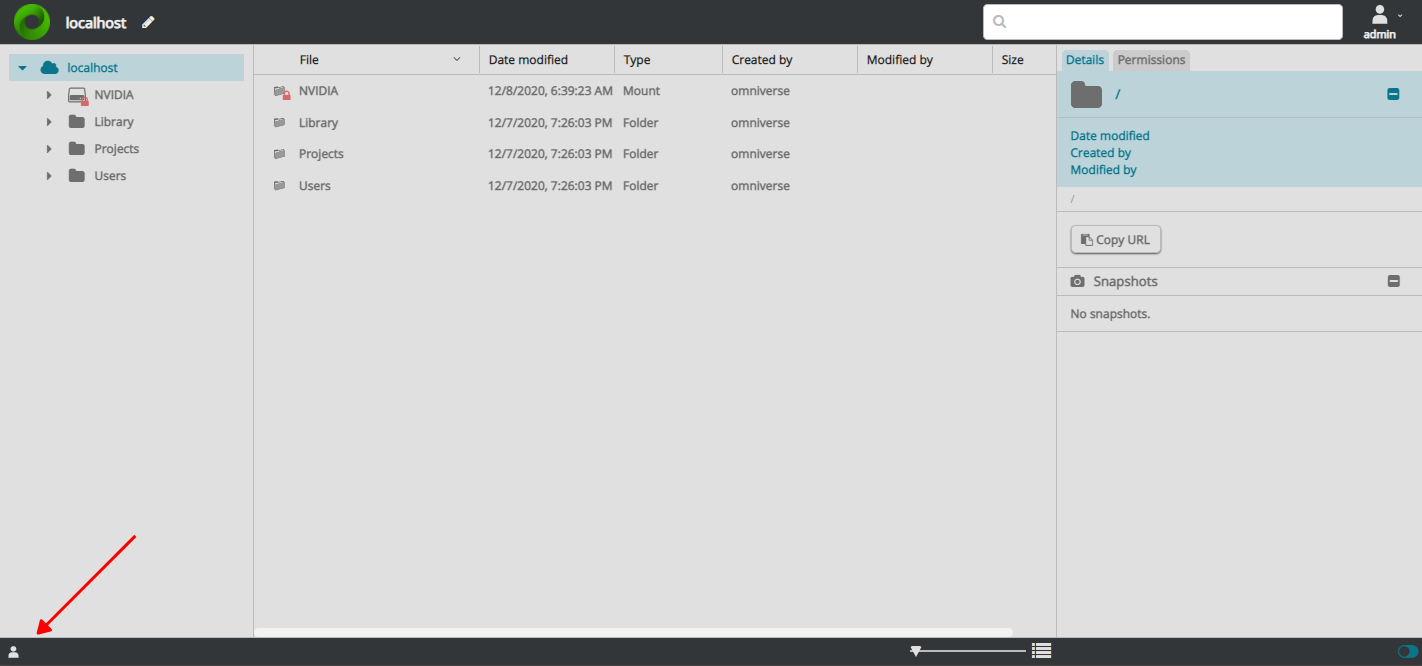
Select a user in the list (#1) to manage the account in the details panel (#2).
Create Account & Invite User#
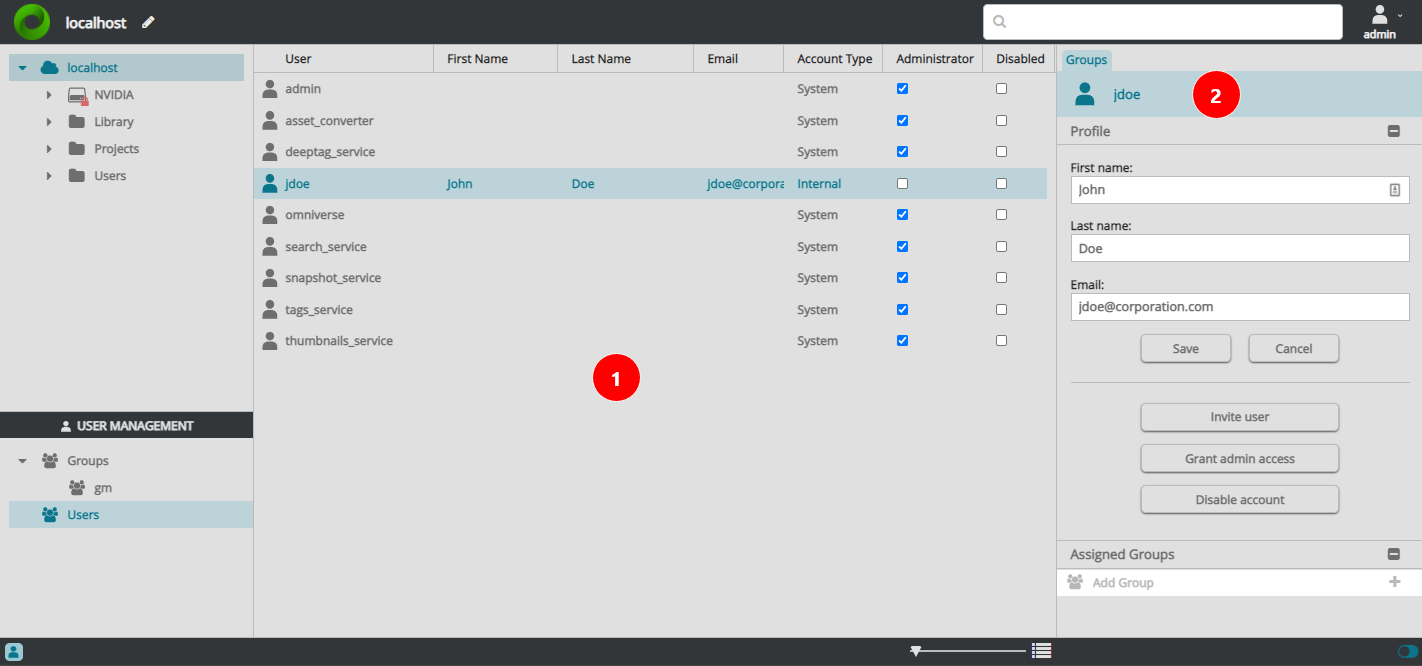
An administrator can create accounts and invite users to join:
Activate the User Management mode.
Right-click in the users listing and choose “Create User” from the context menu.
Once the user is created click the “Invite user” button in the details panel. A link to a registration page will be copied to the clipboard. Anyone with the link can access the registration page so send the link in a private message to the user.
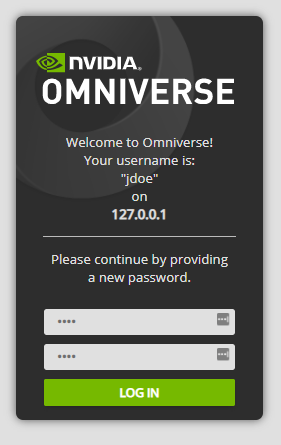
The link will take the user to a login page where a password can be set.
Known Issues#
Assigning a user to groups prior to inviting the user enables the administrator to control how the user is able to access content upon joining the server. With this version of Nucleus there is a known issue with that approach:
If an administrator creates a new user and assigns this user to a group before the user has authenticated once, the administrator will also have to manually assign this user to the “users” group. Failing to do so will result in the user not seeing any contents on your shared server.
To work around the issue:
Navigate to User Management.
Select the Users item.
In the list of users - select the user you created.
In the pane on the right displaying the user details, locate the “Assigned Groups” section.
Enter “users” in the “Add group” field and click the plus sign.
This will allow the user to see contents on the server.
Note
This problem can easily be avoided by creating the user and allowing them to log in prior to adding them to additional groups.
Admins can generate invite and file URLs for other users to open. There is a known issue with this:
Invite/file URLs generated in localhost:34080 cannot be opened by non-local users. If they try to open these URLs from their own machines, they will not work.
To work around the issue:
In a web browser, an admin connects to <Nucleus IP Address>:34080 instead of localhost:34080
Generate the URL; Copy URL for files and folders, or Invite User from within User Management
This will generate a link that non-local users can open.
Reset Password#
If a user forgets the password (or just wants to change it) an administrator can generate a link by using the Reset password button. This works the same as the invitation process: the user will be taken to a page where a new password can be set and then access the server again.
Anyone with the link can access the password reset page so send the link in a private message to the user.
Grant Admin Access#
Having admin access means having full access to all content and being able to access User Management features.
Use the “Grant admin access” button in the account details panel to grant or revoke this level of access. This
Enable/Disable Account#
When account should no longer have access it can be disabled. File metadata will still indicate the user as the creator or most recent user to have modified a file where applicable.
Should the account need to be accessed again it can be re-enabled.
Select the user in the Users listing.
Toggle the enabled state with the Disable/Enable button.
User Groups#
Many users can be combined into groups. This is especially helpful when managing permissions.
Note
The GM Group (General Management) is the group containing users with Administrator level permissions.
This group is created automatically, and these users will have the ability to
Add and remove users from Nucleus
Create, Delete, and Modify User Groups on Nucleus
Modify ACLs on any path on Nucleus
Delete, Rename or Move any path on Nucleus
Create root level directories or files on Nucleus
Create Group#
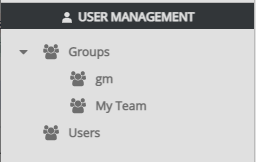
Right click on Groups and select Add Group in the context menu. Provide a name.
Modify Group Membership#
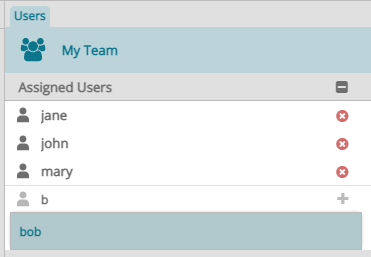
New groups are empty. Select the group and start typing the name of a user in the Add User field in the detail panel. A list will appear. Select a user and click the plus/add button in the field.
Remove a user by clicking the delete icon next to the username in the “Assigned Users” list.
Service Accounts#
If a Nucleus service account is required on an Enterprise Nucleus Server for an automated task or process, follow the steps below.
Note
You can enable Service Accounts to use API Tokens instead of usernames and passwords. If this is required, refer to the API Tokens documentation for further information.
Service Accounts using Nucleus Authentication#
Log into your Enterprise Nucleus Server using an account with admin access.
Add the user (service) account within the User Management panel using the desired user name (i.e., svc_app_registry).
Once the user is added, click the user, then click Invite User which will copy a unique invitation URL to the clipboard.
Open an incognito/private browser window, then paste the invitation URL into the address bar and press enter.
When prompted, enter and confirm the desired password and click Log In. This will complete the creation of the user.
Close the incognito/private browser window and using the original browser window, grant admin or other access rights as needed for this account.
Service Accounts using Single Sign-On Authentication#
Create the user (i.e., svc_app_registry) within your identity system (i.e., Active Directory) and set the desired password.
Log into your Enterprise Nucleus Server using this user’s credentials. This will complete the creation of the user.
Log out of this account, then log in using an account with admin access.
Open the User Management panel, then click the user and grant admin or other access rights as needed for this account.
Auth Database Management#
The database with all the user accounts is managed by Nucleus Authentication Service. It contains all accounts and credentials.
Groups memberships are managed and stored by Nucleus Core.
In an Enterprise Nucleus Server, the files are located in the
local-accounts-dbsub-directory within the data directory. (If using the recommended paths, the data directory is/var/lib/omni/nucleus-data/.)
Deleting the Auth Database#
Warning
Using this method could result in data loss, so use this only as a last resort.
Nucleus Enterprise Server#
Stop all Docker containers on the server.
Locate, back up (if desired), and delete the database.
Restart the Docker containers on the server. The
omniverseaccount is reset back to the default password as configured during the initial set up.