Replicator AWS Setup Instructions#
Getting started with AWS#
Through this document you will learn how to generate synthetic data in AWS headlessly.
AWS Requirements#
Here are the requirements for running Replicator on Amazon Web Services (AWS):
An AWS account that is able to launch an EC2 instance with RTX GPU support.
An AWS EC2 Instance with the following specifications:
Instance Type: g5.xlarge or higher
AMI: NVIDIA Omniverse GPU-Optimized AMI
Setup#
Follow these steps below to launch an AWS EC2 instance:
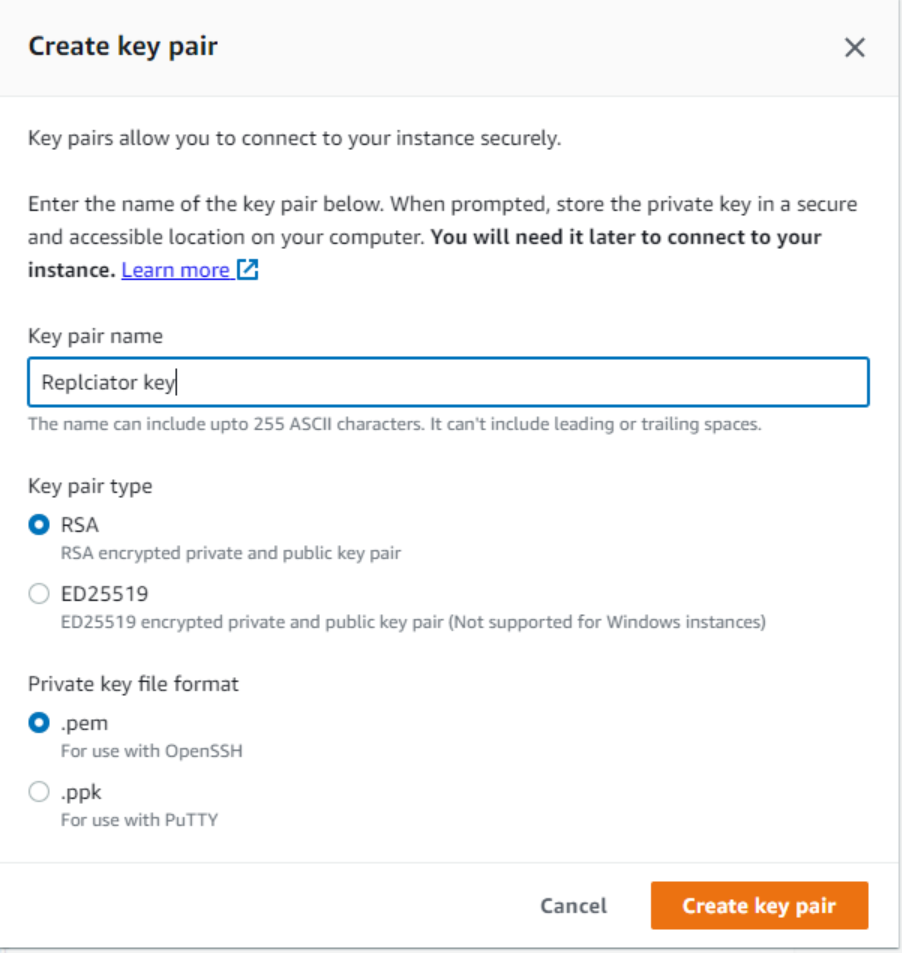
Create your Key Pair PEM file by following the eight steps in this Key Pair Guide.
Note
Follow these steps to prevent permission errors when trying to SSH into the AWS instance:
On Linux, remember to use
chmod 400 yourkey.pemas instructed in the link above.On Windows, right-click the
yourkey.pemfile and select Properties:Go to the Security tab and click Advanced.
Click Disable inheritance.
Set ownership of the file to the current user and give full permissions to only that user.
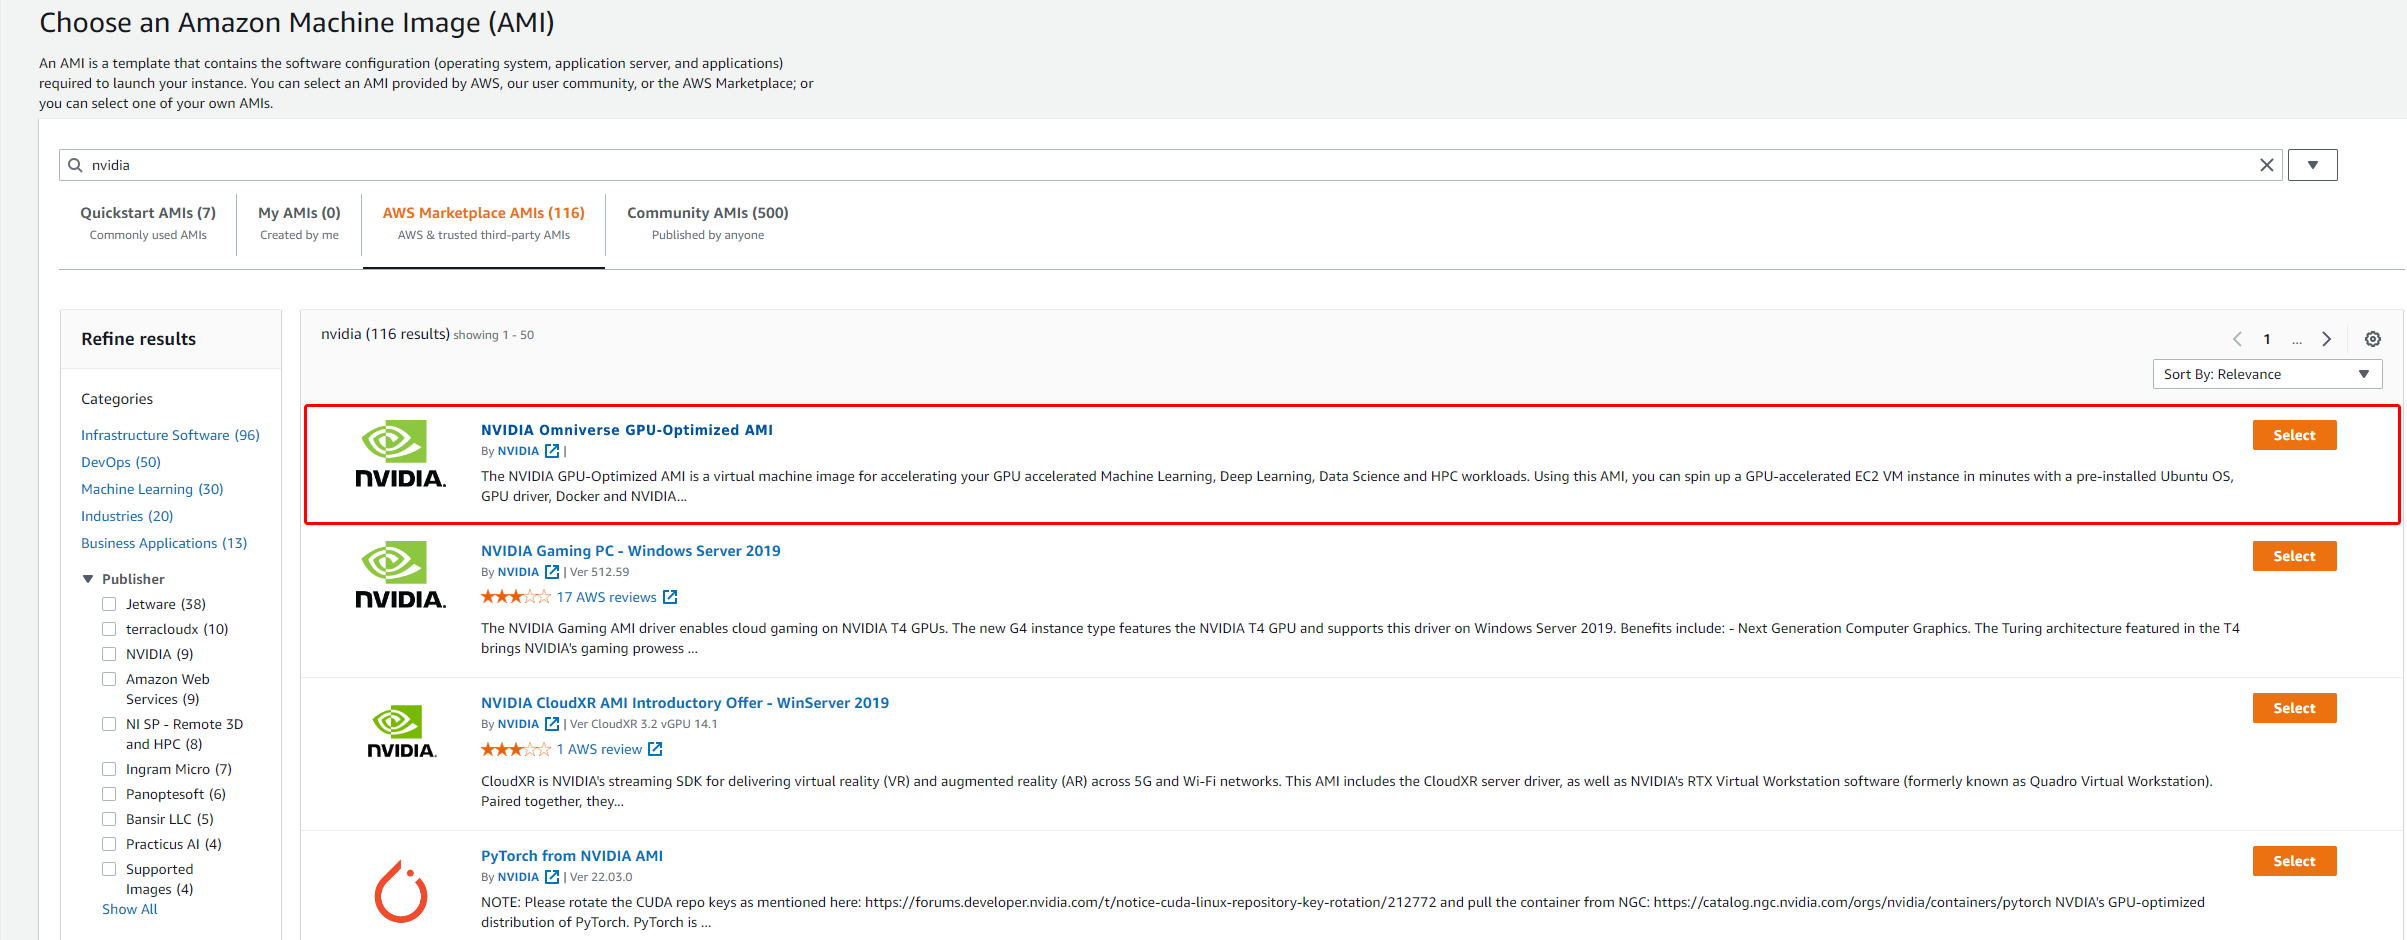
From your AWS EC2 Console, click Launch Instance, in the section Application and OS Images (Amazon Machine Image), search for “Omniverse”, and select the only AMI in the official Marketplace. The direct link to the AMI can be found here NVIDIA Omniverse GPU-Optimized AMI.
Note
This AMI may not be visible to Hong Kong, Africa Cape Town, Middle East Bahrain, and Milan zones.
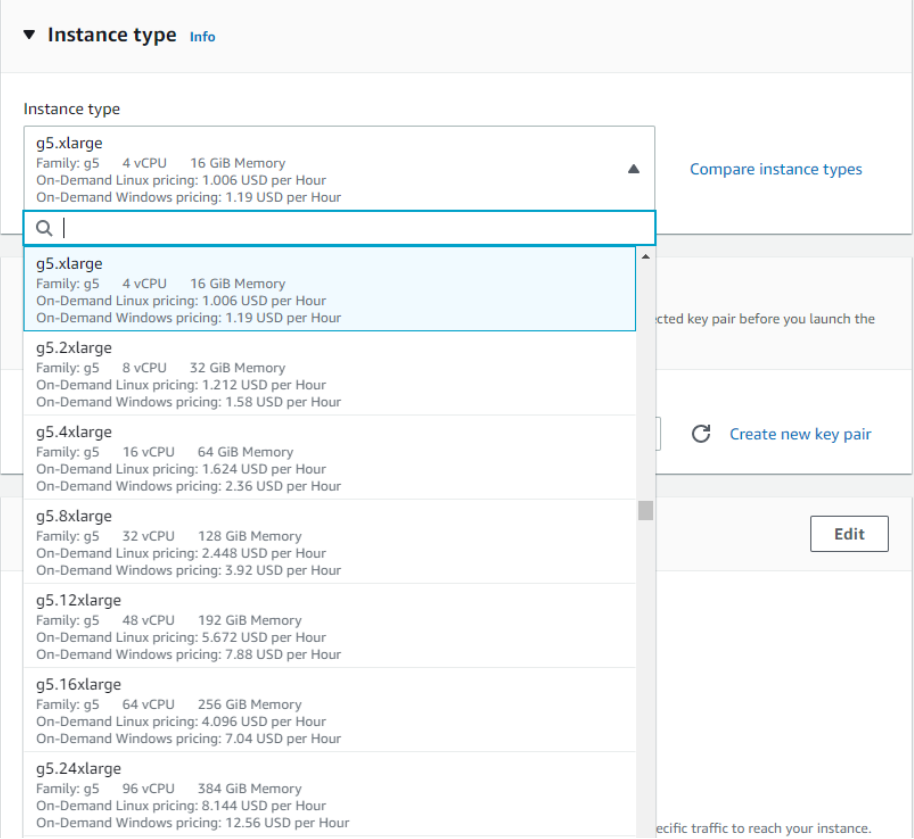
Scroll down to the Instance Type section and pick a GPU instance (g5.xlarge or higher). Click Next: Configure Instance Details at the bottom right corner.
In the Key pair (login) section, click Create new key pair to create a new pem file if you skipped step 1, else select an existing key pair.
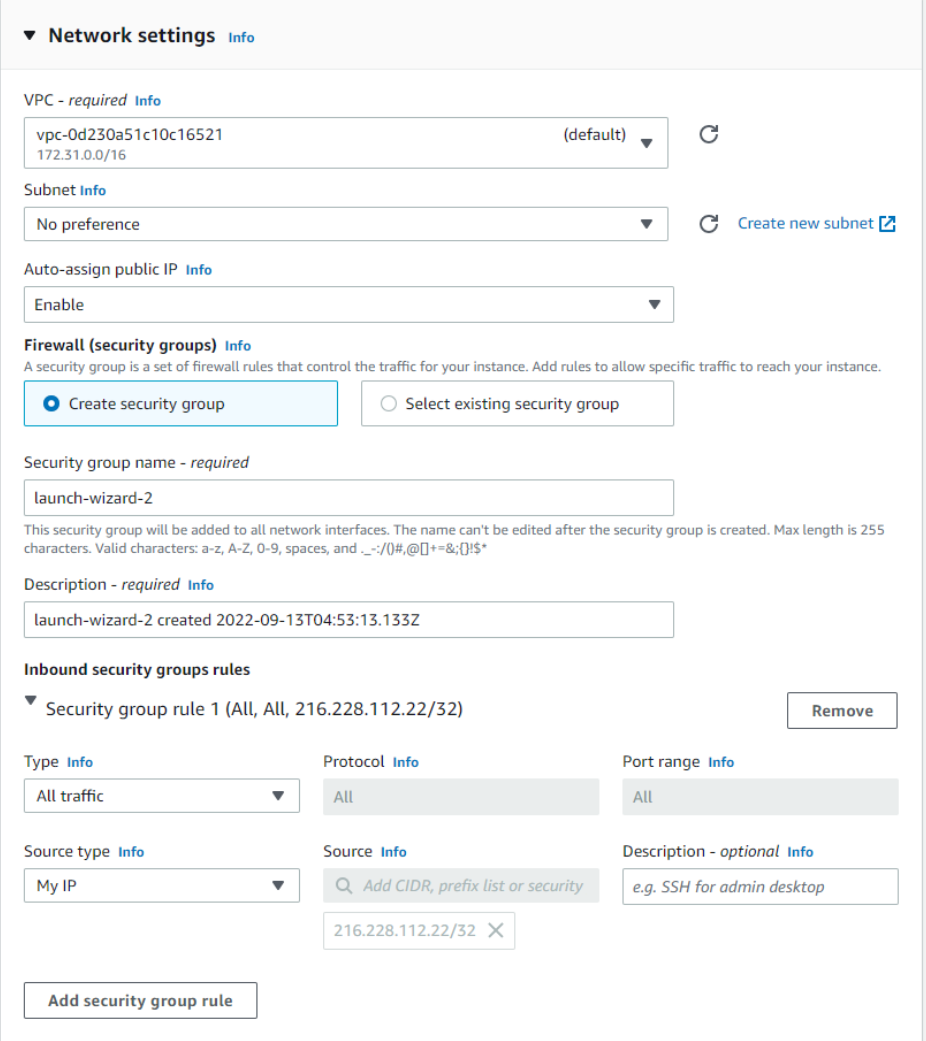
In the Network Settings section, click Edit
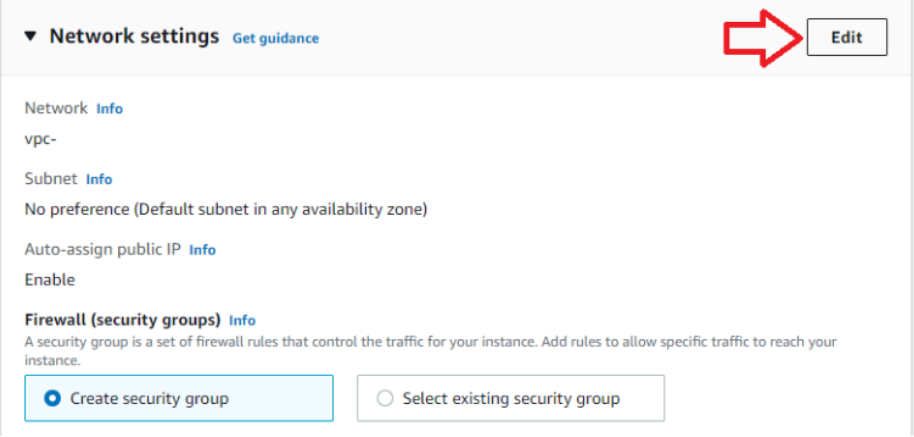
Next, set Inbound security groups rules to All traffic for “Type” and My IP for “Source type”.
Click Add Storage at the bottom right. Set the Root volume size to 100GB or more.
Note
Replicator can operate on an Instance with 30GB, but you may run out of space when running a large scene.

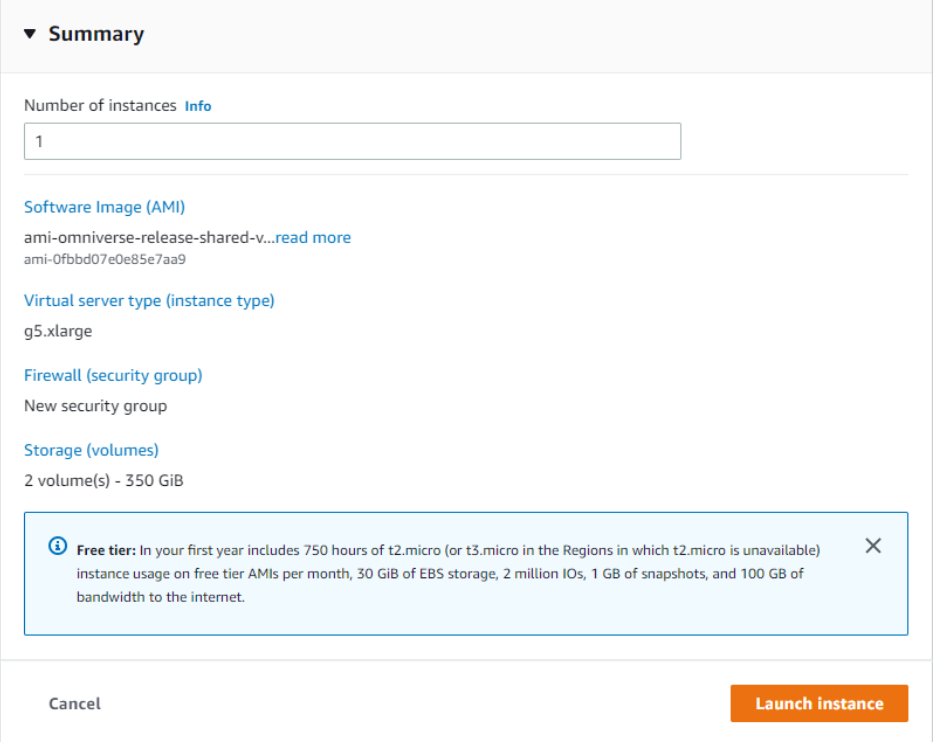
Click Review and Launch, then Launch. Point to your existing PEM key or create a new PEM key; creating a new PEM key will save the key in your browser Download folder). Select Acknowledge.
Click Launch Instance, which will produce a link (e.g. i-0edc9523b2fff2e44). Click the instance link.
Now you are ready to connect to our instance.
For more information as to how to connect you can follow this link: Connect to your instance
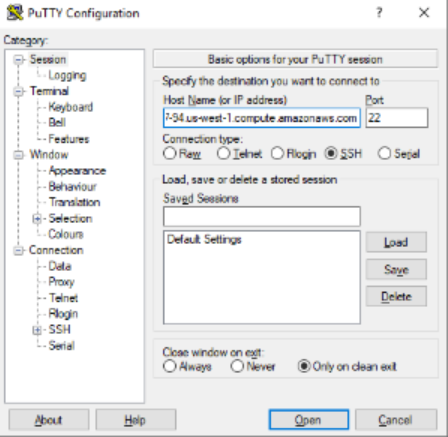
Follow these steps to SSH into the AWS instance:
As shown above, on Linux or Windows, run this command from where your PEM key folder is. Replace
ubuntu@ec2-52-53-177-94.us-west-1.compute.amazonaws.comwith your instance:
$ ssh -i "yourkey.pem" ubuntu@ec2-52-53-177-94.us-west-1.compute.amazonaws.com
On Windows, you can also use Putty to SSH:
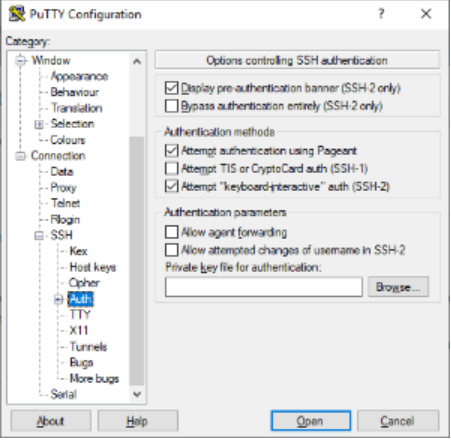
Convert your PEM key to a Putty key. See Connecting to Your Linux Instance from Windows Using PuTTY for more details.
Put your instance name above in the host name:
Select SSH/Auth, point Browse to your converted Putty key, then click Open and Yes. You should be able to SSH into the AWS instance now.
Proceed to Deploy to Cloud.