Using Static Warehouse assets in Isaac Sim
Isaac Sim comes with a multitude of assets for you to build your own application. Additionally, there are extra asset libraries provided by NVIDIA that you can use. Open Window->Browsers->Assets, and the window NVIDIA Assets will show, where you can browse for all content to build your environment.
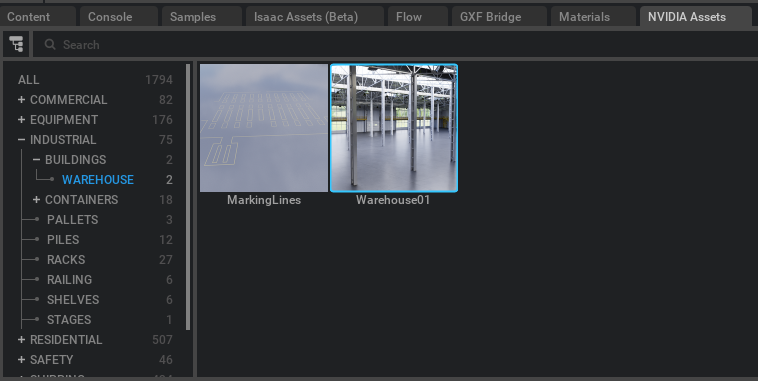
Let’s start by setting up the warehouse building. click on the + Icon next to Industrial, then on Buildings, and select Warehouse. By dragging Warehouse01 to the scene, you’ll load a reference to the asset on your stage. Alternatively, you can also build a custom warehouse.
Note
If you drag on the viewport window, it will let you place it at an arbitrary position, If instead you want it placed at the origin or on a given xform, drag it into the Stage window on top of the desired Prim.
You’ll notice that the stage will contain a weird, distorted image. This is because all assets in NVIDIA Assets are currently on a centimiter scale. When importing them you’ll need to manually scale it down by 0.01. Select the warehouse prim and click on “Add Transform” on the Properties pane, and set the scale to 0.01 on all directions.
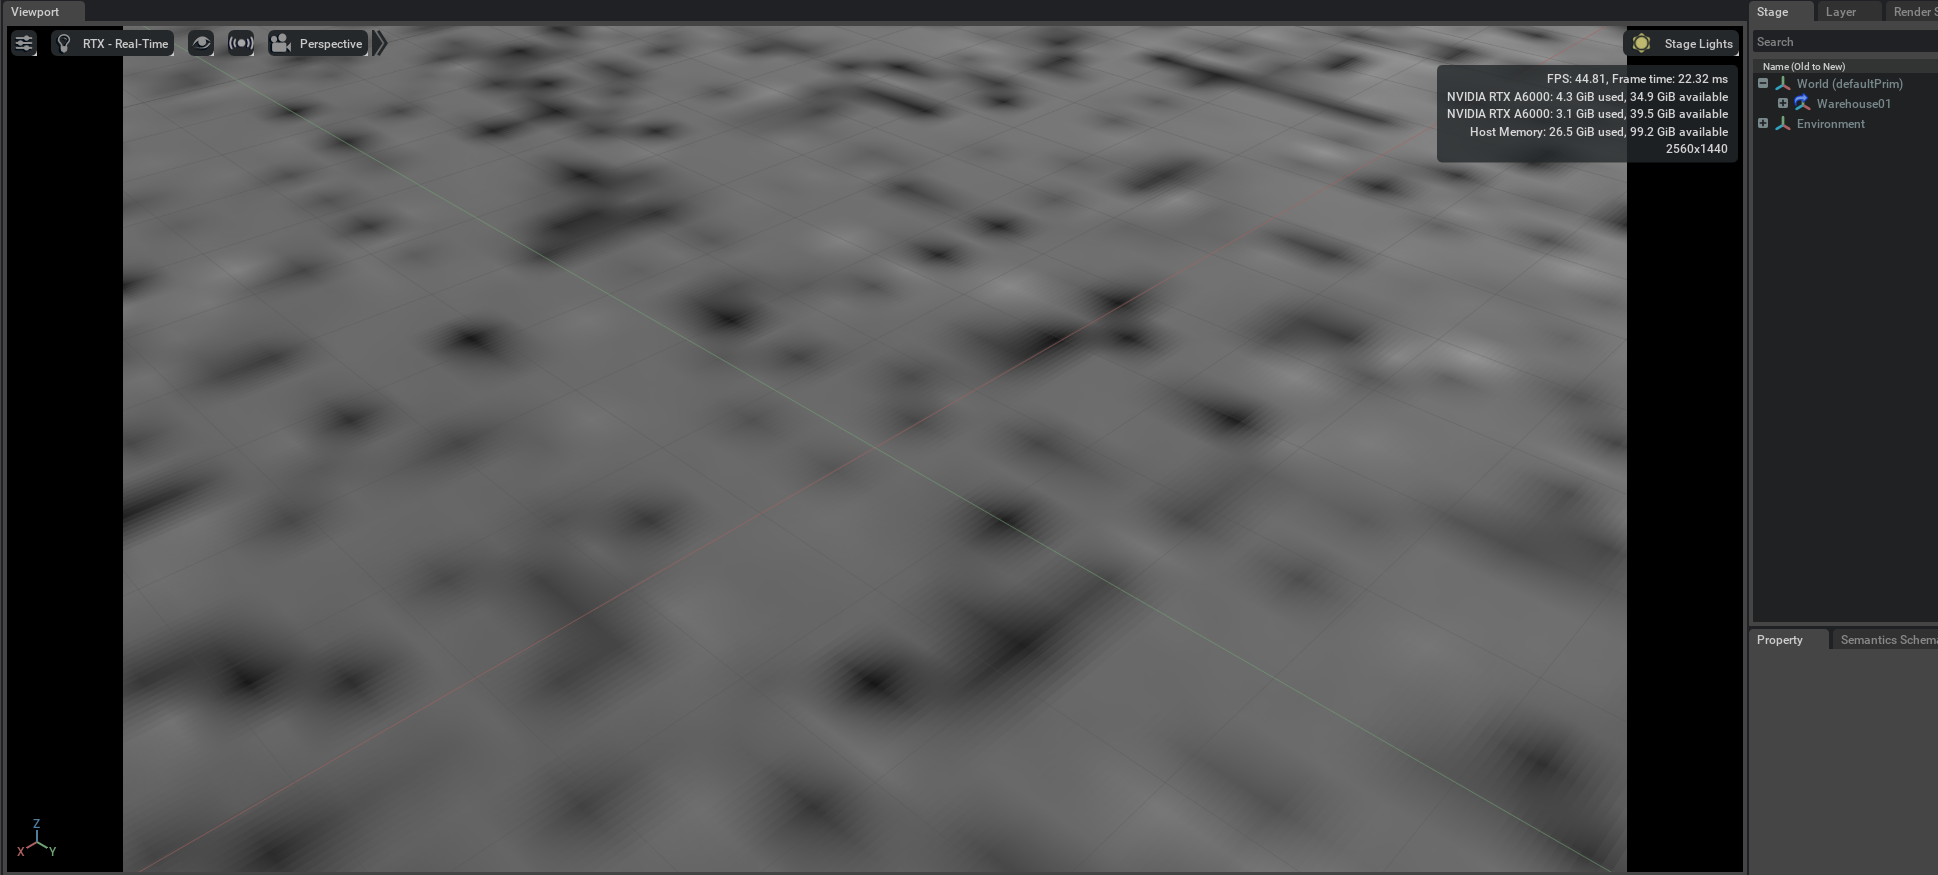
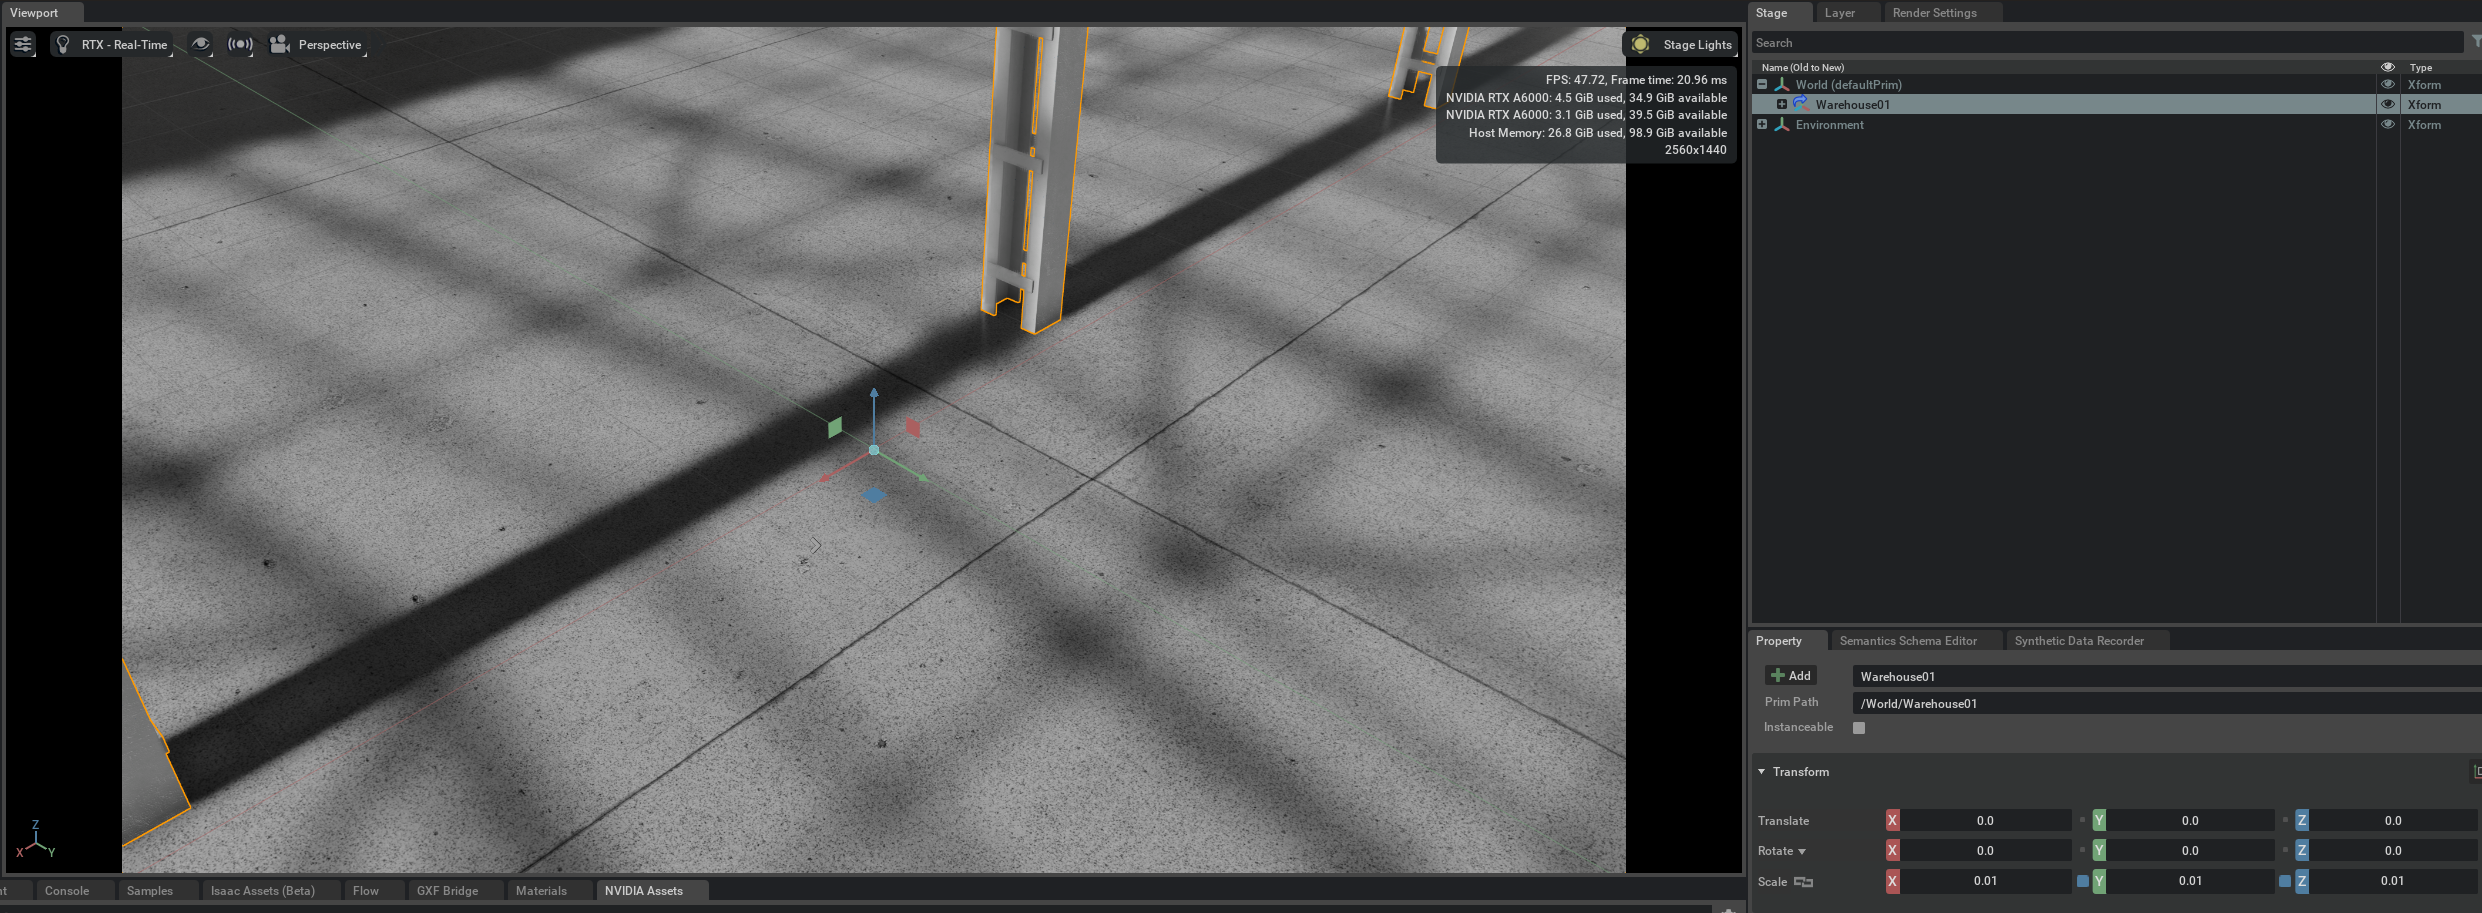
Note
You can add a 0.01 scale on the parent prim you are adding the assets to instead (for example create a prim at /World/Warehouse_Import and always drag the assets into it), and then all assets will be imported already scaled.
Now you can add some shelves for empty shelves, or racks for shelves filled with boxes.
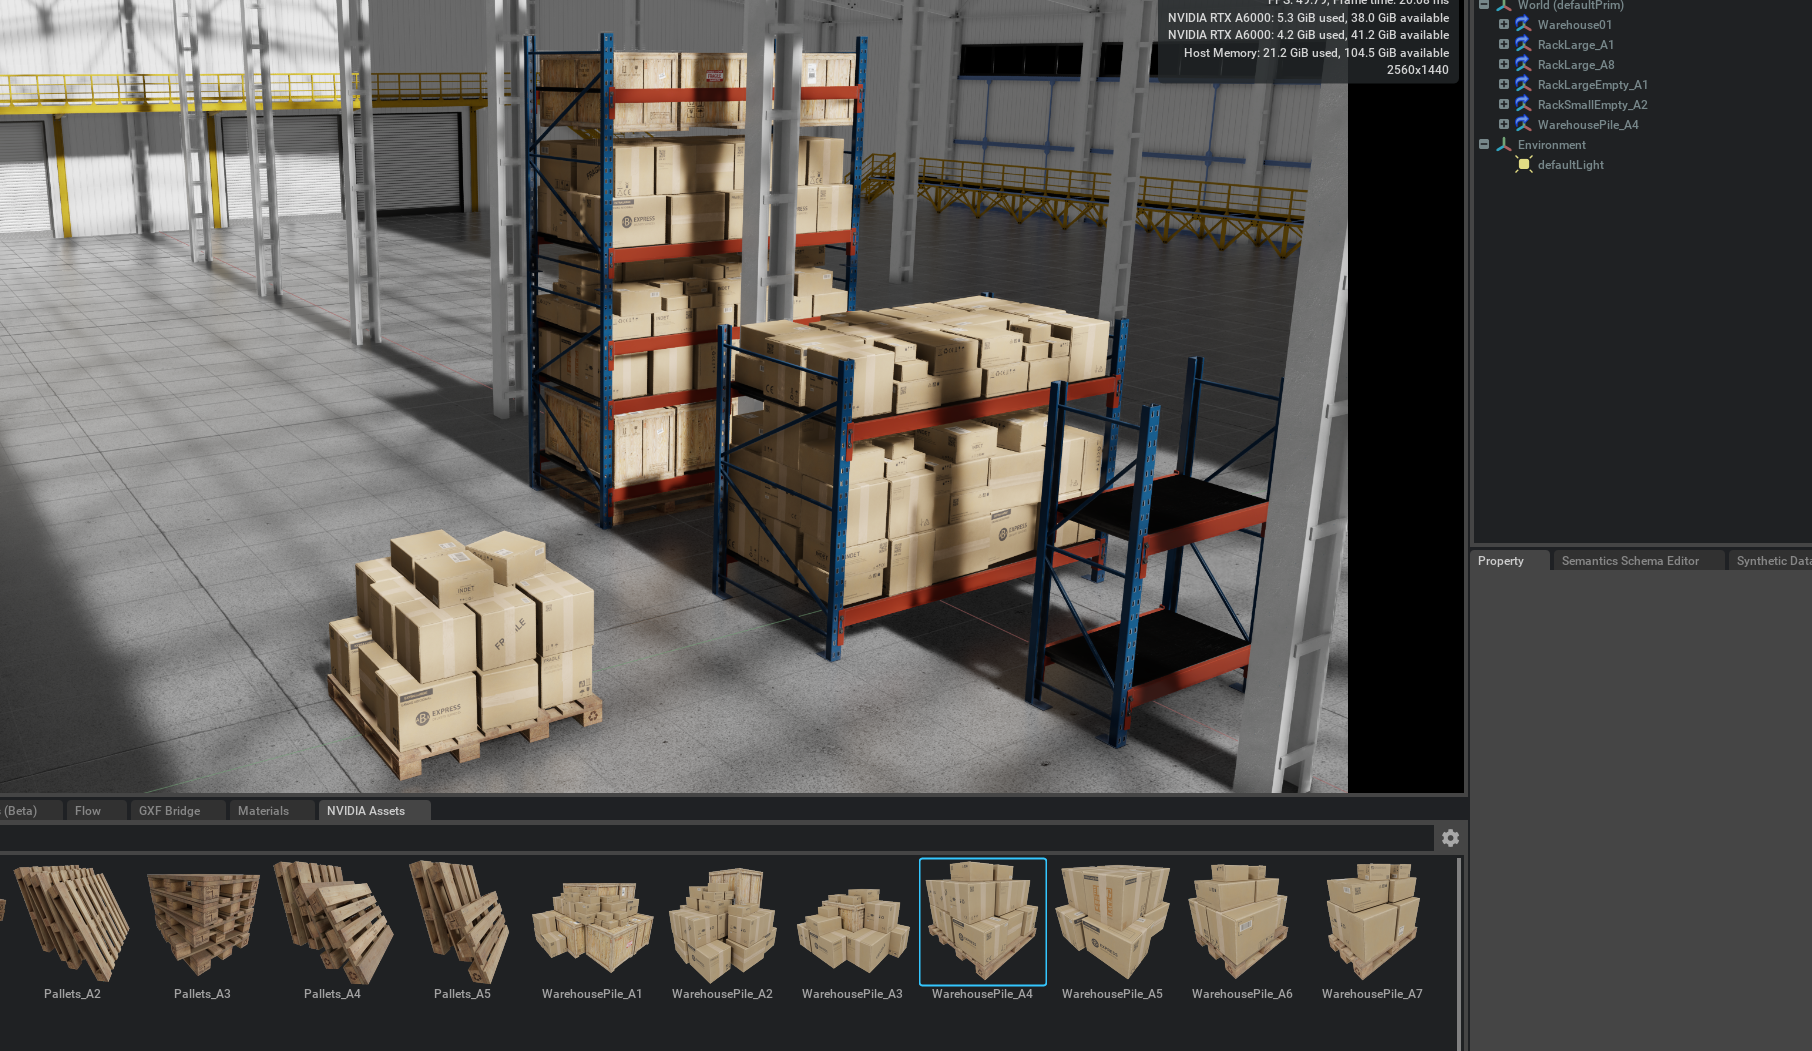
Any asset in NVIDIA Assets can be used to compose your scene, browse around the categories to find the asset you need, or search by name.
Simulation Needs
These assets are purely visual, so any simulation needs you may have need to be authored on top of it. In that case, the recommendation is to create a new stage, and drag one single asset to it and perform the desired authoring as a variation of the original asset, and save it on your nucleus. Then, on your environment, drag the asset you saved that contains the modifications.
SimReady Assets
Omniverse also contains a suite of SimReady Assets, which are assets curated for machine learning and digital twins. These assets come fully annotated for Semantic Labeling, and also contains a preset physics setup so you can get started with your digital twin operation. For more details, visit the NVIDIA On Demand session: SimReady Specification
Example
Let’s make a variation of WarehousePile_A04 that contains physics properties, with boxes being individual rigid bodies.
We start with a brand new Stage, and create an Xform under World with the name “Import”, and set its scale to 0.01
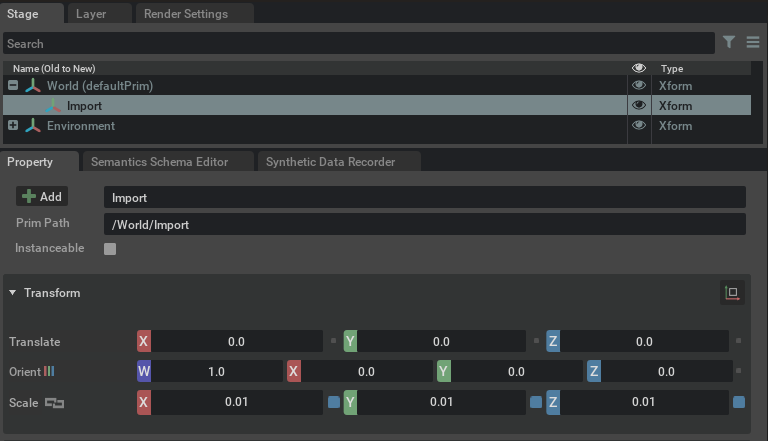
Then we drag the WarehousePile_A04 into it.
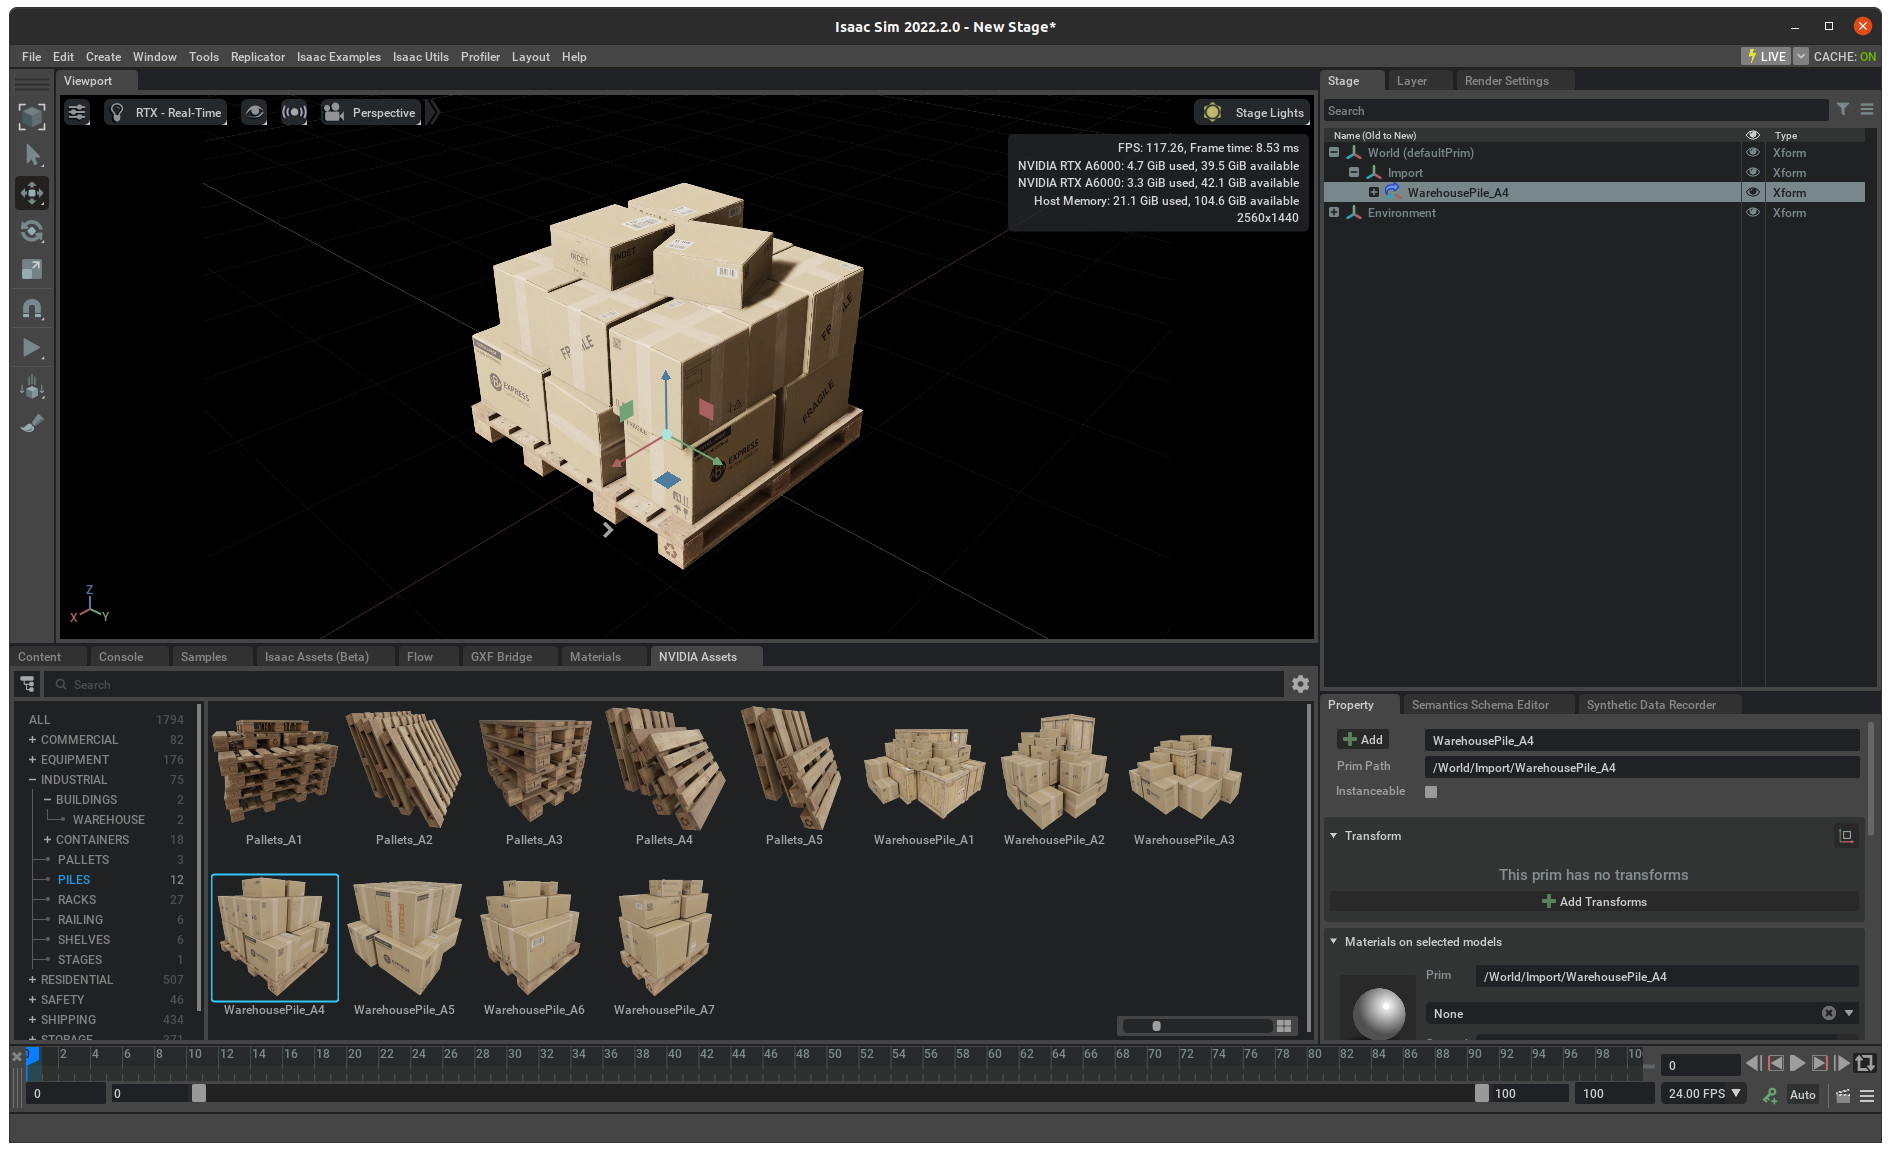
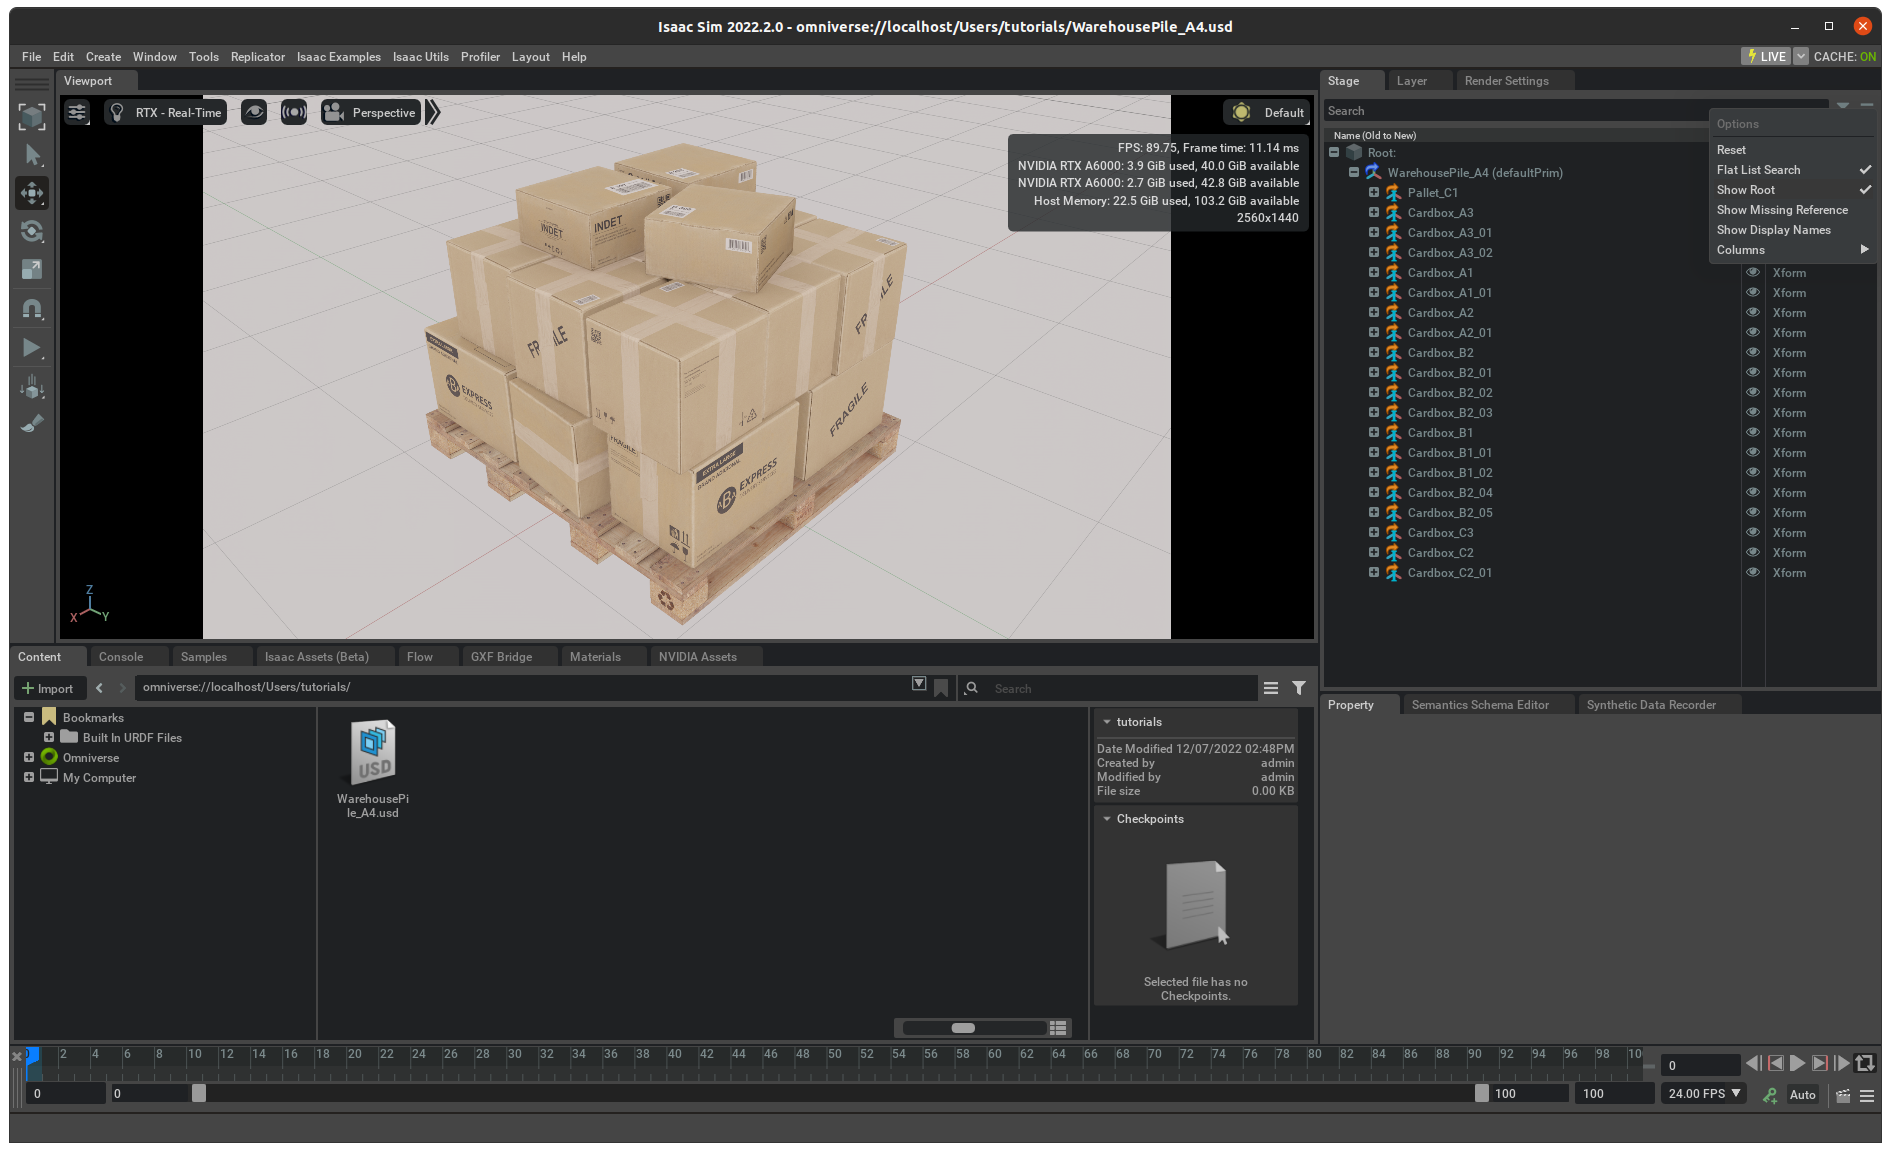
To simplify the tree, we can bring the imported prim at the root. Click on the Option button on the stage, and select Show Root, then drag WareHousePile_A04 on the Root, then right-click it, and select Set as Default Prim. Delete /World and /Environment
Now, Select all children of /WareHousePile_A04, and on the Properties pane, press Add->Physics->Rigid Body with Colliders preset.
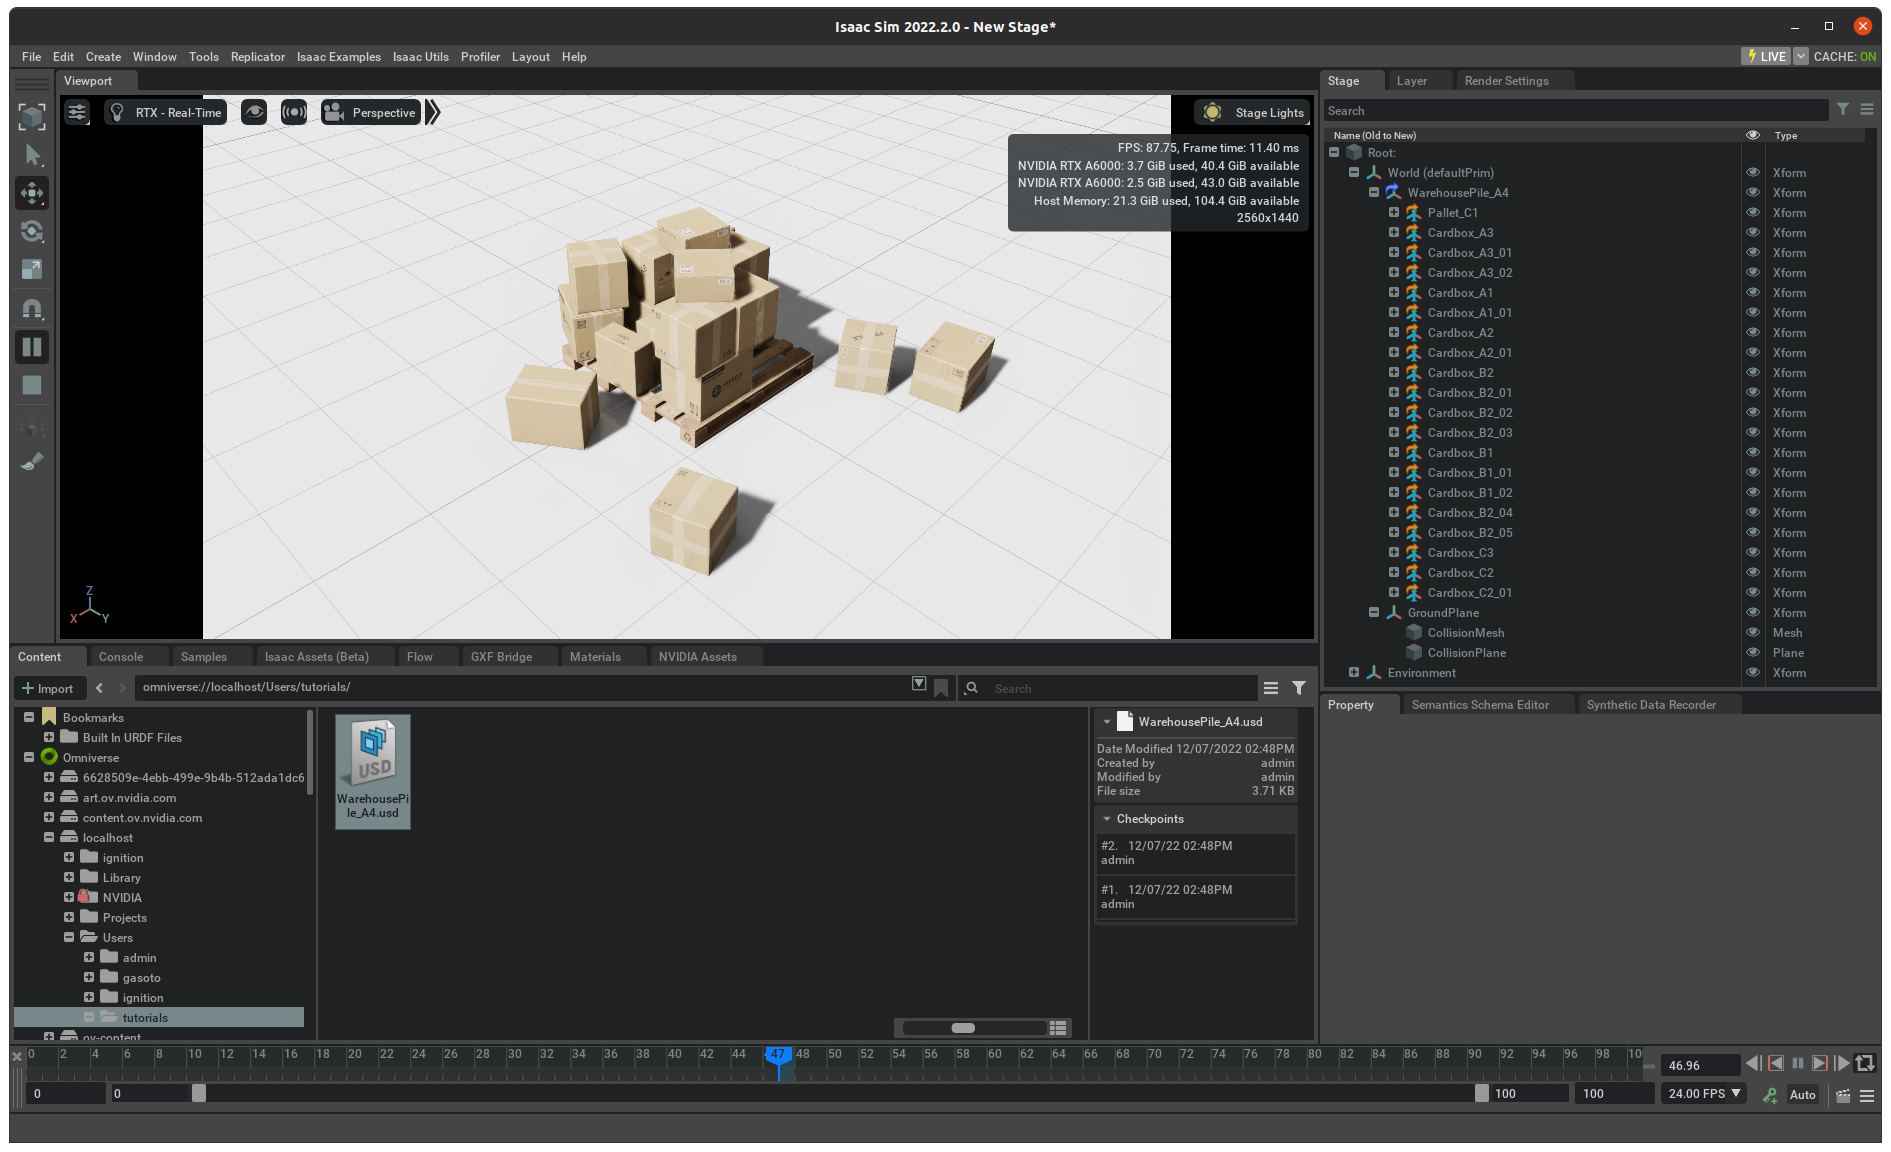
Let’s save this asset and try it out. Once the asset is saved, open a new stage, and drag your asset into the new stage. Add a Ground plane by going to Create->Physics->Ground Plane, and start simulation. Try shift-click to drag one of the lower boxes, they should all fall over each other.
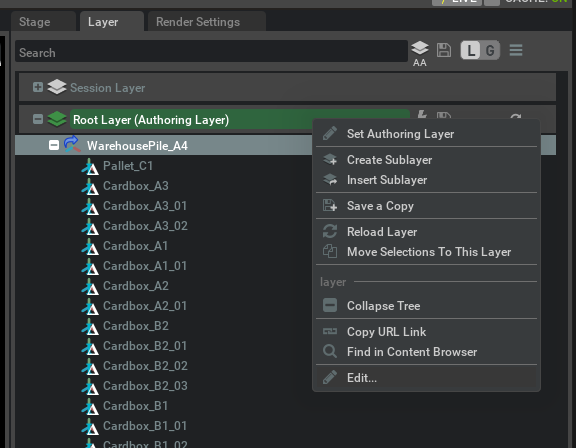
You can now go back to the previously saved asset to customize it to contain physics material properties, different mass properties, and so on. All changes will be stored locally and be applied on top of the original asset. To see the local changes, you can go to the Layer tab, right click the Root layer, and click on Edit.
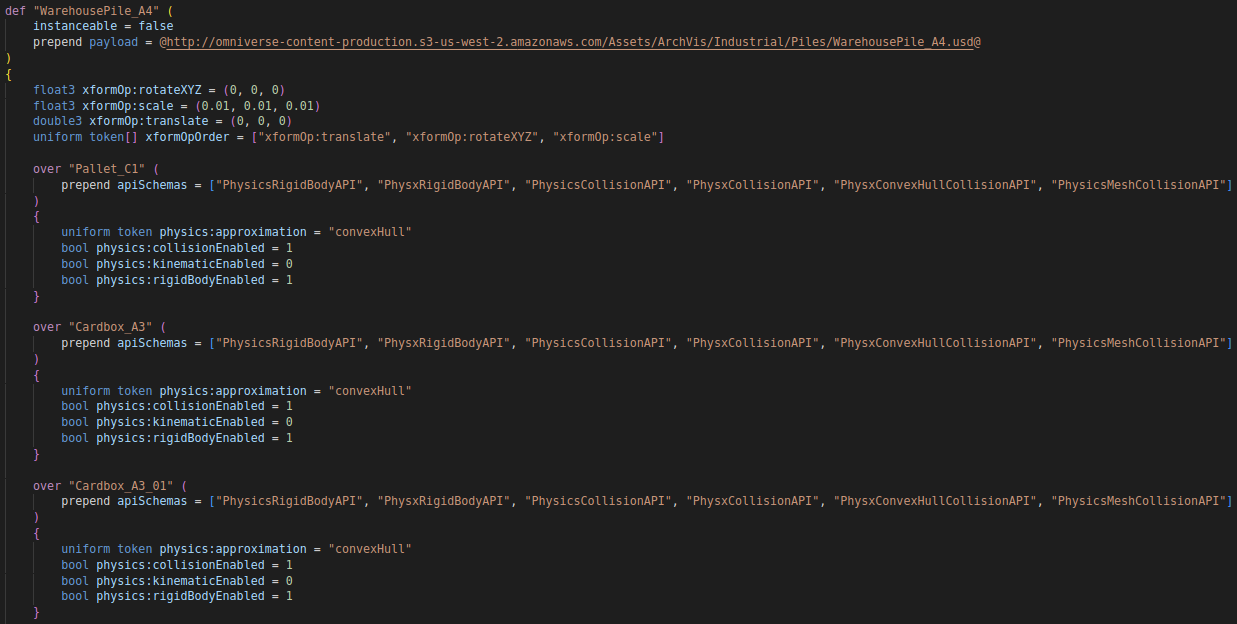
You will see that the usd file opens in edit mode on your text editor, containing the reference to the original asset, and all “deltas” that are being applied to it.