Warehouse Creator Extension
The warehouse Creator Extension uses the new Modular Warehouse Assets to build a custom shape warehouse.
Installing and Enabling the Extension
The extension can be installed/enabled by:
Navigating to Window > Extensions Manager from the top-level menu
Searching for Warehouse Creator in the text field of the Extension Manager window, to reveal the omni.warehouse_creator result.
Clicking on the Install or Update button if not previously installed.
Toggling to enable the extension and checking the autoload checkbox if you like.
How to Use
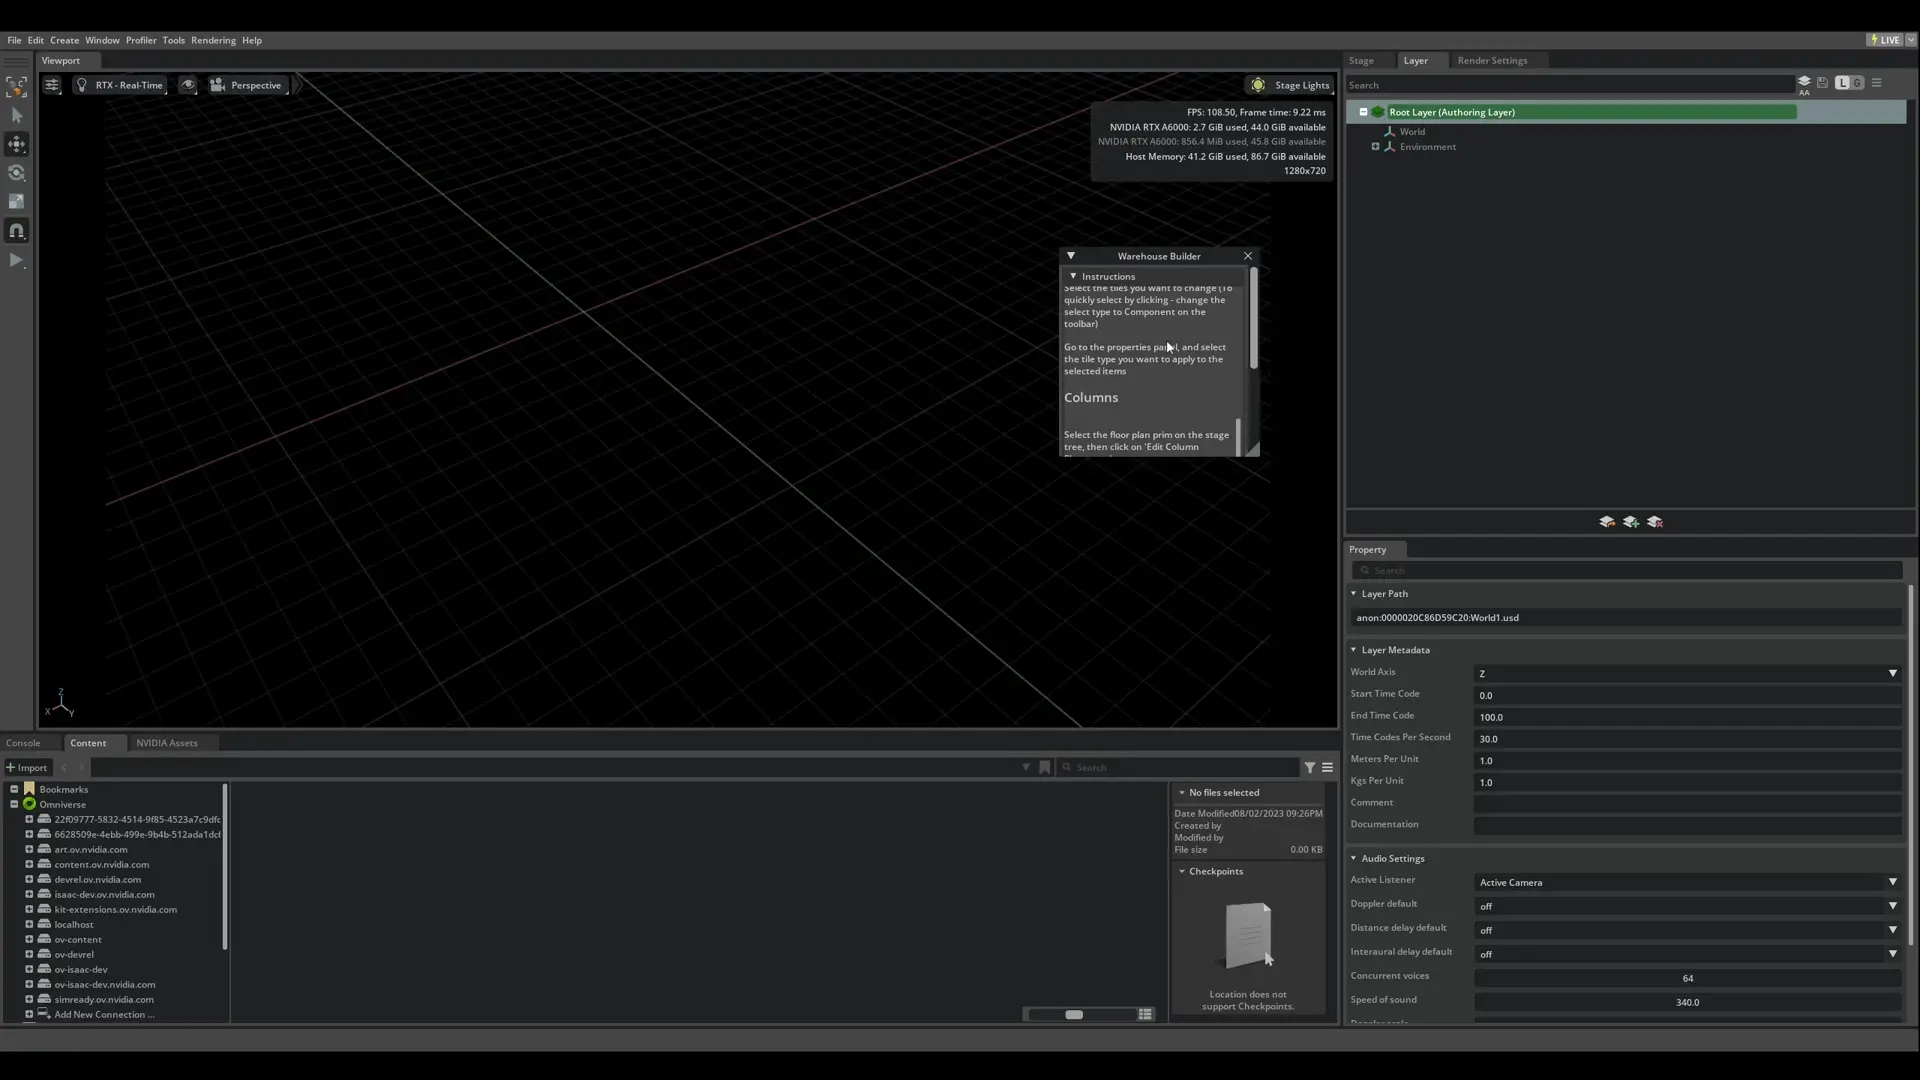
Start by navigating to Tools > Modular Warehouse Creator. a window will show:
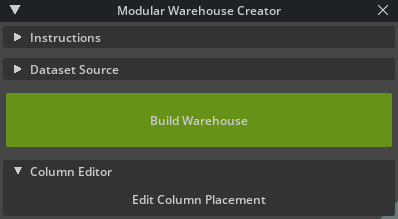
In The Instructions tab, there is a brief description on how to use it.
The Dataset Source tab contains a configuration to provide a location to use for the warehouse dataset. By default it automatically pulls from the Isaac Sim cloud, but you can set up a local nucleus for faster performance.
Drawing
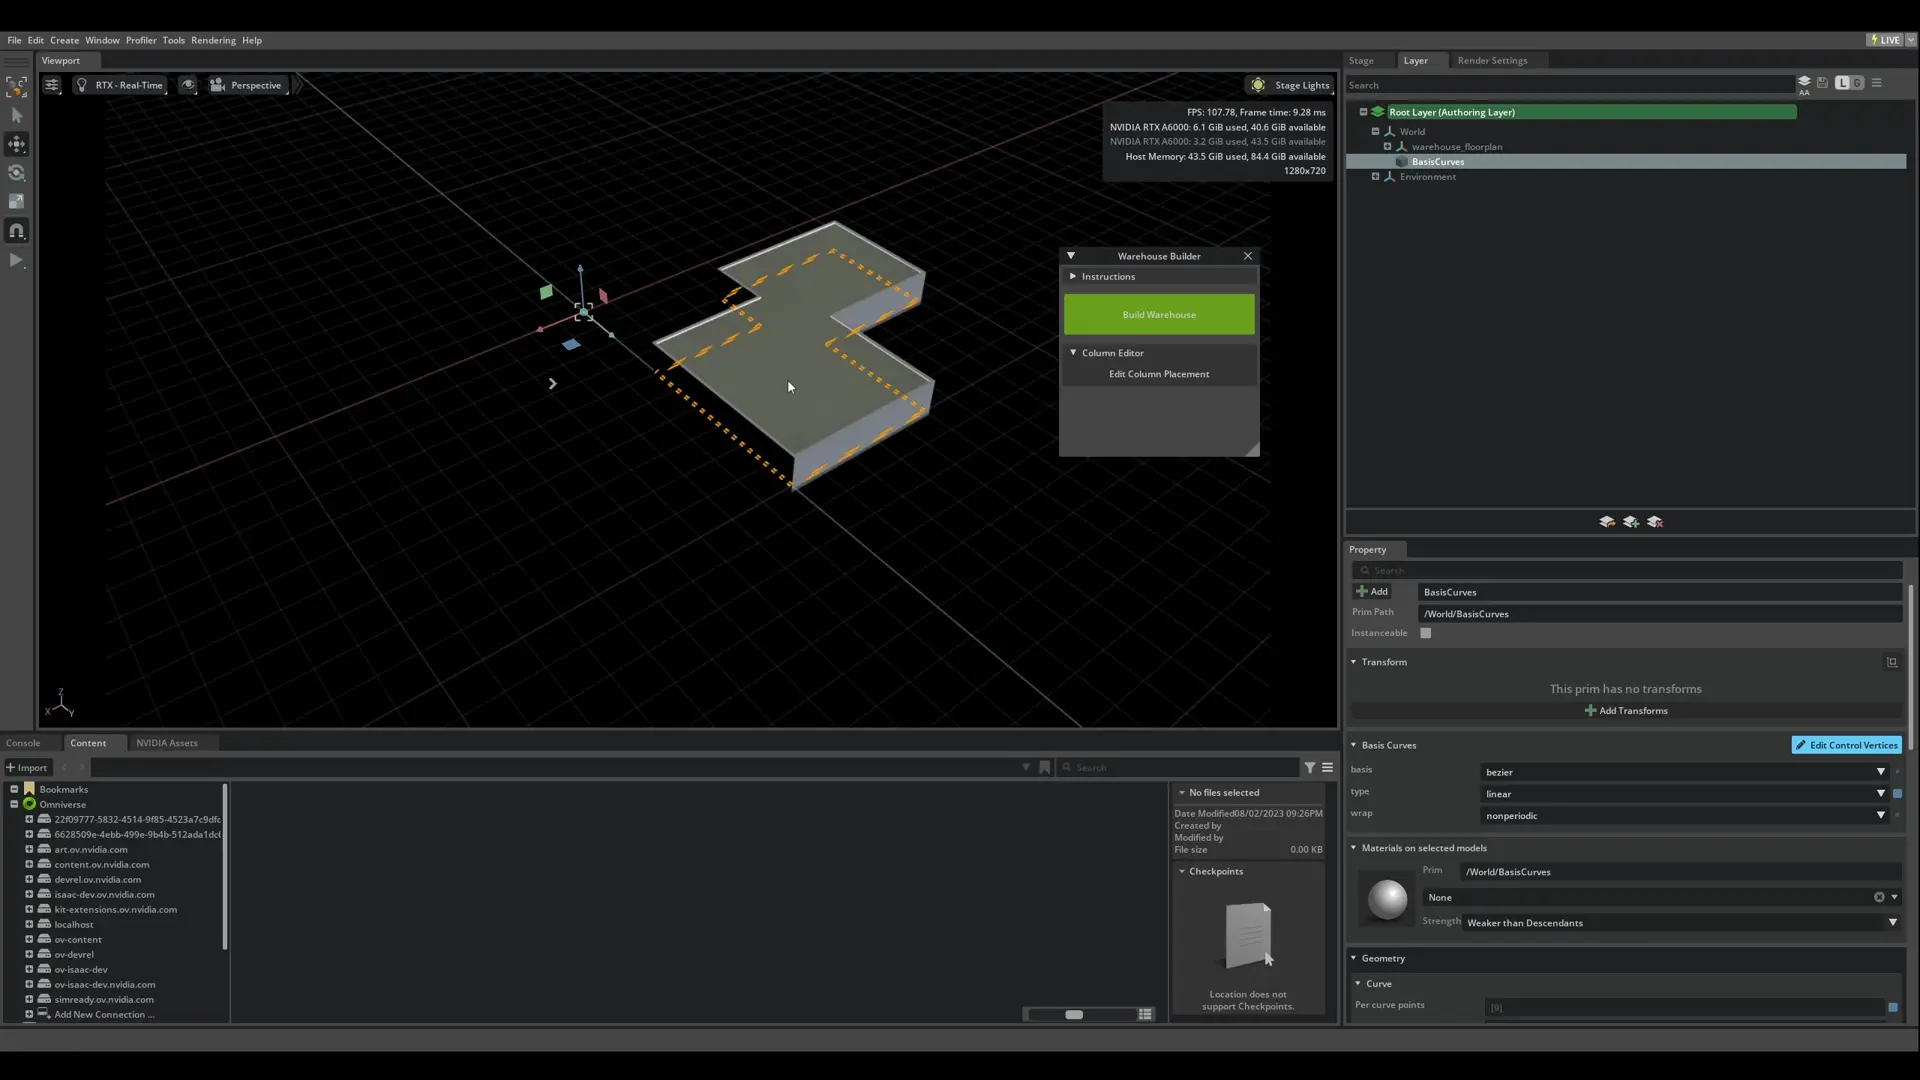
To begin the Warehouse Generation, click on “Build Warehouse”. It will place the viewport on build mode. Now every click on the viewport gets translated into a segment for your warehouse wall. The warehouse is built in a counter-clockwise order. Start by placing a starting point, and moving your way along the shape you want to make. All points will be automatically aligned by the warehouse tile size. To finish building the warehouse, place a final point at the start, and it will close the loop and place the center tiles to complete the warehouse.
Note
The points must form a perimeter of the warehouse shape. The builder does not handle crossing lines during warehouse generation.
Note
The UI prevents the user from placing two points too close to each other. In order to place the closing point, you can zoom in to the start point and click nearby it. The most effective way of achieving it is by placing it along the start edge opposite to the edge direction, like done in the demonstration video.
Styling
Most warehouse blocks have a selection of styles to choose from. By selecting the blocks, on the property panel you can pick the style you want to use for that Tile. Each style may serve a different purpose in a warehouse. like a loading dock, or an access panel.
Note
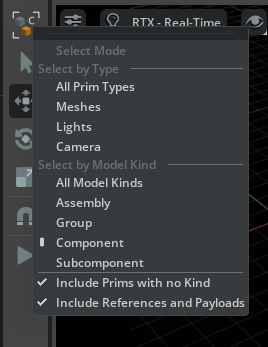
To facilitate selecting the blocks by clicking at them on the viewport, change the Select Mode by right-clicking the toolbar and set it to “Component”
To select the style scroll down in the Property panel, and choose the desired option for each block type. It will affect all selected blocks of that type.
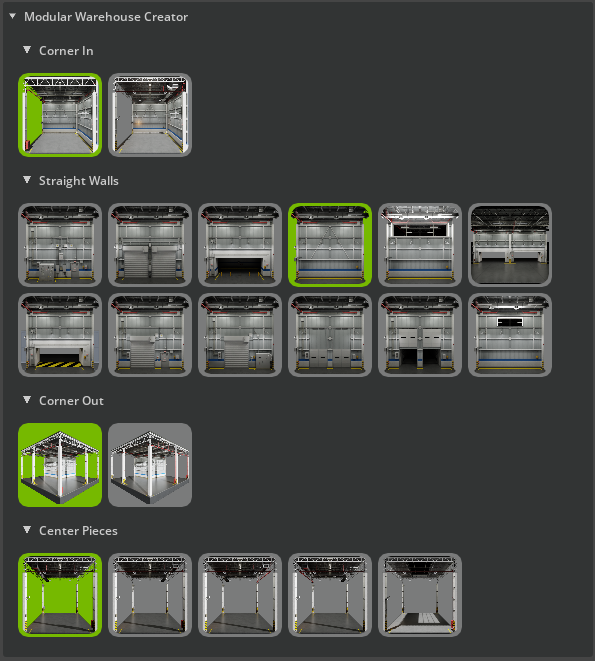
Block Styles
- The block styles are split by the type of blocks, which can vary from straight walls, corners in and out, or a center piece.
Editing Column placement
Every block’s internal corner contains a quarter of a column to it. By combining all adjacent blocks, a column is formed through all the sub-components. Figuring out which components to enable or disable when adding or removing a column can become easily cumbersome. To facilitate this effort, there is the column Placement editor. To use it, select the floor plan prim, and then click on “Edit Column Placement” on the warehouse creator window. This will put the editor in a column placement mode. The ceiling and details of the warehouse will be hidden, and the floor plan with the columns will show.
By clicking on a column, it will switch from “Enabled” to “Disabled” and vice-versa. “Enabled” columns are displayed in their default materials and appearance, while disabled columns are displayed in a translucent green. You can select multiple at once by click-dragging on the viewport. To enable or disable all columns, you can push the corresponding button in the UI. The Flip All button will reverse the enabled status in all columns. When you are done with column edit, Click Confirm and it will save your current selection. If you want to revert to how it was before entering editing mode, click on cancel.
