2.2. Add Simple Objects
In this tutorials, we will showcase the basic GUI functions that add simple objects to the stage, as well as inspecting and modifying their physics and material properties.
2.2.1. Learning Objectives
This tutorial details how to add simple primary shapes to the scene and edits their properties. We will cover how to
Add and manipulate simple shapes
Enable physics properties in objects
Examine collision properties
Edit physics properties such as friction
Edit material properties such as color and reflectivity
2.2.2. Getting Started
Prerequisites
Complete Isaac Sim Interface and Environment Setup prior to beginning this tutorial.
2.2.3. Adding Objects to the Scene
We will start by adding a Cube to the stage as the mobile robot’s body. Go to the Menu Bar and click Create > Shapes > Cube.
To change the size of the cube, select the Cube on the Stage tree, then go to the Property tab, find Geometry > Size. For now type in 1.0.
Move it above the ground and change its shape by using the gizmos. Keep the property tab open for the cube, and you will see that movements by the gizmo are reflected in the object’s transform.
You can also directly type into the property window to make your changes. Let’s fix the translation (Transform > translate) of the cuboid at (0, 0, 1), and the scale (Transform > Scale) at (2, 1, 0.5).
In the same manner as above, add a cylinder to the stage, change its Geometry > Radius to 0.5, and Geometry > Height to 1.0. Then place it at y = 1.5 and z = 1.0, and rotate it around the x-axis by 90 degrees.
Duplicate the cylinder we just made by right click it on the stage tree and Duplicate, and move it to y = -1.5 while keeping all other parameters the same.
Important
There is a known bug in the 2022.2.0 release that typing directly in the property window does not work for orientation transform in euler angles. This can be worked around by type in the quaternion angles instead, or using the gizmo directly.
2.2.4. Adding Physics Properties
When the objects are first added, they are only visual objects, with no physics or collision properties attached to them.
If you start the simulation by pressing Play and gravity is applied, these objects do not move because they are unaffected by physics.
Let’s turn them into rigid bodies with collision properties, as a robot should be.
Select the Cube and both Cylinders on the stage tree by clicking while holding down the
Ctrl + Shiftkey to select each object, or justShiftif they are consecutively listed on the tree.In the Property tab, click on the
+ Addbutton, and select Physics > Rigid Body with Colliders Preset.Press
Play, and all three objects should now fall to the ground.
“Rigid Body with Colliders Preset” automatically add both Rigid Body API and Collision API to the objects. Although these two APIs can be applied separately. You can have objects that have mass and are affected by gravity but have no collision properties, so you can pass right through them, as well as objects you can run into but hang in the air and are not affected by gravity. To check which APIs the selected object has, go to its Property tab, and scroll down to find sections labeled Rigid Body and Collider.
To add the APIs separately, find them under the same + Add button. To remove APIs, simply click on the X to delete the section.
2.2.4.1. Examine Collision Meshes
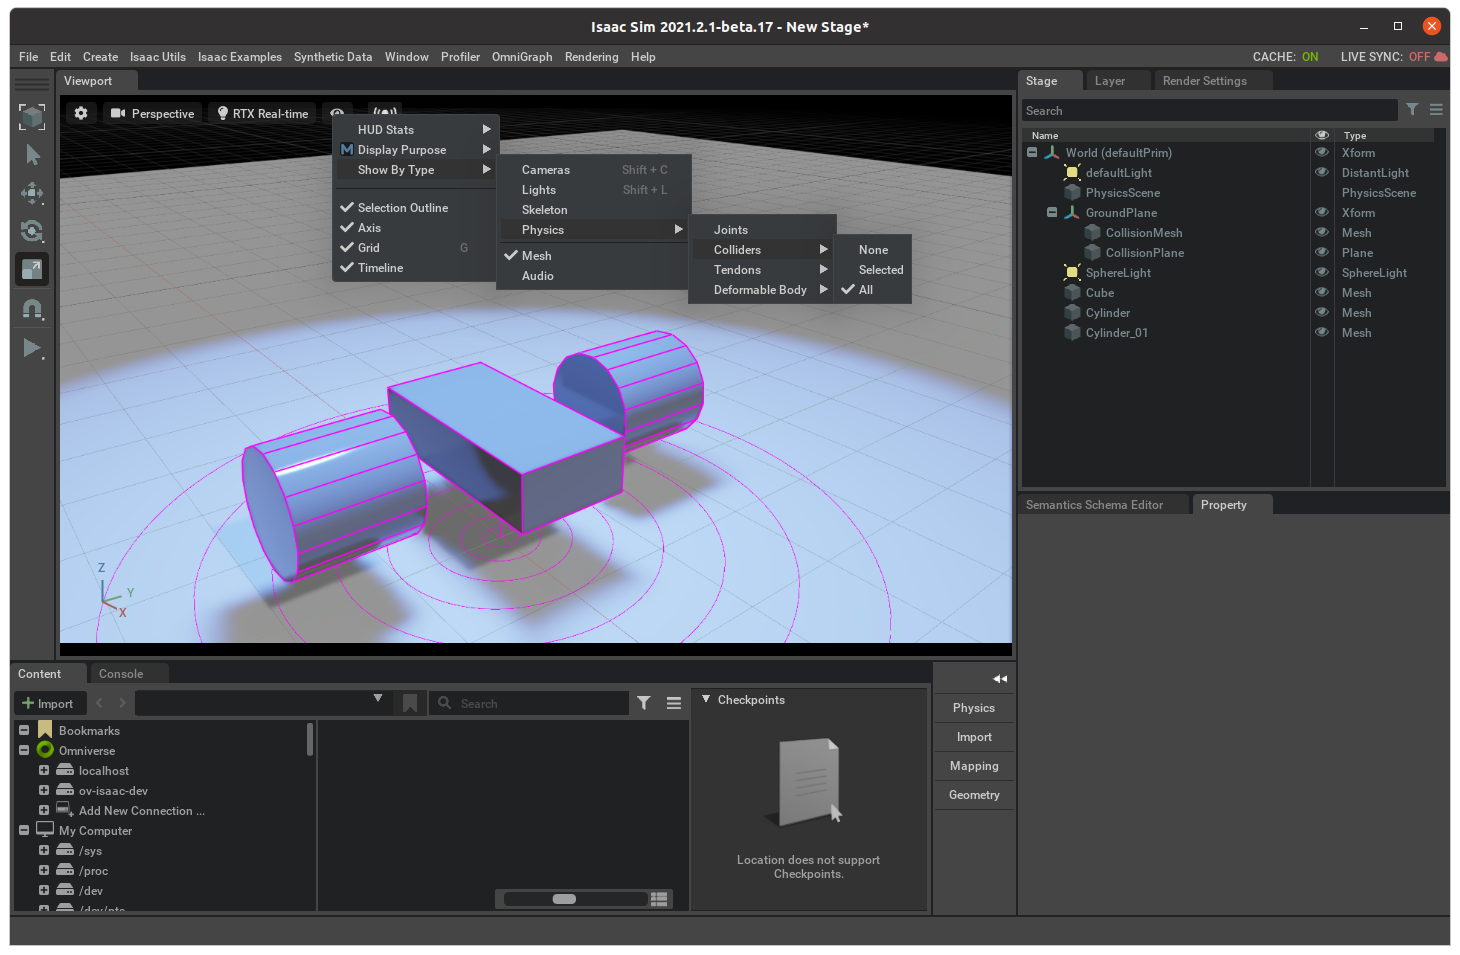
Sometimes you may need to visually examine the collision meshes for the objects. To see the outlines of the collision meshes, find the eye icon on top of the viewport, and click Show By Type > Physics > Colliders > All. Purple outlines should show up surrounding any objects that have collision APIs applied. In this case, it should be the cuboid, the cylinders, as well as the ground plane.

2.2.4.2. Adding Contact and Friction Parameters
For modifying frictional properties, we need to first create a different physics material and then assign it to the desired object.
Go to the Menu Bar and click Create > Physics > Physics Material, select Rigid Body Material in the popup box. A new PhysicsMaterial will appear on the stage tree. Parameters such as friction coefficients and restitution can be tuned in its property tab.
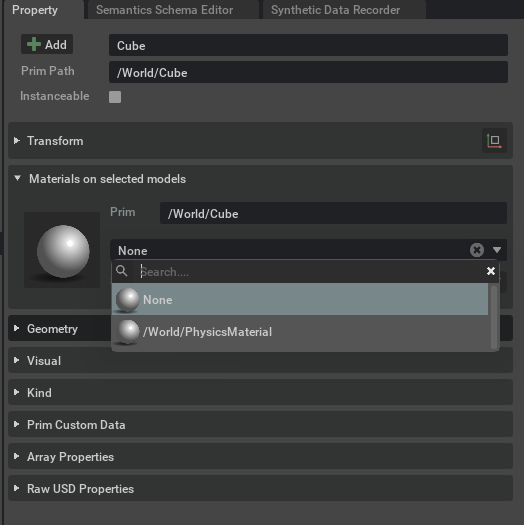
To apply the assigned physics material to an object, select the object in the stage tree, find the menu item Materials on Selected Model in the Property tab, and select the desired material in the drop-down menu.

2.2.5. Material Properties
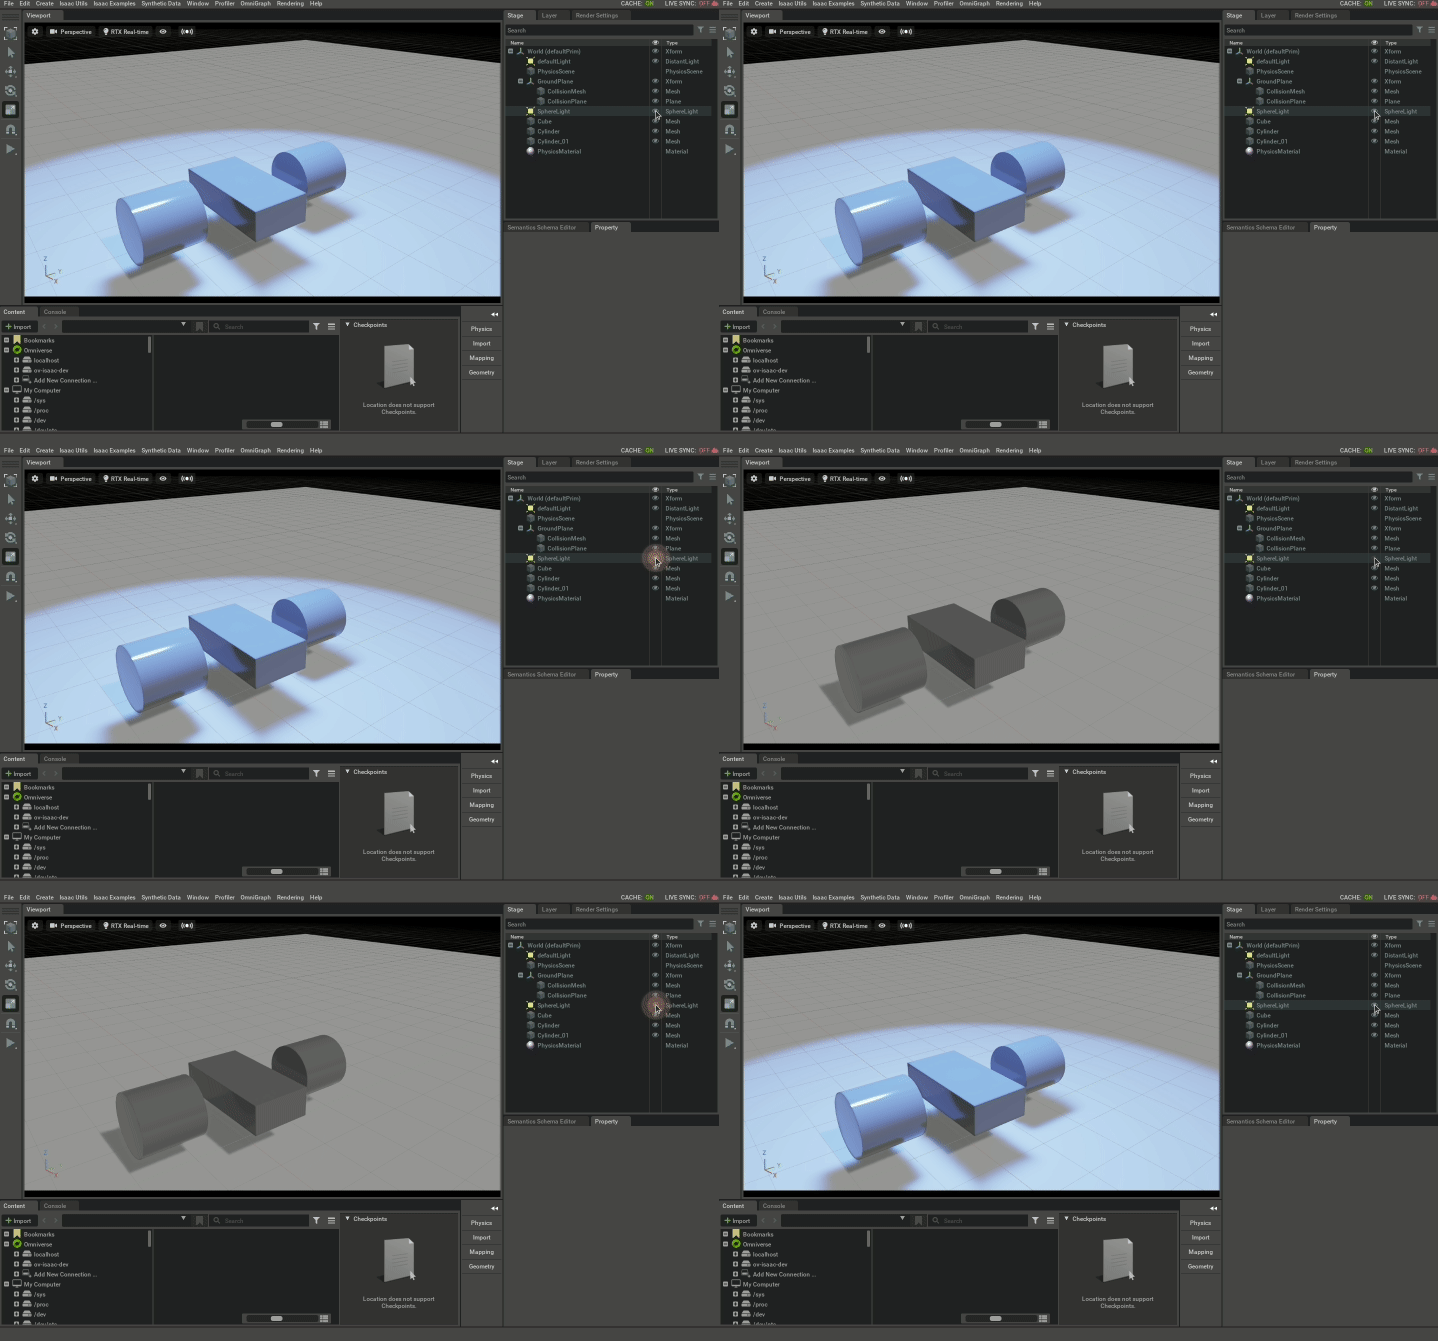
The objects may reflect the color of the spotlight we’ve added earlier, but it doesn’t actually have any colors assigned. You can confirm it by turning off the spotlight.

To change the color of the object, we need to first create a different material and then assign it to the objects, just like with the physics materials. Let’s create two, one for the body of the car and one for the wheels.
Click Create -> Materials -> OmniPBR twice.
Right-click on the newly added materials on the stage tree and rename them to body and wheel.
Assign the corresponding rigid bodies to the newly created materials by going to the Materials on selected models item in its Property tab, and select the matching material from the dropdown box.
Change the property of the new materials. Select one of them on the stage tree, change its base color in Material and Shader/Albedo and play with its reflectivity roughness and whatever else you find interesting. You should see the color of the corresponding parts on the car change accordingly.
2.2.6. Summary
This tutorial explained how to add and manipulate object properties in the GUI. The following topics were covered:
Adding primitive shapes onto the Stage.
Editing material properties, physics properties, and collision properties.
2.2.6.1. Next Steps
Continue to Working with USD to learn how to save your world and load assets in USD format inside Omniverse Isaac Sim.
Go to Assemble a Simple Robot to learn how to turn these geometries into a moving car.
2.2.6.2. Further Reading
More on Materials as part of Omniverse USD Composer