Customer Cache Data Protection#

Overview#
Customer Cache Data Protection enables encryption of the content and derived data cache services for Omniverse on DGX Cloud.
This document follows this Microsoft step by step guide: Encrypt managed disks with cross-tenant customer-managed keys.
Architecture#
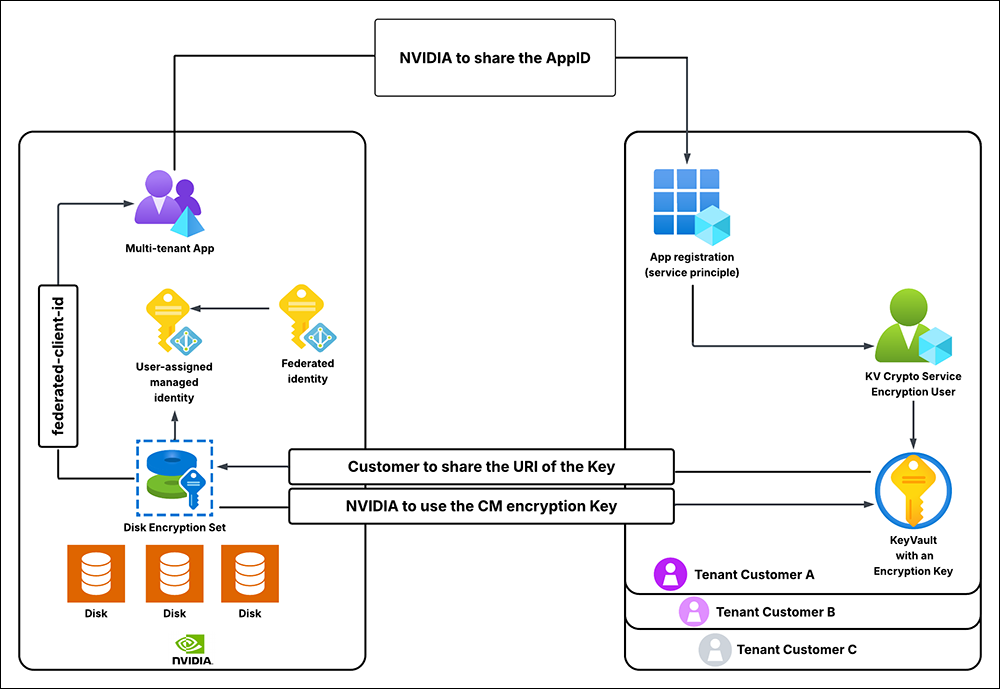
Scope and Limitations#
It takes a considerable amount of time (up to one hour per Microsoft Azure guidance) for key status changes to propagate. This means if the customer revokes / deletes / restores the key on their side, it might take the aforementioned amount of time for the caching microservices to stop / restart working.
The Azure Key Vault must be configured with Soft-Delete and Purge-Protection. This is an Azure requirement.
The Azure Key Vault must exist in the same Azure location as the Omniverse on DGX Cloud caching services. NVIDIA will provide guidance of the location to spin up the Key Vault instance. This is an Azure requirement.
Getting Started#
Register the Application#
Register the application in your Microsoft Azure tenant. Using the Azure CLI, execute the following command:
az ad sp create --id <custom_app_name>
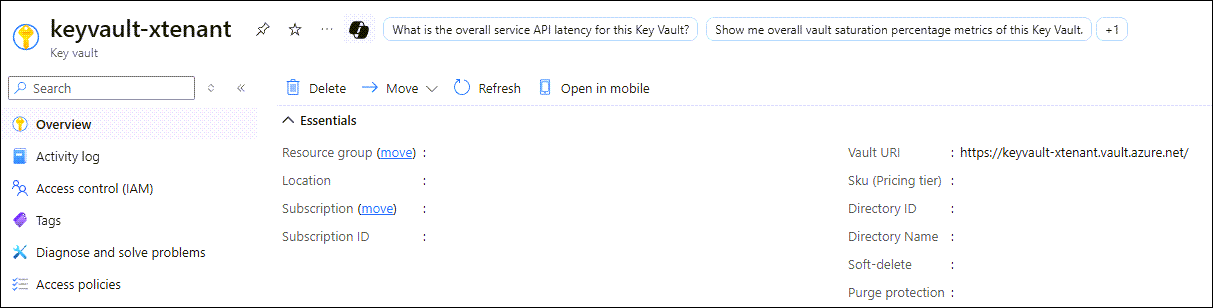
Navigate to the Azure Key Vault#
Go to your Azure Key Vault page:
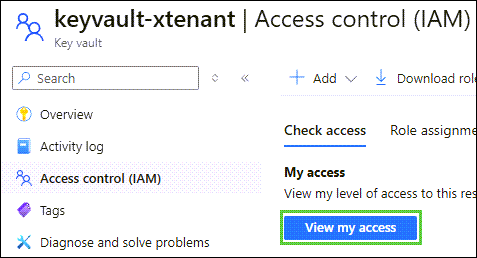
Verify Key Vault Crypto Officer Role Assignment#
Click
Access control (IAM), followed byView my access:
In the menu, filter roles by
Key Vault Crypto Officer:
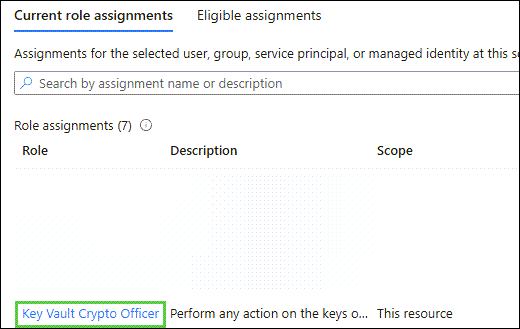
Confirm your account has the
Key Vault Crypto OfficerRole assigned to it. If it does, skip the next section.
Assign the Key Vault Secrets Officer Role#
Note
Skip this section if you already have the Key Vault Secrets Officer role assigned to your account.
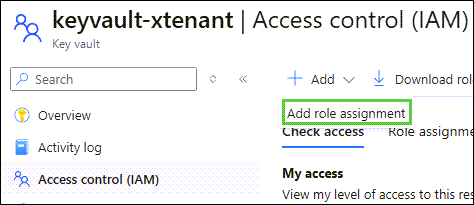
Click
Access control (IAM),Add, followed byAdd role assignment:
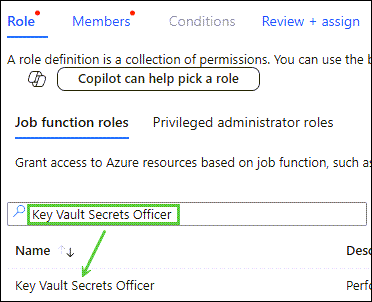
Search for
Key Vault Secrets Officerand clickKey Vault Secrets Officer. Confirm the selected role isKey Vault Secrets Officer, followed byNextat the bottom of the window:
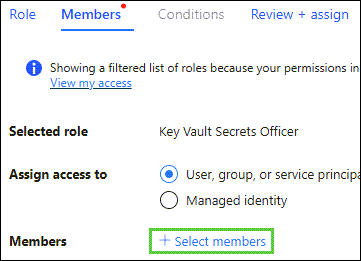
At the Members window, click
+ Select members:
Click your account from the list of members to choose from, followed by
Selectand thenReview + Assigntwice:

Add a Key Vault Crypto Service Encryption User Role to the Service Principle#
Click
Access control (IAM),Add, followed byAdd role assignment:
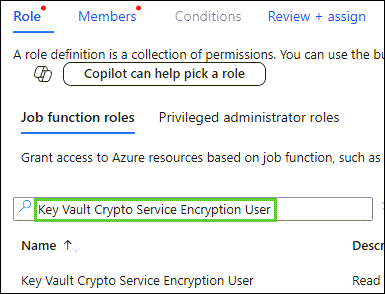
Filter by
Key Vault Crypto Service Encryption User, click the role, followed byNext:
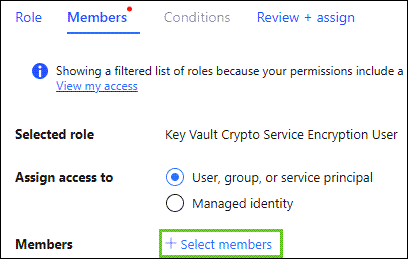
At the Members window, click
+ Select members:
Click your account from the list of members to choose from, followed by
Selectand thenReview + Assigntwice:
Create a New Key Vault Key#
Note
Skip this section if using an existing key.
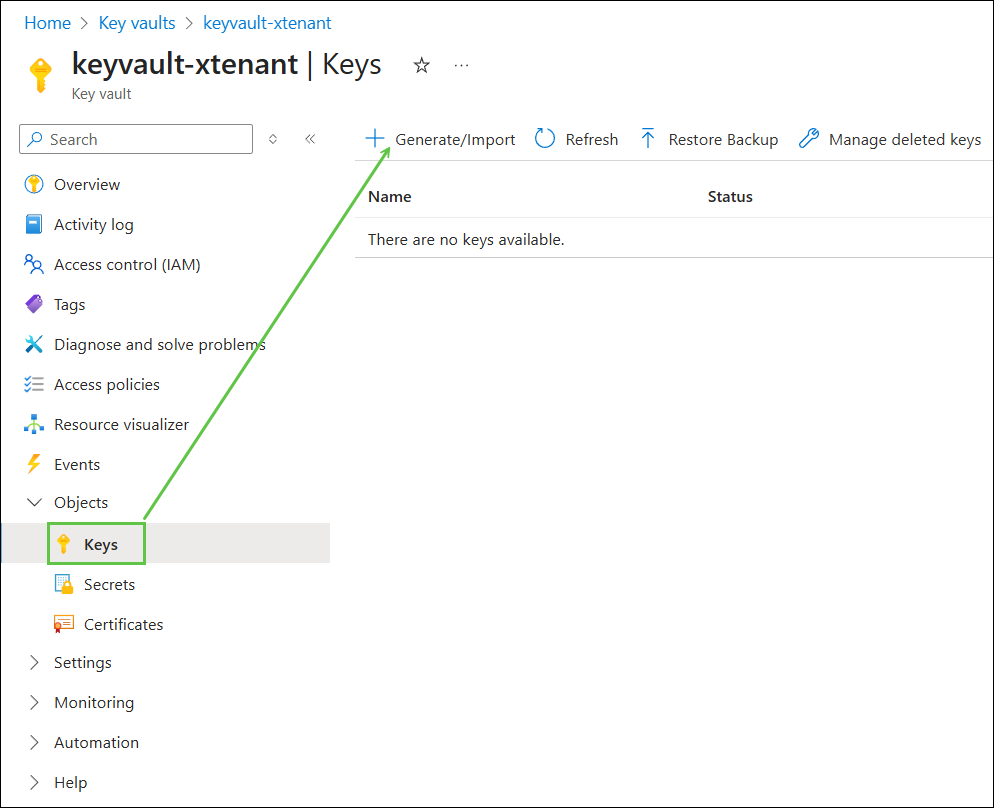
In the
Objectsmenu, clickKeys, followed byGenerate/Import:
Following your security policies, enter a preferred name, followed by
Create:
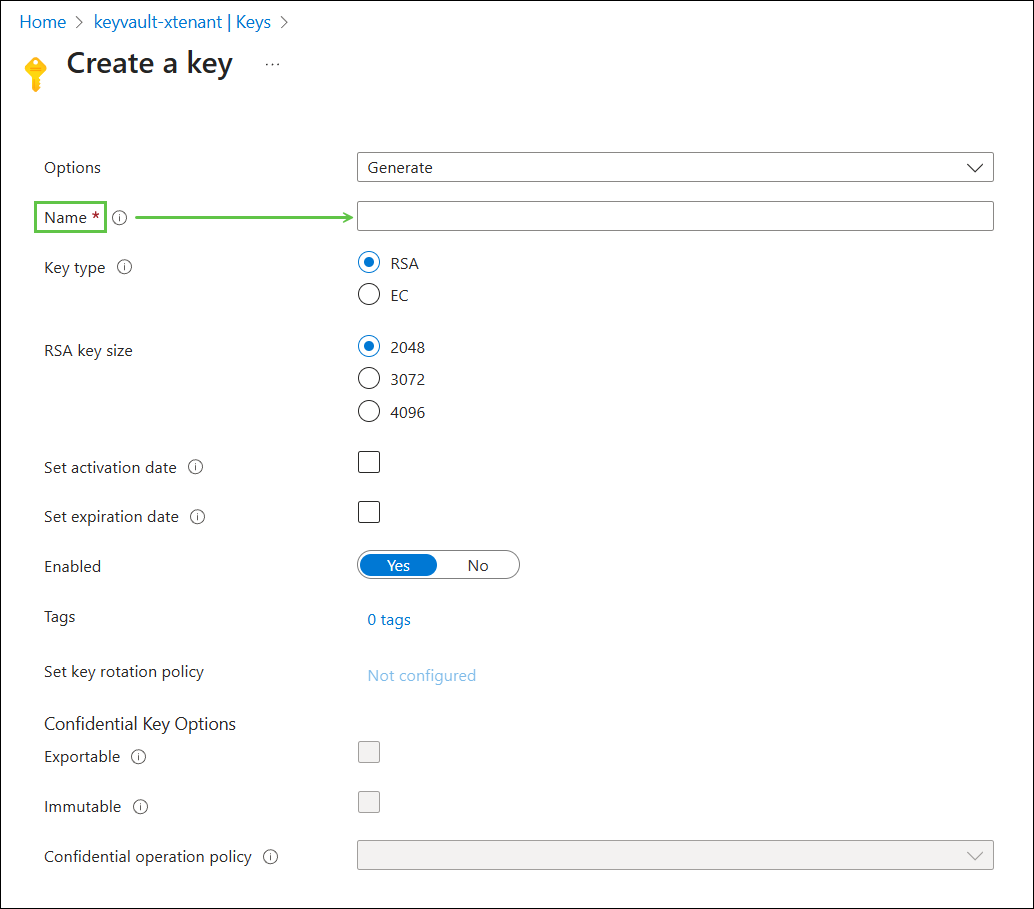
Note
It is strongly recommended that a key rotation policy is set during this step which matches your security policies.
Information to Send to NVIDIA#
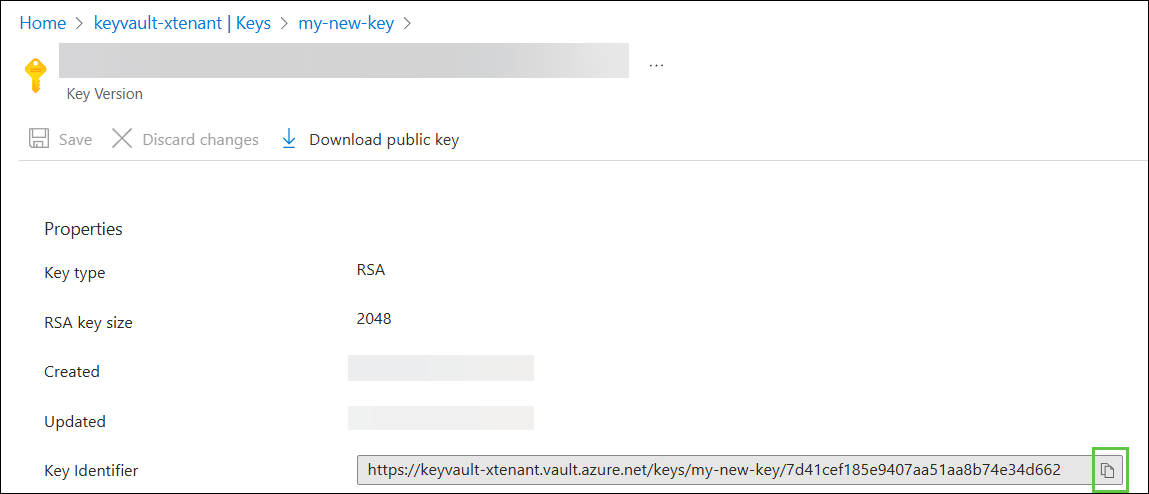
Full URL of the Key Identifier#
Click the key you intend NVIDIA to encrypt their volumes with, then click Current Version of the key:

Use the Copy to Clipboard button to copy the Key Identifier and share it with NVIDIA: