Add Materials & Textures#
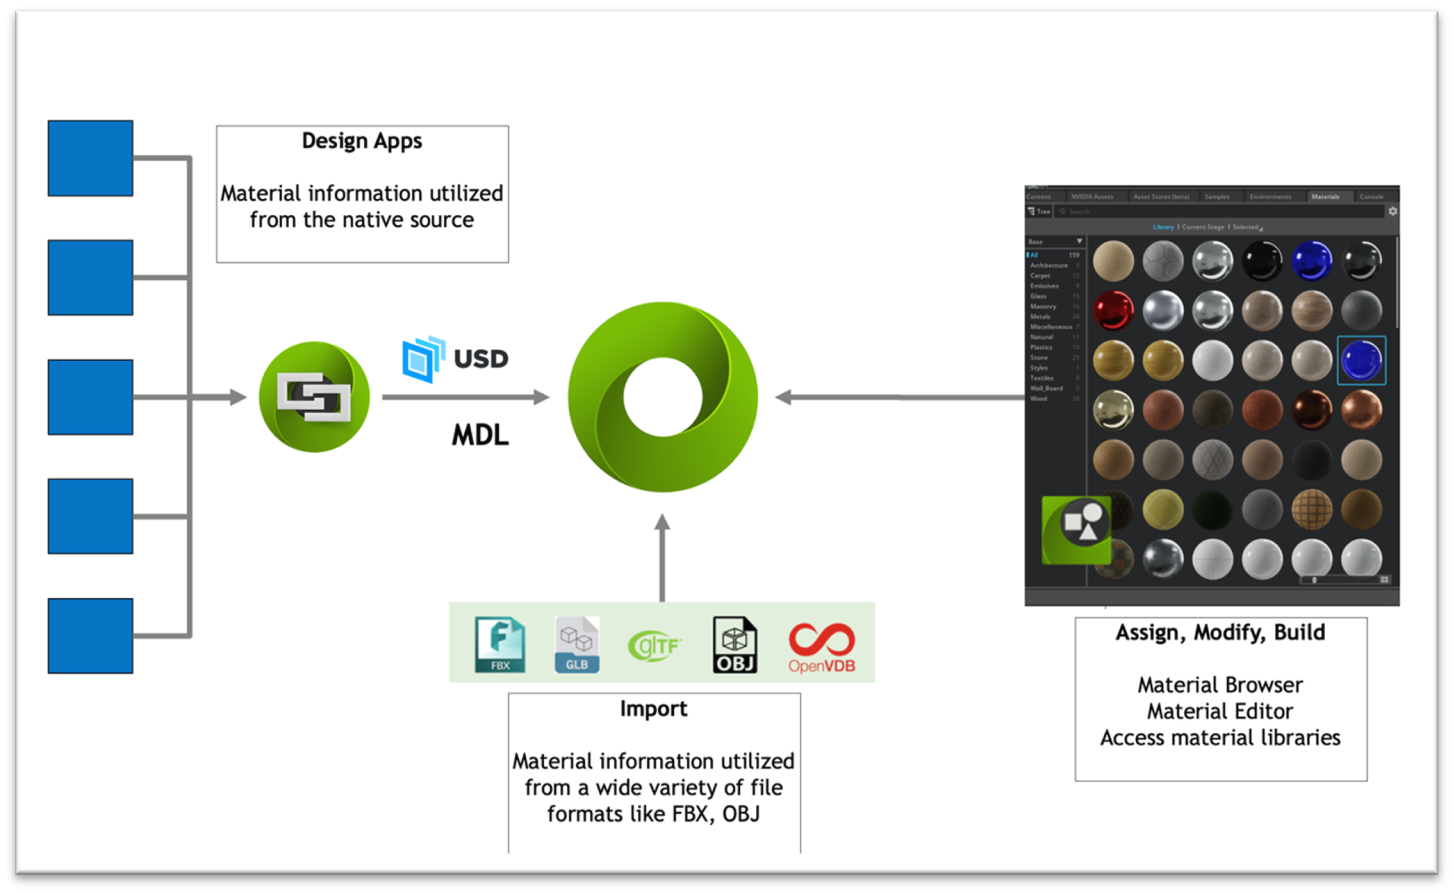
Materials in Omniverse are supported using MDL. Omniverse comes with several template materials, including a physically based glass; several general purpose multi-lobed materials useful for dielectric and non-dielectric materials, skin, hair, liquids and other materials requiring subsurface scattering or transmissive effects; and USD’s UsdPreviewSurface.
In this tutorial, we will learn how to create a “plane” mesh and apply a material to it from the “Materials” library.
Under Create -> Mesh, you will see the various mesh types to choose from (1).
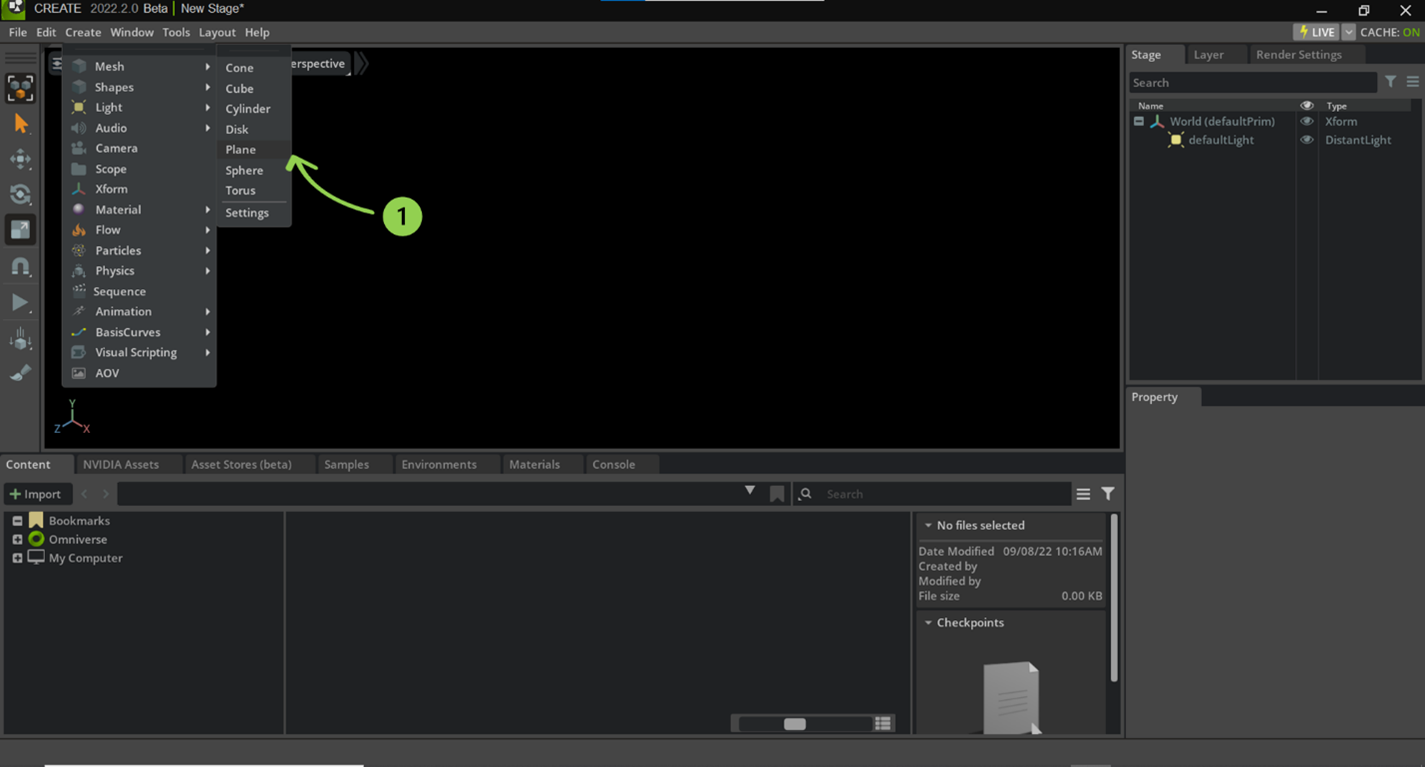
Once you have selected “Plane” (1), your mesh should be displayed within the “Stage” window as shown on the right (2).
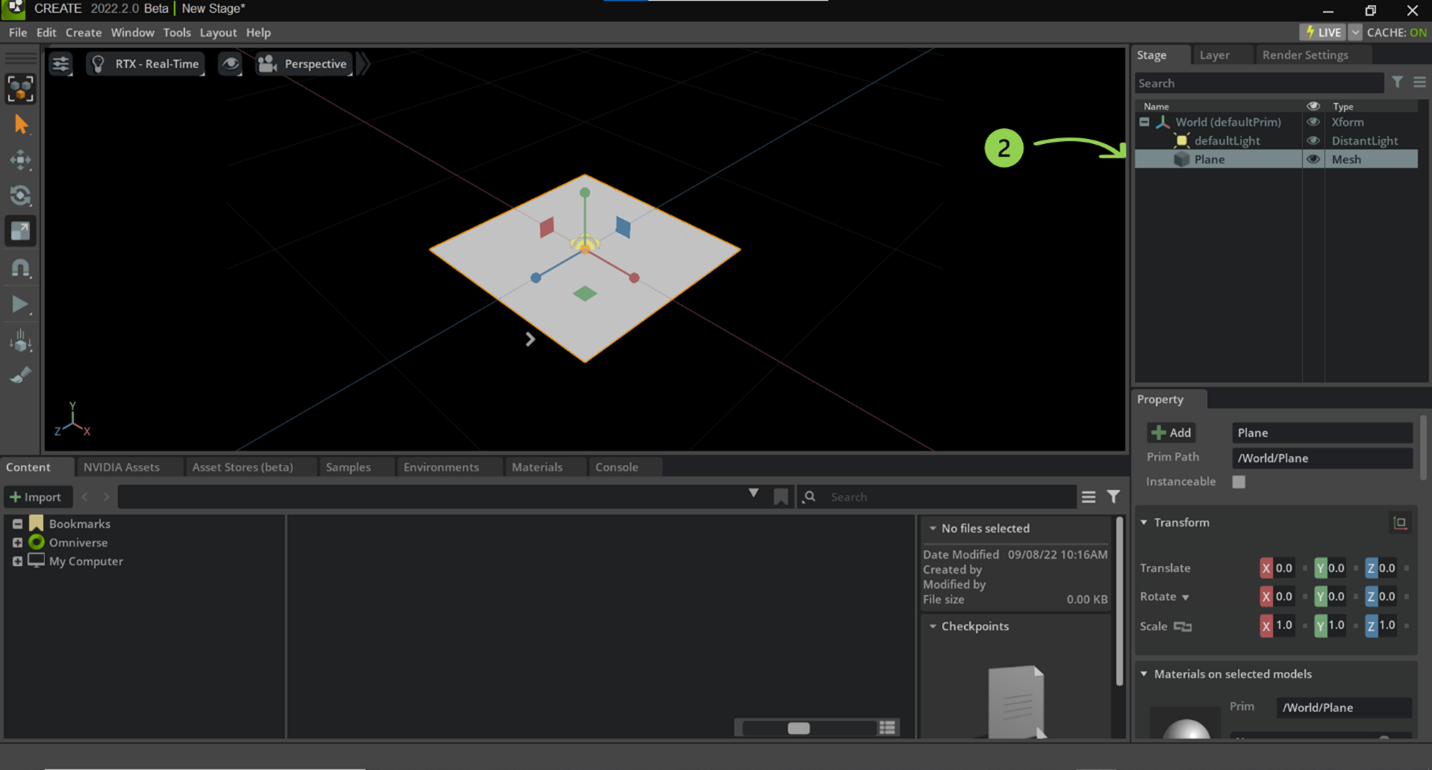
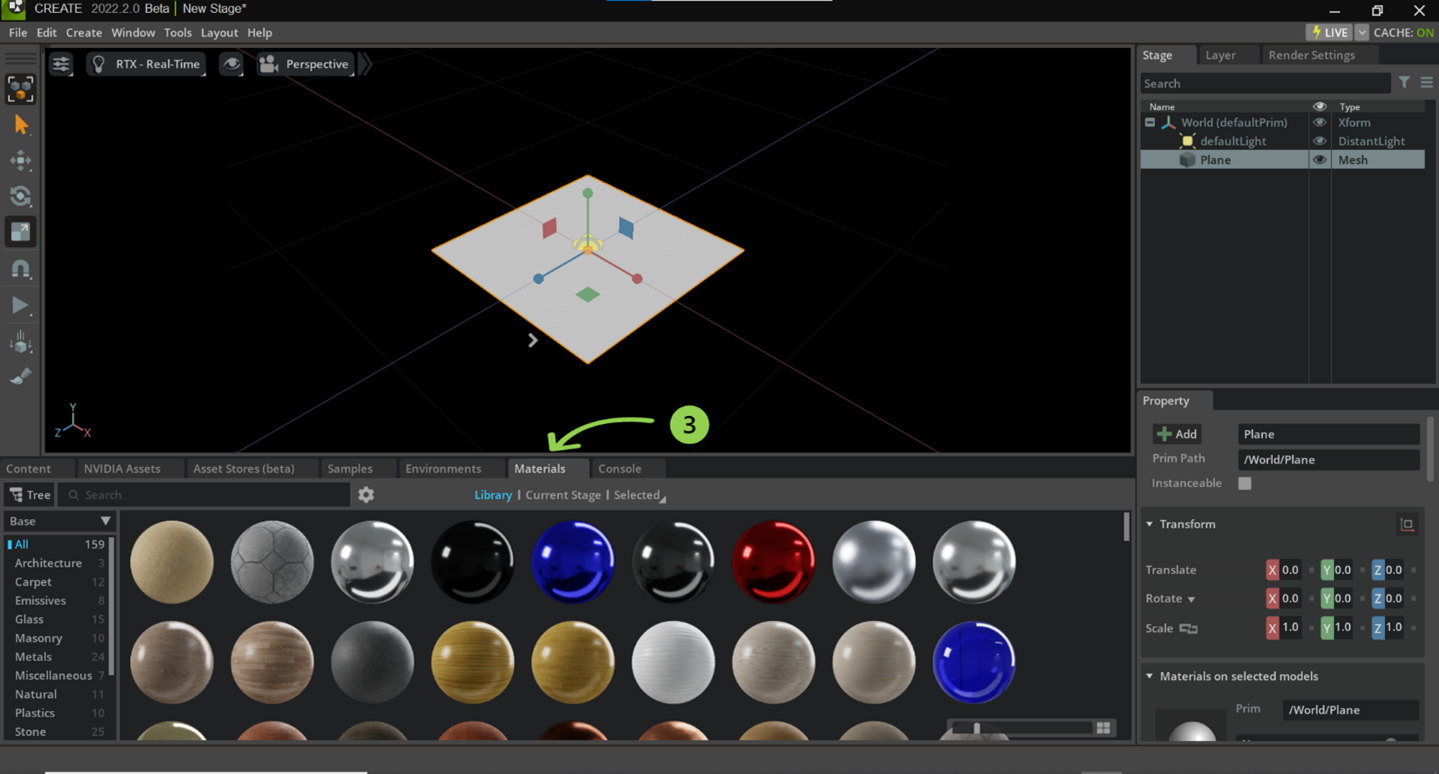
Now that the mesh has been created, a material may be applied to it from the “Materials” library which is located below the Omniverse Viewport (3).
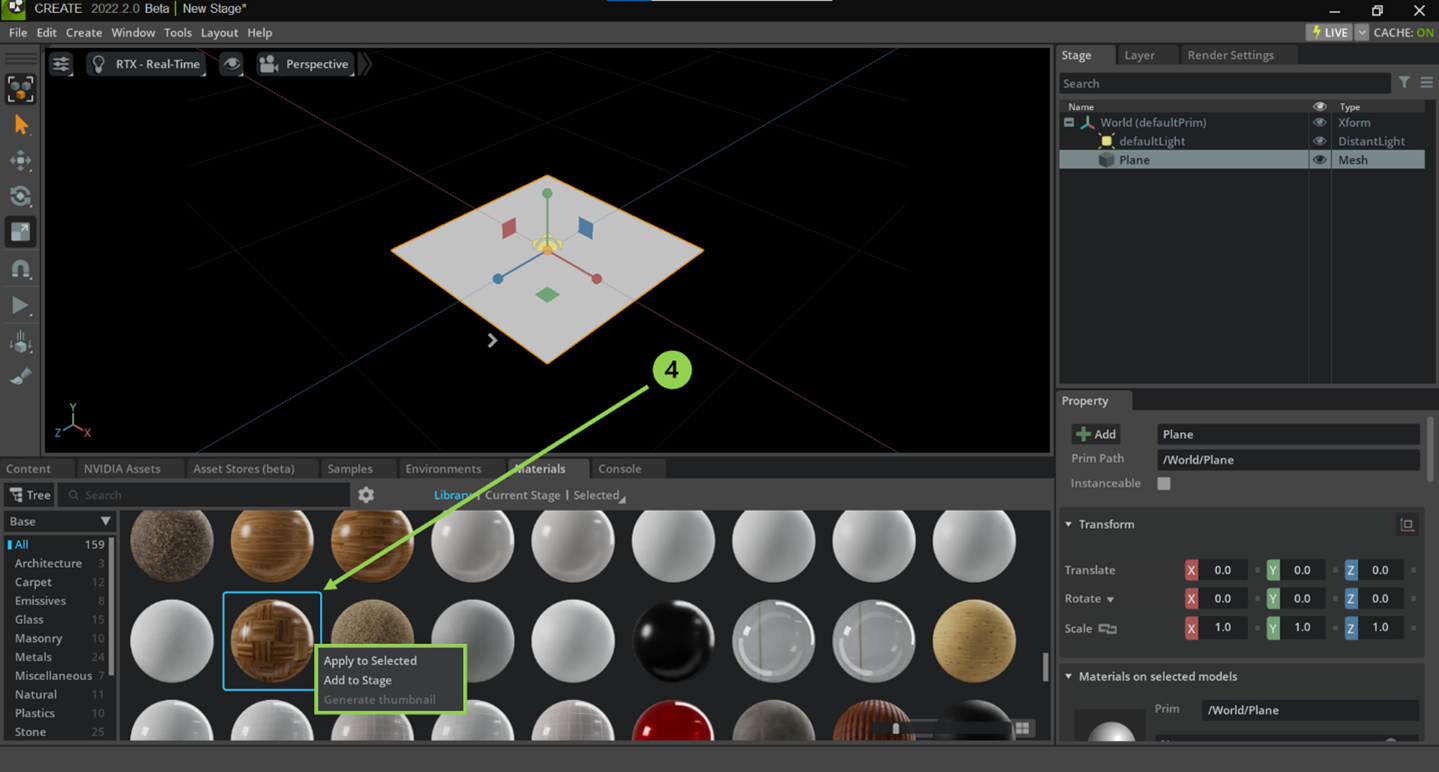
These materials can be applied to your asset by selecting your asset, right clicking the material, and selecting “Apply to Selected” (4).
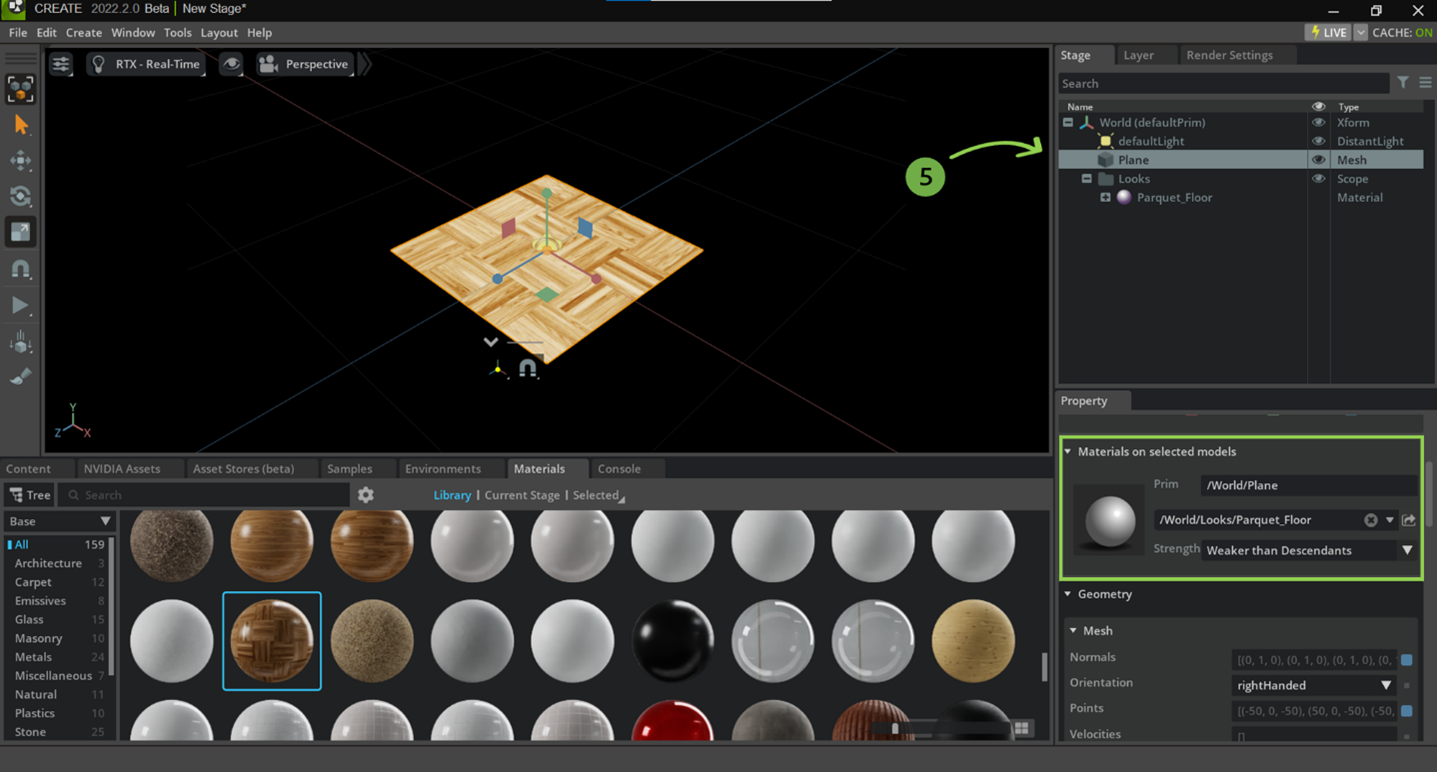
Once the material has been applied to the selected asset, the properties tab will update with the path of the material the asset is referencing. Additionally, a “Looks” folder will appear in the “Stage” window containing the material you have applied to your object (5). Materials within your scene will be located here. Read more to learn about Materials and Rendering.
