Setup Omniverse SDK#
To develop a new Kit XR template app, you start by setting up the necessary settings and dependencies. This involves using the Kit app template as the foundation for our XR-specific template. The Kit app template allows developers to fork, customize, and use it for developing, packaging, and sharing their extensions. This toolkit is crucial for developing GPU-accelerated applications within the NVIDIA Omniverse ecosystem. It includes pre-configured templates, tools, and sample code designed to simplify and expedite the creation of high-performance applications using OpenUSD.
Clone the Kit Repository#
Choose a folder on your local machine to install the repository, keeping the directory structure shallow with minimal nested subdirectories when building your application. Be sure to create a new folder instead of using a location where other templates reside, as this could lead to configuration errors or conflicts due to updates to the template. If you clone the repository in a folder containing other repositories and encounter issues from a template change, follow the instructions in the Troubleshooting page to resolve the problem.
Copy the Github repository URL, you will need it for a later step:
https://github.com/NVIDIA-Omniverse/kit-app-templateOpen a new terminal in your code editor.
git clone https://github.com/NVIDIA-Omniverse/kit-app-template.git
Note: This release is targeted for Kit SDK 107.3, if future versions of Kit are released after this guide is created, check for a 107.3 branch.
Navigate into the newly cloned directory.
cd kit-app-template
In the terminal, use the template new command.
.\repo.bat template new
This command creates an application containing the Kit SDK.
When prompted: `Select what you want to create -` Select `Application`
When prompted to `Select desired template:`
Select USD Composer to create a Kit app for authoring, editing and testing your USD data in XR. Or:
If you’d like to create a smaller footprint application just for streaming your USD, you can instead select Kit Base Editor.
Give your application and sample extension a desired name and version. We won’t be using a sample extension for this guide, so you can leave the extension name at its default value.
When prompted: `Do you want to add application layers?` Select `No.`
Modify your Kit App Extensions & Settings#
Open:
\kit-app-template\source\apps\{templateFileName}.kitin your code editor.Include the following extensions to the end of the
[dependencies]list.# XR extension bundle for AVP development "omni.kit.xr.bundle.apple_vision_pro" = {} "omni.kit.xr.cloudxr" = {}
This Omniverse XR extension bundle encapsulates tools and settings for XR development, AR support, and XR simulation, enabling efficient creation and testing of immersive experiences.
Add the following settings to the end of the
[settings]list.xr.openxr.preferNVOpaqueDataChannel = true
This will use the updated server-client data channel found in CloudXR 6.0 and later.
For the USD Composer Template locate the section for framerate limiting and comment out the currentPreset
[settings.exts."omni.kit.viewport.menubar.framerate"]
visible = true
#currentPreset = "60x2"
Save your .kit file.
Build and Launch the Kit Application#
To be able to run the application, you need to build it first. The build process compiles your application and its extensions, preparing them for launch.
In the terminal window, enter the following command to build your app:
.\repo.bat build
When the build process is finished, a message appears:
BUILD (RELEASE) SUCCEEDED (`<time taken>`)
Type the following command to launch your application:
.\repo.bat launch
The first time a Kit application is launched it will compile and cache the RTX shaders, this can take several minutes.
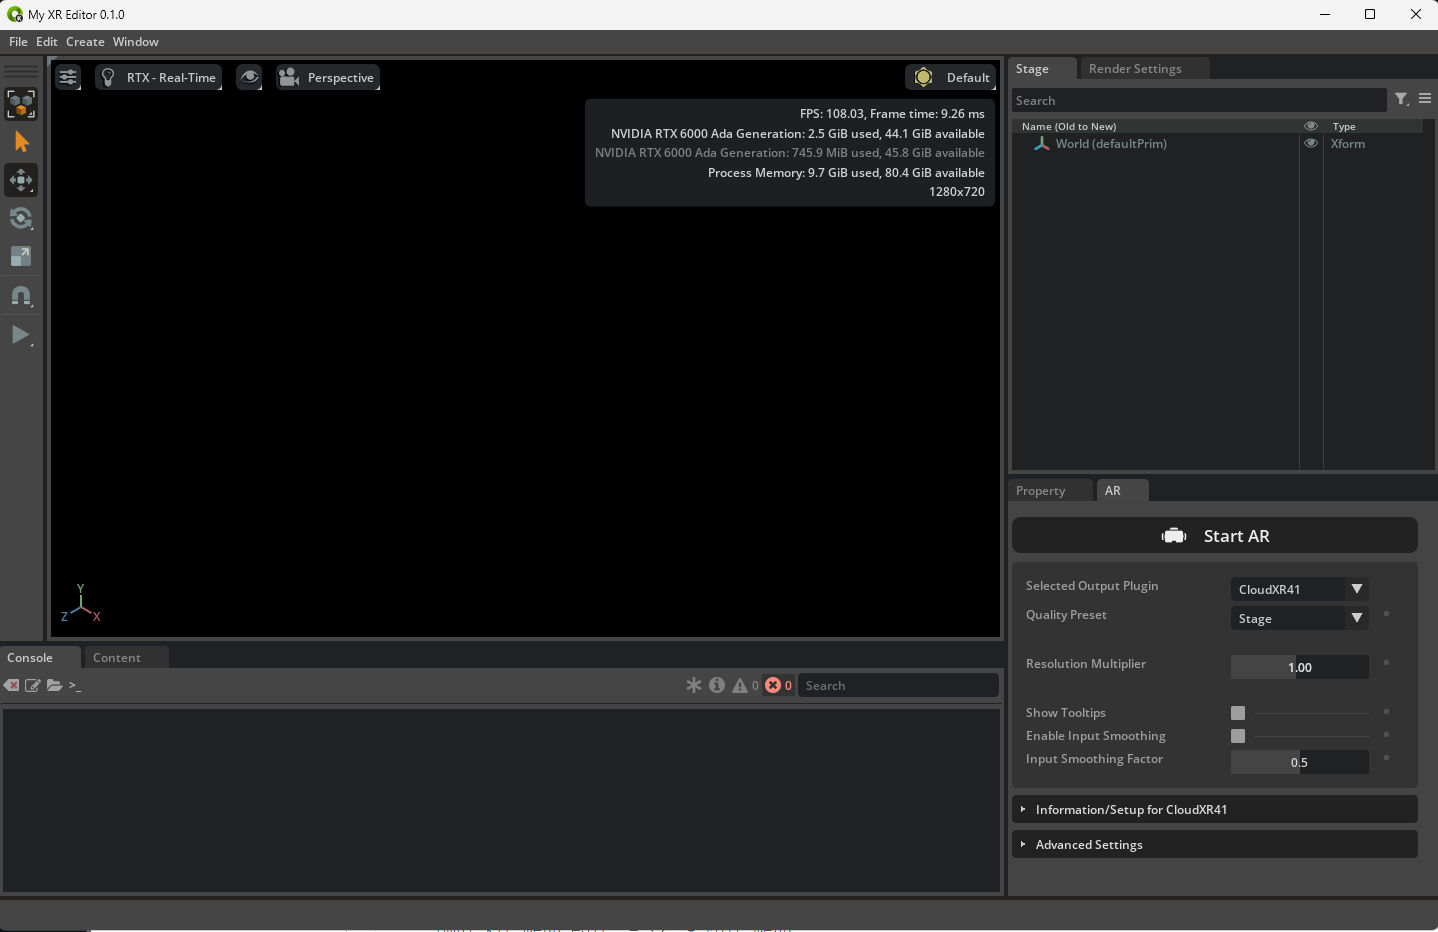
When the launch process is complete, the application opens in a new window. You may need to dock the AR panel.
Once our application is built, you’re ready to open your dataset.
First locate the asset file included in the Workflow Example. Or download the USD dataset from the NVIDIA Developer downloads page (visionpro_purse_example.7z).
Open the visionpro_purse_example.usd file and allow all the files to load. This file uses ActionGraph Script Nodes which display warnings about executing Python code when you open the scene. Click OK to continue. At this point, if you need to get more familiar with Omniverse, its default interface and UI, or OpenUSD, head to our getting started guides. To understand more about what you can do with Kit App Template, refer to the Kit App Template Companion Guide.
Launch App in Simulated XR#
Let’s run this stage with Simulated XR - our XR output system that runs inside Omniverse and does not require a headset to emulate the resolution and stereo output of an immersive device.
Locate the Panel named AR.
Change the Output Plugin from OpenXR to Simulated XR.
Click Start AR.
The Viewport should show both eyes being rendered with the correct resolution. You can use the normal Viewport controls to move around the scene. For the Purse, you can use the debug keys we’ve set up in our logic graph: 1 cycles through the colors, 2 cycles through the styles, 3 cycles through the cameras, 4 toggles context mode, and 5 cycles through the environments.
By default, Simulated XR leverages resolution and foveation settings configured in the Advanced Settings of the AR panel. Use the following launch flags to automatically set the SimulatedXR settings to match the ones used for Apple Vision Pro:
--/xr/profile/ar/simulatedxr/stereo/left/fovX/0=-1.4896
    --/xr/profile/ar/simulatedxr/stereo/left/fovX/1=1.4896
    --/xr/profile/ar/simulatedxr/stereo/left/fovY/0=-1.1917
    --/xr/profile/ar/simulatedxr/stereo/left/fovY/1=1.1917
    --/xr/profile/ar/simulatedxr/stereo/right/fovX/0=-1.4896
    --/xr/profile/ar/simulatedxr/stereo/right/fovX/1=1.4896
    --/xr/profile/ar/simulatedxr/stereo/right/fovY/0=-1.1917
    --/xr/profile/ar/simulatedxr/stereo/right/fovY/1=1.1917
    --/xr/profile/ar/render/nearPlane=0.15
--/xr/profile/ar/foveation/warped/resolutionMultiplier=0.40
    --/xr/profile/ar/foveation/warped/insetSize=0.60
    --/xr/profile/ar/simulatedxr/stereo/resolution/0=6000
    --/xr/profile/ar/simulatedxr/stereo/resolution/1=4800
Configure CloudXR#
Stop any existing Simulated XR modes that might be running by clicking Stop AR from the AR Panel.
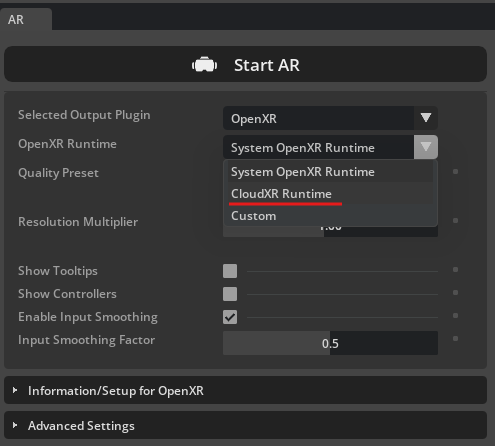
Change the Output Plugin from Simulated XR to OpenXR and change the OpenXR Runtime to CloudXR 6.0(Native)
Note
In previous versions of Kit you may see CloudXR 5.0 or CloudXR41 in the dropdown. These are previous versions of CloudXR intended to be used with those versions of Kit.
Click Start AR.
You know that you have successfully started the server with the runtime when you see this message within the viewport window: “Status: AR profile is active”

Find IP Address: Type
ipconfigin the Command Prompt (Press Win + R, typecmd, and hit Enter). Take note of the IP address for use in connecting the client to the server.Manage AR Session: You can now either “Stop AR” or leave the server running in the background while you set up the client.
Later, you’ll start to manipulate the ActionGraph logic in the scene, but first, let’s set up our Xcode environment.