Client Setup - macOS & Swift#
The client setup is done on an Apple Silicon-based Mac (macOS) and an Apple Vision Pro device (visionOS).
Requirements#
Enroll in the Apple Developer Program (required for deploying to a device).
Your developer account and signing profiles need to be set up in Xcode before deploying to a device.
Next you’ll set up your developer account and signing profiles in Xcode. Additionally, your developer account needs to be trusted by your device. This is required for deploying to device.
In the Apple Vision Pro headset, if you see the prompt below:
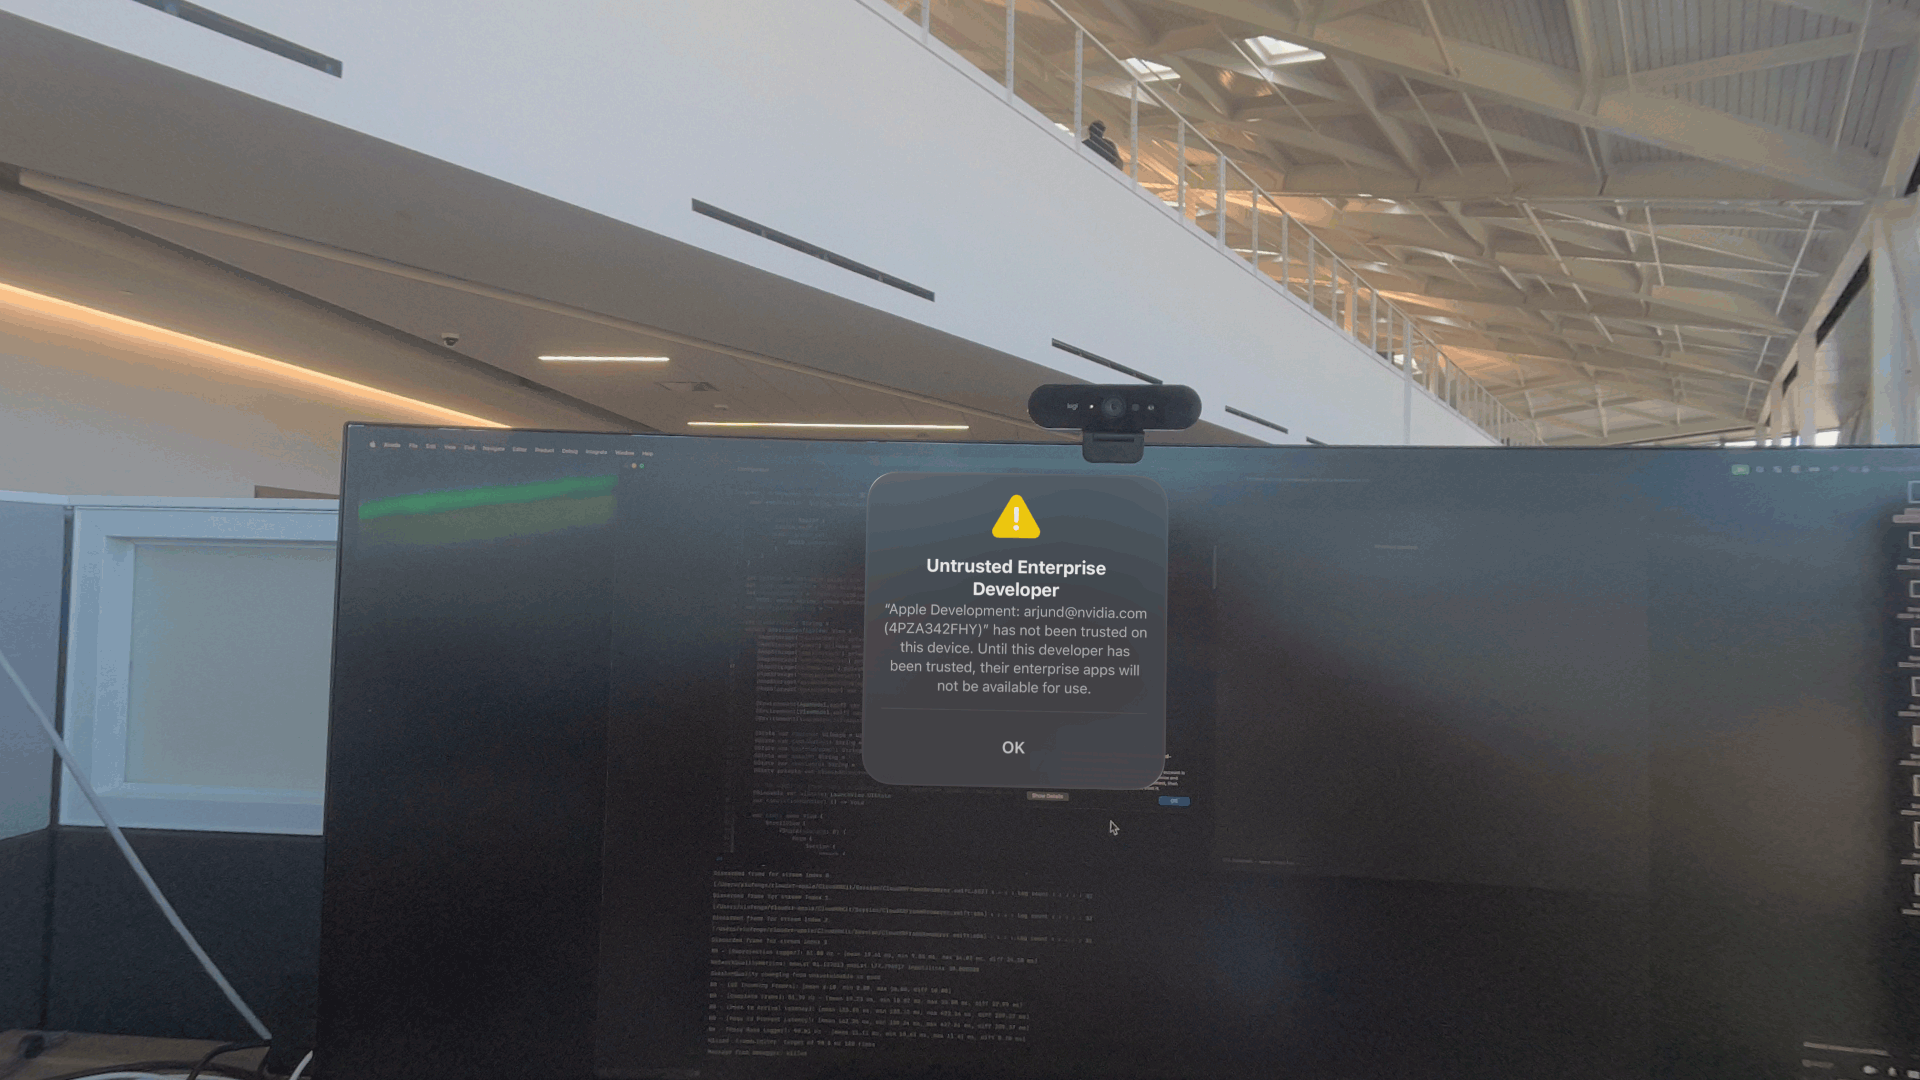
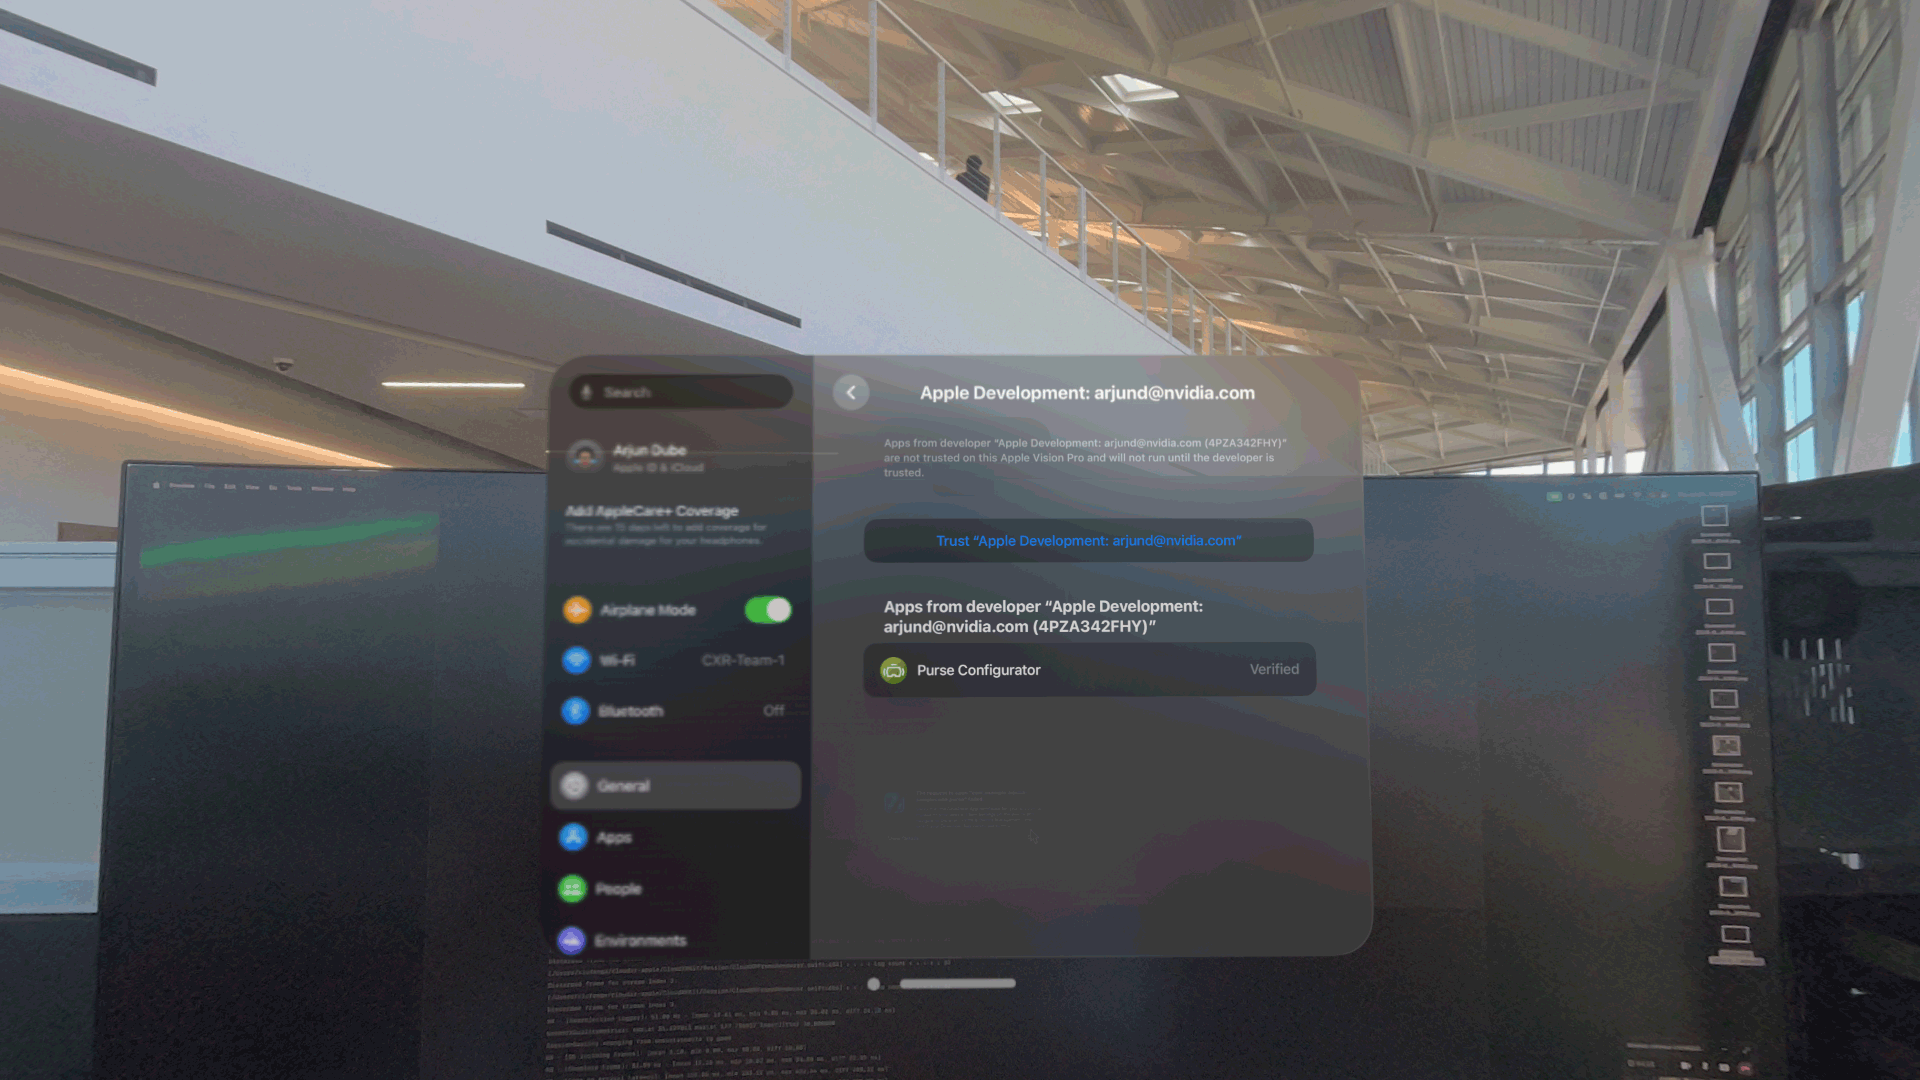
Navigate to the settings app and trust the certificate of your developer account:
Download Xcode 16.4 from the Apple Developer downloads page.
Note
Be sure to install the visionOS & iPadOS platforms when prompted to add run destinations.
macOS Sonoma or later needs to be installed.
You need a network connection to the Windows machine running Omniverse as set up above.
Clone the Repository#
Choose a folder on your local machine to install the repository.
Open a new terminal window.
Navigate to the folder where you want to store your repository
Clone the github repository.
git clone git@github.com:NVIDIA-Omniverse/apple-configurator-sample.git
Set Up the Client#
Now you’ll set up a client that communicates with Omniverse. Our sample client is designed specifically to communicate with the Purse USD dataset included in the workflow example. It contains custom thumbnails, text, variantSet and variant names, all tailored for the Purse. It has the needed CloudXR Framework components to communicate with Omniverse, making it quick to build and test our end to end workflow.
Open the Configurator.xcodeproject to launch XCode. We’ll need to adjust some default profile settings of our project before building.
Select the Project Navigator tab and select the top-level Configurator object.
Change to the Signing & Capabilities tab and set Team to your own team.
Change the Bundle Identifier to a new unique name (for example,
com.developername.purse-config).Navigate to Product > Destination and change the target device to the Vision Pro Simulator.
For iPad Pro you can add an iPad Pro 13” Simulator.
There are two build targets in the project, one for Vision Pro and one for iPad Pro - labeled as iOS. Choose the appropriate device you’re developing for.
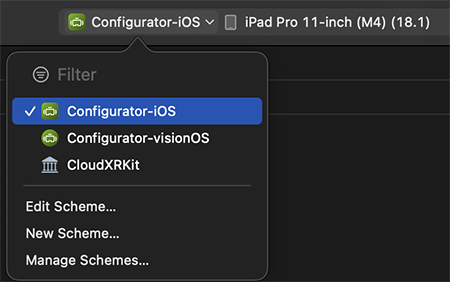
Once you’ve selected your target, press the Play button to build and run the client.
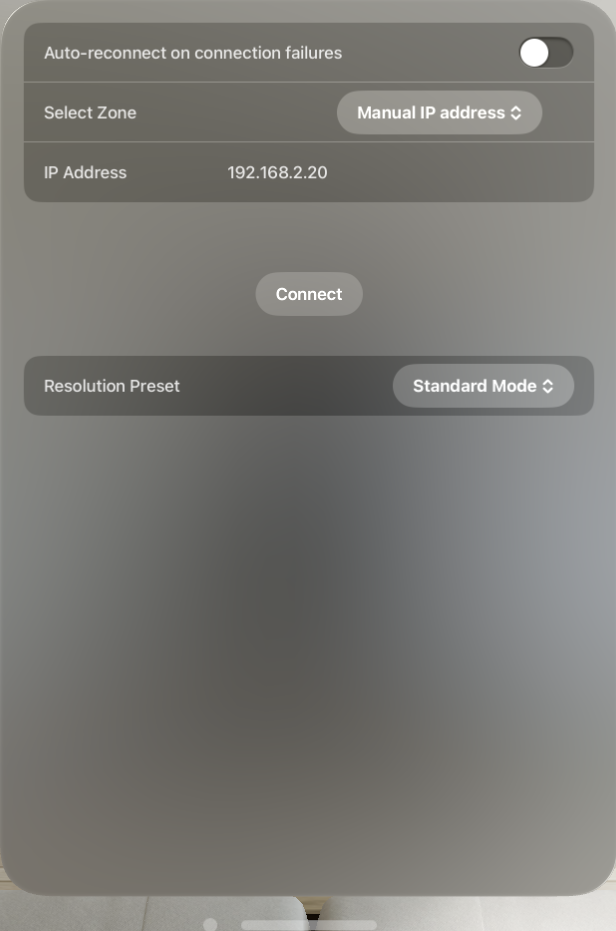
After a few moments the Simulator should open and the client will launch inside the visionOS or iPad OS Simulator window. If you’re greeted with the Connection Setup window, then you’re almost ready to try connecting to Omniverse!
Or on the iPad Pro:
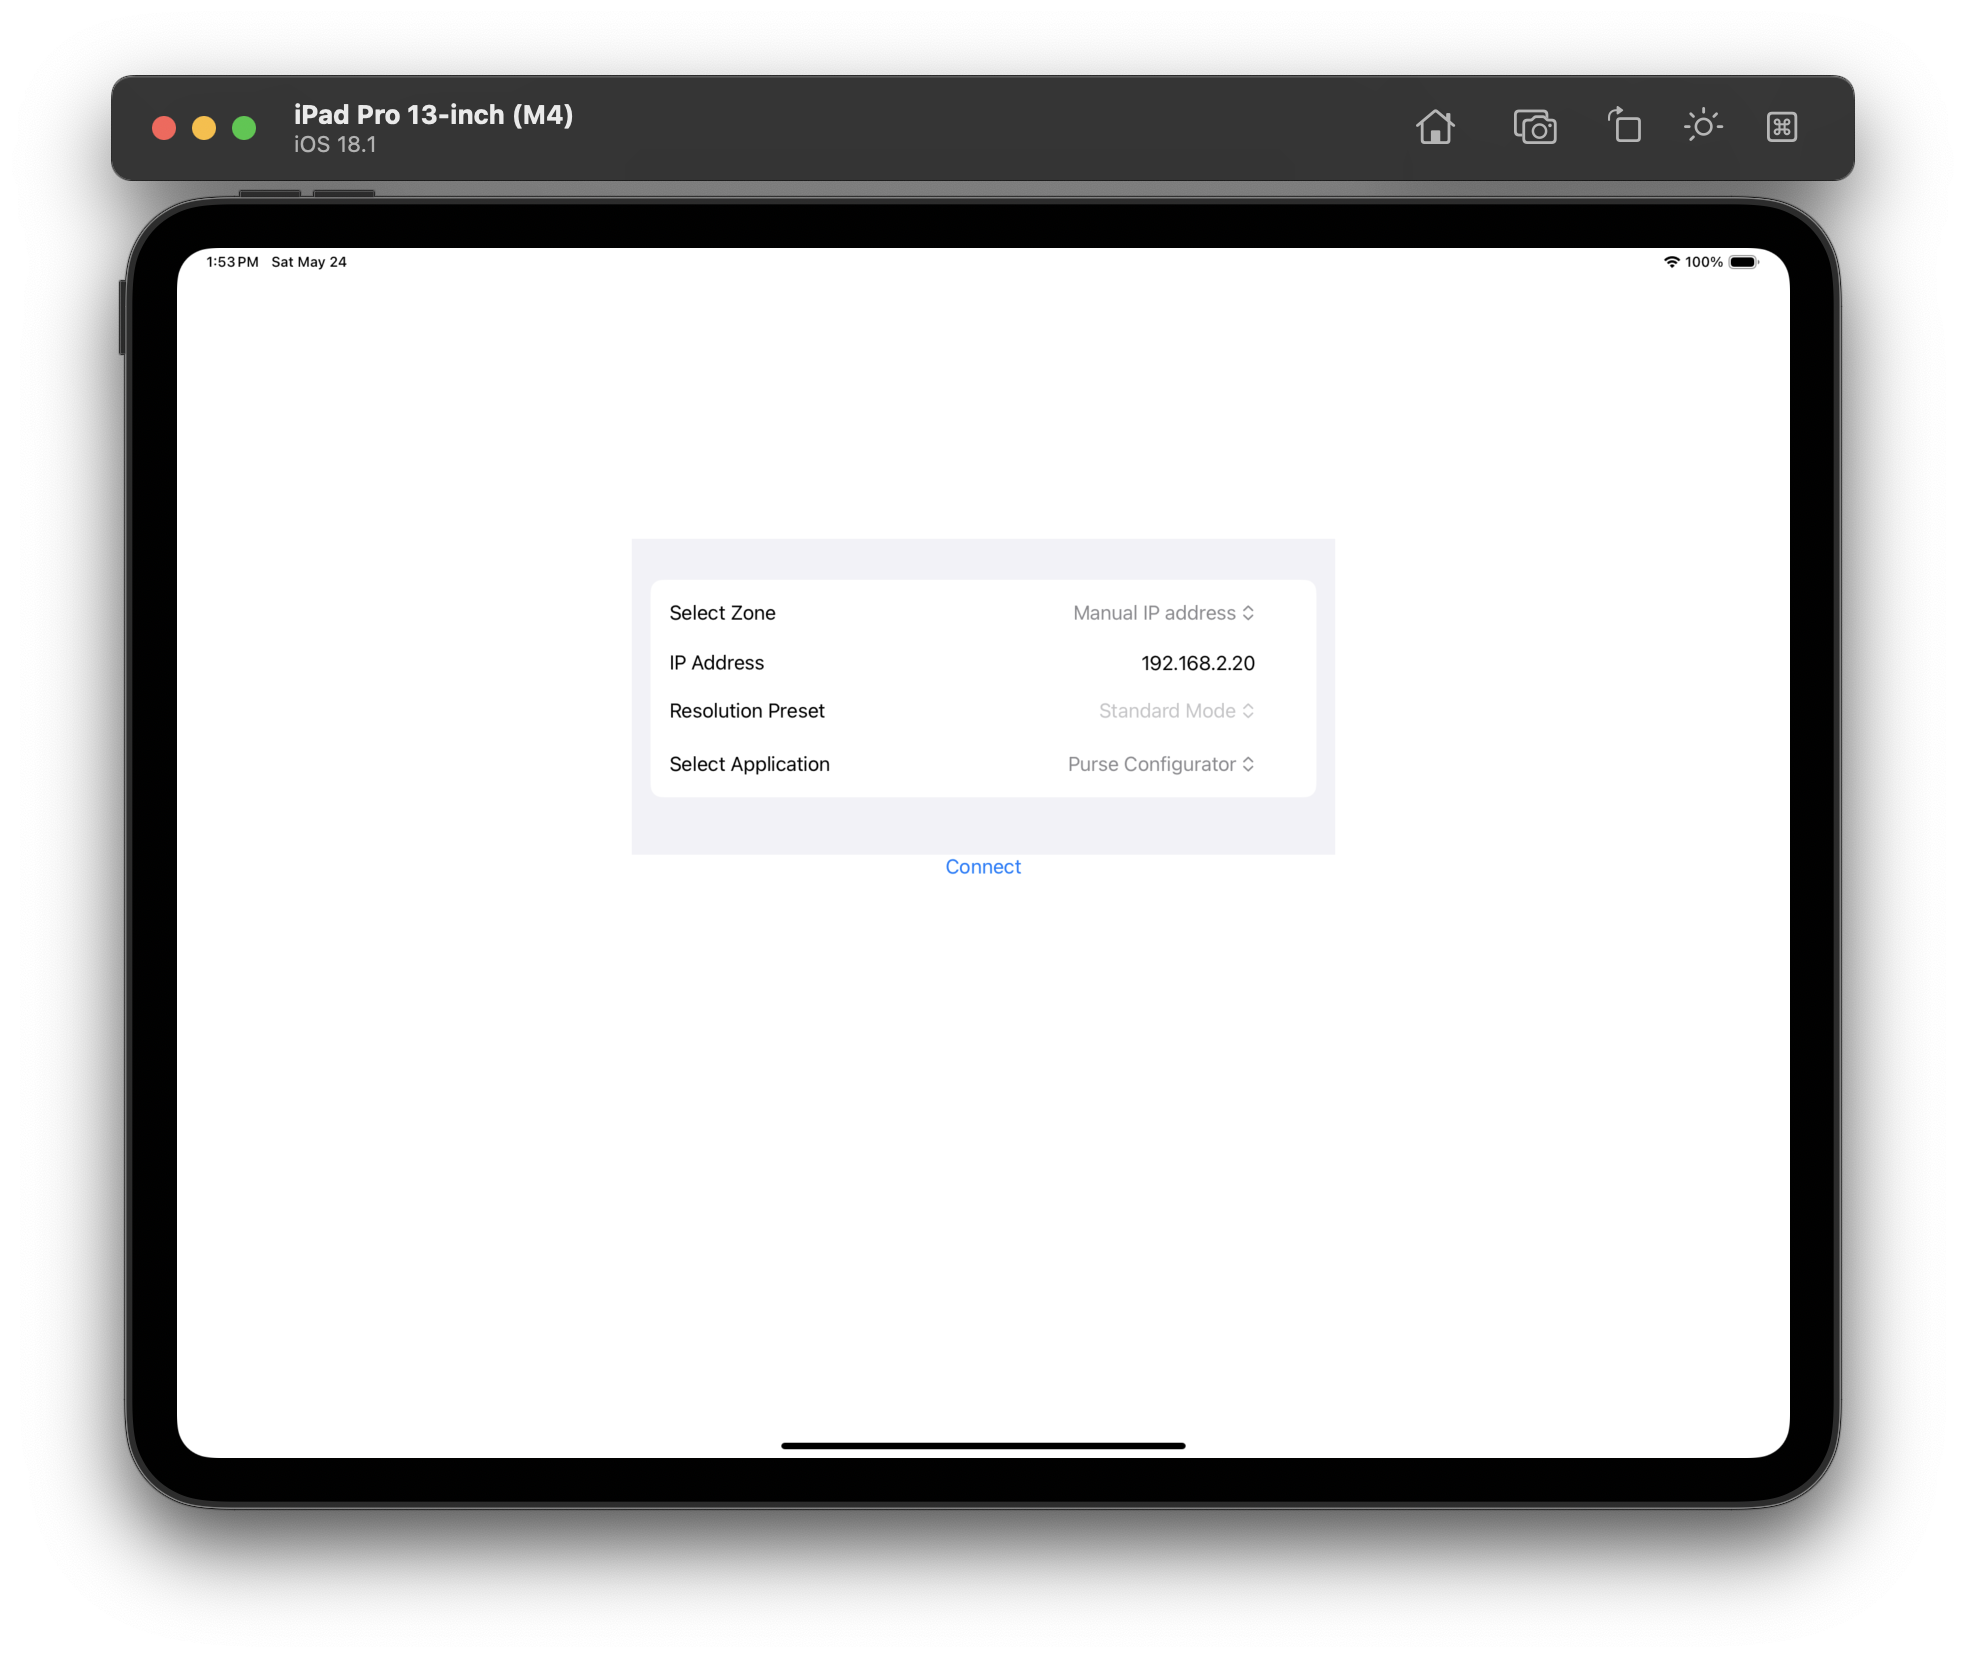
Ensure that Select Zone is set to Manual IP-Address.
Ensure that Select Application is set to Purse Configurator.
In the next section, you’ll ensure that you can connect to Omniverse by checking if your server is running on your Windows machine.
Connecting to the Omniverse Server#
Back on our Windows machine with Omniverse:
Initiate the Server: Follow the steps outlined in the “Set Up Omniverse SDK” section to start the server and retrieve the server IP address.
Over in the XCode Simulator, change Select Zone to Manual IP-Address.
Enter the IP address of your Omniverse server.
Click Connect.
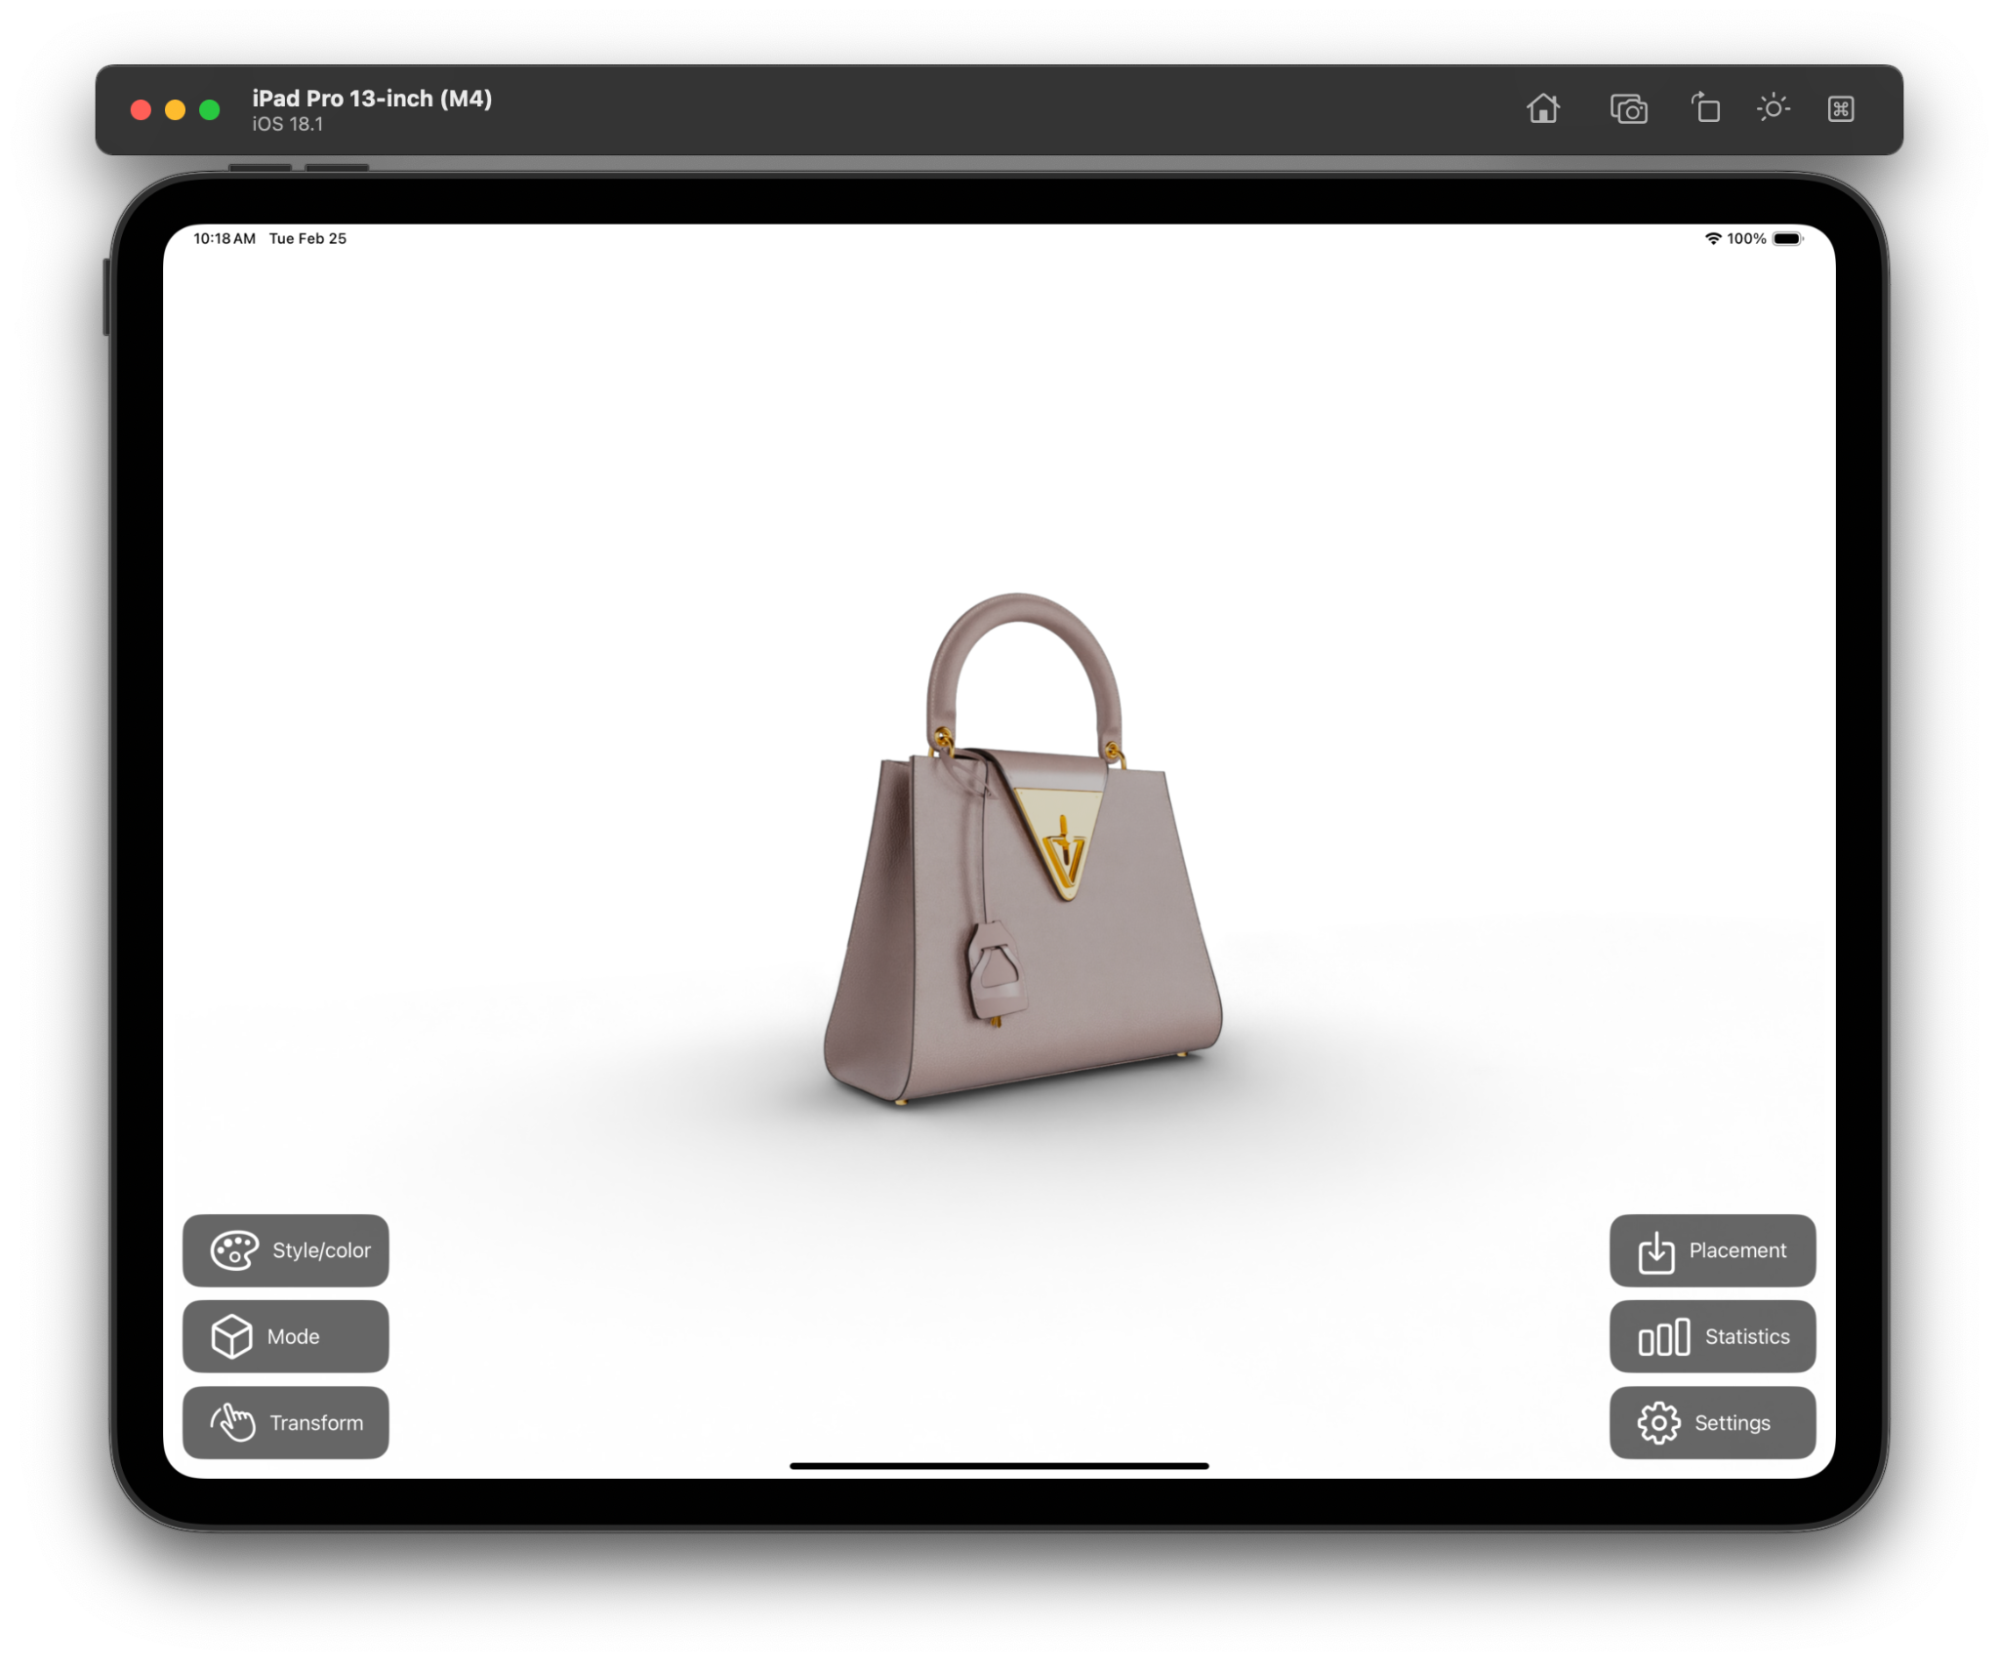
After a few moments, you should see the Purse stage being rendered inside a Portal window in Vision Pro:
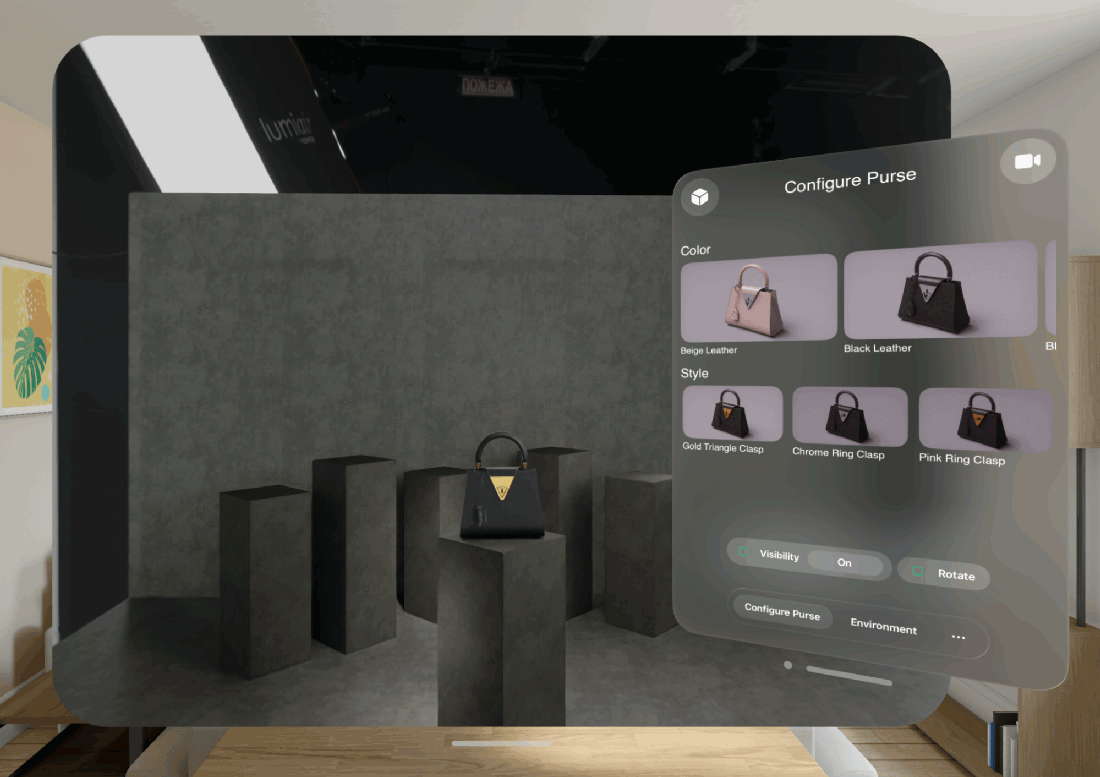
Or in AR mode on the iPad Pro:
If so, congratulations, you’ve completed your first end to end test of the client and server!