usdview Quickstart#
Get usdview#
usdview and all of the USD Toolset comes as a part of the pre-built OpenUSD binaries provided on the OpenUSD Developer Resources page.
Open the OpenUSD Developer Resources page in a new browser tab.
Click on the For Windows link to download the latest OpenUSD version.
Alternatively, Click on the Archive link to browse older versions available for download.
Extract the downloaded zip archive.
Open the OpenUSD Developer Resources page in a new browser tab.
Click on the For Linux link to download the latest OpenUSD version.
Alternatively, Click on the Archive link to browse older versions available for download.
Extract the downloaded zip archive.
Note
The following instructions are required to install missing X11 dependencies for Ubuntu. You may need to adjust these steps for other Linux distros.
Run:
sudo apt-get install libxkbcommon-x11-0 libxcb-xinerama0 libxcb-image0 libxcb-shape0 libxcb-render-util0 libxcb-icccm4 libxcb-keysyms1
Launching usdview#
Once you have the pre-built binaries downloaded and extracted, you can launch usdview with the following steps:
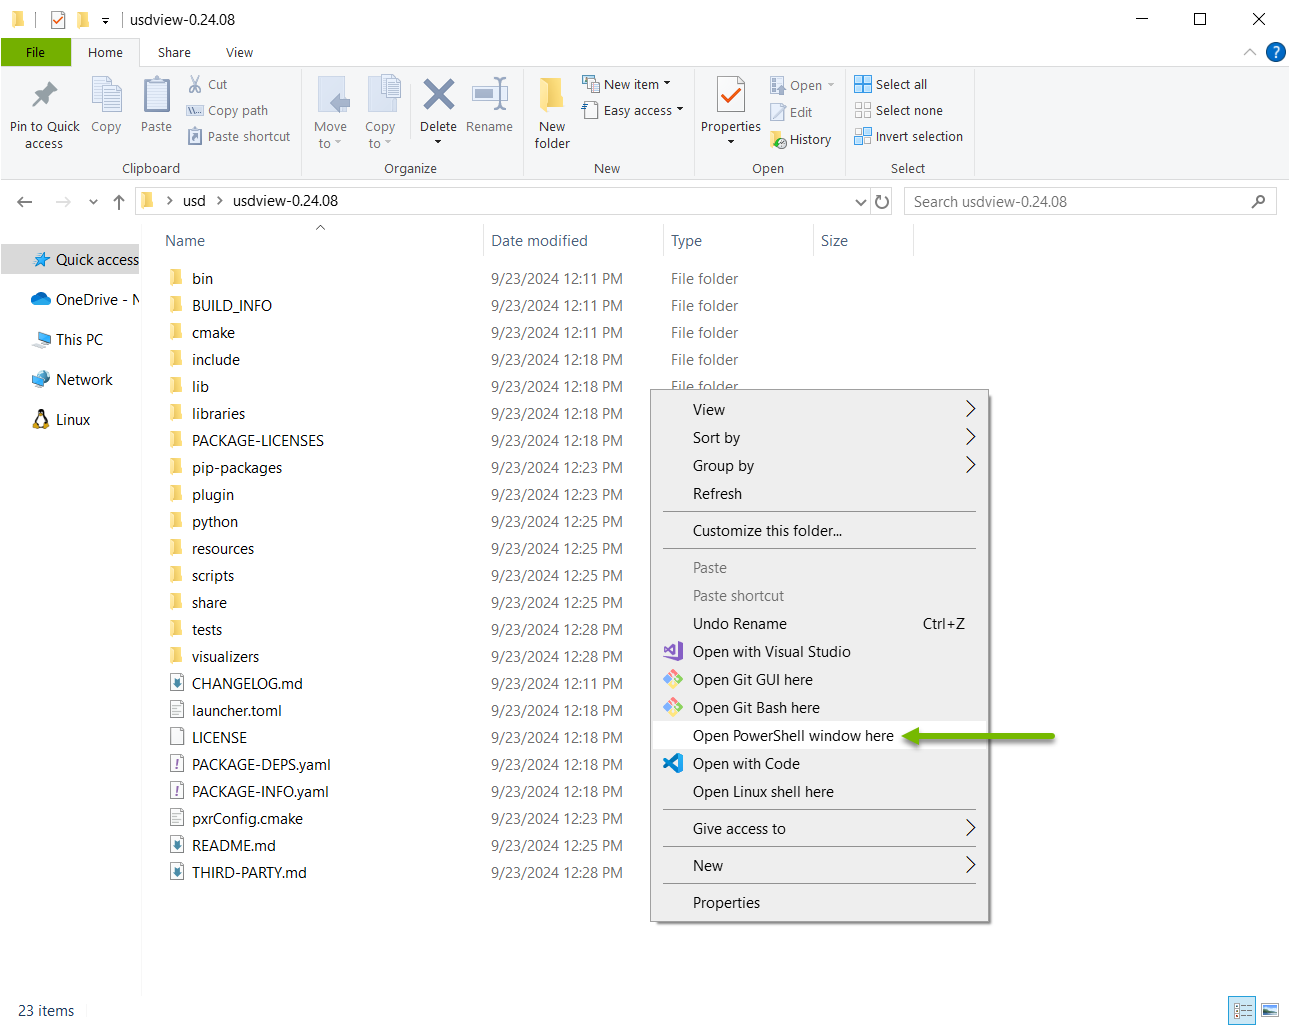
Open the folder of the extracted pre-built binaries archive.
Press Shift + Right-Click in an open area of the Windows Explorer window.
- Click Open PowerShell window here.
Run:
.\scripts\usdview_gui.bat
This opens usdview with a default stage. You can then use to open your desired stage.

Note
You can try running other USD tools by executing the other scripts located in scripts/ :
.\scripts\usdcat.bat .\share\usd\tutorials\traversingStage\HelloWorld.usda
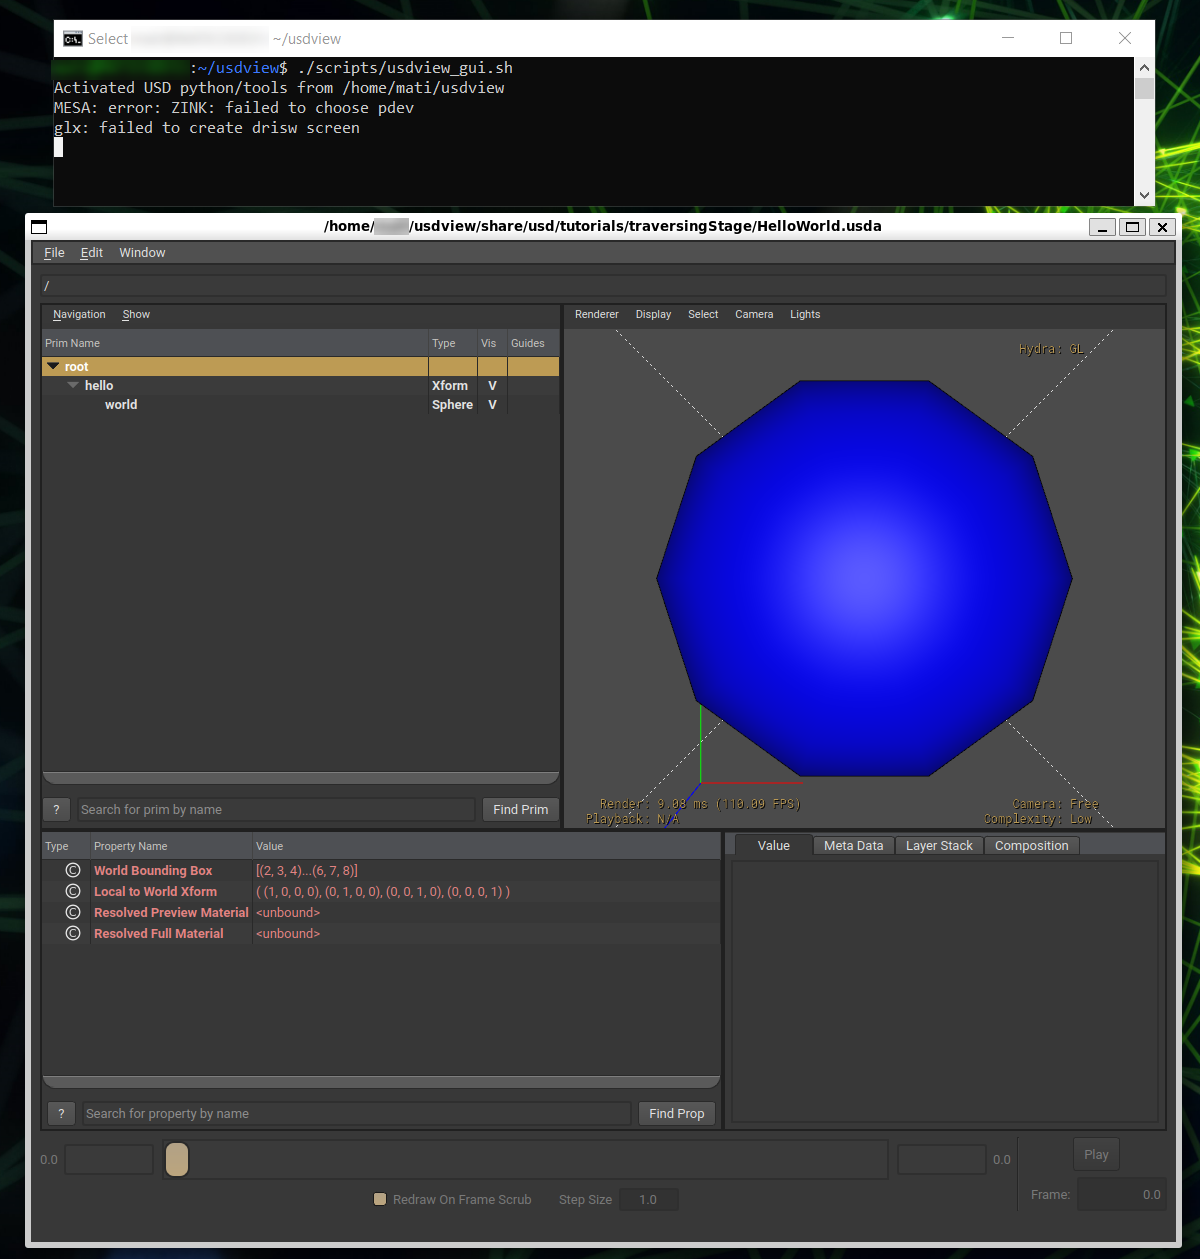
cd to the extracted pre-built binaries directory.
Run:
./scripts/usdview_gui.sh
This opens usdview with a default stage. You can then use to open your desired stage.
Note
You can try running other USD tools by executing the other scripts located in scripts/ :
./scripts/usdcat.sh ./share/usd/tutorials/traversingStage/HelloWorld.usda
Warning
Check your folder naming
If the pre-built binaries folder has an @ symbol in the name, you should rename it to something without @ to avoid issues loading Qt stylesheet resources when running usdview.
Using the Discrete GPU for usdview on Windows Laptops#
On laptops with both an integrated (built-in) GPU and a discrete GPU, Windows may assign usdview to the integrated GPU instead of the discrete GPU. You may notice rendering artifacts or no rendering at all in usdview when this happens. usdview runs via Python, so you need to set the preferred GPU for the Python executable used by your OpenUSD installation.
To force Windows to use the discrete GPU for usdview:
Open Windows (or search for “Graphics settings” in the Start menu).
Click Browse under Add desktop app.
Navigate to your extracted OpenUSD pre-built binaries folder and select the Python executable that runs usdview. This is
python.exein thepythonsubfolder (the same Python that runs when you executeusdview_gui.batorset_usd_env.bat).Click Add to close the dialog.
Click to expand the options for the app you added.
Select
High Performance (NVIDIA GPU)for the GPU preference dropdown. (The option may be labeled differently depending on your system.)Click Save to close the dialog.
After this, launching usdview should use the discrete GPU. If performance or rendering still looks wrong, confirm in Task Manager (Performance tab) that the discrete GPU is active when usdview is running.
Command-line alternative (PowerShell)
You can set the same preference from the command line so the Python executable always uses the discrete GPU, without using the Graphics settings UI. Run PowerShell and use the path to the Python executable that runs usdview (for example, the python.exe in your pre-built OpenUSD python folder):
# Replace <PATH_TO_PYTHON_EXE> with the full path to python.exe (for example, C:\OpenUSD\python\python.exe)
Set-ItemProperty -Path "HKCU:\Software\Microsoft\DirectX\UserGpuPreferences" -Name "<PATH_TO_PYTHON_EXE>" -Value "GpuPreference=2;"
The setting is persistent. GpuPreference=2 means high-performance (discrete) GPU; 1 is power-saving (integrated). Restart usdview (or any app using that Python) for the change to take effect.
Set the PATH Variable to Launch usdview Globally#
Click the Start menu on your desktop.
Type
SystemPropertiesAdvanced. Press Enter.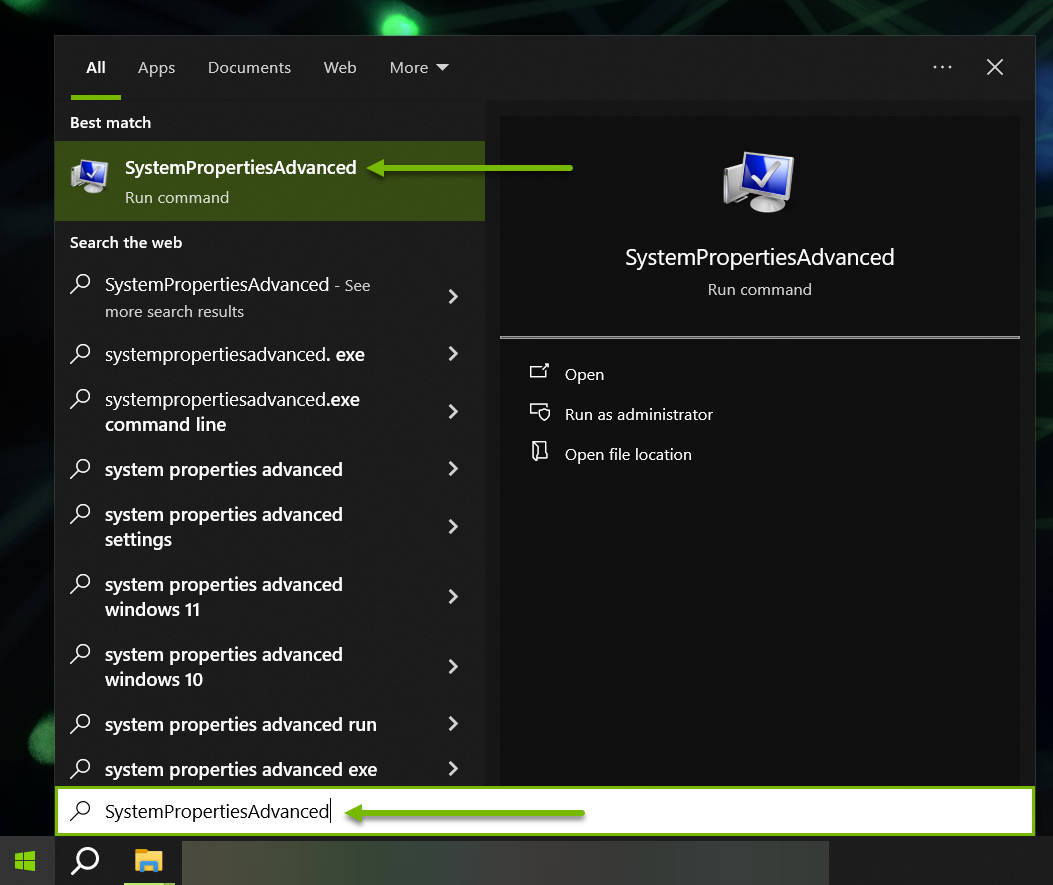
Click on Environment Variables….
Double-Click on the Path row in the User variables table.
Click on New
Type the full path to the scripts/ folder in your extracted pre-built binaries folder. (for example,
C:\Users\bob\Desktop\usdview-0.24.08\scripts)Click on OK three times to close all of the opened dialogs.
To confirm the path is set up correctly:
Press Shift + Right-Click in an open area on your desktop.
Click Open PowerShell window here.
Run:
usdview_gui.bat
usdview launches with a default stage. You can open a different USD stage by clicking .
To be able to run all of the USD tools globally, you just need to add the scripts/ directory to your PATH environment variable. You can set the following in your .bash_profile file or any other method you prefer:
# Replace <PRE-BUILT_BINARIES_DIR> with the full path to the directory where you extracted the pre-built binaries.
export PATH=<PRE-BUILT BINARIES DIR>/scripts:$PATH
To confirm the path is set up correctly, open a new terminal and run:
Run:
usdview_gui.sh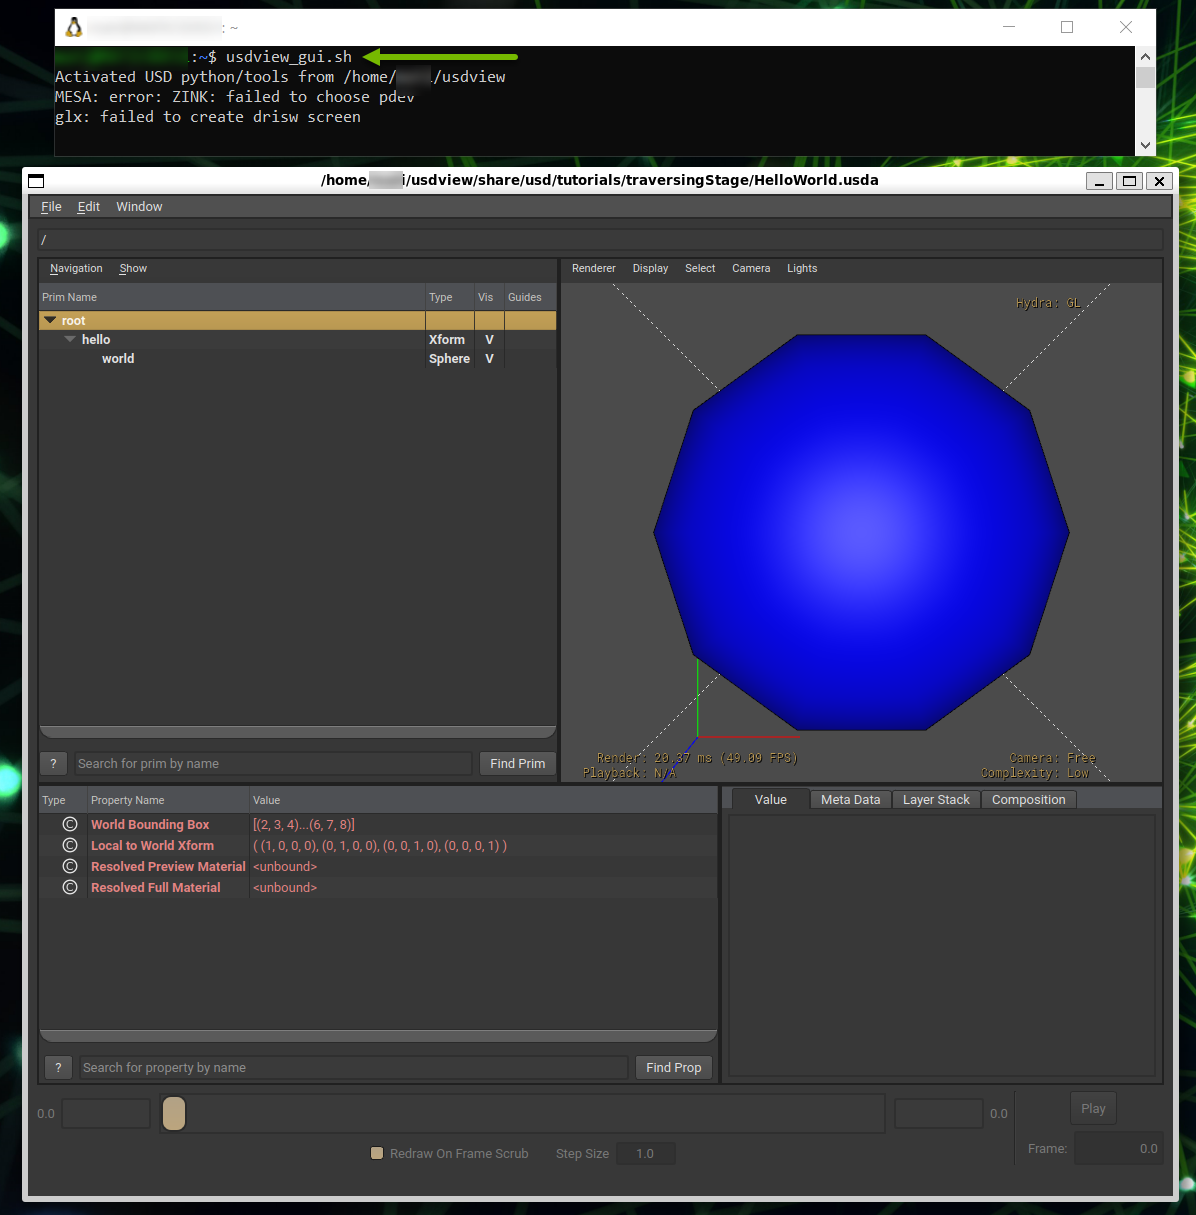
usdview launches with a default stage. You can open a different USD stage by clicking .
Locating USD Tutorial Content and Examples#
If you want to follow the openusd.org tutorials, the tutorials will prompt you to locate files from the OpenUSD repository. The repository also includes useful plugin and script examples to learn from. NVIDIA provides these files within the USD pre-built binaries. From the extracted pre-built binaries folder you can navigate to share/usd/tutorials and share/usd/examples for the tutorial and example content respectively.
Setting Up a Python USD Environment#
The USD pre-built binaries also come with scripts to set up a Python USD environment. Everything you need is already included, the scripts just setup some environment variables to use the USD Python API in an interactive Python interpreter or to run Python scripts that use the API.
Warning
The Python environment batch file currently only works in Windows Command Prompt, so use that.
These instructions assume that you have configured usdview and all other scripts to be executed globally.
Click the Start menu on your desktop.
Type
cmd. Press Enter.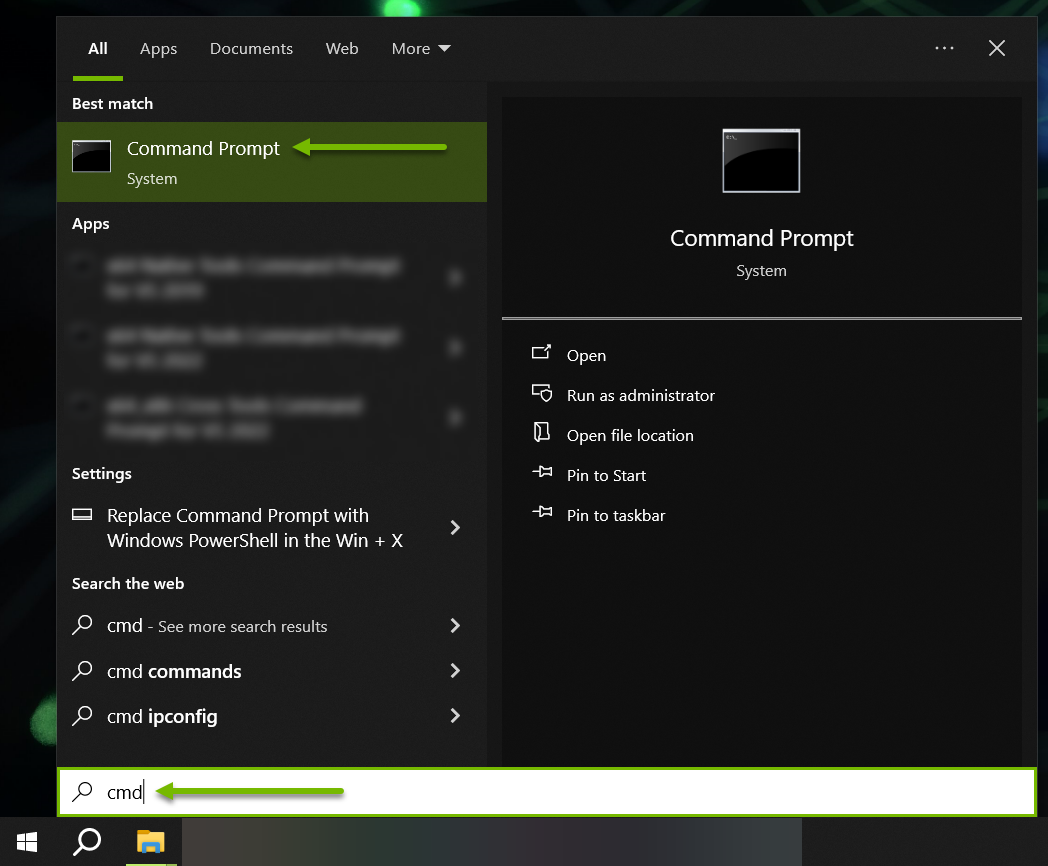
Run
set_usd_env.bat.
That’s all it takes to configure your environment. You can use this simple python command to test that it worked.
Run
python -c "from pxr import Usd;print(Usd.GetVersion())".It should print the version of your configured USD (for example,
(0, 24, 8))
Note
Your version may differ from this tutorial. It matches the version of the pre-built binaries that you downloaded.
These instructions assume that you have configured usdview and all other scripts to be executed globally.
Run
source set_usd_env.sh.
That’s all it takes to configure your environment. You can use this simple python command to test that it worked.
Run
python3 -c "from pxr import Usd;print(Usd.GetVersion())".It should print the version of your configured USD (for example,
(0, 24, 8))
Note
Your version may differ from this tutorial. It matches the version of the pre-built binaries that you downloaded.
You have set up usdview, added it to your PATH, and configured a Python USD environment. To follow OpenUSD tutorials, see Locating USD Tutorial Content and Examples.