Omniverse Launcher (Deprecated)#
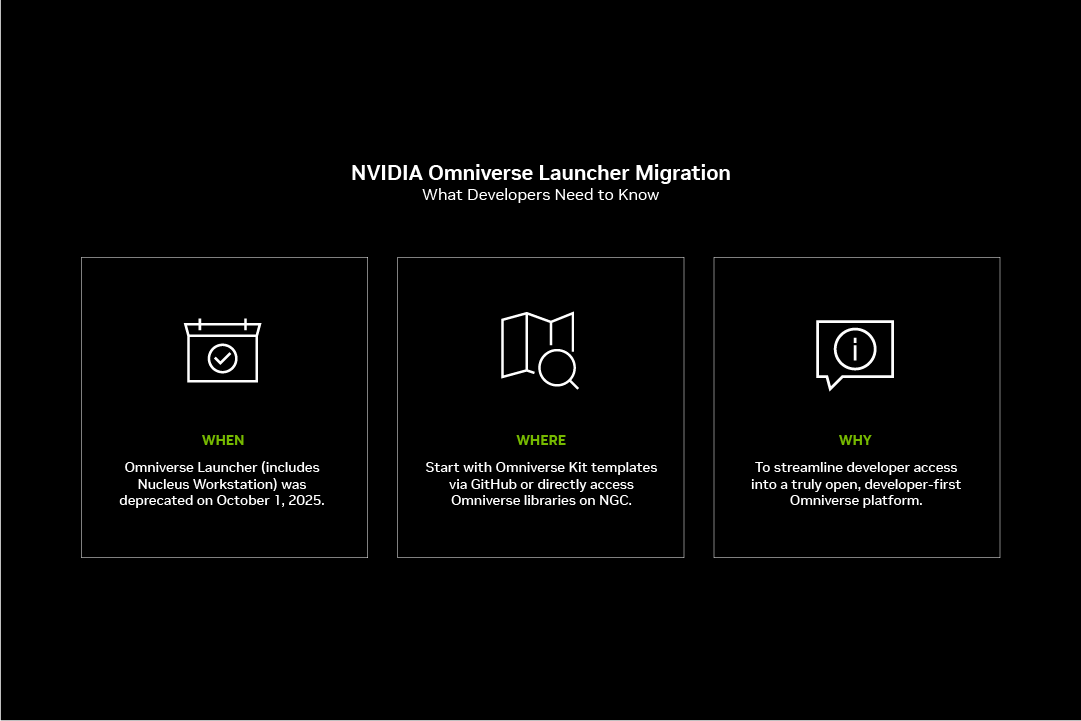
As part of continued efforts to ensure NVIDIA Omniverse is a developer-first platform, NVIDIA deprecated the Omniverse Launcher on October 1st, 2025 enabling a more open, integrated, and efficient development experience.
Now developers can directly access Omniverse SDKs, APIs, and services via GitHub and NVIDIA’s NGC Catalog. This makes it quicker and more intuitive to leverage the foundational building blocks of the platform to build custom applications for complex 3D workflows and industrial digitalization.
Migrating from Omniverse Launcher#
To ensure a smooth transition, developers should take the following actions:
Review the Legacy Tools for Omniverse Launcher documentation for comprehensive information on transition specifics and replacement resources.
Uninstall the Omniverse Launcher from your workstation by following this documentation guide.