Work with Lights#
When lighting for a large area, we have two main strategies to quickly and effectively light your scenario. With the USD Explorer template, you have the ability to directly light much as you would a real life scenario (individual lights) or we can also go for a more broad lighting scenario by allowing for natural light to flow into your scene. In this guide, we’ll show you both options and how to combine them to provide the best lighting for your scenario.
Let’s walk through an example using a very simple enclosed box, then show it applied to a much more realistic scenario.
Default Lighting#
Any new stage will start with a default lighting environment. For the USD Explorer template, that is named “Sunny Sky”. It’ll be in a prim outside the defaultPrim named “Environment”.

Environment in the Stage Window#
Your default entry into a new Stage.
This is a great starting point, we also give you 4 other options you can easily try to see if you like them more on the Lighting Toolbar in the top right of the Viewport.
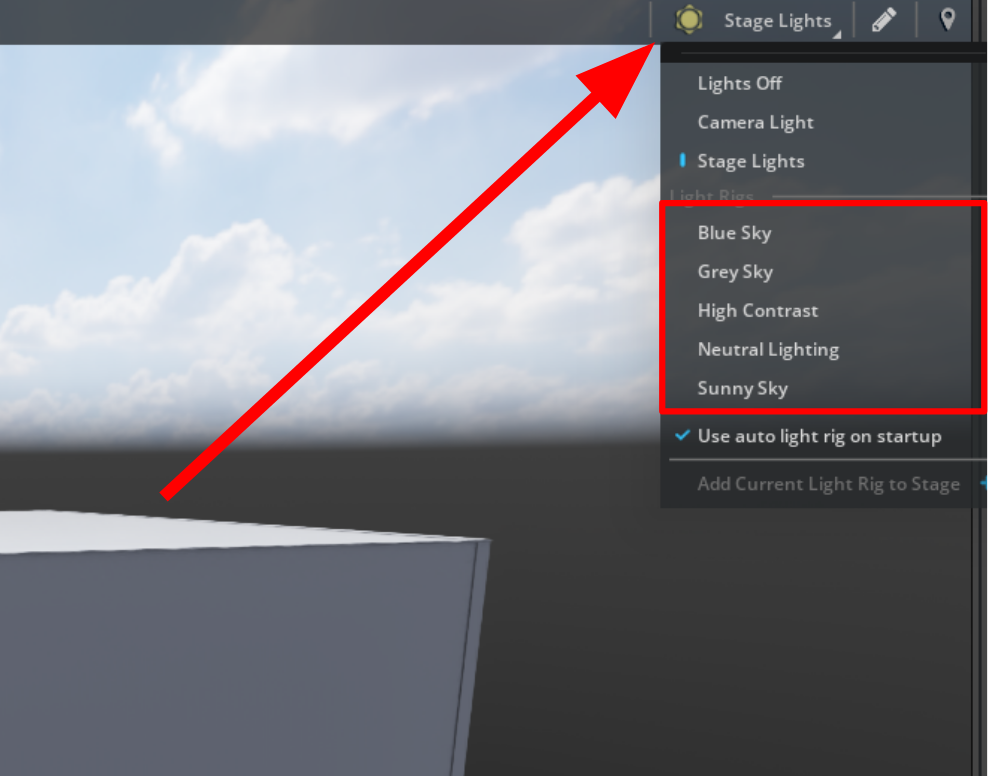
The Stage Lights option will display the lighting that exists in the stage (this is what anyone opening your factory will see by default.)
Light Rigs are pre-setup lighting scenarios to give you a quick look at different options.
Note
This will turn off all lights in the stage and only show the “lighting rig”. These are not persistent and this is a quick look feature.
If you like one of these options the best, you can make it the persistent by selecting Add Current Light Rig to Stage.

This will replace the environment prim with the new light rig:

If you save your scene, now everyone will get Blue Sky when they open this scene instead of Sunny Sky.
Now that we have our default rig selected, let’s talk about getting light into our factory.
Lighting Strategies#
As discussed above, we have a few different strategies for how we can light our stage. Each has its advantages and disadvantages.
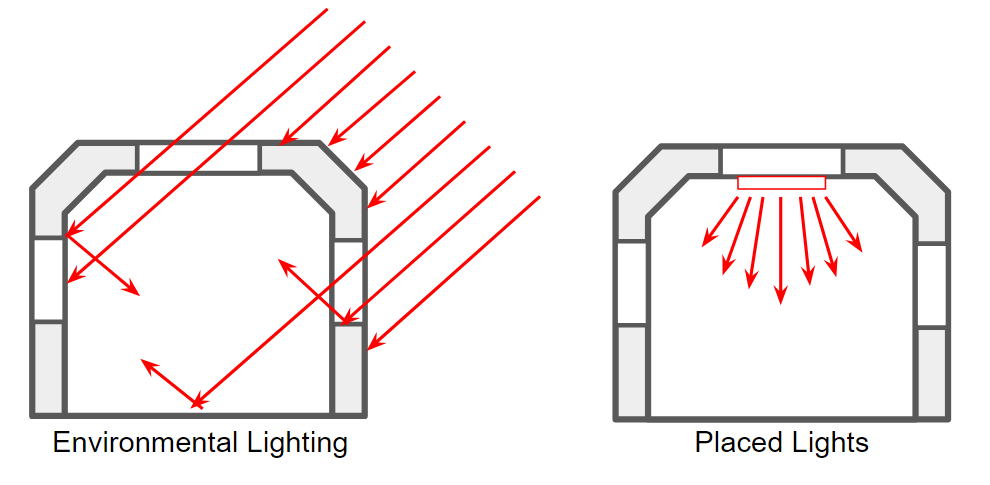
Environment Lighting Strategy#
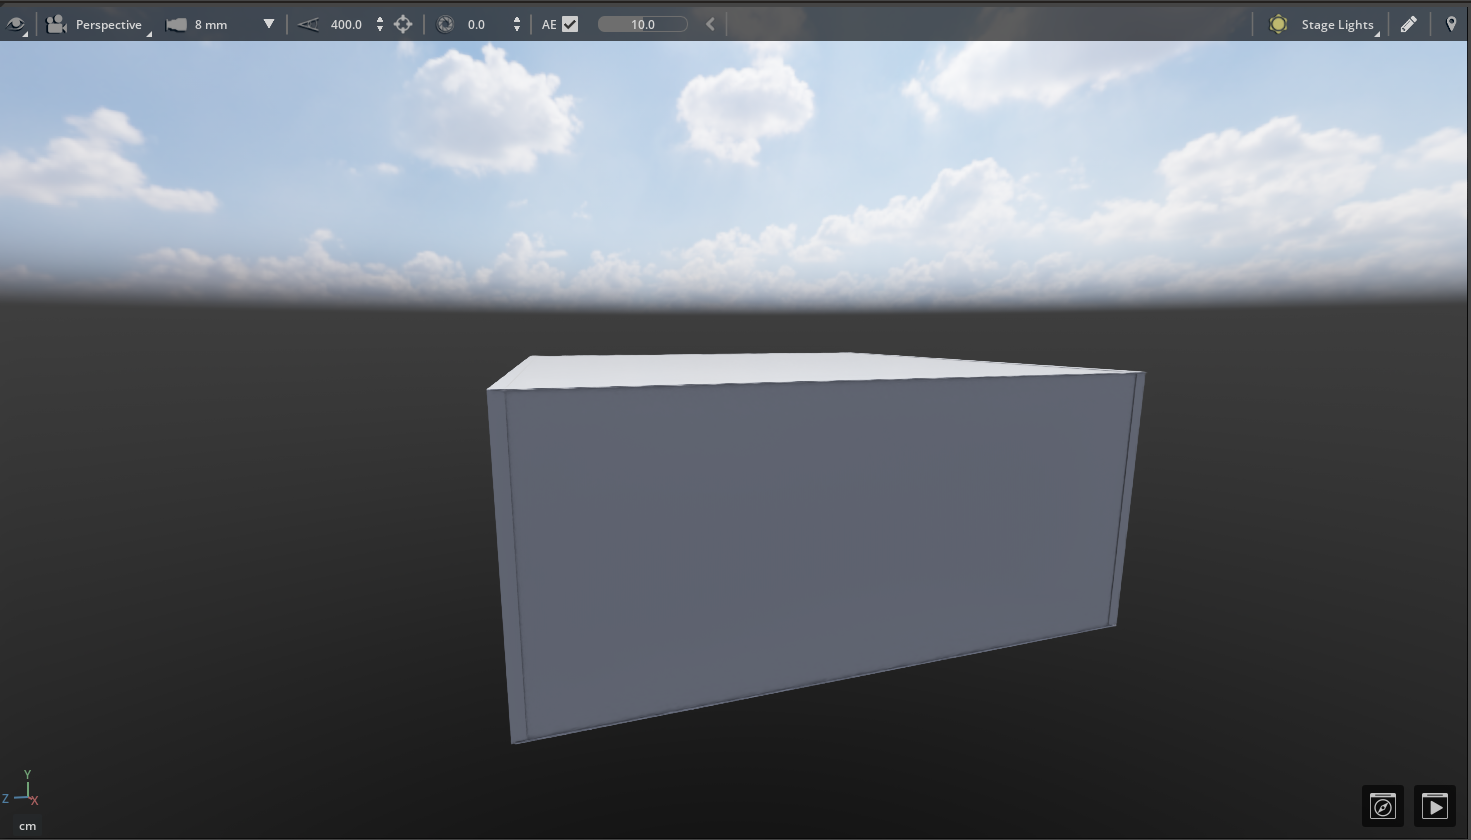
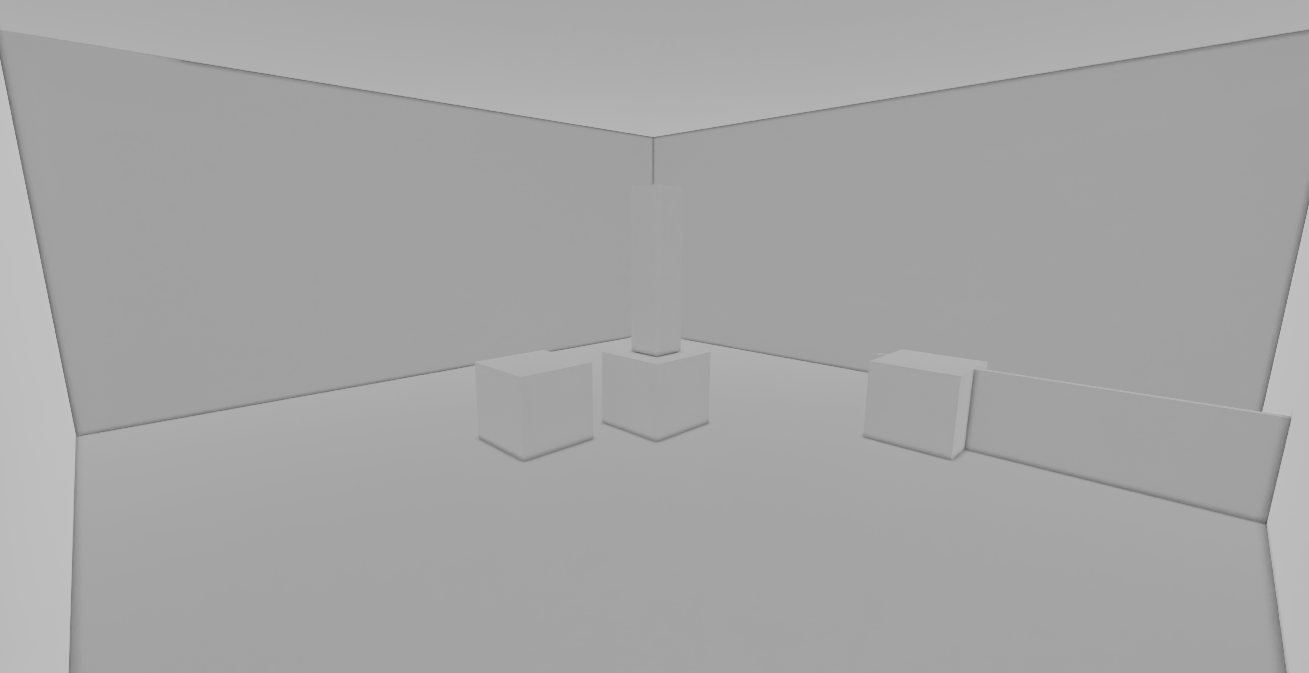
Environment only lighting will require you to open up light into your space, either by natural or artificial means. We’ll start with the simplest example, a completely enclosed box.
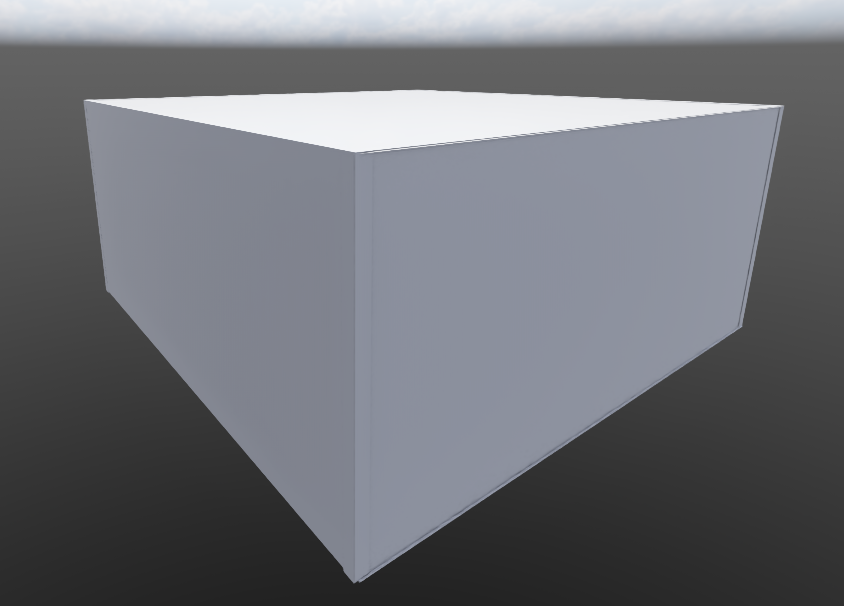
We do provide a default amount of ambient light inside, so you will always have ambient occlusion effects and will never experience pure darkness:
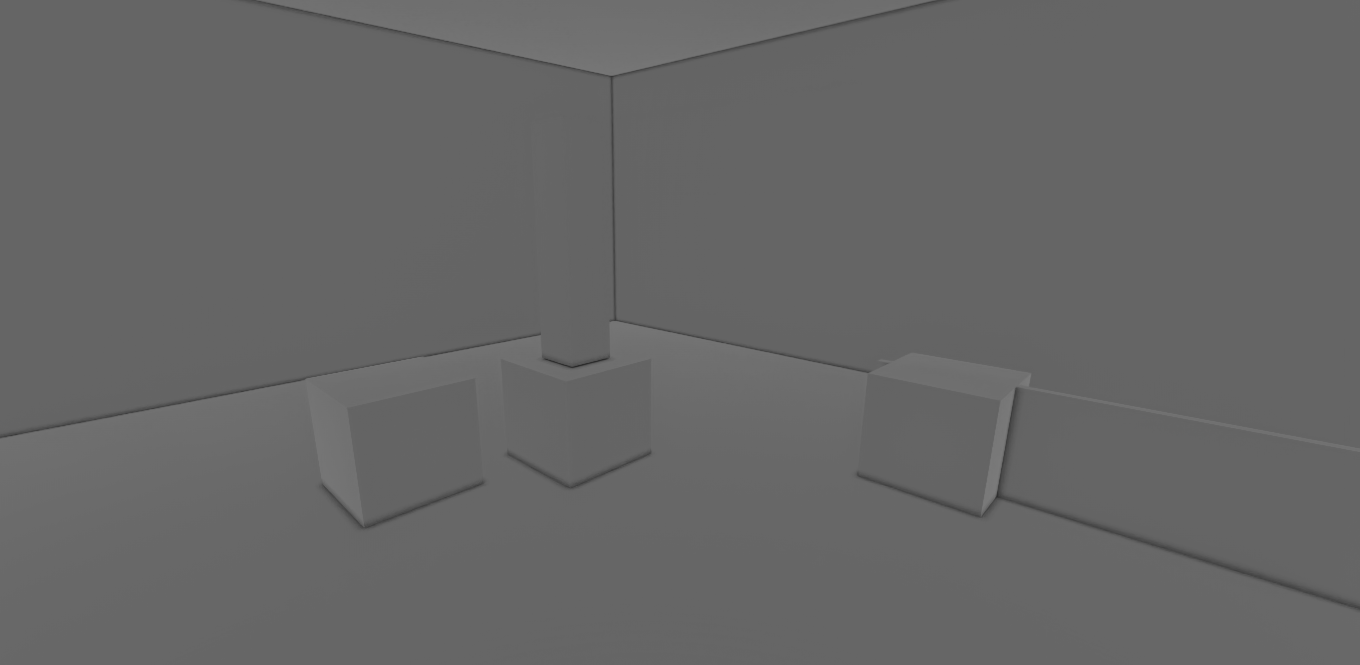
If you’ve not added display colors or materials to your assets, this will still be hard to navigate. Further, the overly uniform lighting can make it very difficult to understand depth and sizing.
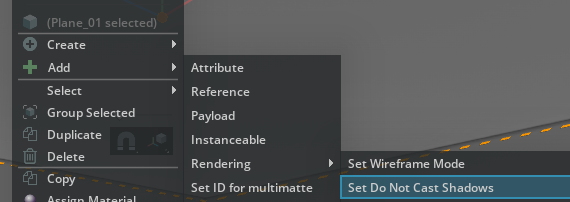
Remove Shadow Casters#
The easiest method to get light in, is to artificially set your roof to not cast shadows. This will allow natural light to pass through any mesh you assign this value. (Alternatively, you can use the Section Tool or simply hide the roof.)
To set the roof to not cast shadows:
Right-click on the roof,
Select Add > Rendering > Set Do Not Cast Shadows
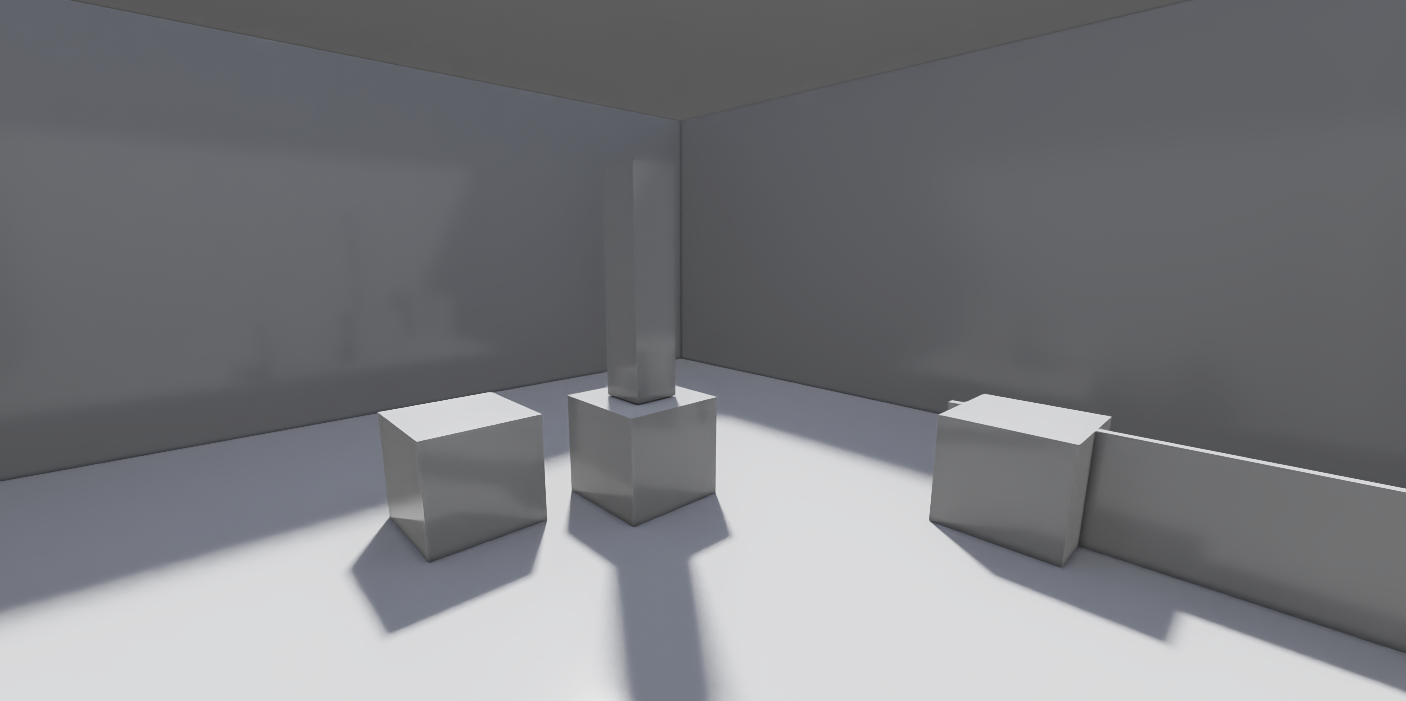
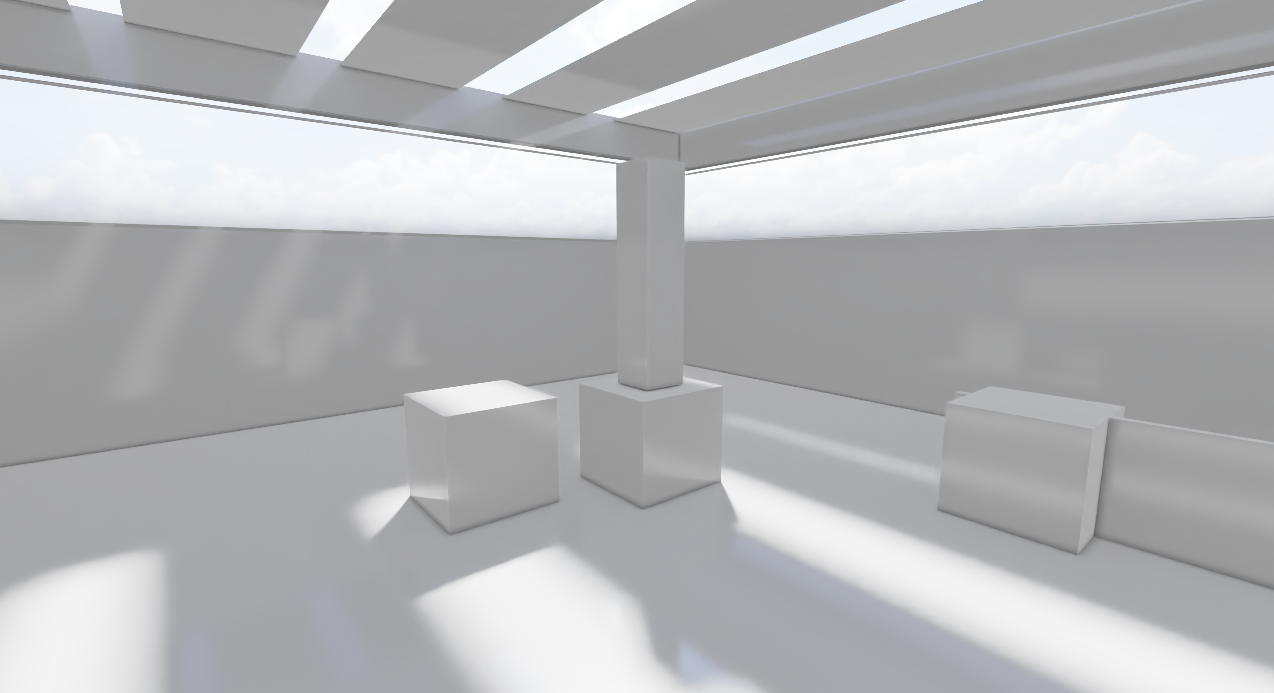
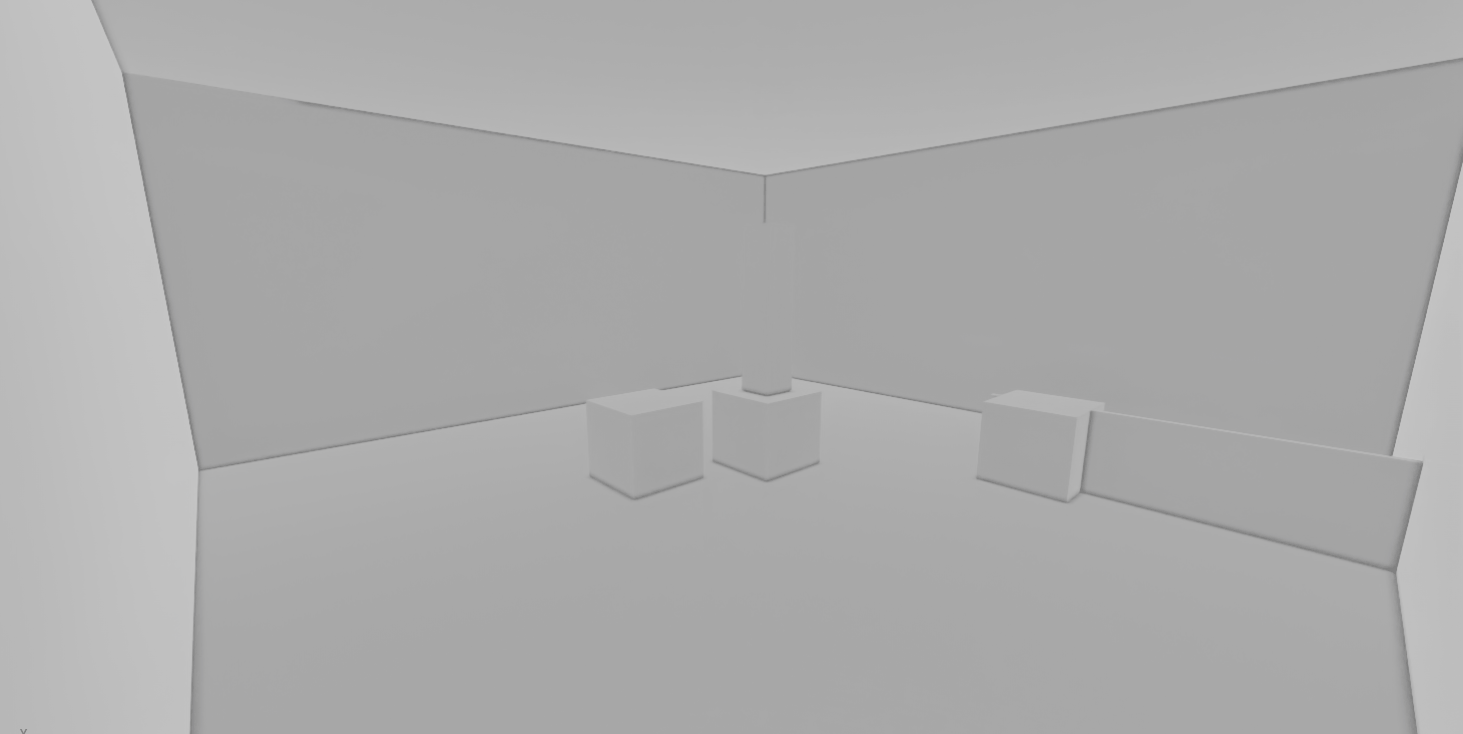
Lighting now passes through through roof.
Here we have that same scene with the shadow casting on the roof turned off with sunny sky default:
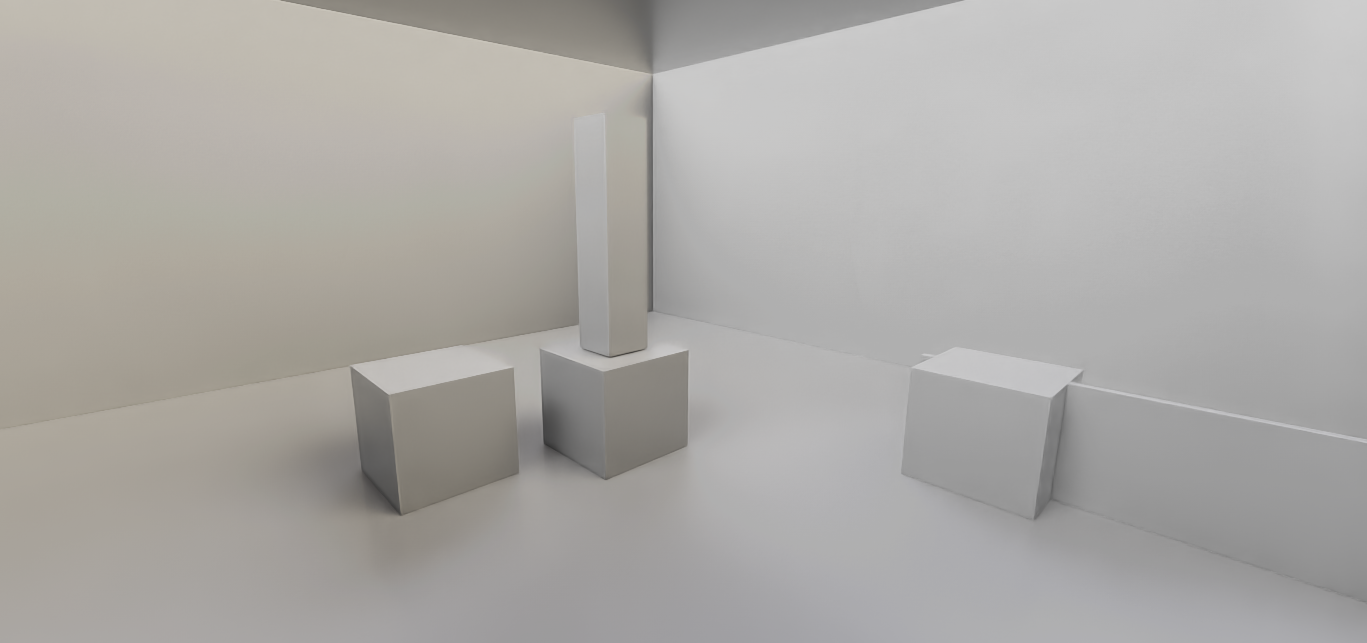
And here’s the same scene with Neutral Lighting default:
Windows and Skylights#
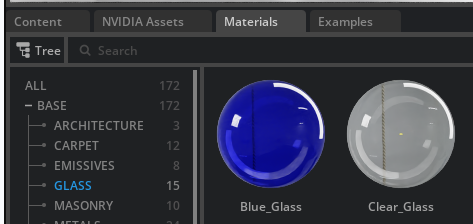
If your architectural model has windows, but they do not have glass on them, if you apply a glass material this will automatically check Do Not Cast Shadows on the Prim.
Go to the materials tab, select clear glass and drag and drop it on the prim you want to make a window if they do not already have this material (note, you could also do this on the whole roof if you want).
You now have a lot of light on the situation! This is the easiest method and the fastest (both from rendering perspective and your time), but may not be ideal for your situation. So let’s look at strategy 2.
Placed Lights Strategy#
Now let’s look at an example purely using lights. Again, we’ll go to the starting point with an enclosed area.
Here, we have the option to create lights to mimic the real world. You can either create individual lights to match directly the lights in your stage or create a more generic and even lighting. The USD Explorer template can handle hundreds to thousands of lights, but it’s recommended to keep your lighting as simple as possible to reduce total prim count (save those for your complex factory!) and to make it easier to adjust if you want to tweak. As always, pay attention to grouping and naming of lighting groups to make it easier for organization in the future.
To Create a light:
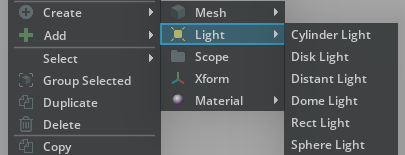
Right-click the Stage or the Viewport window
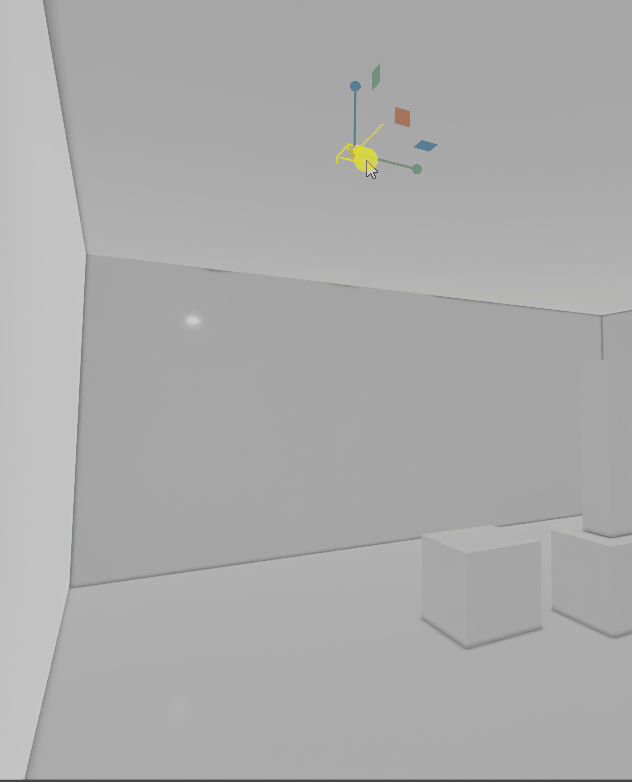
Select Create and select a light, in this sample, we’ll use Rect Lights.
Rect lights (Rectangular lights) are an area light that can be easily scaled to cover more area quickly. They’re our favorite to simulate a long run of ceiling lights quickly and easily.
Visit Omniverse Materials and Rendering documentation to learn more about the various light types available in Omniverse.
In this simple example, we very quickly generated depth and clarity with 4 rectangular lights. Let’s Compare this to just using Ambient Occlusion:
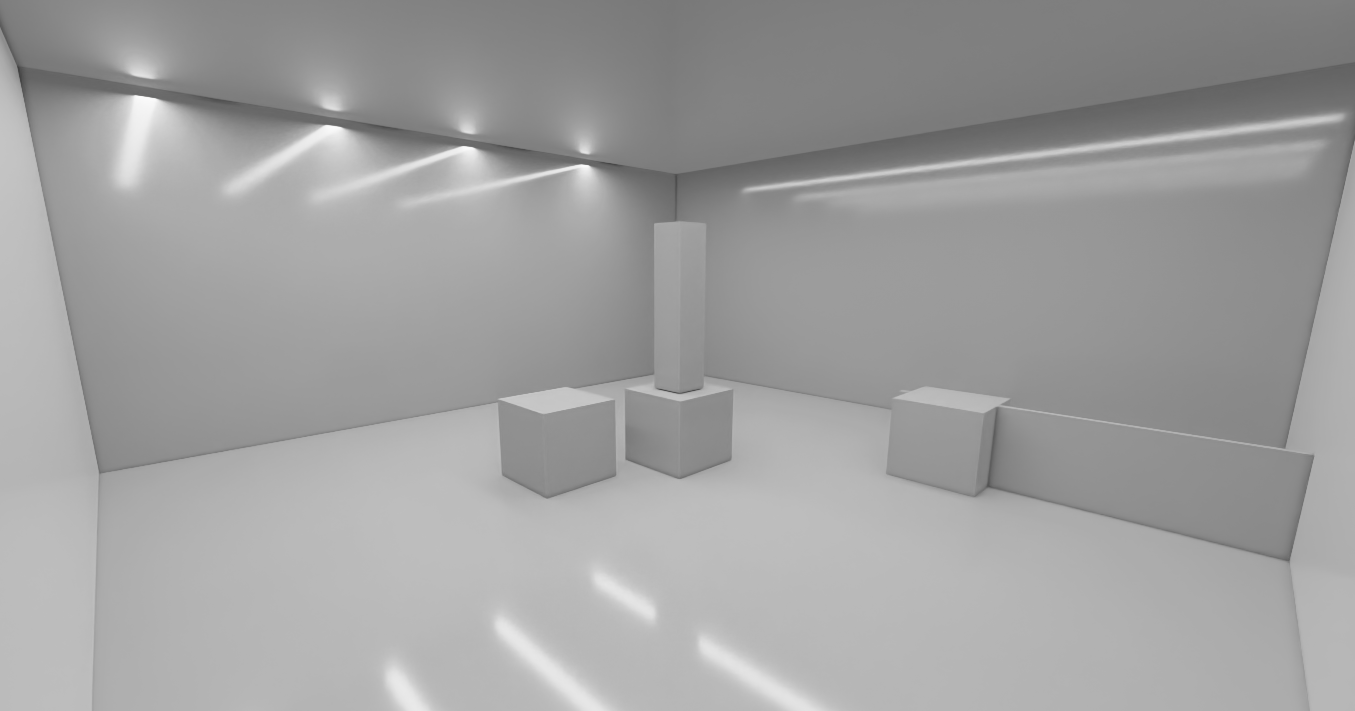
Notice the extreme difference in legibility!
The visibility of Lights can also toggled using the option to be visible in the primary ray.

Using Both Strategies#
While it’s easy to light the world with one strategy or another, the best strategy is both.
Using both lights and the sky dome will provide the highest degree of accuracy and ability to visually read the world around you.
We highly recommend both letting natural light flow into your scene to take advantage of indirect lighting effects (global illumination) and to use placed lights to increase depth and clarity. Most of all, lighting is a dramatic tool which can be a satisfying exercise.
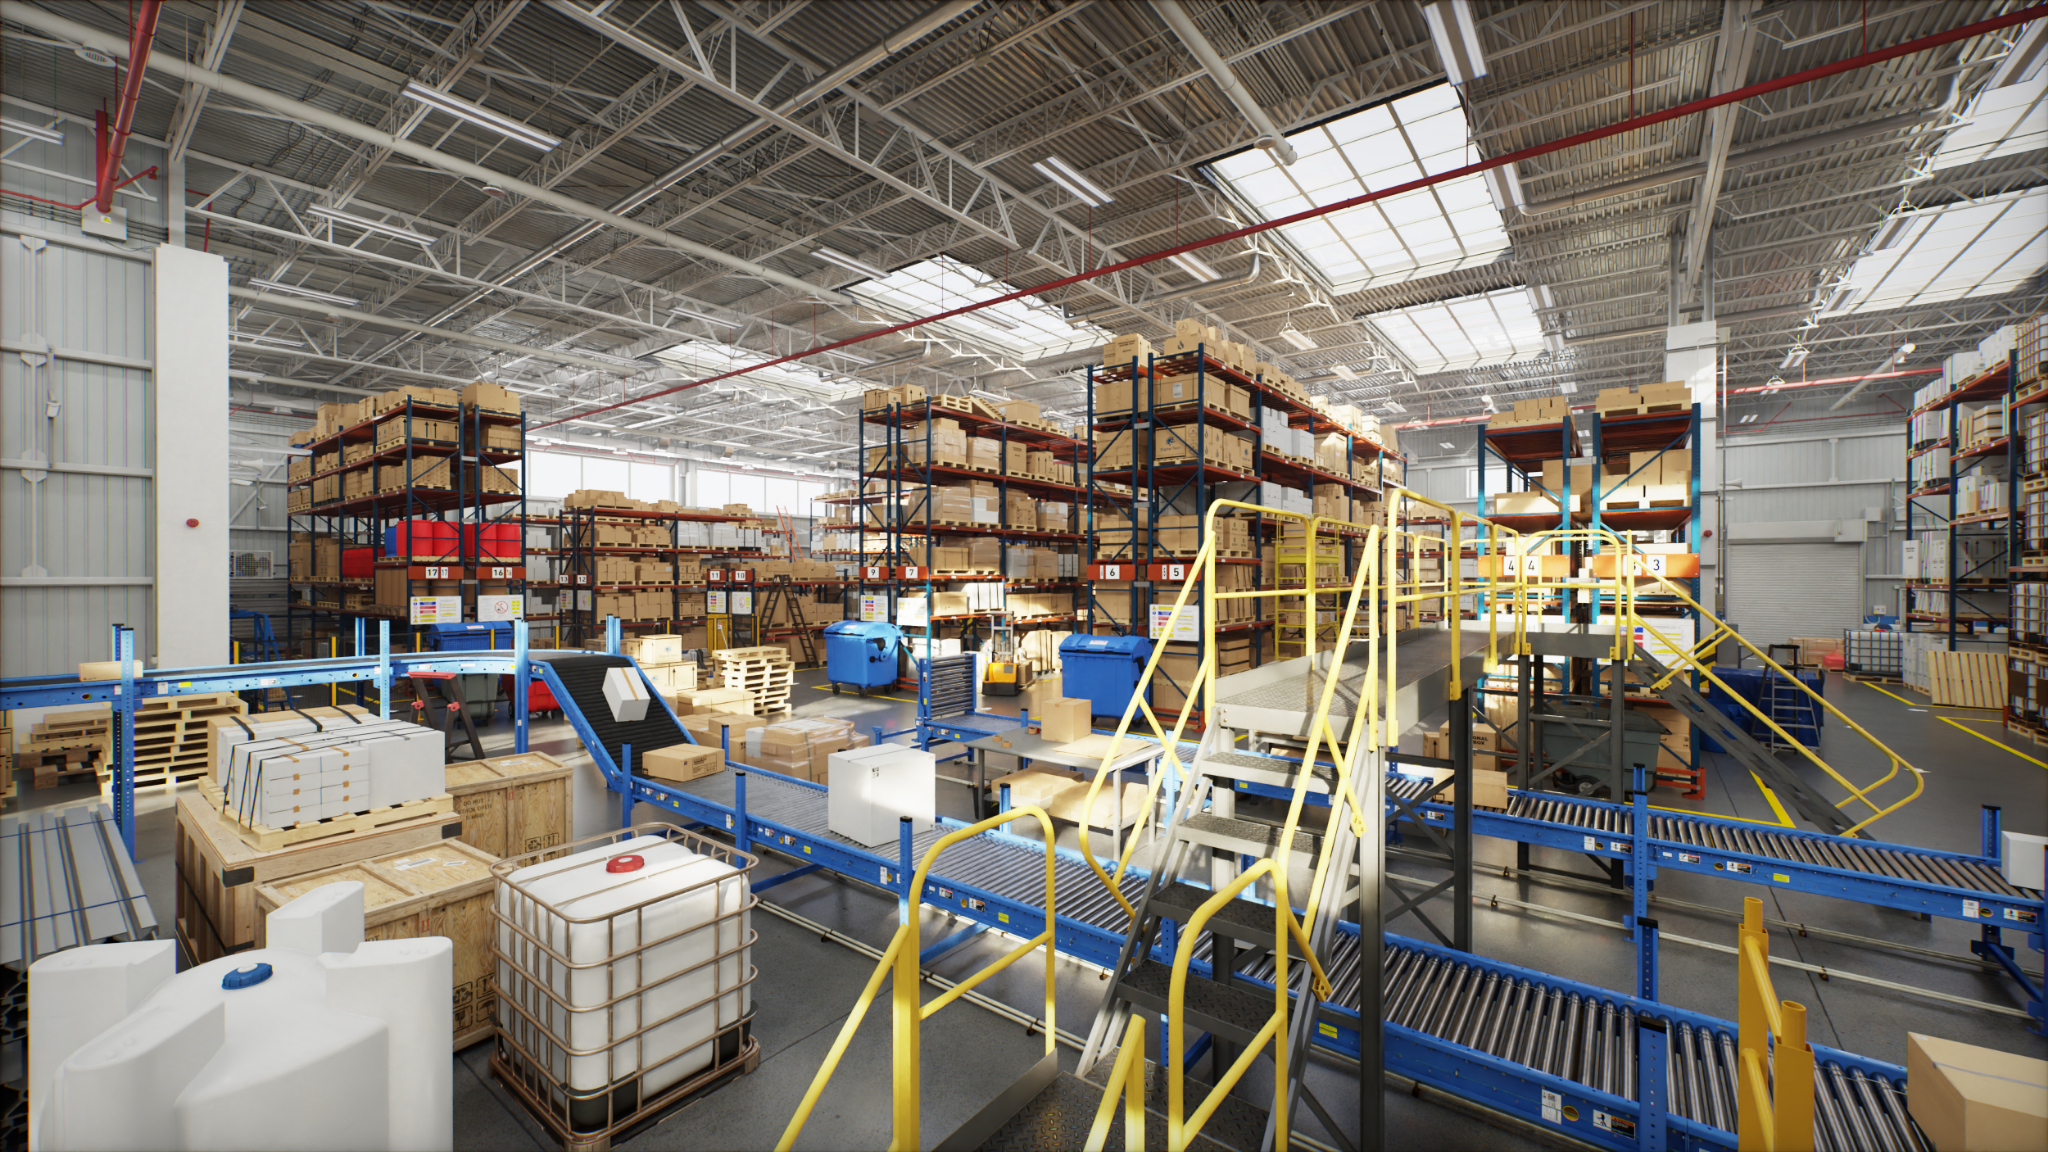
Examples#
Take a look at some examples of using these strategies in large scenes:
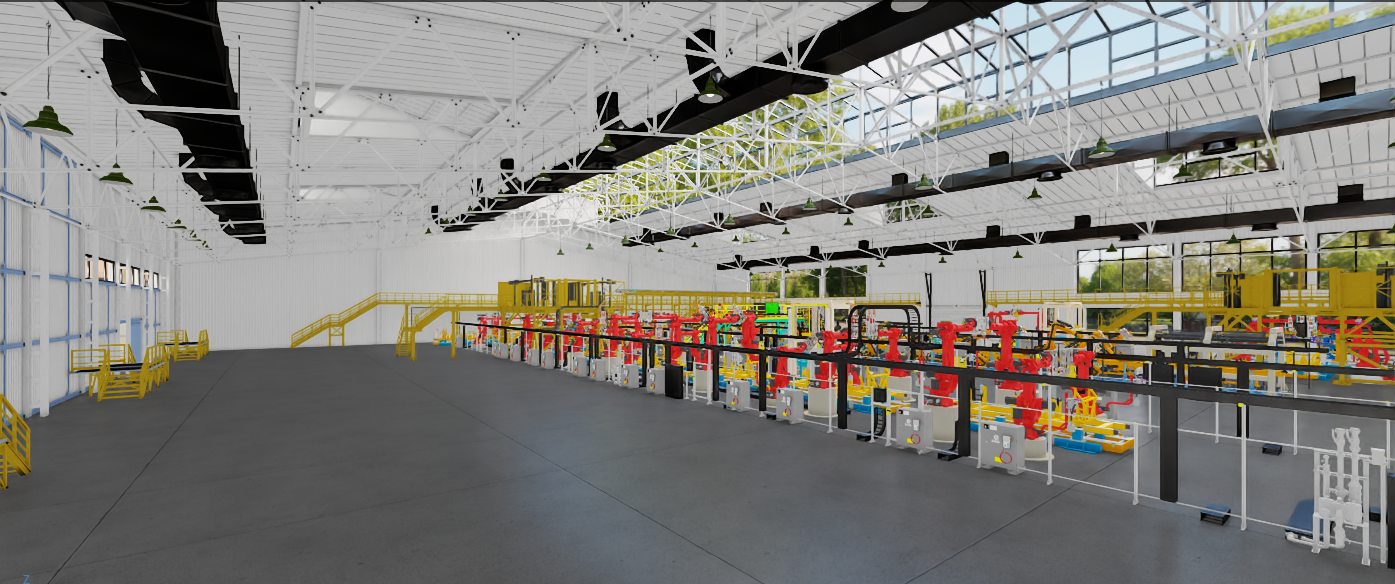
Sky lighting only (subtle and diffuse)
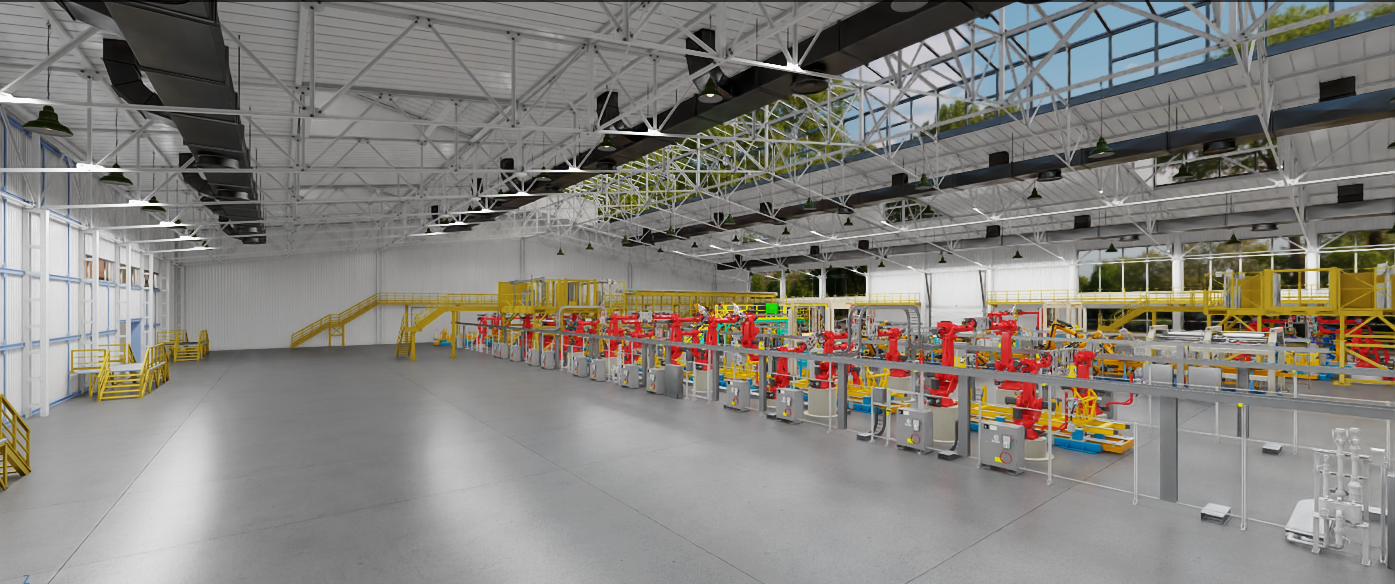
Natural lighting with the addition of 5 long rectangular lights, making this scene very easy to read.
Combined strategy of large natural lights and placed lights for an even effect. Great care was taken in this example!
Tips and Tricks#
We react very well to warm and cool lighting, not just pure white. If you look at the example of “Neutral lighting”, we use directional lights with a slightly warm color going one direction and slightly cool going exactly the opposite. Not only does this feel naturally pleasing, but gives the person traversing the scene a natural sense of direction purely from lighting.