DeepSearch Beta Usage
Overview
DeepSearch is a set of services that allow Omniverse users to search 3D models and images stored within an Enterprise Nucleus Server using common and natural language, as well as images.
Warning
You must be connected to a DeepSearch enabled Enterprise Nucleus Server or using Omniverse Cloud to use these features. If you are unsure if DeepSearch is enabled within your environment, please contact your systems administrator.
Using DeepSearch Beta
The DeepSearch Beta interface is currently only available in Omniverse Kit-based Apps, such as USD Composer. Note that in USD Composer, the required extensions must be first installed and enabled.
Using DeepSearch Beta in USD Composer
Enable the DeepSearch Beta extensions
USD Composer version 2023.1.0 or greater.
To enable the DeepSearch Beta interface, follow the steps below:
Within USD Composer, click Window, then Extensions.
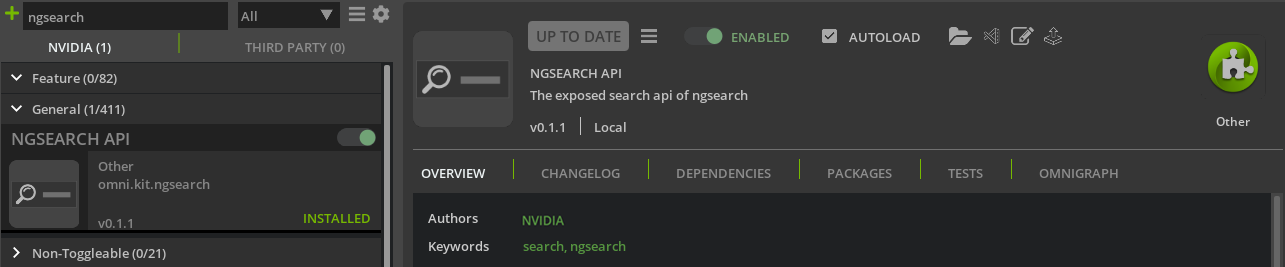
Within the search field, erase the default text and type
ngsearch.Within the general dropdown, install the latest
omni.kit.ngsearchextension, make sure it’s enabled, and the Autoload checkbox is checked. - The installed version must be0.1.1or greater.
After the
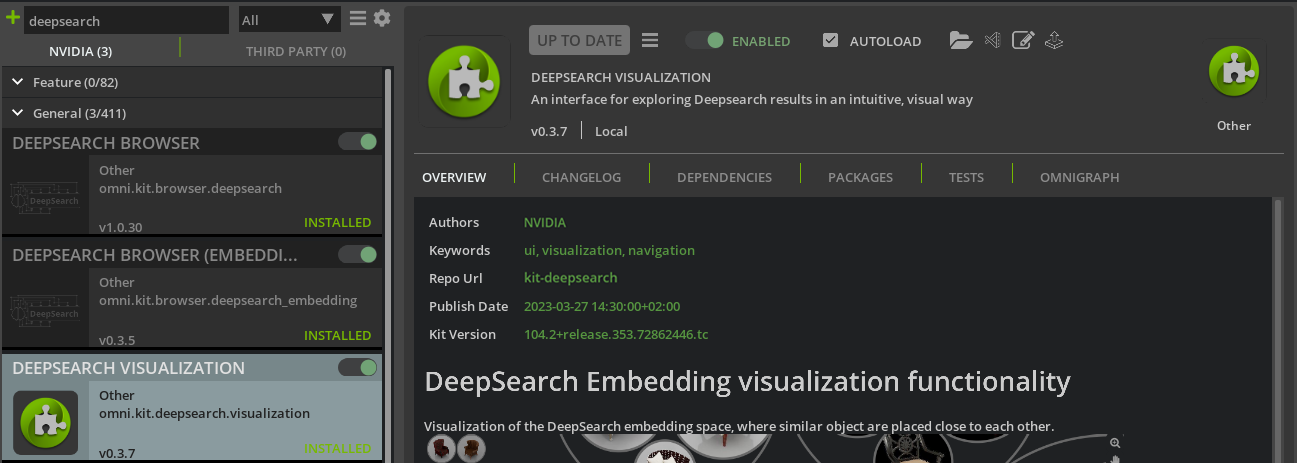
omni.kit.ngsearchextension is installed, the remaining Deepsearch extensions must be installed and enabled.Within the search field, erase the previously typed text and type
deepsearch.Within the general dropdown, install the following three extensions, make sure they are enabled, and the Autoload checkbox is checked.
omni.kit.deepsearch.visualization- The installed version must be0.3.7or greater.omni.kit.browser.deepsearch- The installed version must be1.0.30or greater.omni.kit.browser.deepsearch_embedding- The installed version must be0.3.5or greater.
Note
The omni.kit.browser.deepsearch_embedding extension depends on the other two, so it must be installed and enabled after the other two extensions are installed and enabled. Enabling it before the other extensions will display a dependency resolution error.
After all the required extensions are installed, close the Extensions window.
Click Window on the top toolbar again and select DeepSearch (Beta) to activate the extension. The DeepSearch Beta tab will appear.

USD Composer prior to version 2023.1.0.
To enable the DeepSearch Beta interface, follow the steps below:
Within USD Composer, click Window, then Extensions.
Click the gear icon (settings) next to the search field, which will open the list of registries that USD Composer is connected to:

In the Extension Registries section, add the Kit public registry by clicking the plus icon, then enter the following information as shown below:
name:
kit/public/104.2url:
https://d1aiacozzchaiq.cloudfront.net/exts/kit/public/104.2/
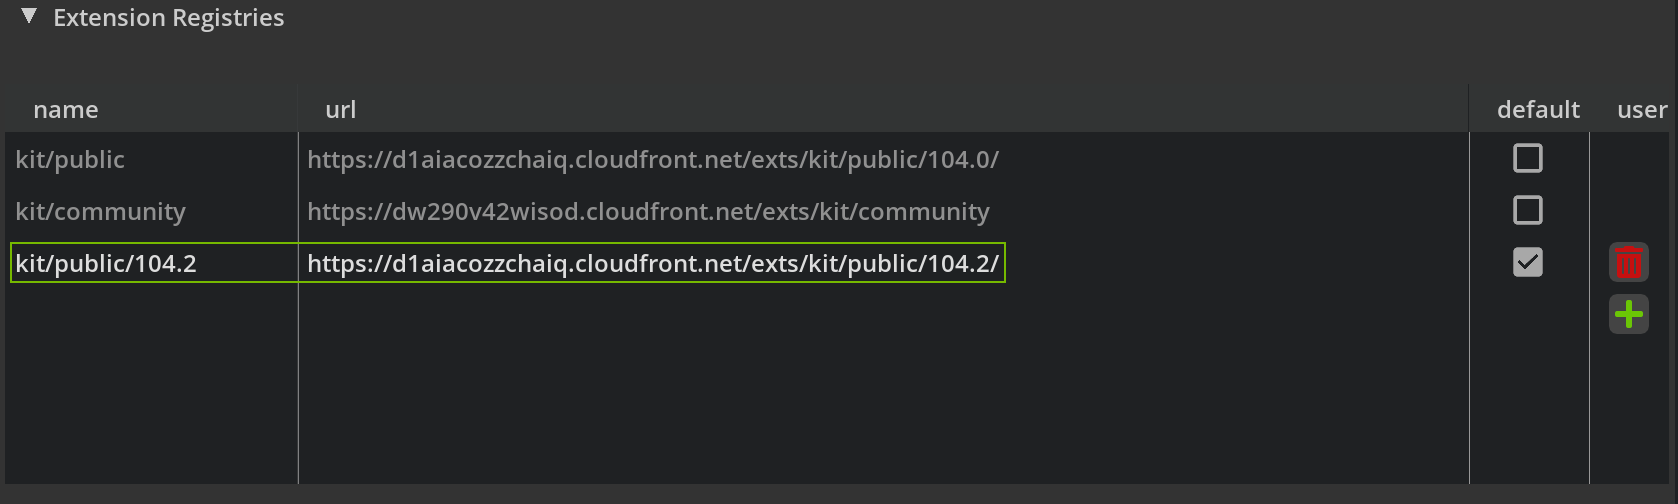
This will enable the additional registry where to find the required extensions.
Within the search field, erase the default text and type
ngsearch.Within the general dropdown, install the latest
omni.kit.ngsearchextension, make sure it’s enabled, and the Autoload checkbox is checked. - The installed version must be0.1.1or greater.
After the
omni.kit.ngsearchextension is installed, the remaining Deepsearch extensions must be installed and enabled.Within the search field, erase the previously typed text and type
deepsearch.Within the general dropdown, install the following three extensions, make sure they are enabled, and the Autoload checkbox is checked.
omni.kit.deepsearch.visualization- The installed version must be0.3.7or greater.omni.kit.browser.deepsearch- The installed version must be1.0.30or greater.omni.kit.browser.deepsearch_embedding- The installed version must be0.3.5or greater.
Note
The omni.kit.browser.deepsearch_embedding extension depends on the other two, so it must be installed and enabled after the other two extensions are installed and enabled. Enabling it before the other extensions will display a dependency resolution error.
After all the required extensions are installed, close the Extensions window.
Click Window on the top toolbar again and select DeepSearch (Beta) to activate the extension. The DeepSearch Beta tab will appear.
You can engage DeepSearch in two different ways:
Natural Language search
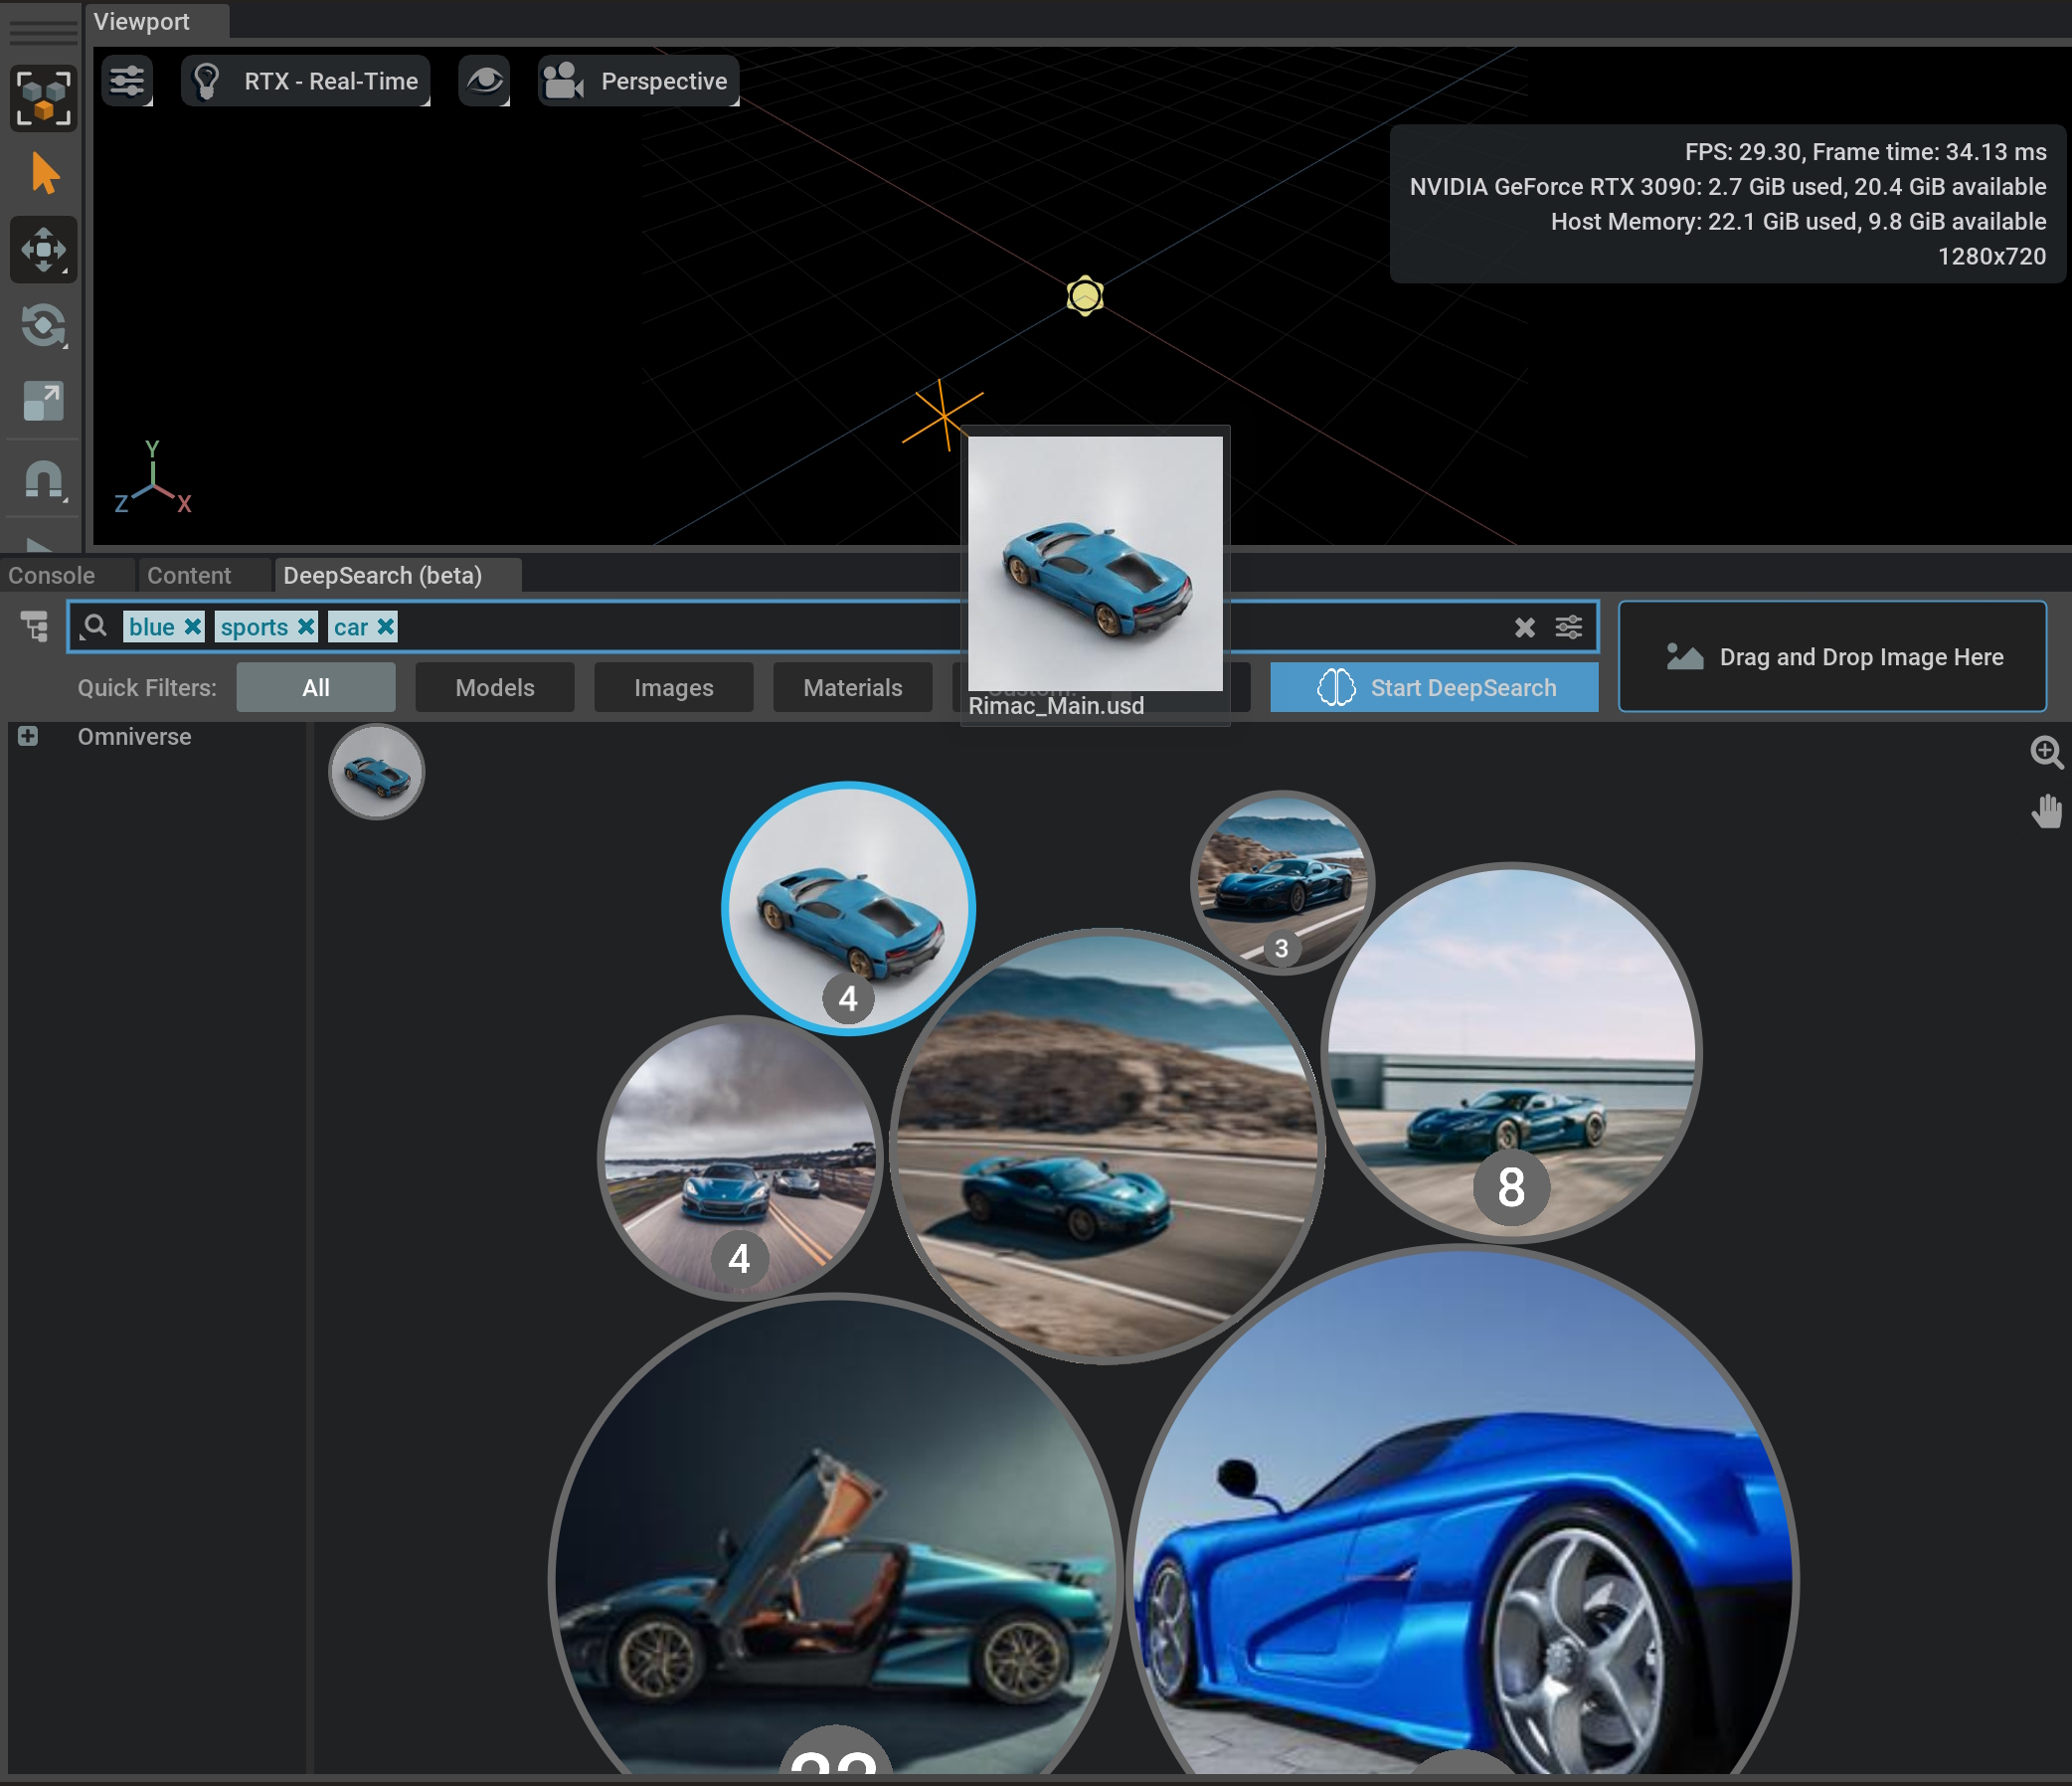
In the Search box within the DeepSearch tab, type in something you’d like to search for, and press ENTER or click Start DeepSearch to start your search. (In our example, we are searching for a blue sports car.)
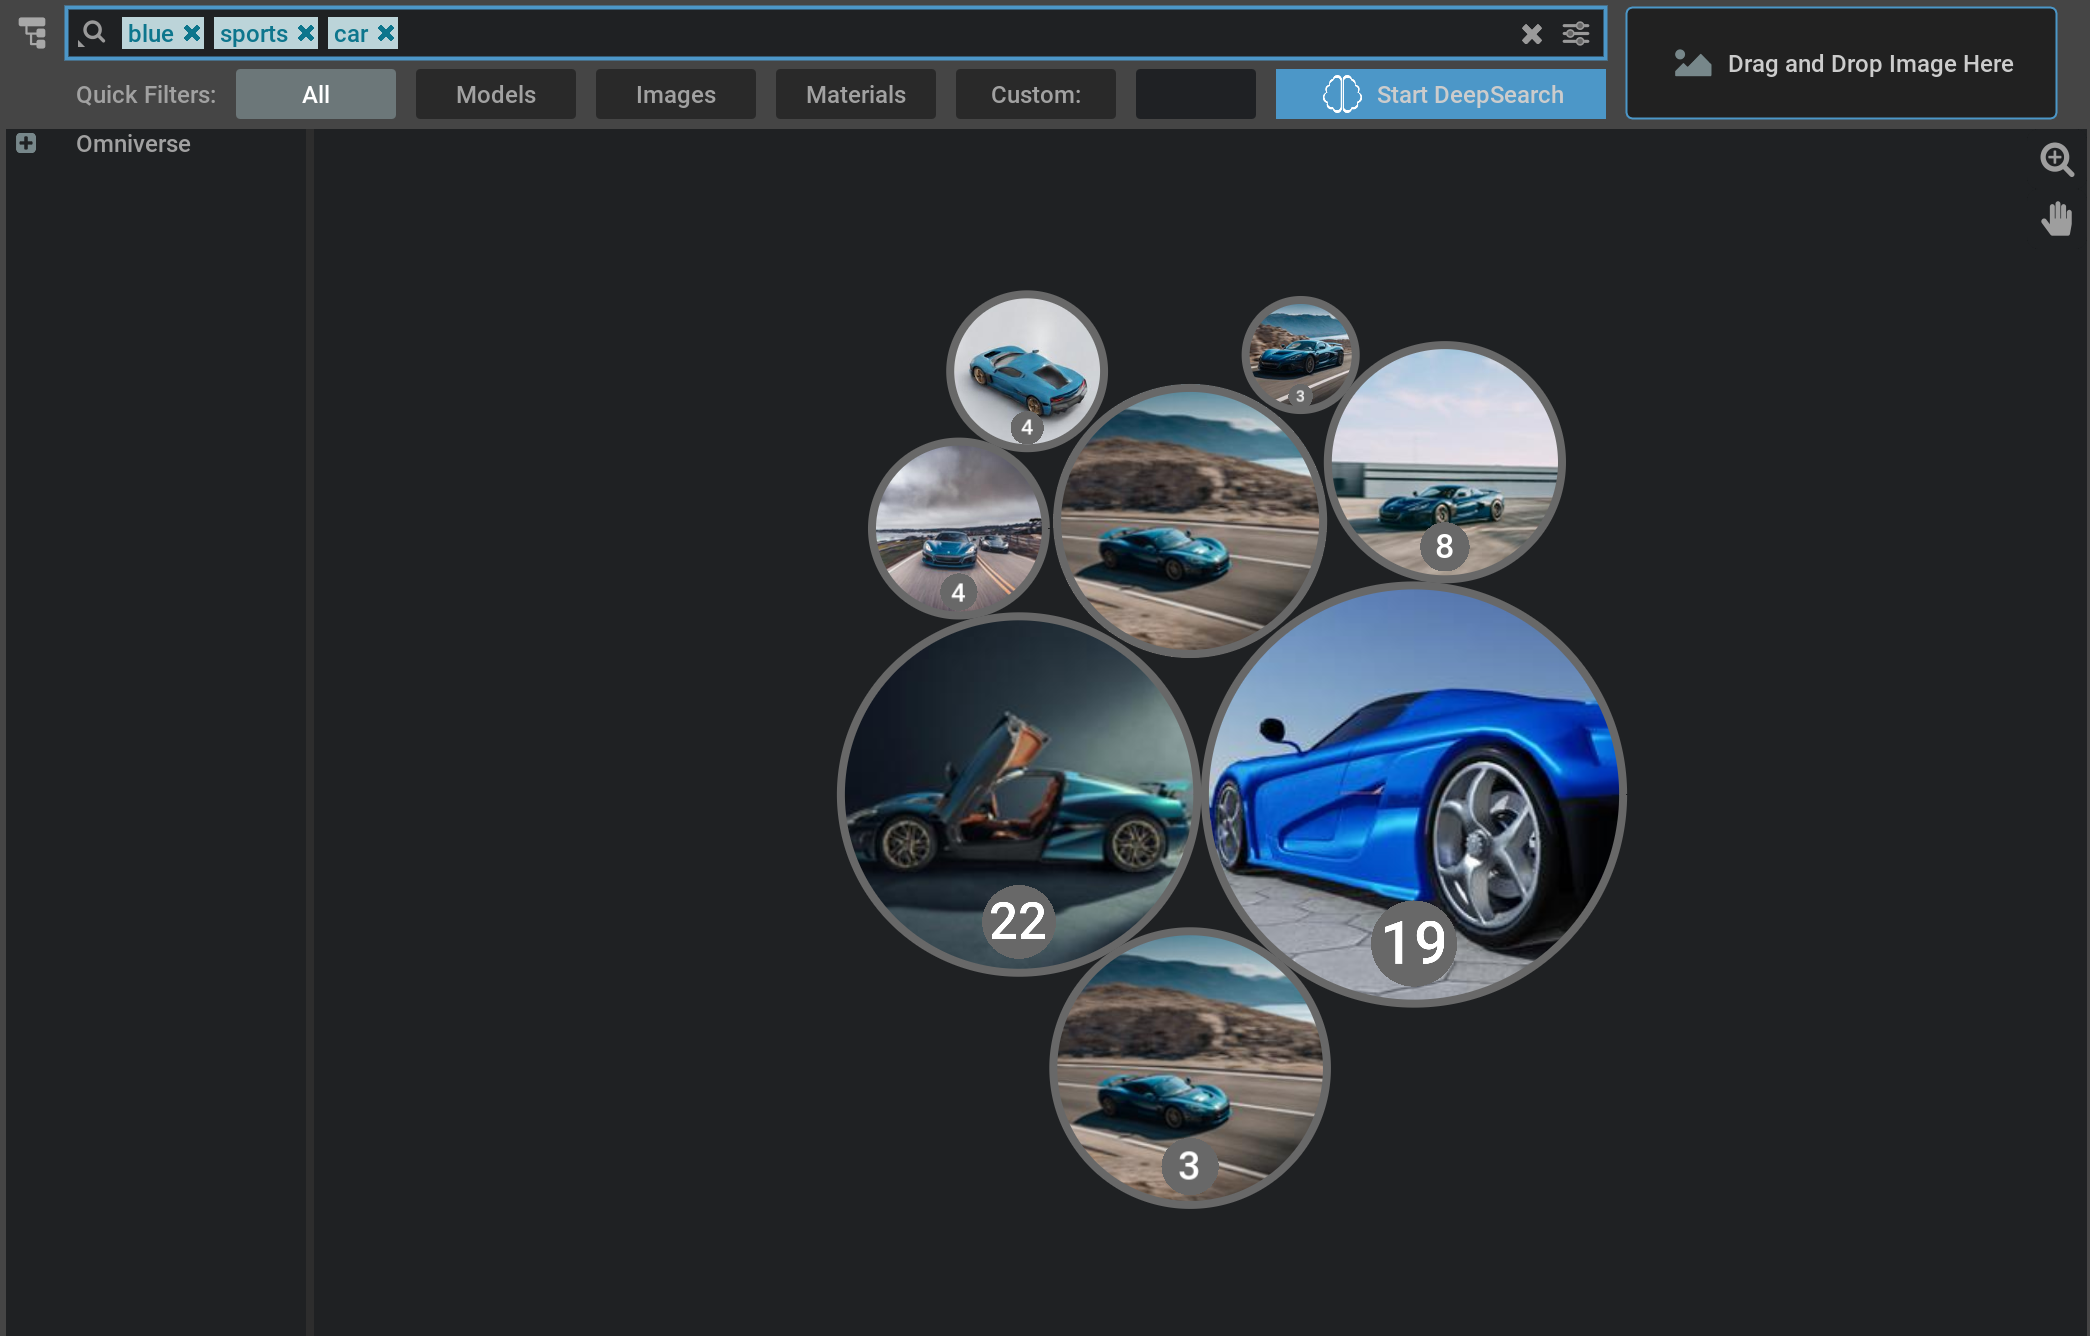
As shown in the example above, search results are visualized as a collection of clusters. Each of the clusters represent a collection of items that are grouped by similarity. The number shown reflects the amount of relevant items contained within and the size of each cluster reflects the relevance of it’s content to the input search query according to the similarity in the embedding space that is computed by the DeepSearch service. The larger the radius of the circle, the more relevant the results.
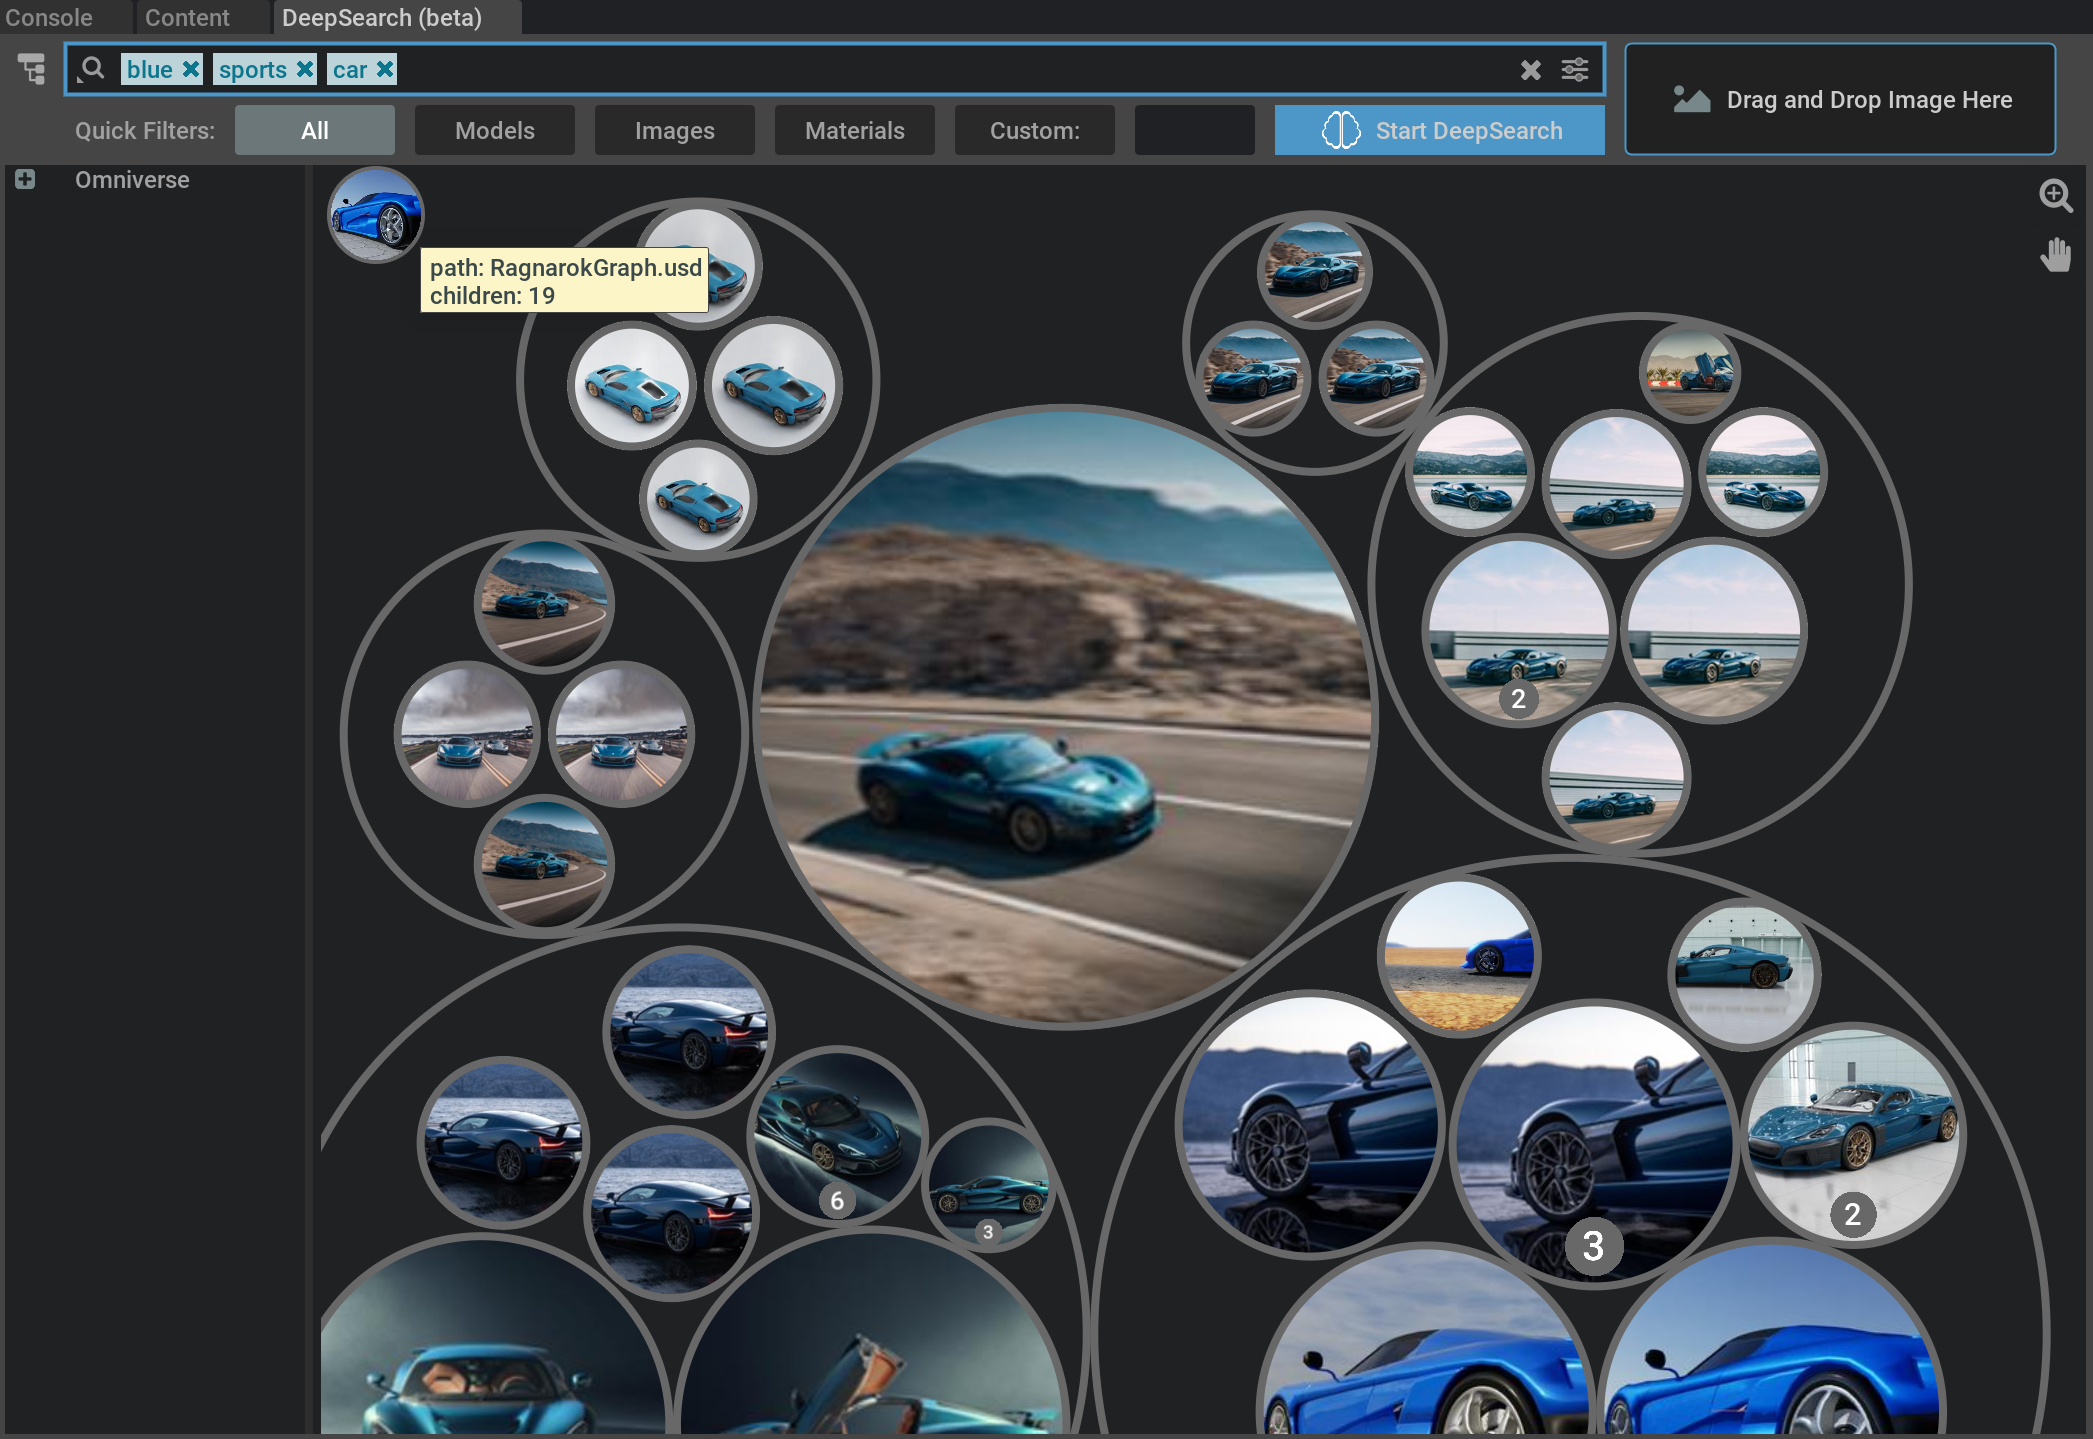
You can zoom in by double clicking individual clusters, as shown in the following example:
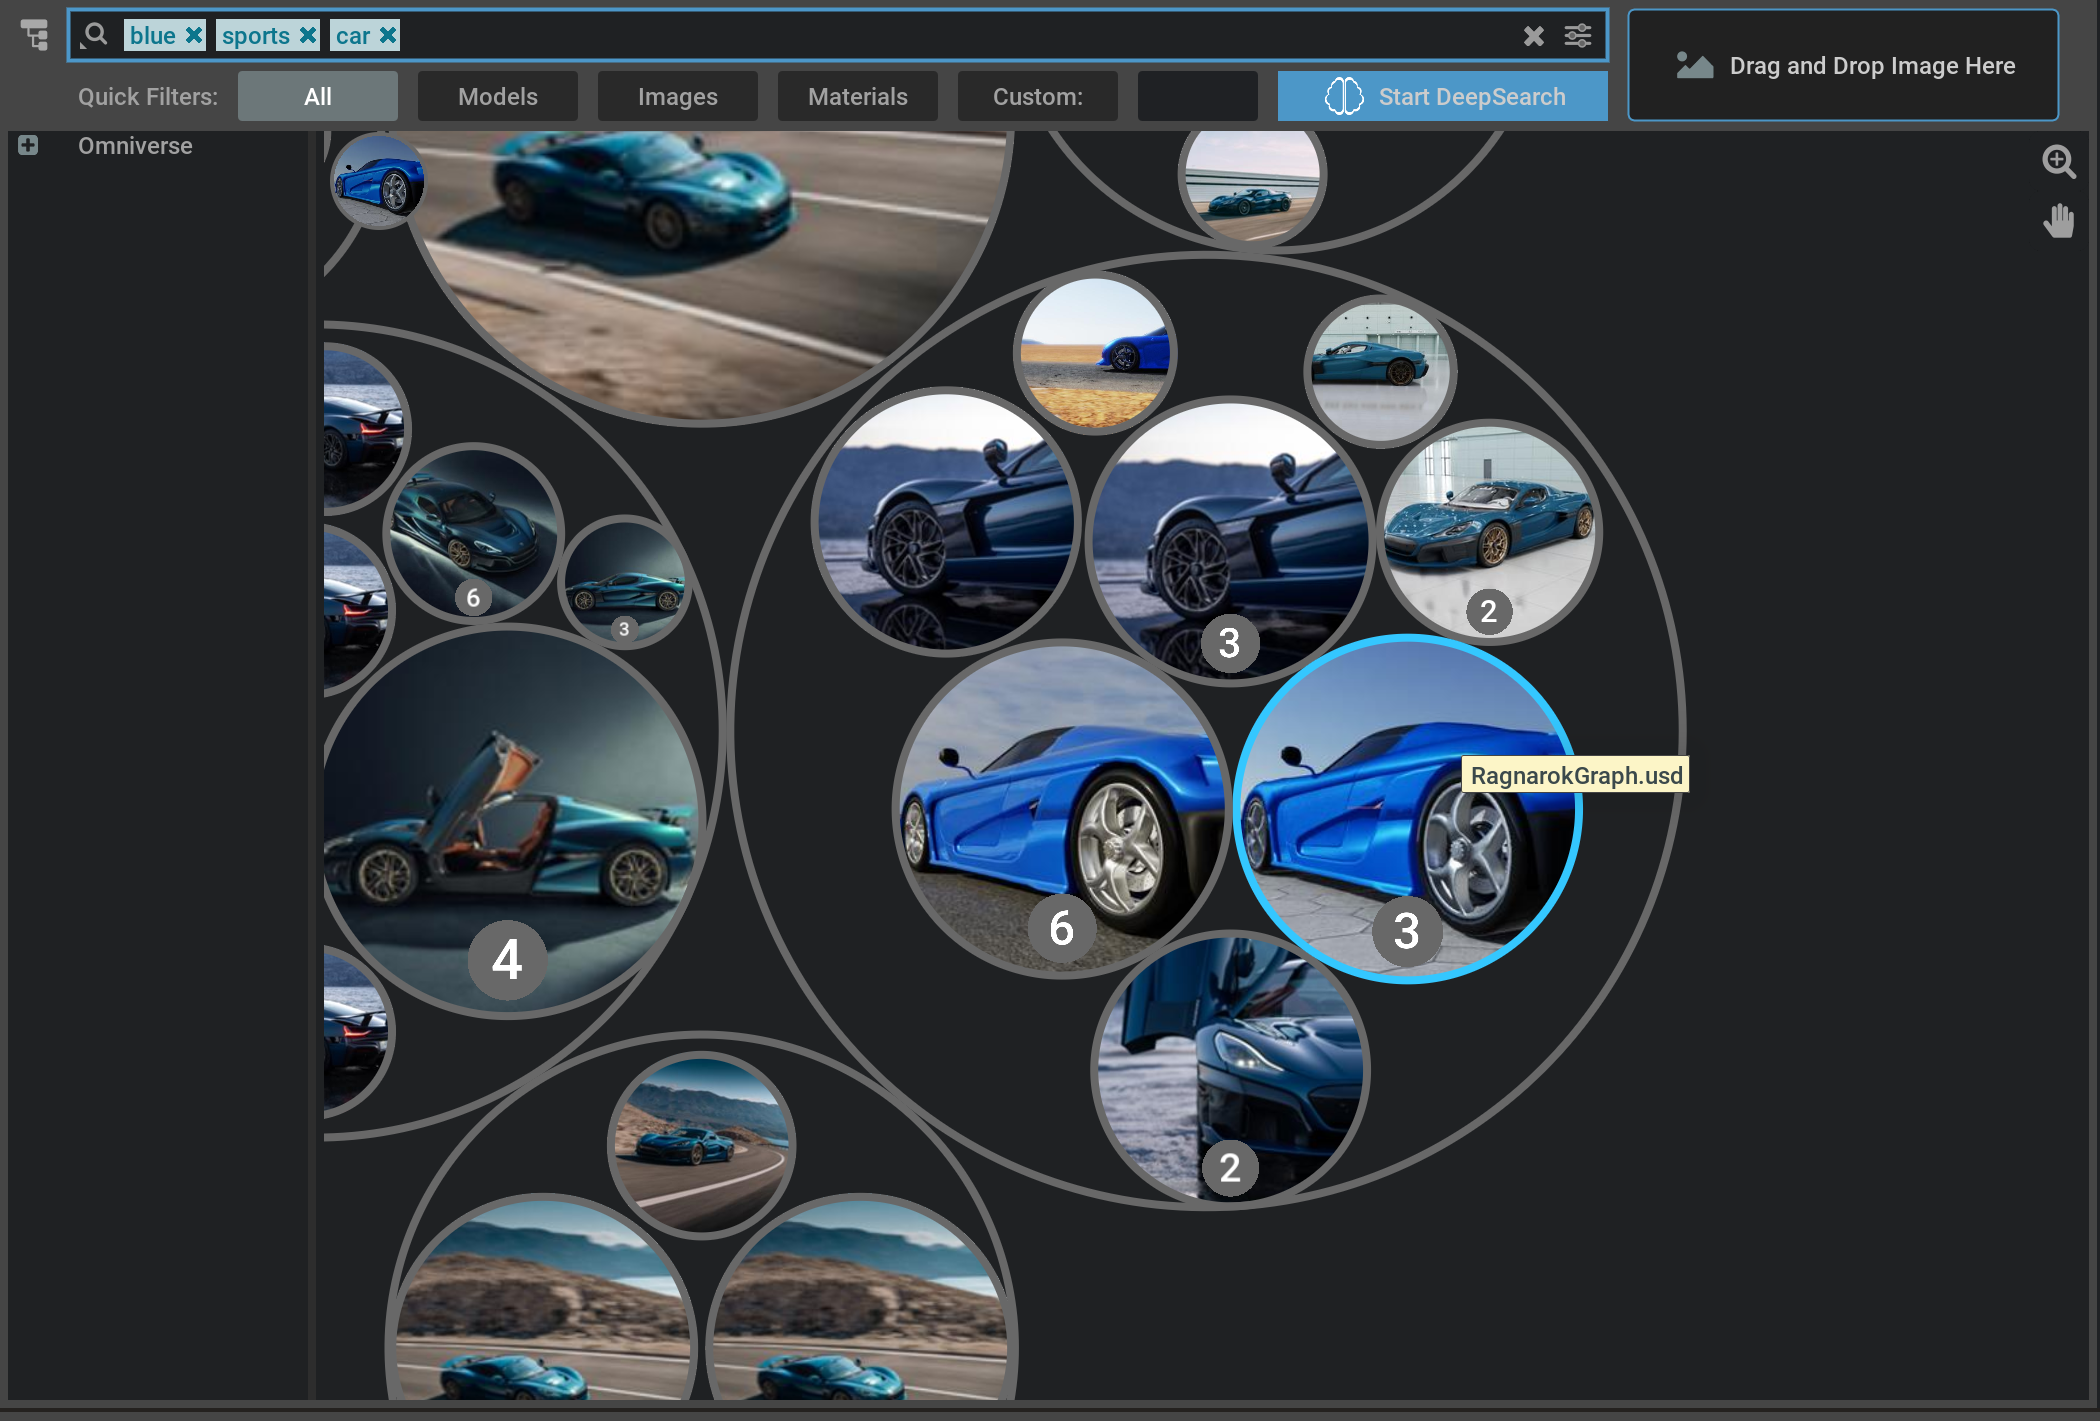
This will reveal the content of the cluster where you can zoom in deeper inside the hierarchy by double clicking on subsequent clusters or return to the previous cluster by clicking on the breadcrumbs in the top left corner of the viewport, as shown in the following example:
Using an image to search
You also can search for an asset with an image. To do this, drag an image from your computer into the DeepSearch dropzone. Dropping an image will automatically engage DeepSearch. If results are found, they will appear.
Search query customization
In order to narrow down the search to a subset of asset types the following Quick Filters can also be applied:
Name |
Description |
|---|---|
All |
Displays all returned results (no filtering) |
Models |
Filters and displays only USD models |
Images |
Filters and displays images in common formats (.jpg, .png, etc.) |
Materials |
Filters and displays materials (MDL format, etc.) |
Custom |
Enter in the file extension within the custom field you wish to filter on |
To further customize the query it is possible to use the search options menu, which allows to add more filters to the query (e.g., creation date, file size, tags, file name, etc.)
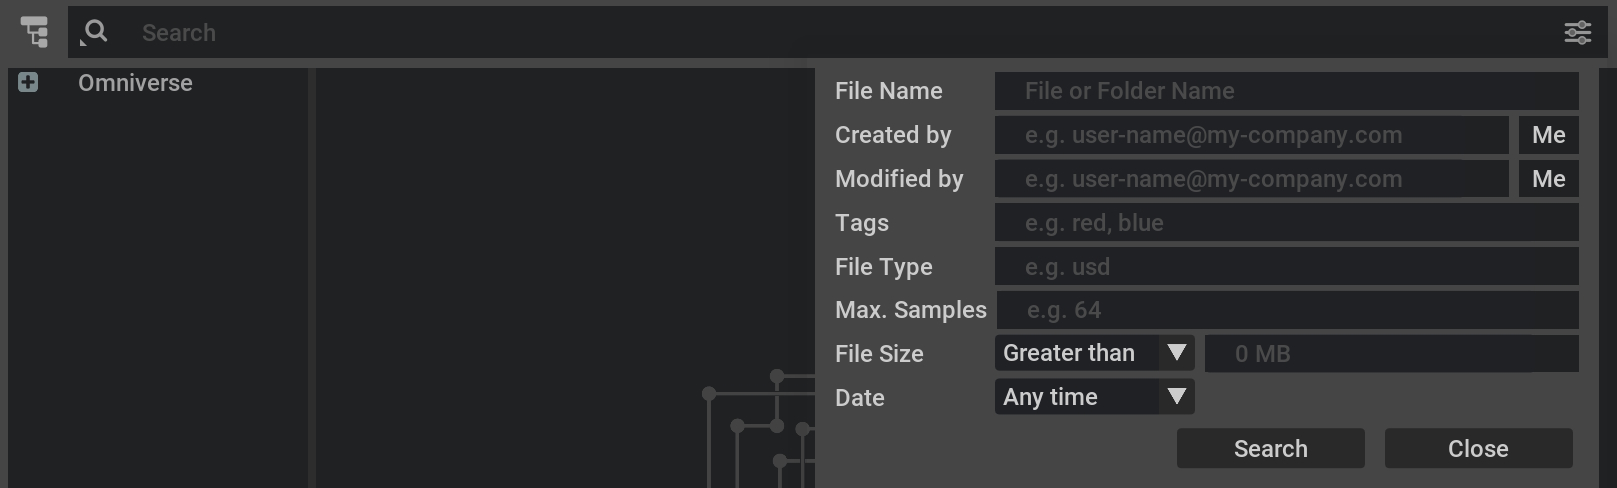
There is also a possibility to control the number of search results returned by the server using the Max. samples parameter:

By default, this parameter is set to 64 not to overload the backend search engine, however this value can be changed as needed.
Warning
The greater the number of requested search results, the longer it may take the DeepSearch server to process the search and return results.
It is also possible to customize the query using a dedicated query language. Please refer to Query Syntax for more information.
Additional functionality
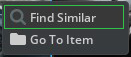
If an image that’s not exactly what you were looking for is returned, you can right-click it and choose Find Similar from the menu that appears. This may help narrowing down the search and showing you the perfect asset or image for your project.
Once you have found the perfect asset or image, simply drag and drop it directly into the viewport to add it to your scene.
User Interface Tips & Tricks
To make the DeepSearch interface easier to navigate and use, review these helpful tips:
Once a search is performed, the mouse wheel can be used to zoom in and zoom out of the results. Additionally, clicking (and holding) the magnifying glass icon with your left mouse button in the viewport while moving your mouse will also zoom in and out of the results.
To pan through the search results, hold the right mouse button while moving the mouse. Additionally, clicking (and holding) the hand icon with your left mouse button in the viewport while moving your mouse will also pan through the results.
Using DeepSearch in Nucleus Navigator
To use DeepSearch in Nucleus Navigator, follow these steps:
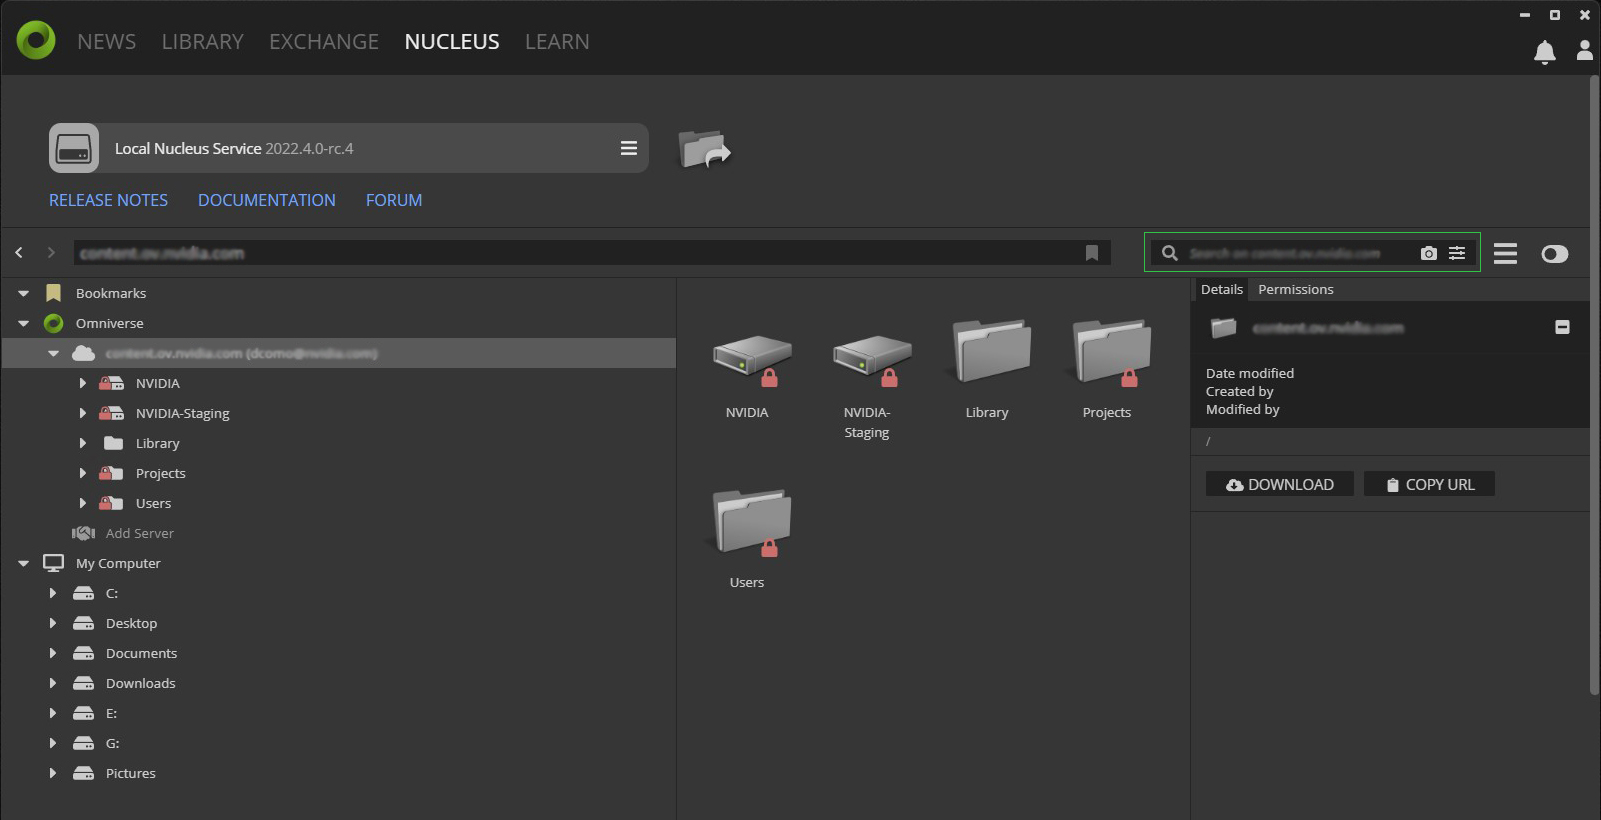
When connected to a DeepSearch enabled Nucleus Server, a camera and hamburger icon will appear within the search bar when the mouse pointer is placed within the field.
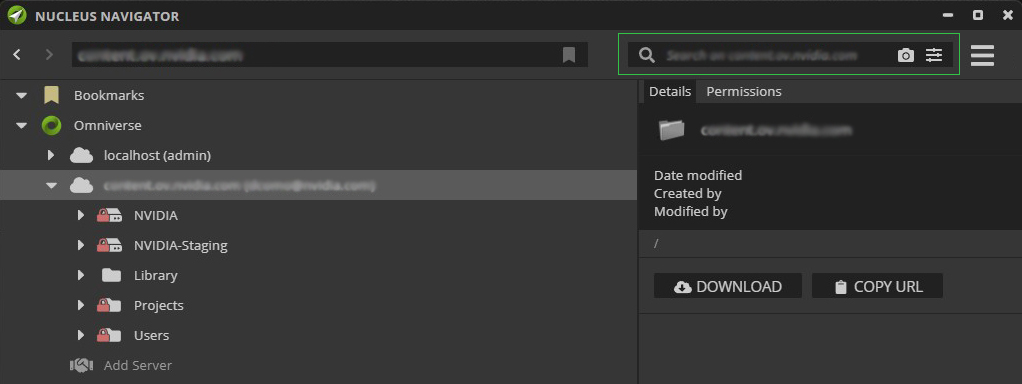
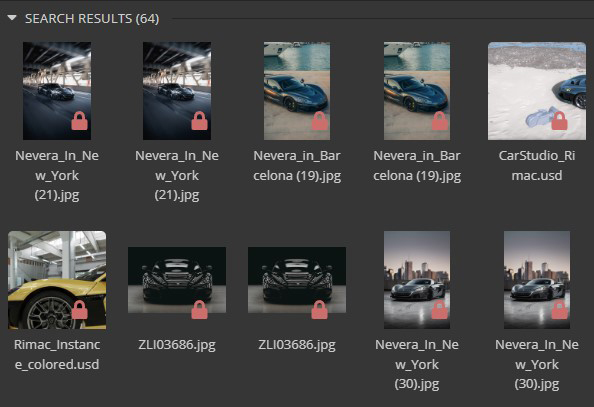
Clicking the hamburger icon will display a dialog window that will allow you to search for images using natural language.
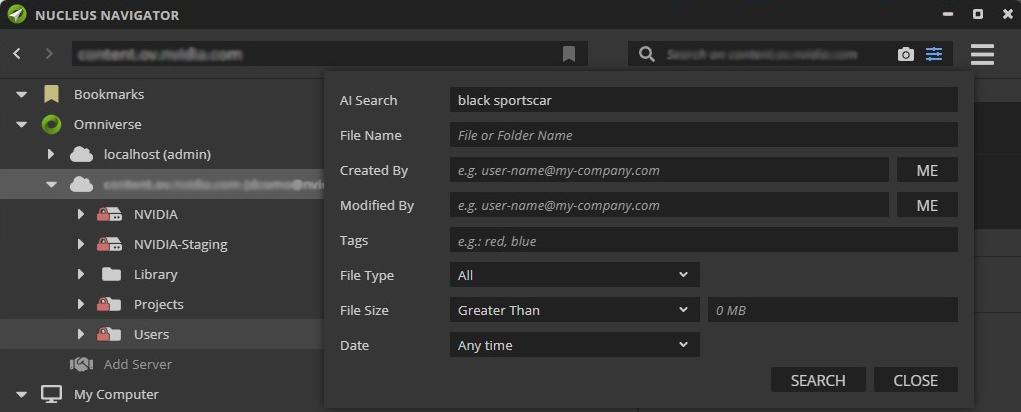
In this example, we are again looking for a black sportscar. Specify the item you are looking for in the AI Search field and click Search. If results are found, they will appear.
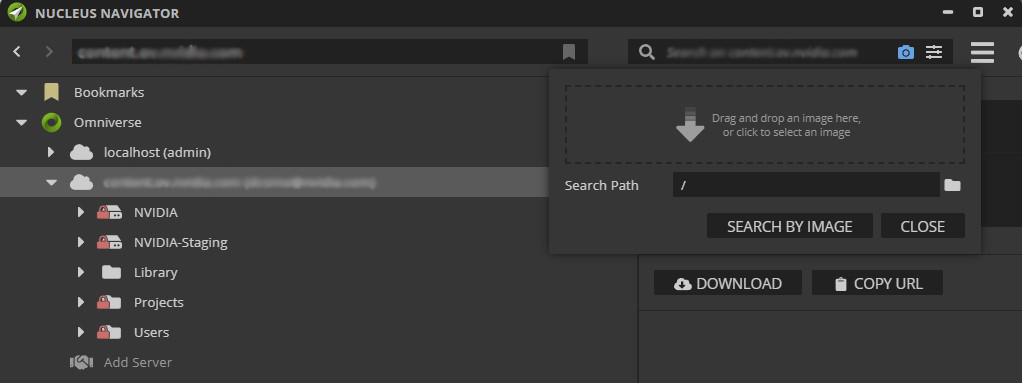
Alternatively, clicking the camera icon will display the below interface that will allow you to search for images using images. Drag an image from your computer into the dropzone and click Search By Image. If results are found, they will appear.
Using DeepSearch in the Omniverse Launcher
Using DeepSearch within the Omniverse Launcher is akin to the Nucleus Navigator experience as explained above.