PointClouds
Overview
This feature enables importing and rendering e57 and pts pointcloud files.

User Manual

When this extension is enabled, there are two ways to import an e57 file into the scene:
File->Import
In the Content Window, right click and “Convert to USD”.
Import Options for E57 Files
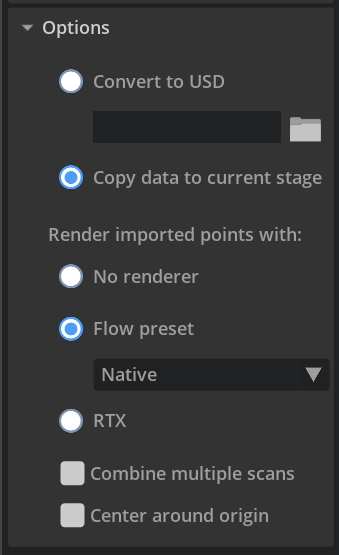
When importing e57 files, there are following options:
Convert to USD.
Copy into current stage.
Converting to USD does just that, it creates a new usd file (by default in the same location as the .e57 file). This new file can be referenced like any other. Copying into the current stage duplicates the data without creating a reference.
No matter how you choose to import the data, you can also choose to merge multiple scans contained inside a single e57 file and to center the whole point cloud around the origin of the current stage.
Import Options for PTS Files
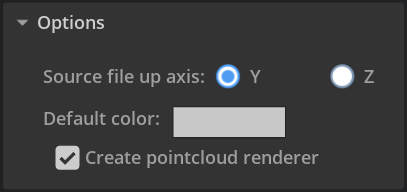
When importing pts files:
Select source file up axis.
Select default color for cases when the imported file does not contain the color data.
Rendering
To render the pointclouds immediately upon import, check the option to create a renderer in the import options. Renderers are always created in the current stage, not in any generated usd files.
The Omniverse™ Flow renderer offers two presets options. The OmniGraph preset in comparison to Native preset brings less flickering, however can take more time to load.
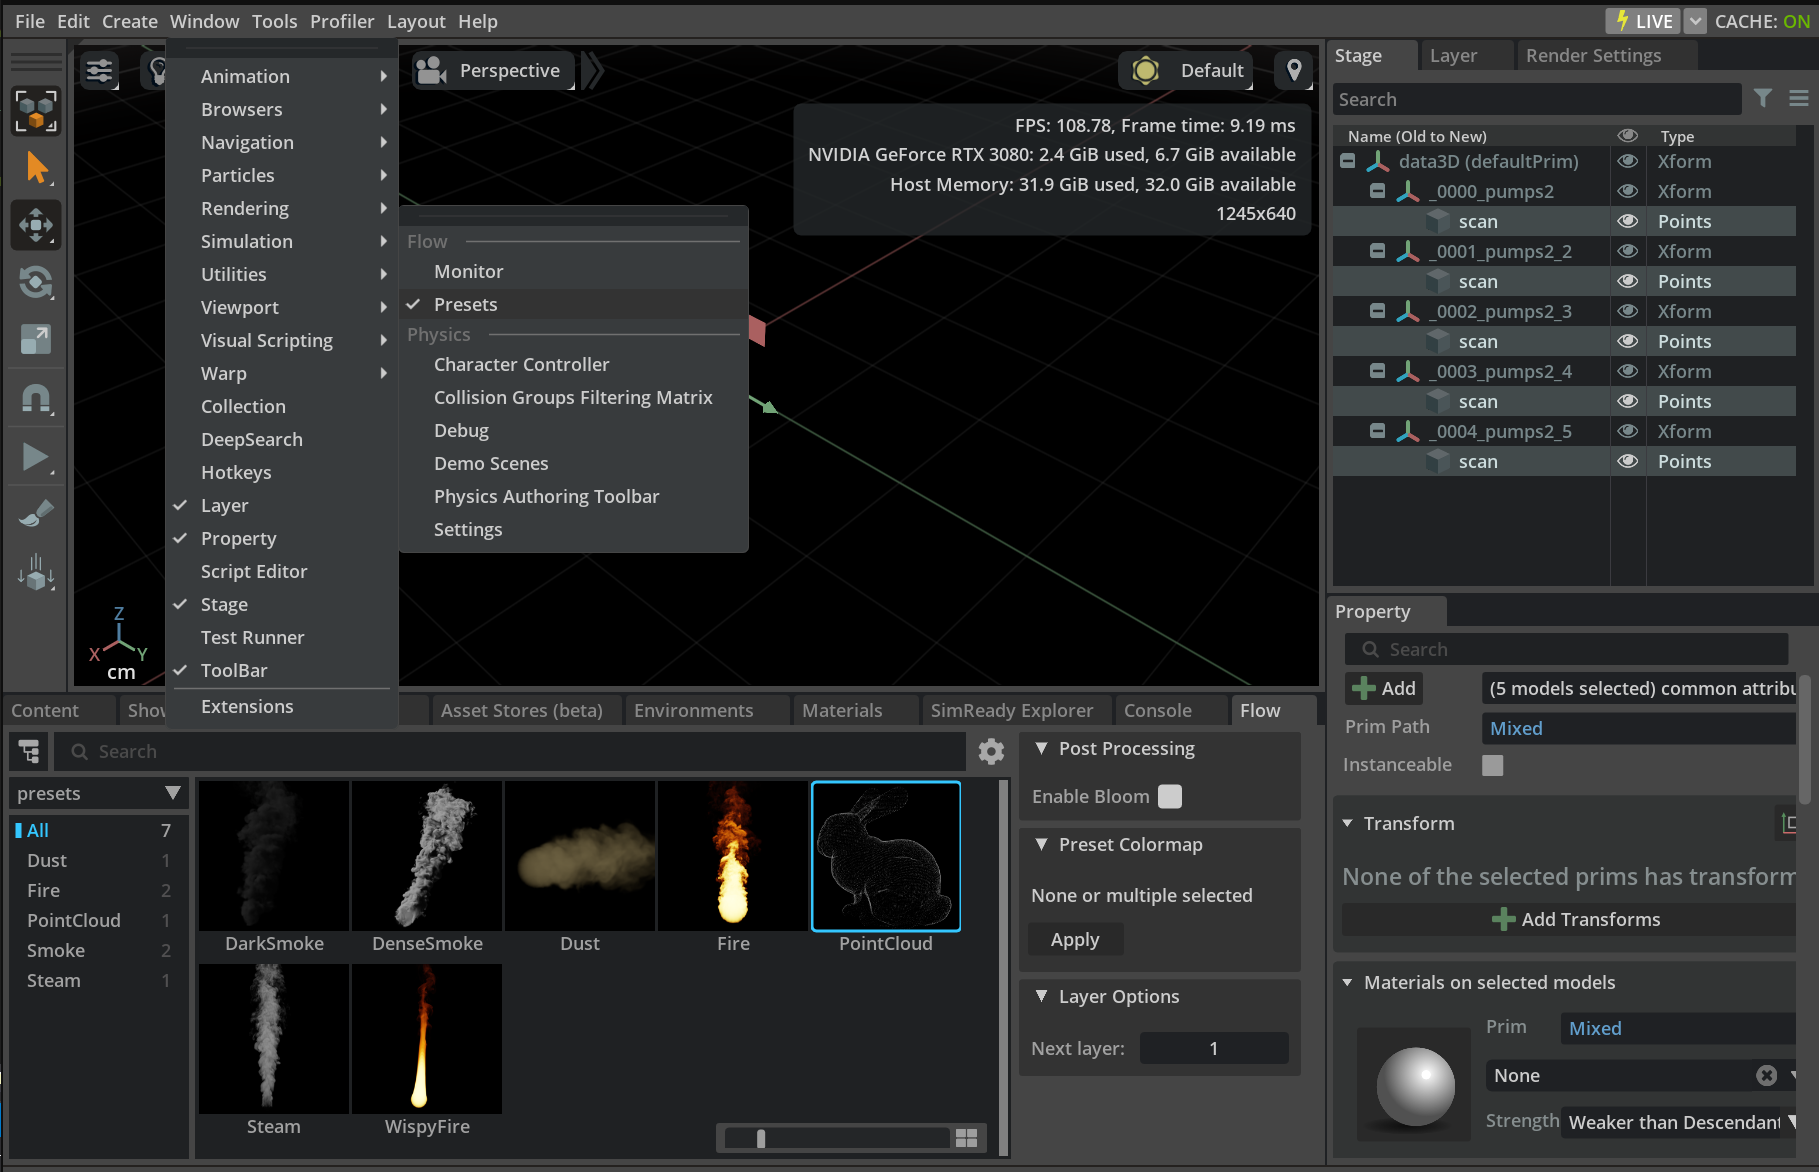
To render a pointcloud that is already in the current stage, select the scan or scans. Then open Flow Presets window Window -> Simulation -> Presets.
Be sure to select UsdGeomPoints objects before adding the preset to the stage.
Right click the PointCloud preset item and select Add to Stage -> Global Copy.
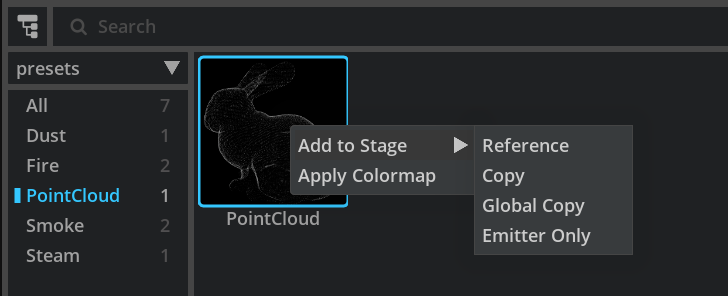
In order to render a pointcloud, Flow needs to create a flowEmitterPoint object, which has a relationship to the UsdGeomPoints objects. It also needs to create other Flow objects that contain specific settings for displaying a pointcloud. These settings are bundled under a single flowPointCloud object.
The global point cloud preset (recommended) will add relationships to Flow emitter with each selected UsdGeomPoint and will create the other settings globally if they do not yet exist. These settings should not be duplicated.
Flow Settings for Pointclouds
The Omniverse™ Flow renderer was originally designed for rendering fluids and gases, but has been repurposed for pointcloud rendering. As such, there are some settings that are important to pointclouds and many that are not.
Cell Size is located in the globally created
flowPointCloudobject.By default, Flow will try to find the ideal cell size automatically (
autoCellSize= True). This setting can be lowered to increase pointcloud detail.Keep in mind cutting cell size in half is an 8x increase in cells and as a result simulation time.
After
autoCellSizefinds a value, if another pointcloud is added, it will reset and find a new optimal value.
The Max Blocks setting can be found in
Render Settings->Common->Flow. Setting this higher will require more memory consumption, but will allow higher levels of detail with a lower cell size.When Flow runs out of blocks, gaps may appear in the pointcloud and a warning will be printed to the console.
Maximum Flow blocks of [X] in use, either reduce cell size or increase max blocks.
Uncheck
updateWhilePausedto boost performance once a scene is loaded. This setting is in the globalflowPointCloudobject.To toggle the visibility of a pointcloud, use the
enabledoption in theUsdGeomPointschildflowPointCloudobject.
Tip
Current usage of Flow Blocks can be displayed in Flow Monitor Window (Window -> Simulation -> Monitor).
For more information on the Omniverse™ Flow renderer, see the Flow docs