Installing an Enterprise Nucleus Server
The documentation below focuses on installing and configuring an Enterprise Nucleus Server using Ubuntu 22.04 LTS.
For additional information, please refer to the before you begin page and the in-line documentation contained within the nucleus-stack.env file (included within the installation artifacts.)
Obtaining the Enterprise Nucleus Server Docker Files
After your order for Omniverse Enterprise licenses has been processed, you will receive an order confirmation message from NVIDIA. This confirmation contains information needed to log in and download the required Omniverse Enterprise software from the NVIDIA Licensing Portal.
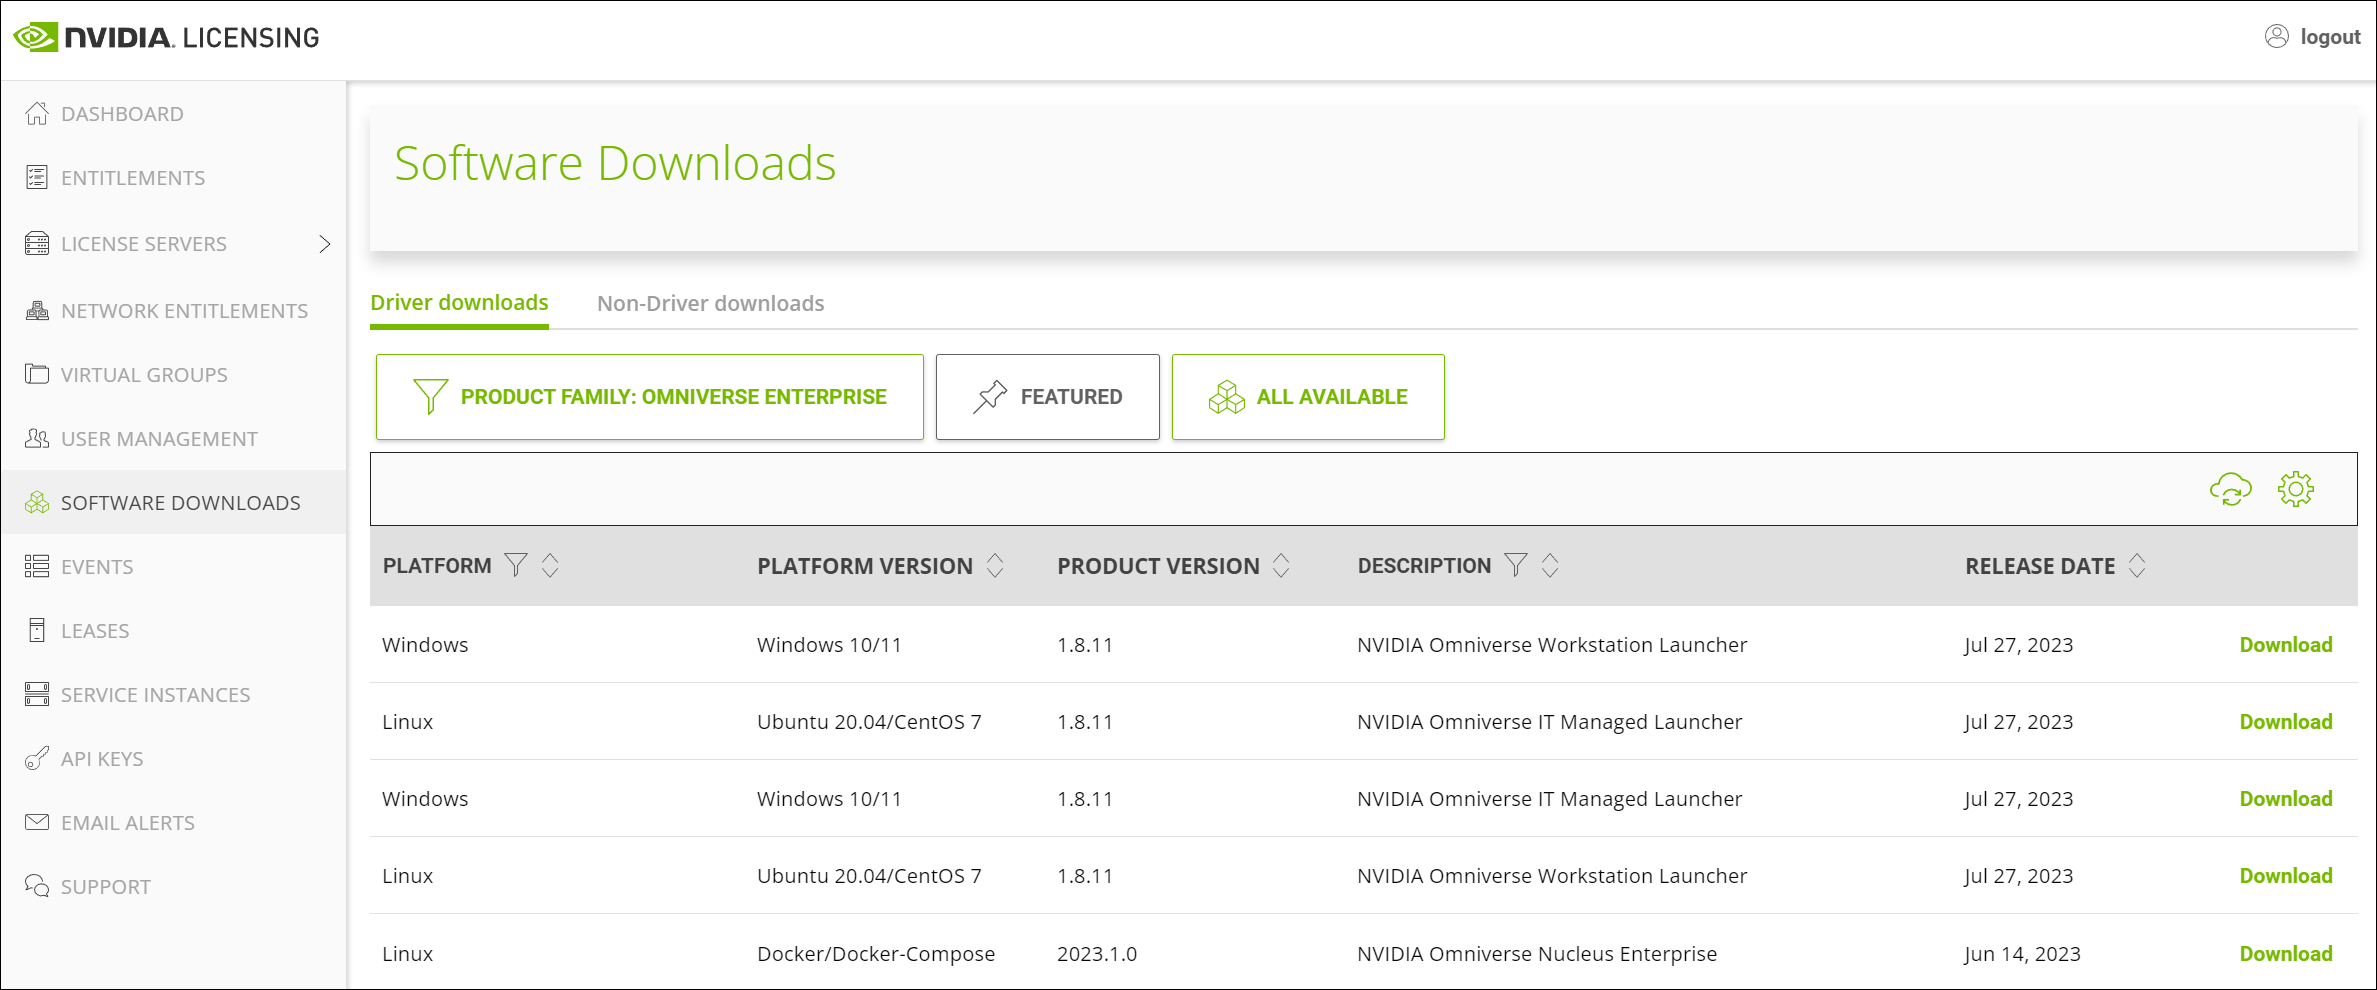
Downloading the Enterprise Nucleus Server Package
From the NVIDIA Licensing portal, click SOFTWARE DOWNLOADS, then set product family to Omniverse Enterprise. Locate the latest Omniverse Enterprise Nucleus package and click Download.
Docker Installation
Prerequisites
After your Ubuntu 22.04 server is installed, log into it. Aligning with best practices, ensure it is fully patched with the latest security updates before proceeding. Before installing Docker, make sure that the following helper utilities are installed using the following command:
sudo apt-get install apt-transport-https ca-certificates curl gnupg lsb-release
Installing Docker
Nucleus 2023.2.0 and above
As of the publishing date of this document, Docker 20 is the recommended version for the successful deployment of an Enterprise Nucleus Server. This version also includes Docker Compose as a built-in module and no longer requires additional software to be installed. This document will be updated as newer versions of Docker are validated and approved.
To install Docker on your server, follow these steps:
Run the following commands which add the proper Docker repositories:
sudo mkdir -p /etc/apt/keyrings
sudo curl -fsSL https://download.docker.com/linux/ubuntu/gpg | sudo gpg --dearmor -o /etc/apt/keyrings/docker.gpg
The following command which will add the Docker repository to your apt sources file:
sudo echo \
"deb [arch=$(dpkg --print-architecture) signed-by=/etc/apt/keyrings/docker.gpg] https://download.docker.com/linux/ubuntu \
$(lsb_release -cs) stable" | sudo tee /etc/apt/sources.list.d/docker.list > /dev/null
Next, run the following command to update all your local apt repositories:
sudo apt-get update
Run the following command to display a list of available Docker versions within the repository. As noted above, the recommended version of Docker is version 20. The latest version of Docker 20 as of this writing is 20.10.24.
sudo apt-cache madison docker-ce | awk '{ print $3 }'
To install the recommended version of Docker, run the following commands:
VERSION_STRING=5:20.10.24~3-0~ubuntu-jammy
sudo apt-get install docker-ce=$VERSION_STRING docker-ce-cli=$VERSION_STRING containerd.io docker-compose-plugin
To confirm Docker and the correct version is installed, run the following command
docker --versionThe expected output is: (This may slightly differ on your system.)
Docker version 20.10.24, build 297e128
Enterprise Nucleus Server Installation
Unpacking software and creating directory structures
Copy the latest nucleus-stack (.tar.gz) package to a local temporary directory (e.g., /tmp) on your server.
Enter the temporary directory:
cd /tmp
Create an install directory (Recommended location: /opt/ove):
sudo mkdir /opt/ove
Extract the nucleus-stack package to your install directory:
sudo tar xzvf nucleus-stack-2023.1.0+mr-26.gitlab.10291385.4b569c9f.tar.gz -C /opt/ove --strip-components=1
Note
The name of the nucleus-stack package downloaded may differ depending on the latest product version available.
The following structure will now be within the /opt/ove directory:
drwxr-xr-x 7 root root  112 Nov  1 18:32 .
drwxr-xr-x 7 root root   98 Nov  1 18:31 ..
-rw-rw-rw- 1 root root 2450 Oct 31 05:06 README.md
-rw-r--r-- 1 root root   52 Oct 31 05:06 VERSION
drwxr-xr-x 6 root root  328 Nov  2 22:16 base_stack
drwxr-xr-x 3 root root   67 Nov  1 18:32 navigator
drwxr-xr-x 2 root root   39 Nov  1 18:32 ssl
drwxr-xr-x 2 root root   68 Nov  1 18:32 sso
drwxr-xr-x 2 root root  101 Nov  1 18:32 templates
For this installation guide, we will focus on configuring
nucleus-stack.envwithin thebase_stackdirectory.
Editing the Nucleus configuration
Enter the base_stack directory
cd /opt/ove/base_stack
Using your preferred text editor (nano is used for this example), make the following changes to
nucleus-stack.env:
sudo nano nucleus-stack.envUncomment Accept EULA:
ACCEPT_EULA=1Uncomment Security Reviewed:
SECURITY_REVIEWED=1Set the IP or Hostname:
SERVER_IP_OR_HOST=myhost.mydomain.comConfigure Nucleus passwords:
MASTER_PASSWORD=MY_NEW_PASSWORD
SERVICE_PASSWORD=MY_NEW_PASSWORD
Set the location for your Nucleus data:
DATA_ROOT=/var/lib/omni/nucleus-dataNear the bottom of the
nucleus-stack.envfile, locate the subnet section. If the subnet defined inCONTAINER_SUBNETconflicts with an existing subnet already present in your network, change it here. IP Addresses for Nucleus Docker containers will be allocated from this subnet.CONTAINER_SUBNET=192.168.2.0/26
Note
By default, the WEB_PORT is configured to TCP 8080. If using the included NGINX Ingress Router, this is also pre-configured to use TCP 8080. If using an alternate SSL/TLS solution, configure this port to match your requirements.
Once all configuration changes are complete, save the file using
CTRL+O, then exit the nano editor usingCTRL+X.
Required Secrets
It’s critical to review the Required Secrets section of the nucleus-stack.env file.
The Public-Private key pair act as the root of trust between Nucleus Authentication and Core services.
# For a quick !>INSECURE<! evaluation, a simple shell script generating these
# values is provided along with this stack,
#
# generate-sample-insecure-secrets.sh
# -----------------------------------
#
# Feel free to use it to arrive at a quick sample set;
# but MAKE SURE YOU UNDERSTAND THAT THE SAMPLE SET IS INSECURE.
#
# For any real environment, we recommend reviewing what
# generate-sample-insecure-secrets.sh does, and provisioning the same
# *type* of secrets in whichever manner is appropriate for your environment.
If you wish to quickly set up a Nucleus instance without generating production-grade secrets, a sample script named
generate-sample-insecure-secrets.shis included with the stack.
Enter the base_stack directory
cd /opt/ove/base_stack
Run the generate-sample-insecure-secrets.sh
sudo ./generate-sample-insecure-secrets.sh
Warning
generate-sample-insecure-secrets.sh is not intended to be used in production environments, but rather provided as a sample only.
Please consult your security policies and/or Information Security team for guidance on how to handle production secrets.
Using Docker Compose to Run the Stack
For this guide we are using the nucleus-stack.env and nucleus-stack-no-ssl.yml files.
Pull the latest version of the containers. Docker will use the .yml and .env file to do this.
This command will pull the containers from the NVIDIA repository:
sudo docker compose --env-file /opt/ove/base_stack/nucleus-stack.env -f /opt/ove/base_stack/nucleus-stack-no-ssl.yml pull
This command will start the stack in foreground:
sudo docker compose --env-file /opt/ove/base_stack/nucleus-stack.env -f /opt/ove/base_stack/nucleus-stack-no-ssl.yml up
It’s recommended to watch the logs initially to spot any errors or issues. If none are observed, stop the stack by pressing Ctrl+C and waiting for it to fully shut down, then restart it in “daemon” mode:
sudo docker compose --env-file /opt/ove/base_stack/nucleus-stack.env -f /opt/ove/base_stack/nucleus-stack-no-ssl.yml up -d
Testing the Installation
Once the stack has been started using the above commands, open a web browser on a workstation and access your Enterprise Nucleus Server using the IP Address or Hostname with the port it’s configured to use. (i.e., http://my-nucleus.example.com:8080 or http://10.54.76.10:8080.) If configured correctly, Nucleus Navigator should appear.
Congratulations! You have successfully installed and configured your Enterprise Nucleus Server!
Next Steps
To configure your Enterprise Nucleus Server with SSL/TLS and/or Single Sign-On (SSO), refer to the linked documentation.
Additional Docker Compose Command Reference
Additional commands for managing your docker compose environment:
docker compose --env-file <.env file path> -f <.yml file path> down- stops the running stackdocker ps- prints the status of the running containers to the display