Sequencer#
Overview#
Sequencer is an animation tool who’s goal is to combine multiple animation clips and assemble them into a cinematic.
User Manual#
Sequencer follows a non-linear editor methodology. Using a traditionally styled time track and play-head, users can quickly add, edit and delete tracks and play them back over time.
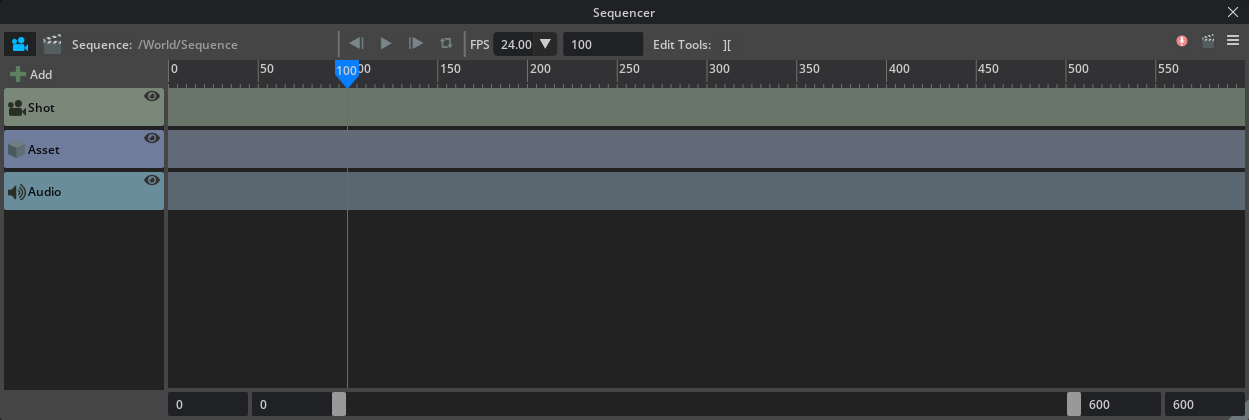
Interface Overview#
Ref # |
Button Name |
Action |
|---|---|---|
1 |
Sequencer Camera |
Toggles the use of shot tracks to override viewport camera selection.
|
2 |
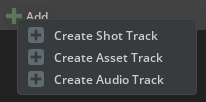
Create Track |
Creates a new empty Shot, Asset or Audio track.
|
3 |
Sequence Controls |
Play-Head Controls
Back: Moves the Play-Head back one frame
Play: Plays the sequence at the framerate set in FPS.
Forward: Moves the Play-Head forward one frame.
Loop: When playing and last frame reached, starts at beginning.
|
4 |
Play Head |
The current frame of the sequence timeline.
|
5 |
FPS |
How many frames per second to use for playback and recording.
|
6 |
Current Frame |
Displays and allows setting the exact frame number of the Play-Head.
|
7 |
Movie Capture |
Opens the Movie Capture extension if available.
|
8 |
Sequencer Options |
Gives access to Sequencer Options.
|
9 |
Start Frame |
Defines the start frame of the animation sequence.
|
10 |
Low Frame Filter |
Frames below the frame designated are filtered from view.
|
11 |
High Frame Filter |
Frames above the frame designated are filtered from view.
|
12 |
End Frame |
Displays and allows setting the sequence end frame.
|
Note
When using frame filters, the filter bar will double as a horizontal scroll bar allowing you to quickly navigate your sequence.
Tracks and clips#
In sequencer, tracks are containers for clips. For example, Asset Tracks can hold a number of Asset Clips however and Audio Track can not contain a Shot Clip. These tracks are designated by color.
Type |
Color |
|---|---|
Asset Track |
Light Blue |
Asset Clip |
Dark Blue |
Shot Track |
Light Green |
Shot Clip |
Dark Green |
Audio Track |
Light Grey |
Audio Clip |
Dark Grey |
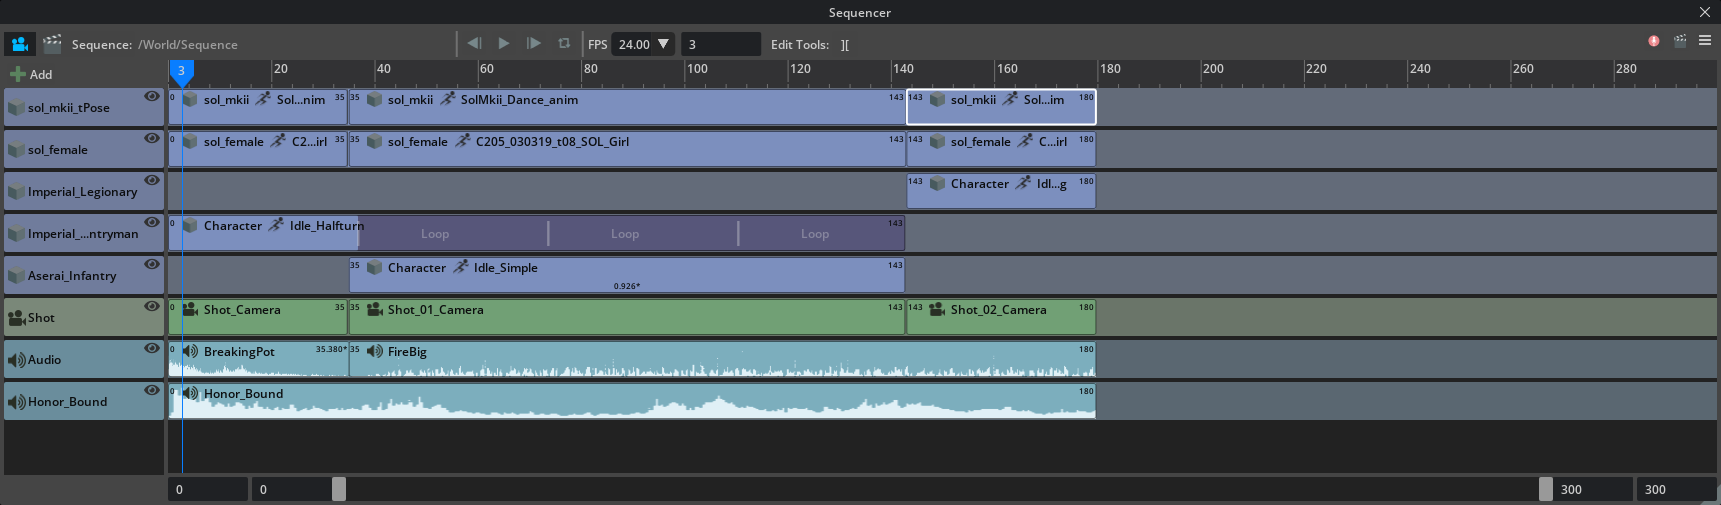
Track Order#
The order of tracks is important.
Tracks higher in the track list take priority. For example, if your sequence employs 2 camera tracks and their clips were to overlap, the top camera in the sequence will display while with assets, if the same character is applied to two tracks with overlapping clips, again the animation higher in the list will play.
Asset Tracks#
In order to control the animation of a given model, assets are assigned asset tracks when dragged to the sequencer. Each line in light blue represents an Asset Track while the Dark Blue “Blocks” within the track represent the animation sequence (Asset Clip).
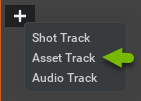
To create an asset track, several methods can be employed.
Use Add Track to create a track.
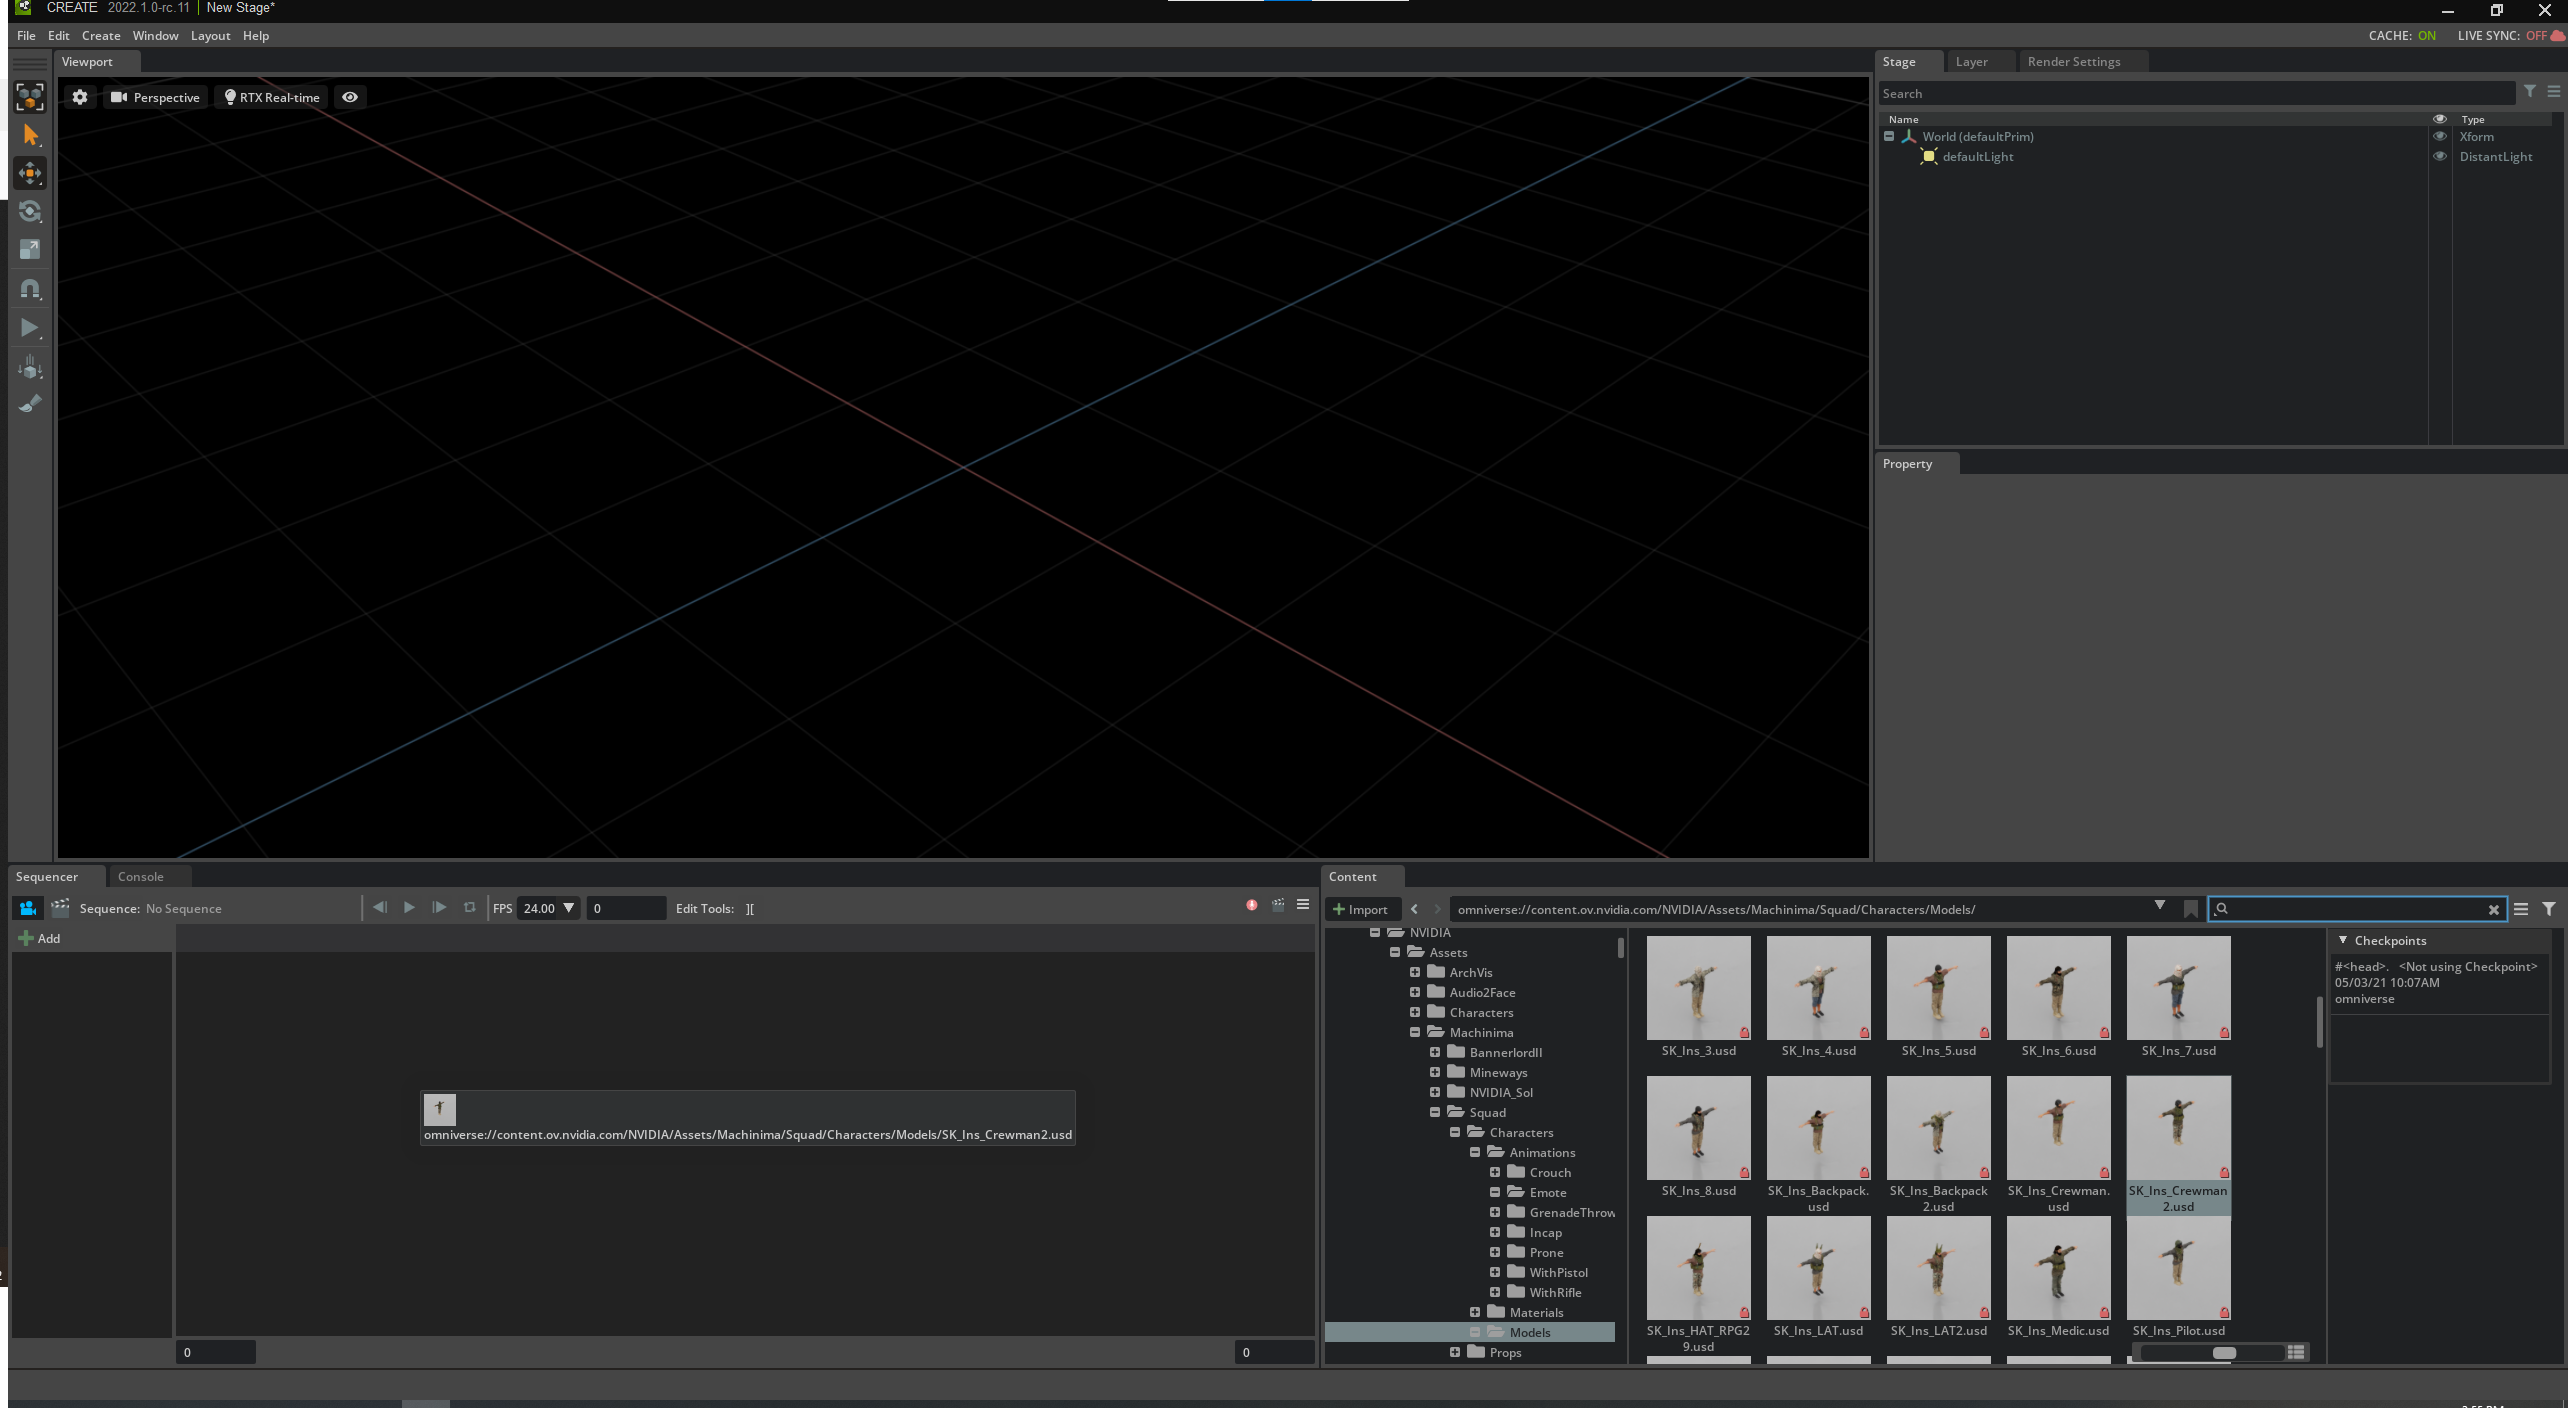
Drag an asset from the stage to the sequencer.
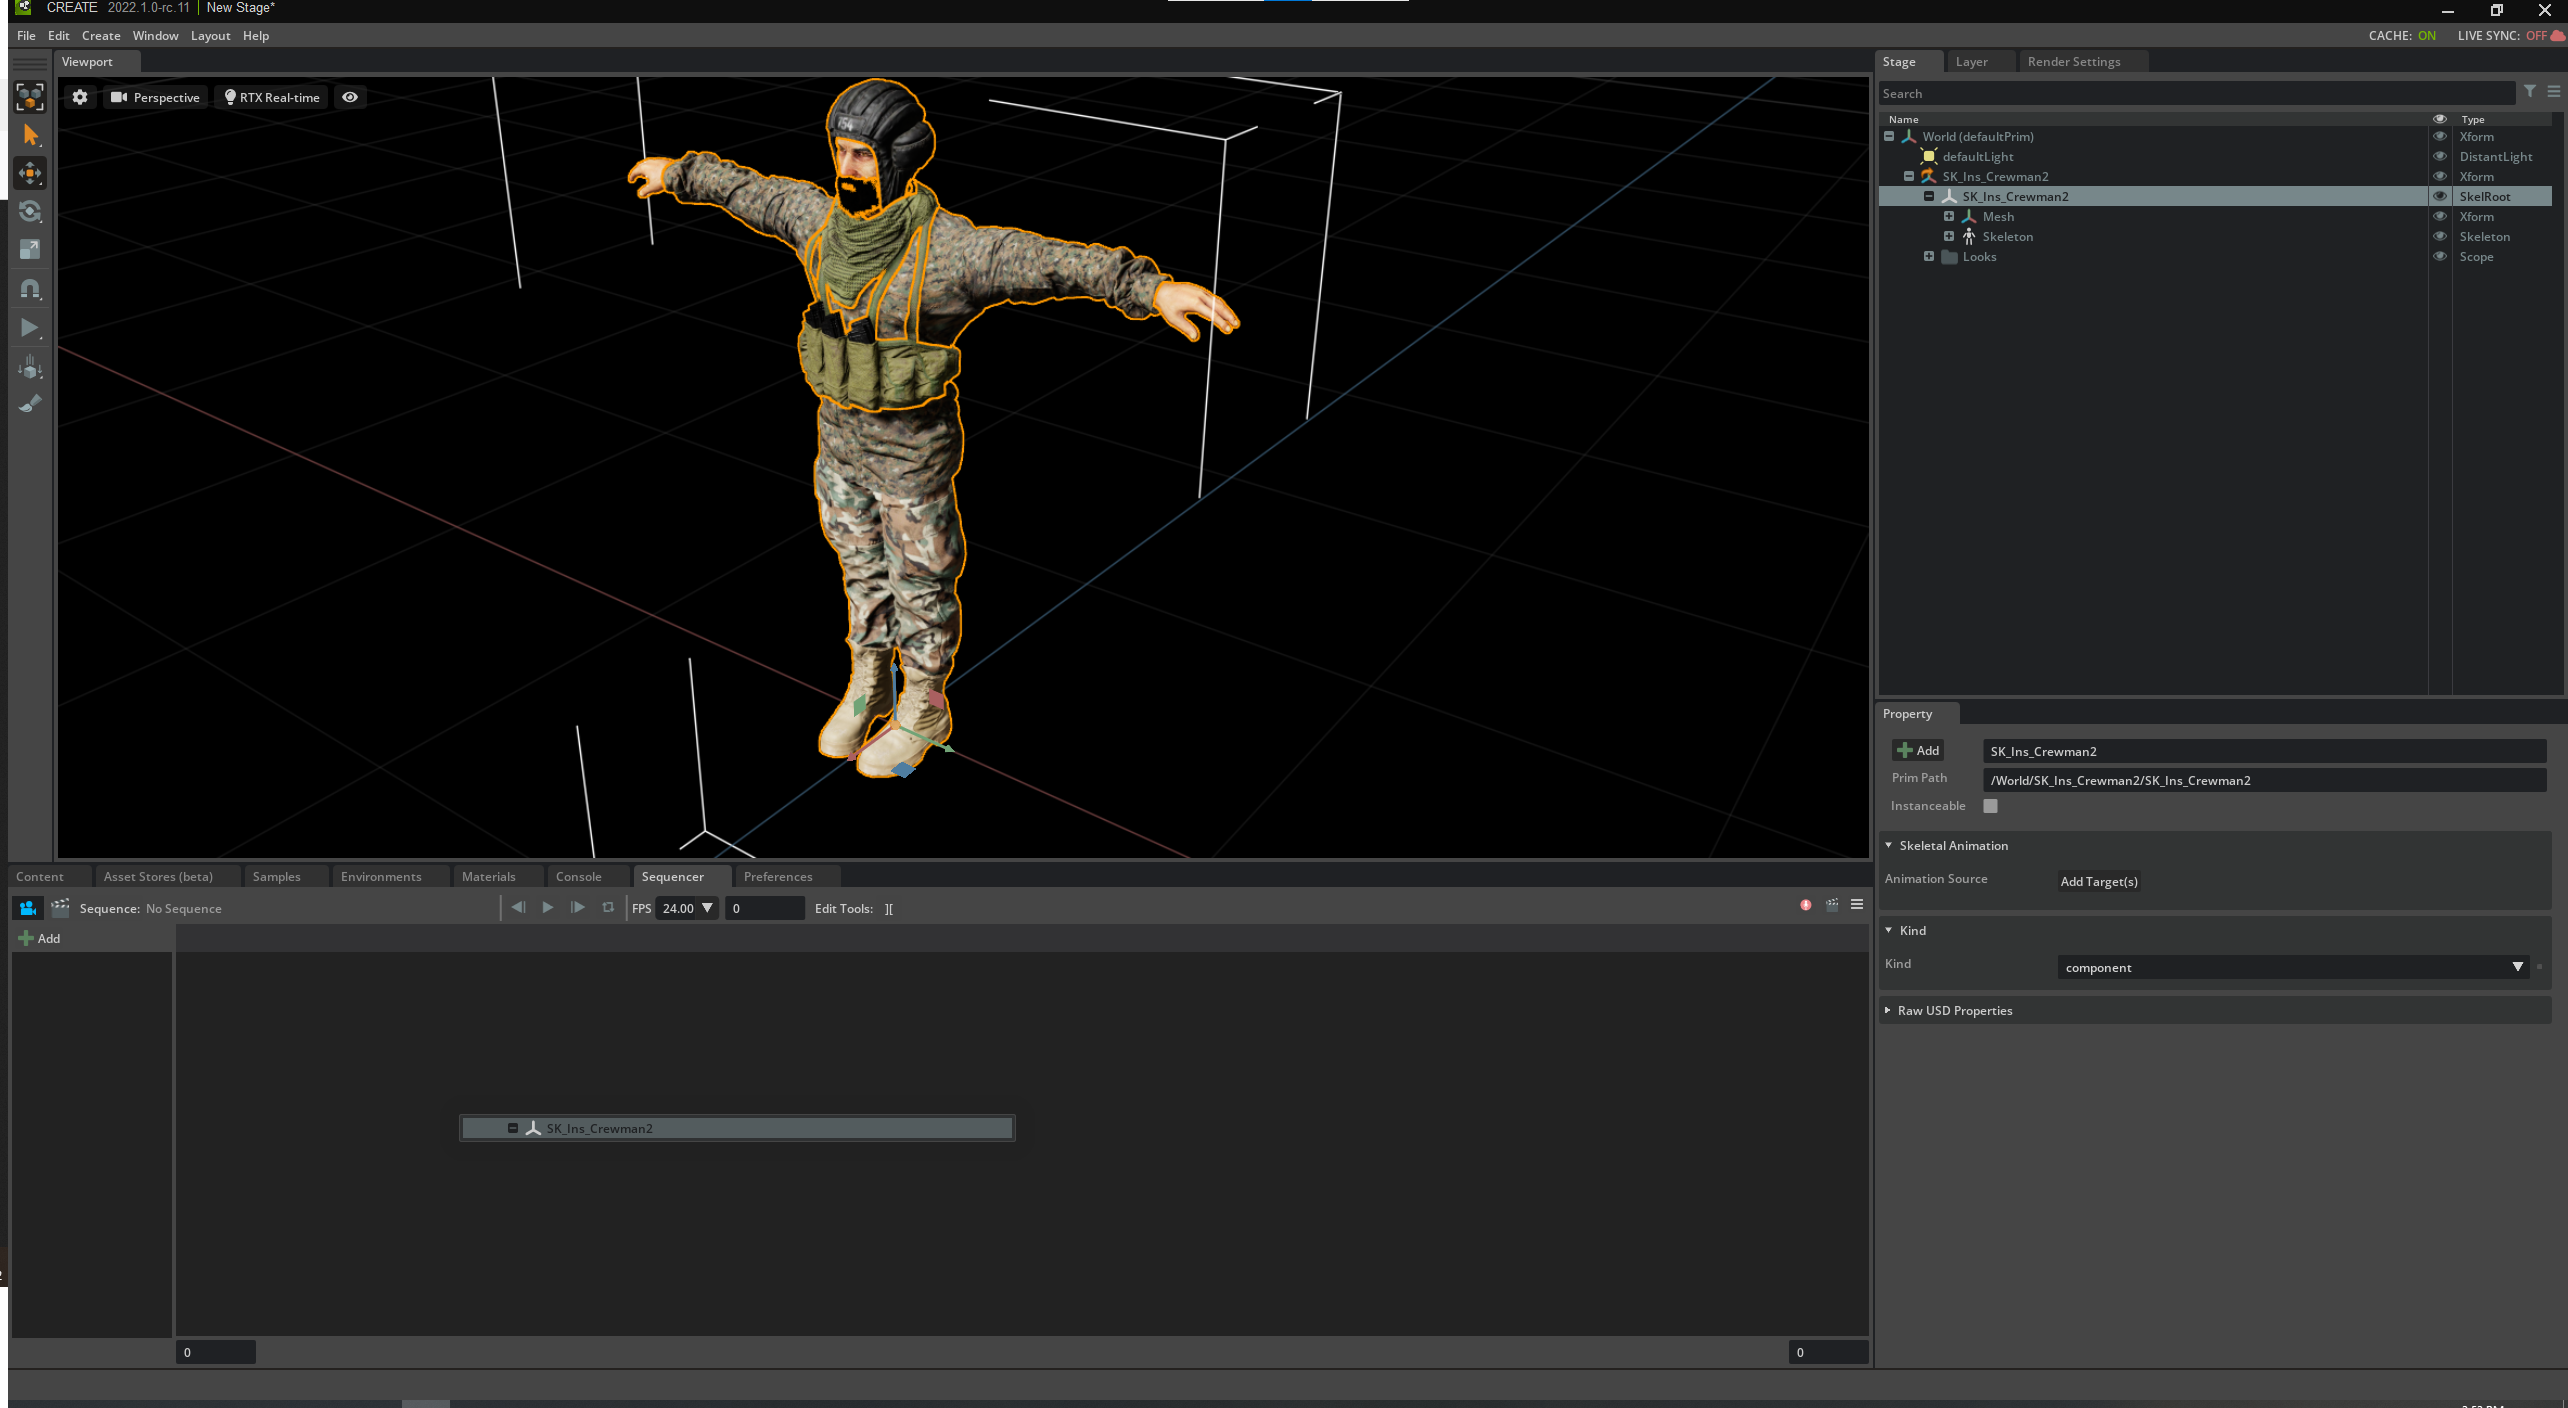
Drag an asset from the content browser to the sequencer.
Assigning Asset Clips to Tracks#
Asset Clips can be assigned to Asset Tracks.
Dragging a desired skeletal mesh to a track from the stage will generate a Track Clip.
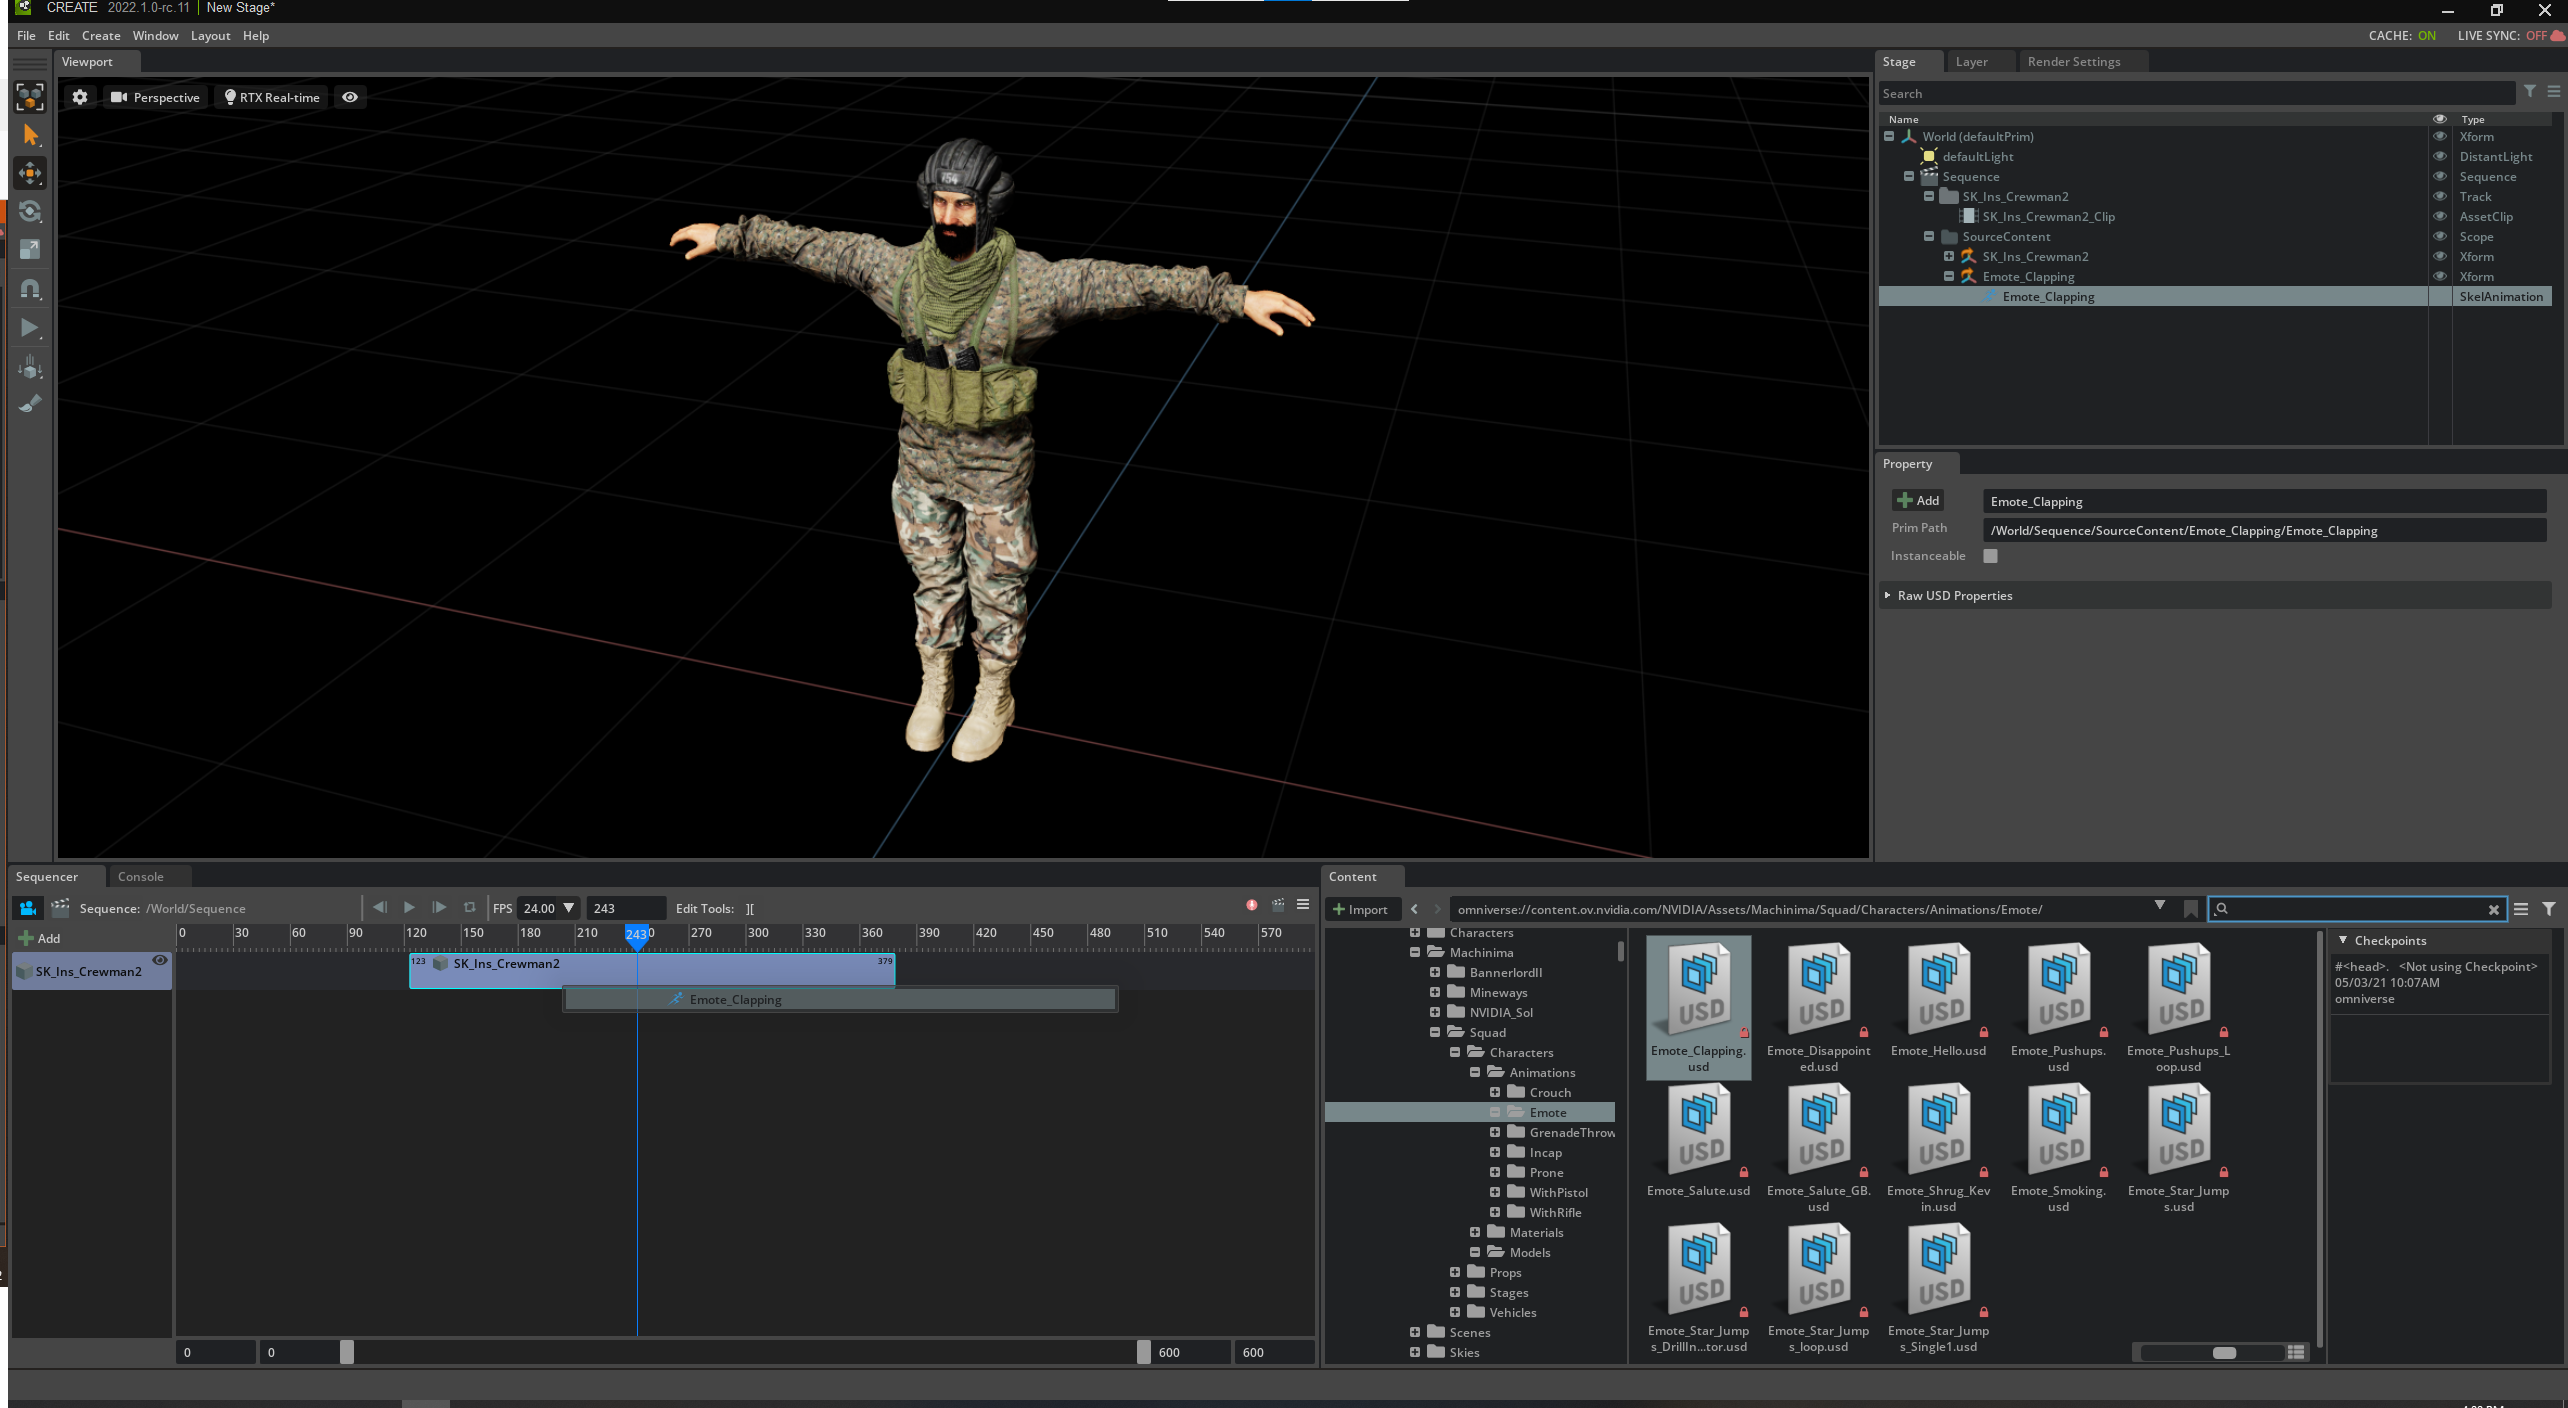
Once the clip is displayed for the asset, it can be replaced with another skeletal animation.
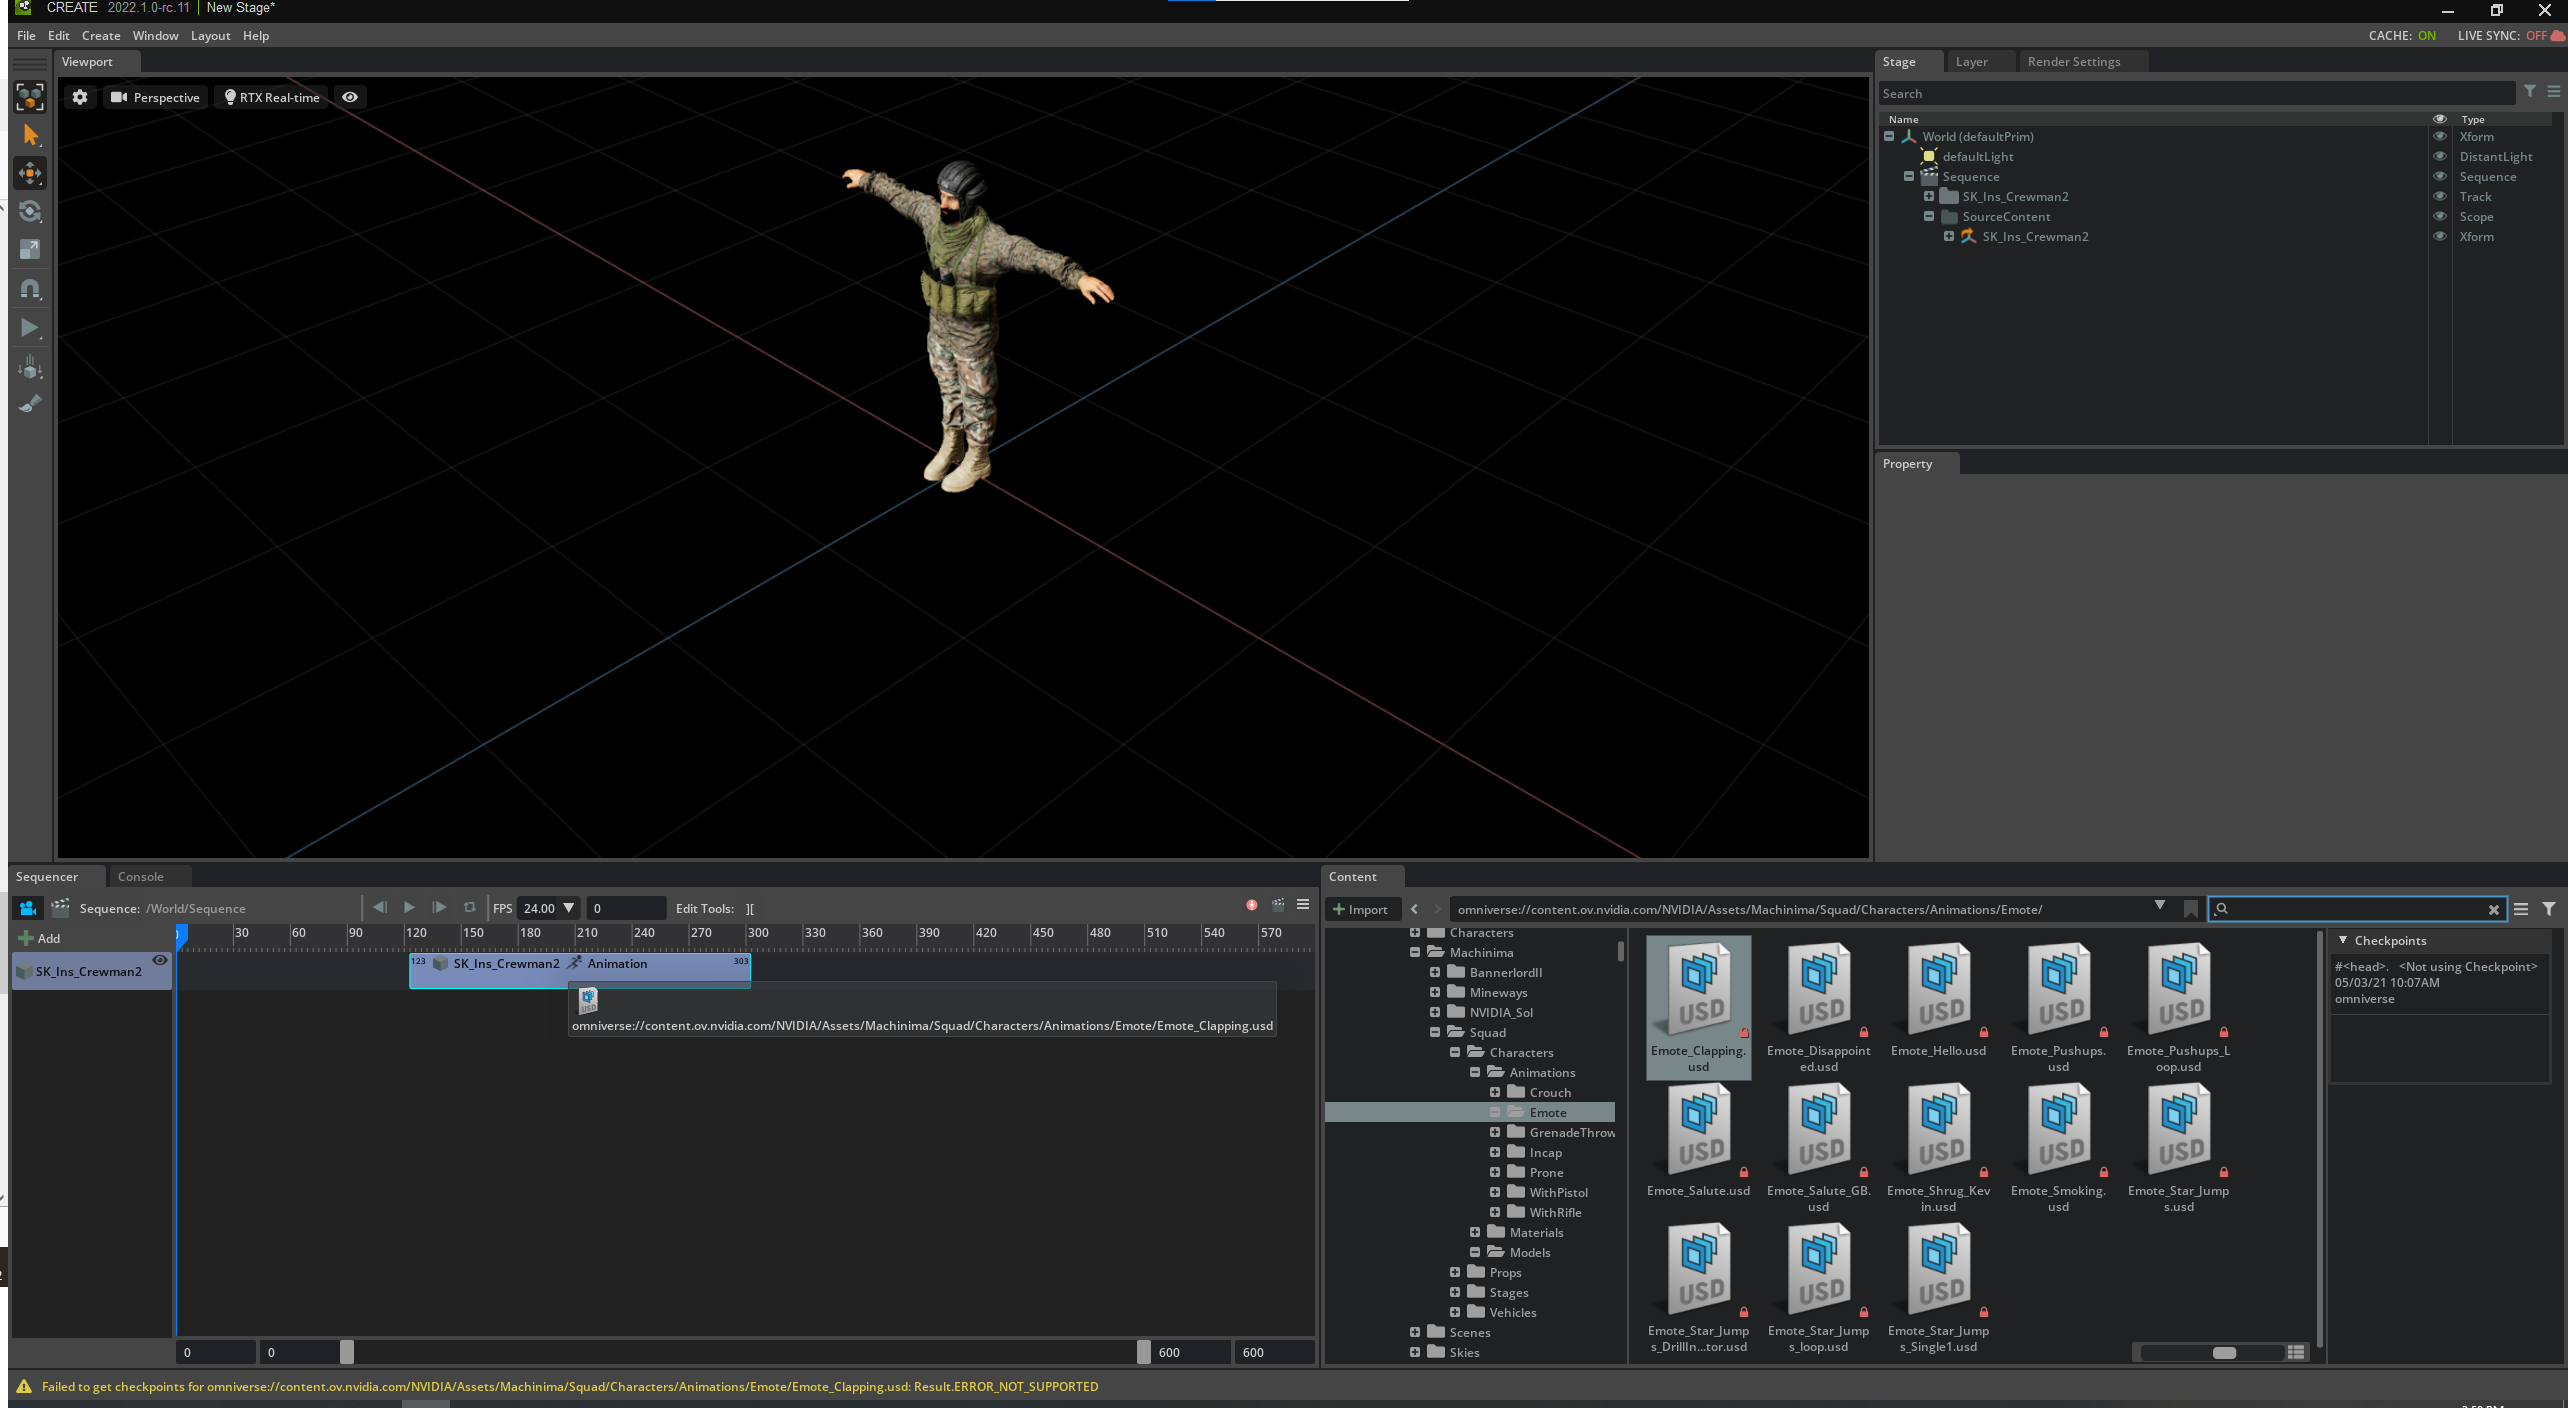
To Position the Timing of the Shot…
Click and Drag the Clip to Position the Clip in in Timeline.
Note
Adjusting the In/Out handles on the clip can truncate your animation.
Shot Tracks#
Shot Tracks allow for cameras to be assumed based on specified timing.
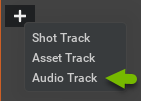
To add a camera to a shot track, simply select the + button in Sequencer, and select Shot Track to add a Shot Track.
Assigning Cameras to Tracks#
Cameras get assigned to Shot Tracks and are called Shot Clips. These clips denote when when a specified camera will take control of the viewport. Cameras higher in the sequencer take priority.
Once the track is created, you can…
Drag a Camera From the Stage into the Shot Track
Select a camera in the Viewport or the Stage, Then Right Click on the Track and select
Use Selected as Shot.
To Position the Timing of the Shot…
You can now stretching / squeeze the time with the Clip Handles.
You can position the track by clicking on the center of the clip and dragging.
To Review Your Shots…
Toggle the Sequence Camera to Enabled (Blue)
Click and Drag on the Playhead to “Scrub” Time.
You Should Notice that your Viewport Switches to Cameras based on the timeline.
Once pleased with results, press play to review playback at a specified rate.
Audio Tracks#
Audio tracks allows for audio samples to be triggered and stopped at specified times.
To Add an Audio Track select the + button in Sequencer, and select Audio Track to add an Audio Track.
Assigning Audio Clips to Audio Tracks#
To Add an Audio Clip to an Audio Track, Drag an Sound Prim from the Stage to the Audio Track.
The Audio Clip will adjust its length to the duration of the sound.
To Position the Timing of the Audio Clip…
You can position the track by clicking on the center of the clip and dragging.
Note
Adjusting the In/Out handles on the audio clip may result in your sound being truncated.
To Review Your Audio…
Sounds are now triggered in time, press play to hear the sounds being triggered based on the timeline in sequencer.
Editing Clips#
To move a clip in the sequence, click on the clip body and drag left or right.
In addition to moving clips, you can also trim, loop, scale and split clips.
Trimming Clips#
When Trimming clips using the trim handle, the source animation timing will remain constant in the sequence.
Trimming sets the Clip Source Animation In and Out Properties.
Looping Clips#
When dragging the looping handle, the clip will be set to looping when dragging from within the clip body or from the end of the clip available range.
Scaling Clips#
When dragging the scale handle, the clip play rate will adjust to match the clip scale. Play rate will be displayed in the clip body if it is not equal to 1.0.
Splitting Clips#
Splitting a clip will create a new clip, truncating the original clip.