Building Scenes
Once you have all the assets in place, we can start assembling the scene to create the visual representation of your warehouse digital twin.
To get started with building scenes, it is noteworthy that the Scene Description and in-memory model in NVIDIA Omniverse™ is based on Pixar’s USD. Omniverse takes advantage of the advanced workflows of USD like Layers, Variants, Instancing and much more. To read more about USD and how Omniverse uses USD, check out our USD documentation.
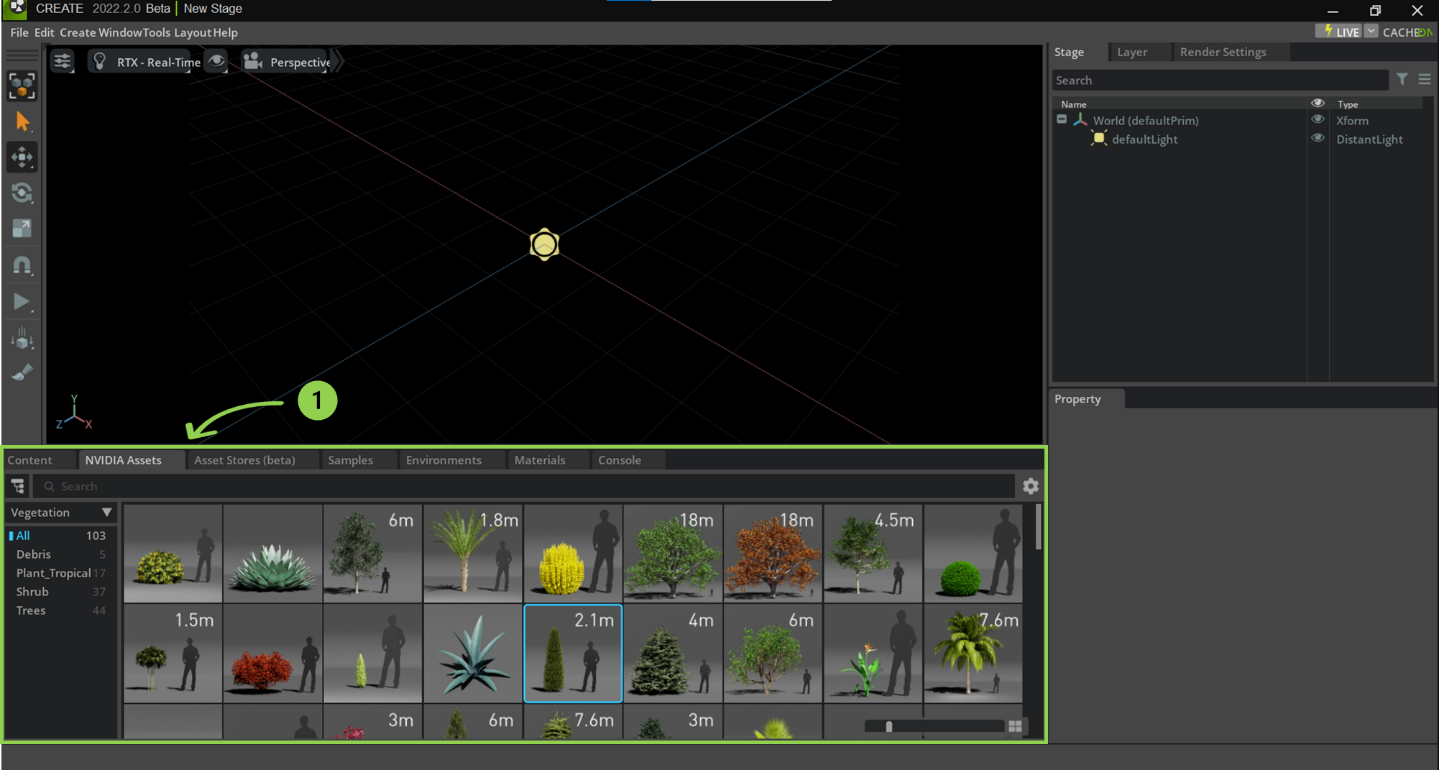
USD Composer is a great starting point to begin building virtual worlds in Omniverse. All available assets (Asset libraries, assets imported through connectors etc.) can be found in the “NVIDIA Assets” or “Asset Stores (beta)” window (1). By default, these windows can be found below the viewport as highlighted in the image.
Here, you can explore the available assets by category (2). Once you have an asset that you need, simply drag and drop it onto the stage as shown below.
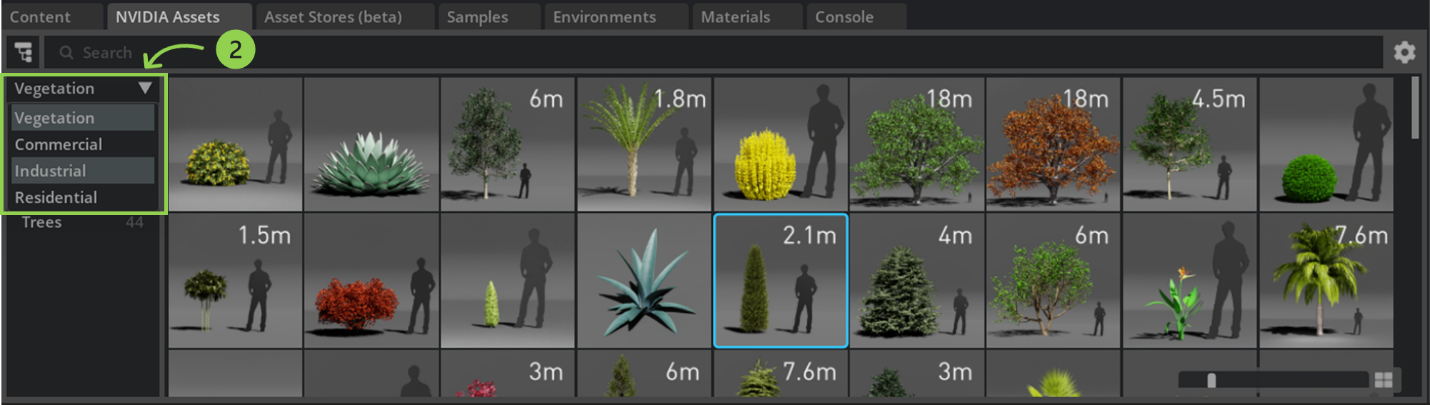
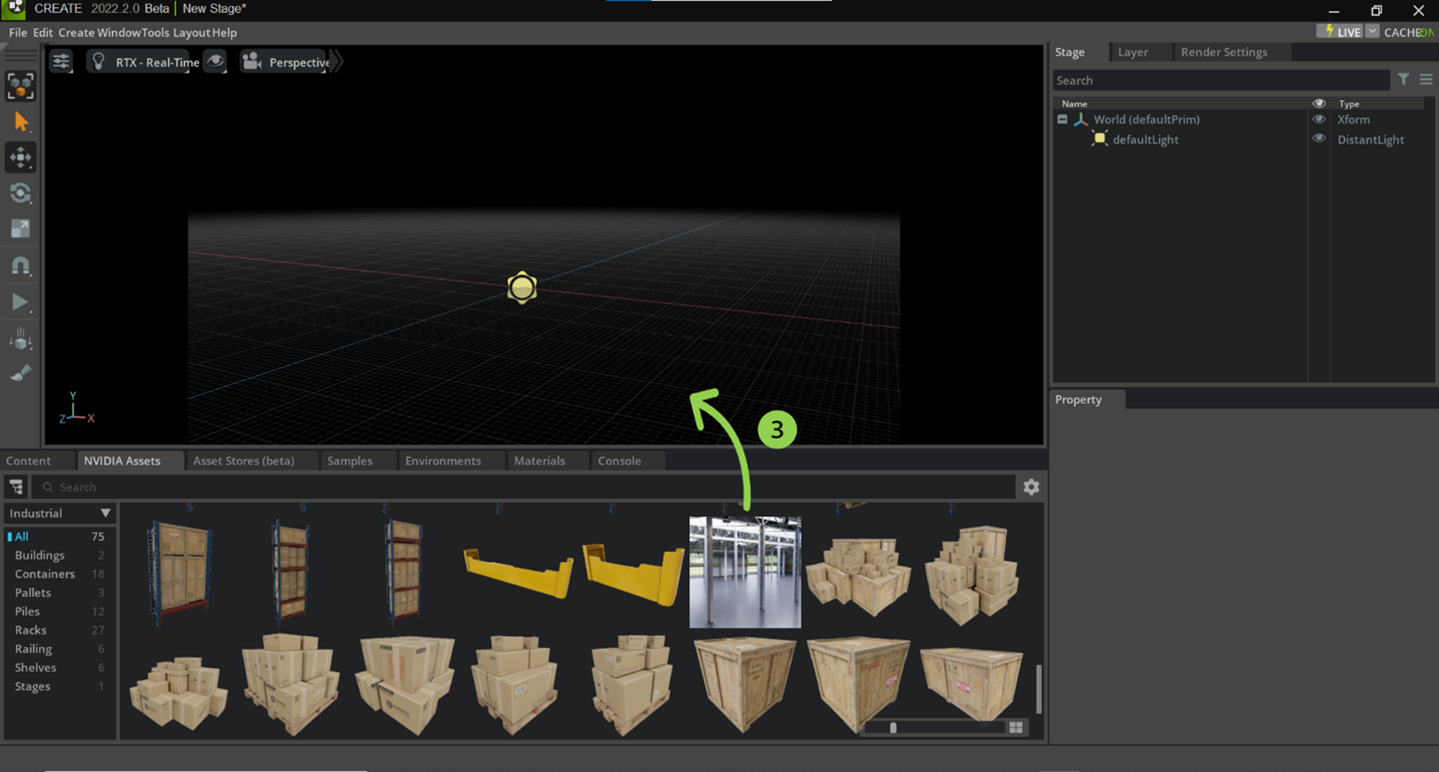
This example utilizes the “NVIDIA Assets” library and filters for “Industrial” asset types by selecting the drop-down menu on the upper-left side of the window (2). Once the asset has been chosen, drag and drop the asset (3) into the scene. In this example, the warehouse building asset has been chosen.
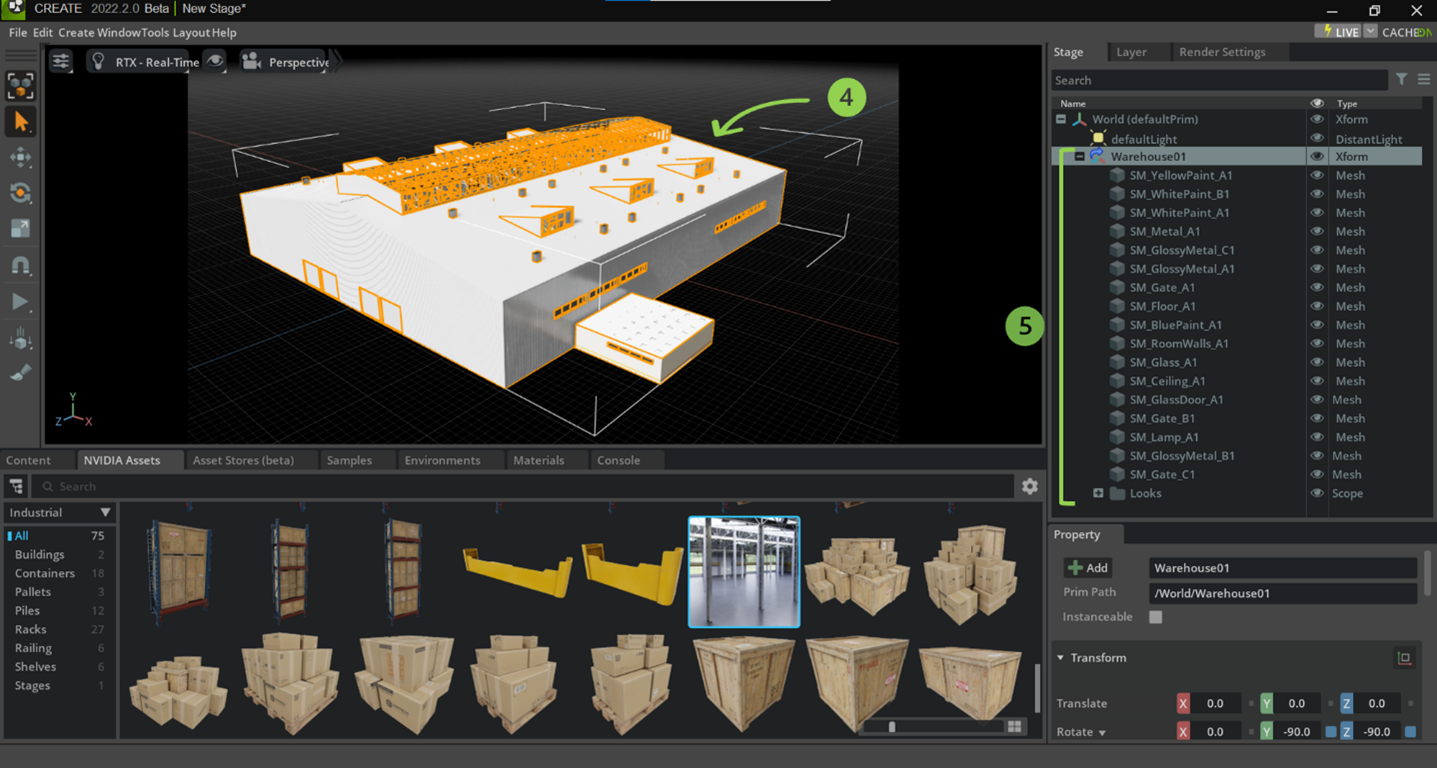
The asset is now spawned on the stage (4). The asset layer is added to the hierarchy of the stage (5). The asset layer contains information about the different constituents of the asset (5). In this workflow, you can continue populating the stage with additional assets to compose your scene. Or jump-start your journey by checking out the Warehouse Creator Extension video which allows you to generate full scenes in seconds!
To learn more about asset library browsers, visit NVIDIA Assets or our Asset Stores (beta).