Grasshopper
Grasshopper is an extension that began shipping with Rhino in version 6 and is supported in NVIDIA® OMNIVERSE® through the NVIDIA Omniverse™ Rhino Connector Plugin. Because of this, Grasshopper makes possible node-based procedural building on the OMNIVERSE®.
Grasshopper Components
Grasshopper users will be happy to know that OMNIVERSE requires very little to change in their current workflow as all interactions are handled through 4 main and 5 lights OMNIVERSE® Components.

Main Components
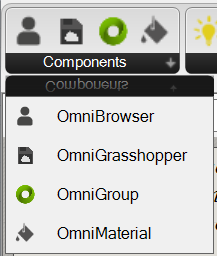
There are 4 main components in the Components tab of the OMNIVERSE® plugin. These components are listed below:
Note
These are the components you need for a minimum setup to publish files to OMNIVERSE®.
OmniGrasshopper Component
This is the main module for the OMNIVERSE®. Any OmniLayer Group or OmniLight wired to this node is published. This is the final node of the graph and only one component of this type is per canvas is allowed.
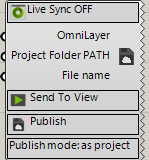
Toggle |
Live Sync |
When ON enables “Live Sync”. When OFF (default) Live Sync is disabled |
|
Input |
OmniInput |
OI |
OmniLayer or OmniLight objects to be published |
Input |
Project Folder PATH |
P |
Parent project file path |
Input |
File Name |
FN |
File Name override used for publish and STV |
Button |
Send to View |
Click to start Send to View process |
|
Button |
Publish |
Click to start the publish process |
|
Toggle |
Publish mode |
Options “as project” or “as prop” for Send to View |
This component also has custom menu items: Settings, Help and About. These are visible when right-clicking on the component symbol.
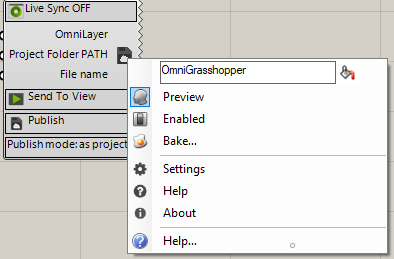
Settings is described in the section for Send to USD Presenter
Help connects to this web page
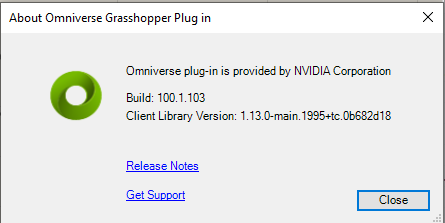
About shows this dialog, which contains current version information, and provides helpful links to access Release Notes and to Get Support
OmniGroup Component
This node is used to create OmniLayer groups from geometry, layer name and material inputs. Multiple OmniLayer groups can be created and wired into a OmniGrasshopper Component to be published.
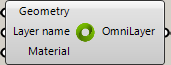
Input |
Geometry |
G |
Geometry to be converted to OmniLayer for publish (live sync / send to view) |
Input |
Layer Name |
LN |
Name of the OmniLayer group |
Input |
Material |
M |
Material/Color input to be assigned to the OmniLayer group |
Output |
OmniLayer |
OL |
Object group with layer name and material |
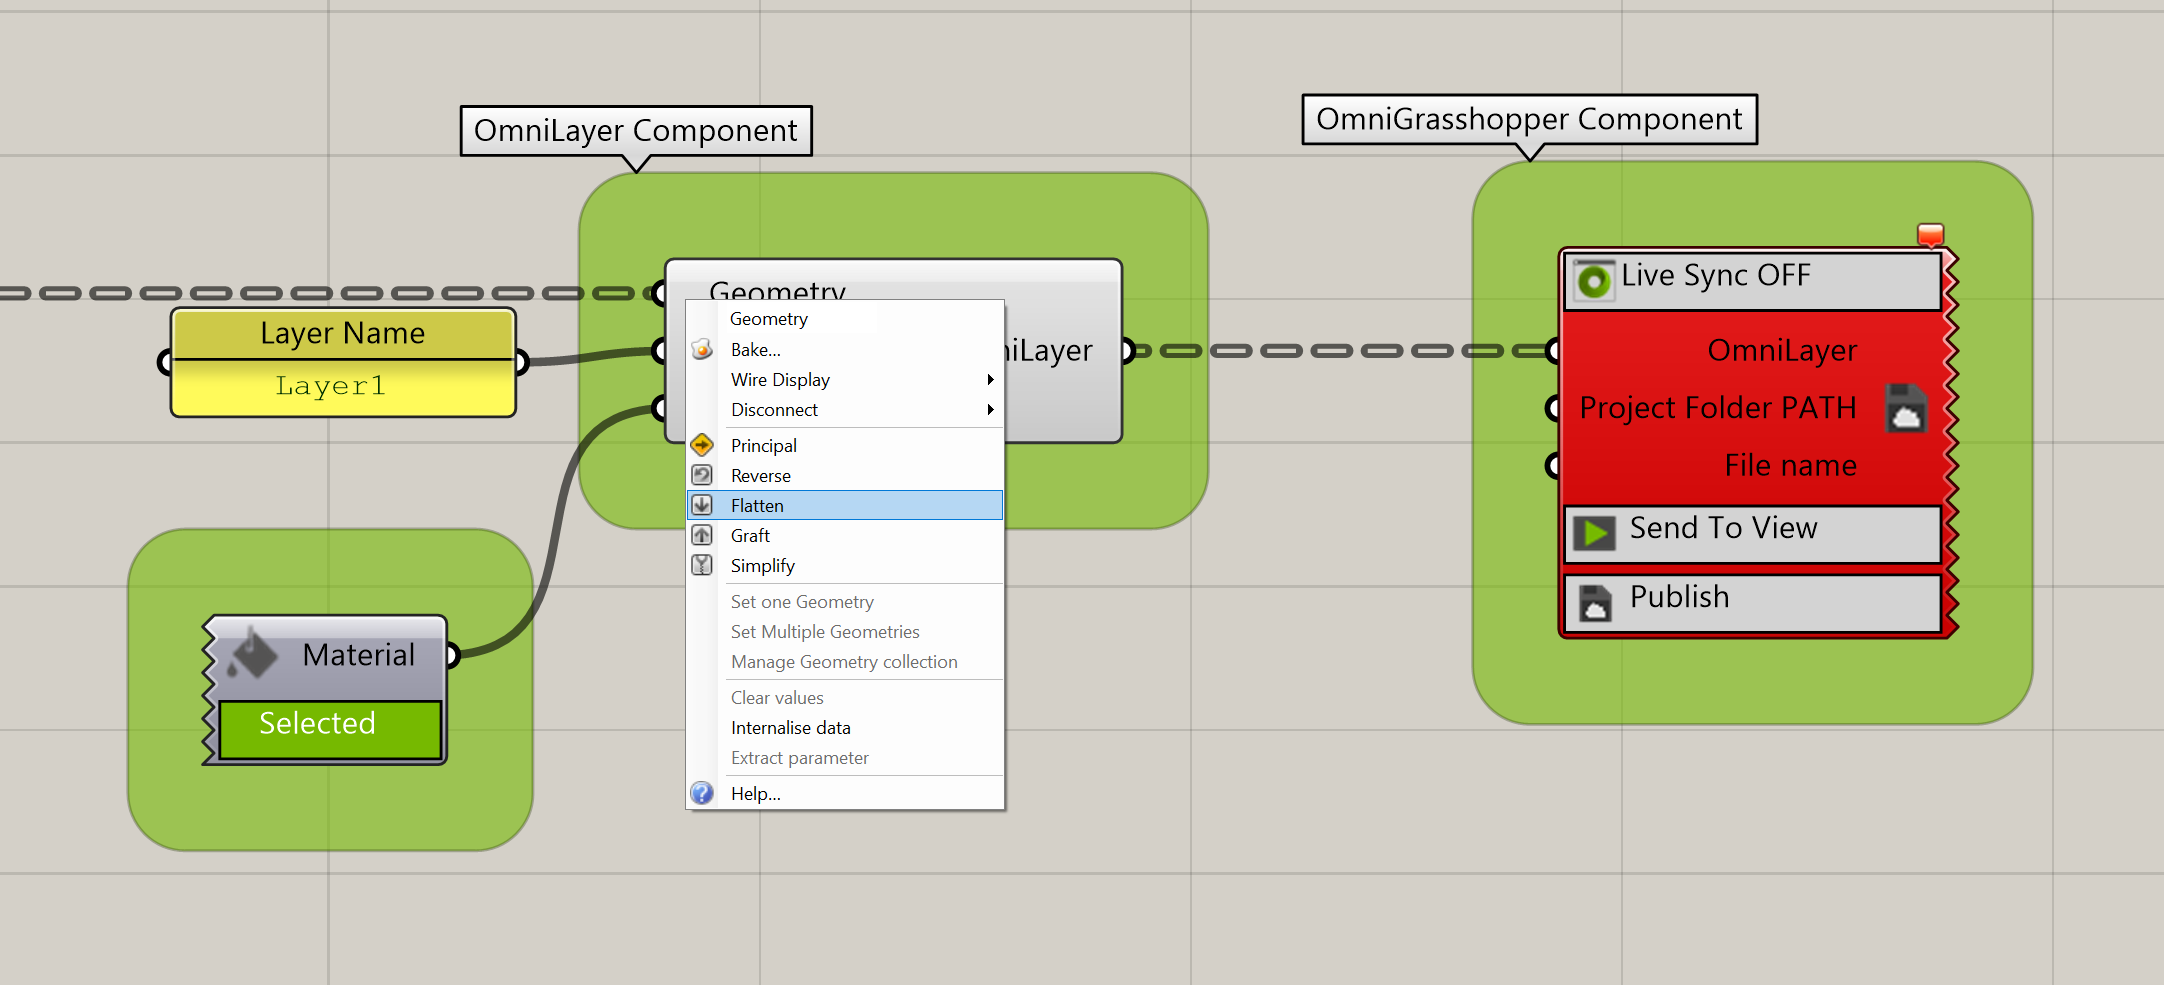
Important
Geometry input always needs to be flattened. If OmniGrasshopper turns red and states “item with the same key has already been added”, try flattening the geometry input to OmniLayer.
Note
Material can be set with OmniMaterial, Color Swatch or a named color/valid material name using the Panel input. The list of color names accepted mimics the HTML5 named color list found here HTML5 Color List
OmniBrowser Component
The OmniBrowser allows additional workflow possibilities by giving access the OMNIVERSE® Server browser. Only one browser node per canvas is allowed.
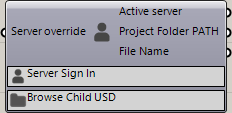
- Typical Workflow Capabilities added by this node
Sign in to a server
Link to previously saved child USD file for Live Sync
Manually override server (Server override will take priority over the Server Sign In button)
Input |
Server Override |
SO |
Selects the active server (Overrides Sign-In if Used) |
|
Button |
Server Sign In |
When clicked triggers a server sign-in dialog |
||
Button |
Browse Child USD |
When clicked triggers a dialog to link a saved USD Path |
||
Output |
Active Server |
AS |
Outputs active server |
|
Output |
Project Folder PATH |
P |
Outputs the project folder for the actively linked USD |
|
Output |
File Name |
FN |
Outputs the active child USD name |
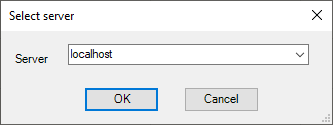
Clicking Server Sign in displays a dialog
OmniMaterial Component
This node is used to select materials with a dropdown list. The dropdown list is looking into the CSV Mapping File for Grasshopper which can be located in the following directory
<Documents>/Omniverse/Grasshopper/omniverseMDLtable.csv
The component appearance, with the Select Material button, and an output of the material name selected.

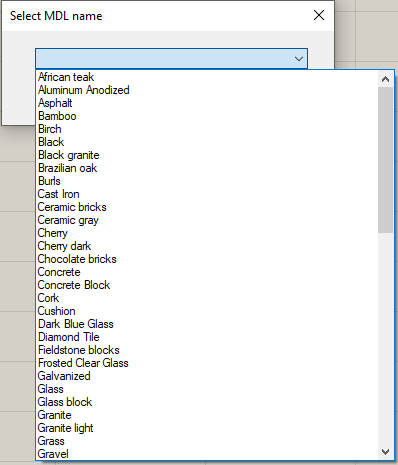
Clicking the Select Material button displays this dialog
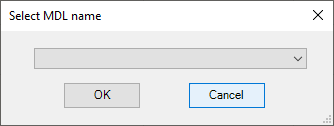
Clicking the down arrow in the entry field on the dialog will display the materials available.
An example of the component, after a material has been selected from the list.

Note
One OmniMaterial per OmniLayer group can be assigned.
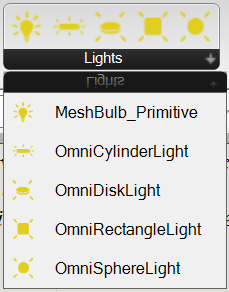
Light Components
There are 5 components in the Lights tab of the OMNIVERSE® plugin. These components are listed below:
Adding Lights (Video)
Note
Multiple OmniLights groups can be created and wired into a OmniGrasshopper Component to be published.
OmniSphereLight Component
This node is used to create sphere lights in the form of OmniLight objects.
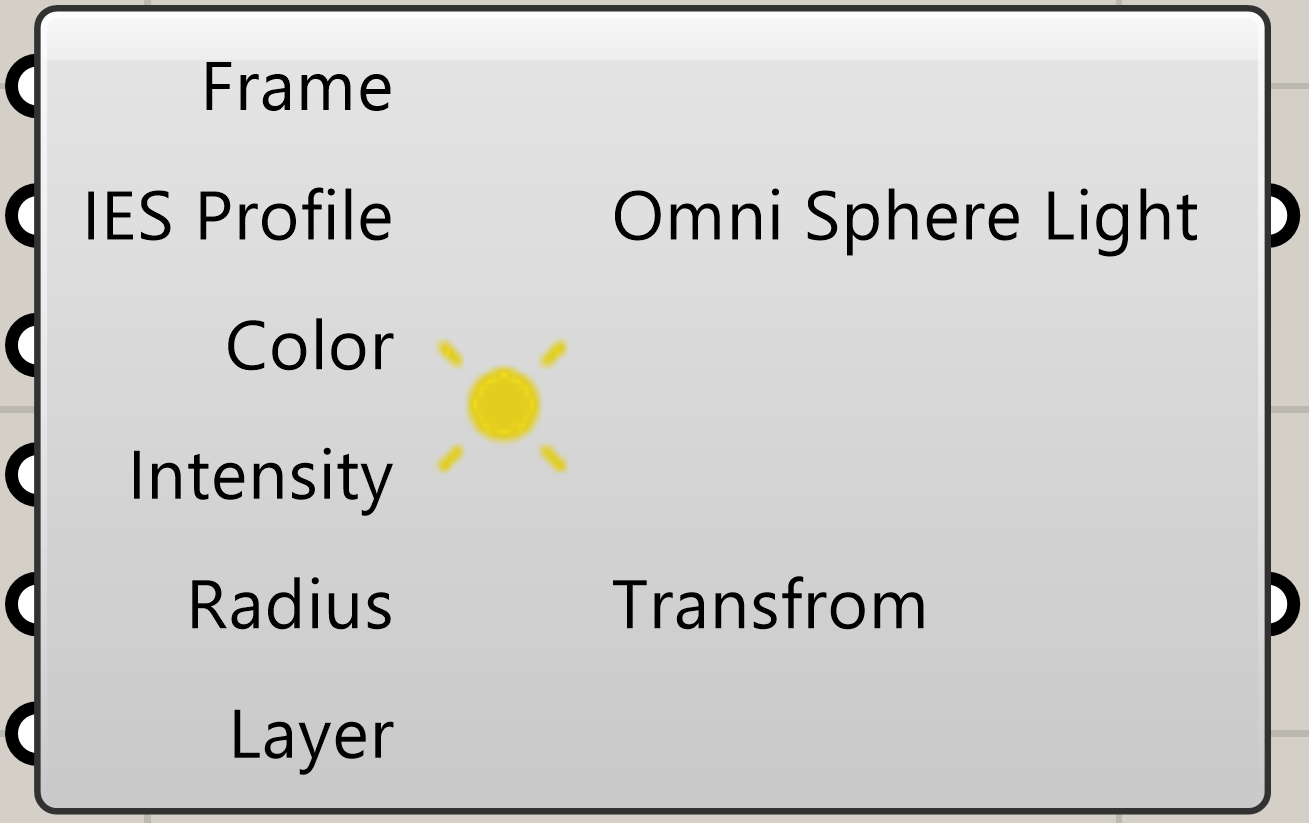
Input |
Frame |
F |
Location parameter |
Input |
IES Profile |
PATH |
Optional file path to an IES lighting profile |
Input |
Color |
C |
Light Hue |
Input |
Intensity |
I |
Intensity measured in NITS(cd/m2) |
Input |
Radius |
R |
Radius of Sphere Light |
Input |
Layer |
L |
Layer Name |
Output |
OmniLight - Sphere |
L |
Omniverse Sphere Light Object |
Output |
Transform |
X |
A transform relative to world XY can be used to orient light fixtures |
OmniCylinderLight Component
This node is used to create cylinder lights in the form of OmniLight objects.

Input |
Axis |
A |
Cylinder Axis (Line) |
Input |
Radius |
R |
Cylinder Radius |
Input |
Direction |
D |
Vector to align lighting direction to |
Input |
Color |
C |
Light Tint RGB |
Input |
Intensity |
I |
Intensity measured in NITS(cd/m2) |
Input |
Layer |
L |
Layer Name |
Output |
OmniLight - Cylinder |
L |
Omniverse Cylinder Light Object |
Output |
Plane |
P |
Plane aligned to Direction |
Output |
Transform |
X |
A transform relative to world XY can be used to orient light fixtures |
Note
Direction vector only effects lights with radially asymmetric profiles.
OmniDiskLight Component
This node is used to create disk lights in the form of OmniLight objects.
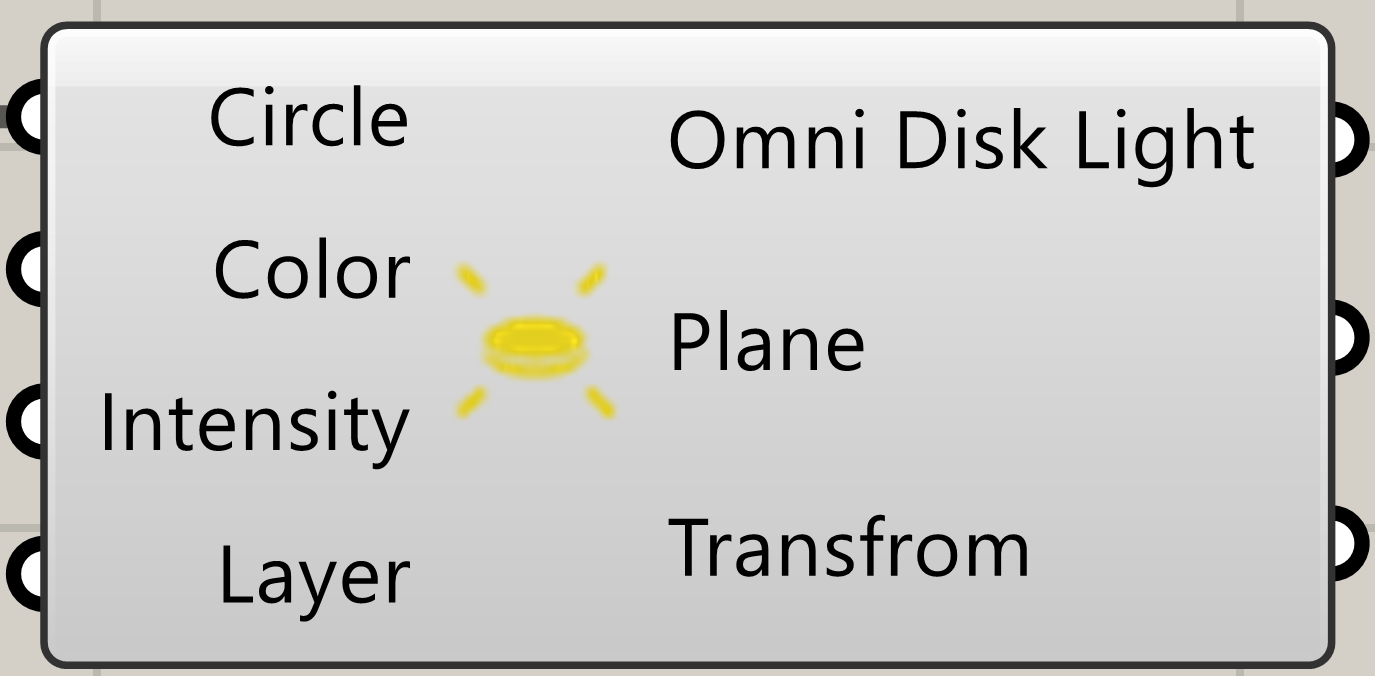
Input |
Circle |
C |
Circle to become a light |
Input |
Color |
C |
Light Tint RGB |
Input |
Intensity |
I |
Intensity measured in NITS(cd/m2) |
Input |
Layer |
L |
Layer Name |
Output |
OmniLight - Disk |
L |
Omniverse Disk Light Object |
Output |
Plane |
P |
Plane aligned to Direction |
Output |
Transform |
X |
A transform relative to world XY can be used to orient light fixtures |
Note
Light direction will be -Z for plane of circle.
OmniRectangleLight Component
This node is used to create rectangle lights in the form of OmniLight objects.
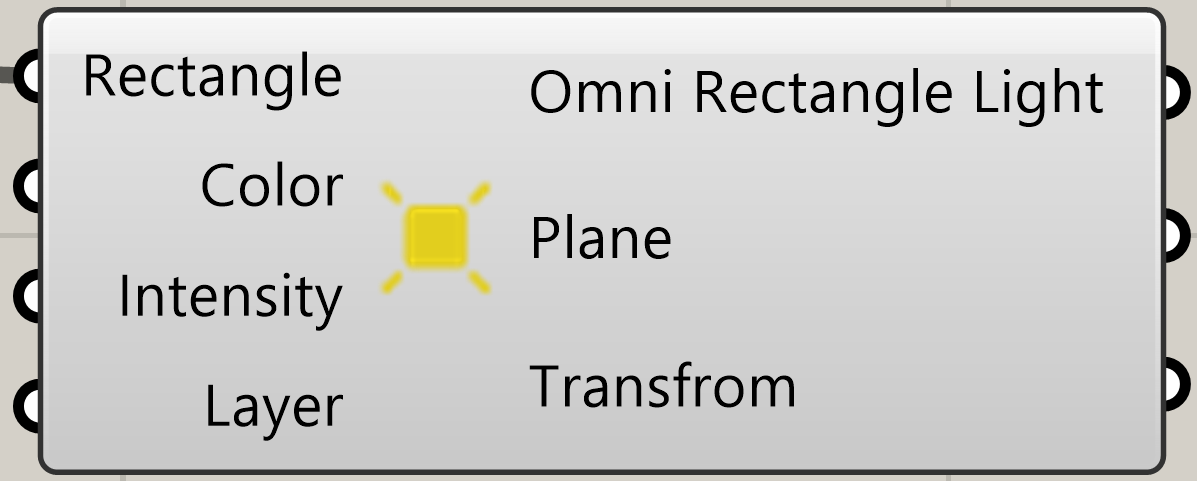
Input |
Rectangle |
R |
Rectangle to become a light |
Input |
Color |
C |
Light Tint RGB |
Input |
Intensity |
I |
Intensity measured in NITS(cd/m2) |
Input |
Layer |
L |
Layer Name |
Output |
OmniLight - Rectangle |
L |
Omniverse Rectangle Light Object |
Output |
Plane |
P |
Plane aligned to Direction |
Output |
Transform |
X |
A transform relative to world XY can be used to orient light fixtures |
Note
Light direction will be -Z for plane of circle.
MeshBulb_Primitive Component
This node is used to create bulb shape mesh to be used with the OmniSphereLight Component.
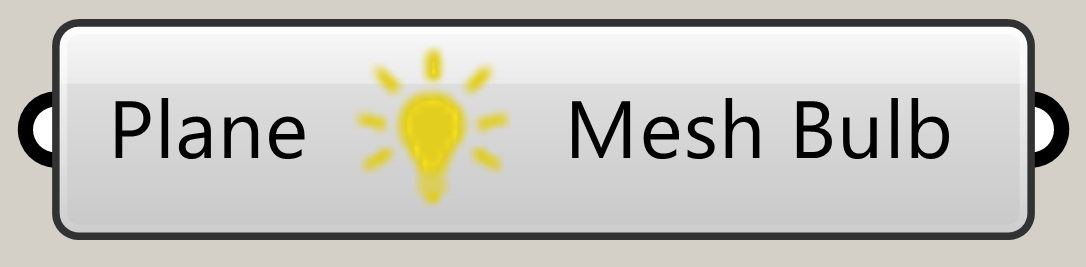
Note
When used as a base geometry this component will be faster then re-creating a mesh for each light instance.
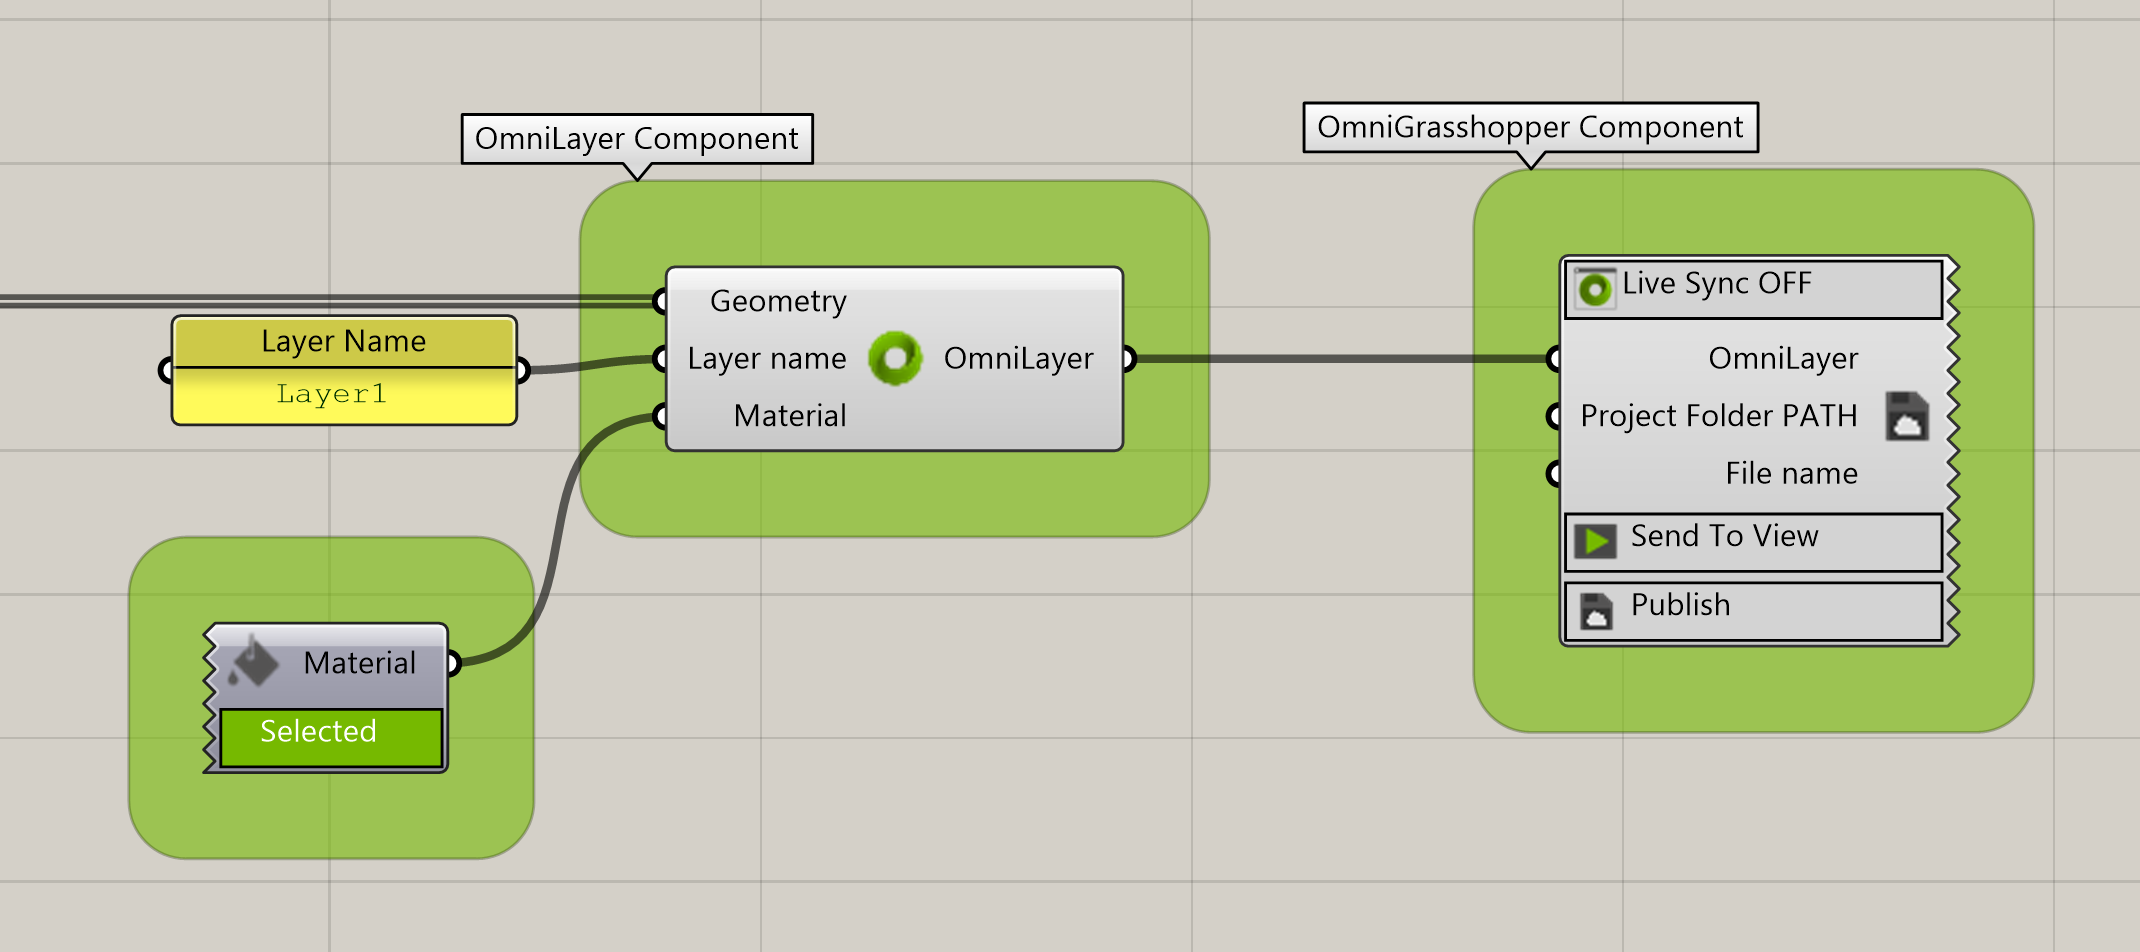
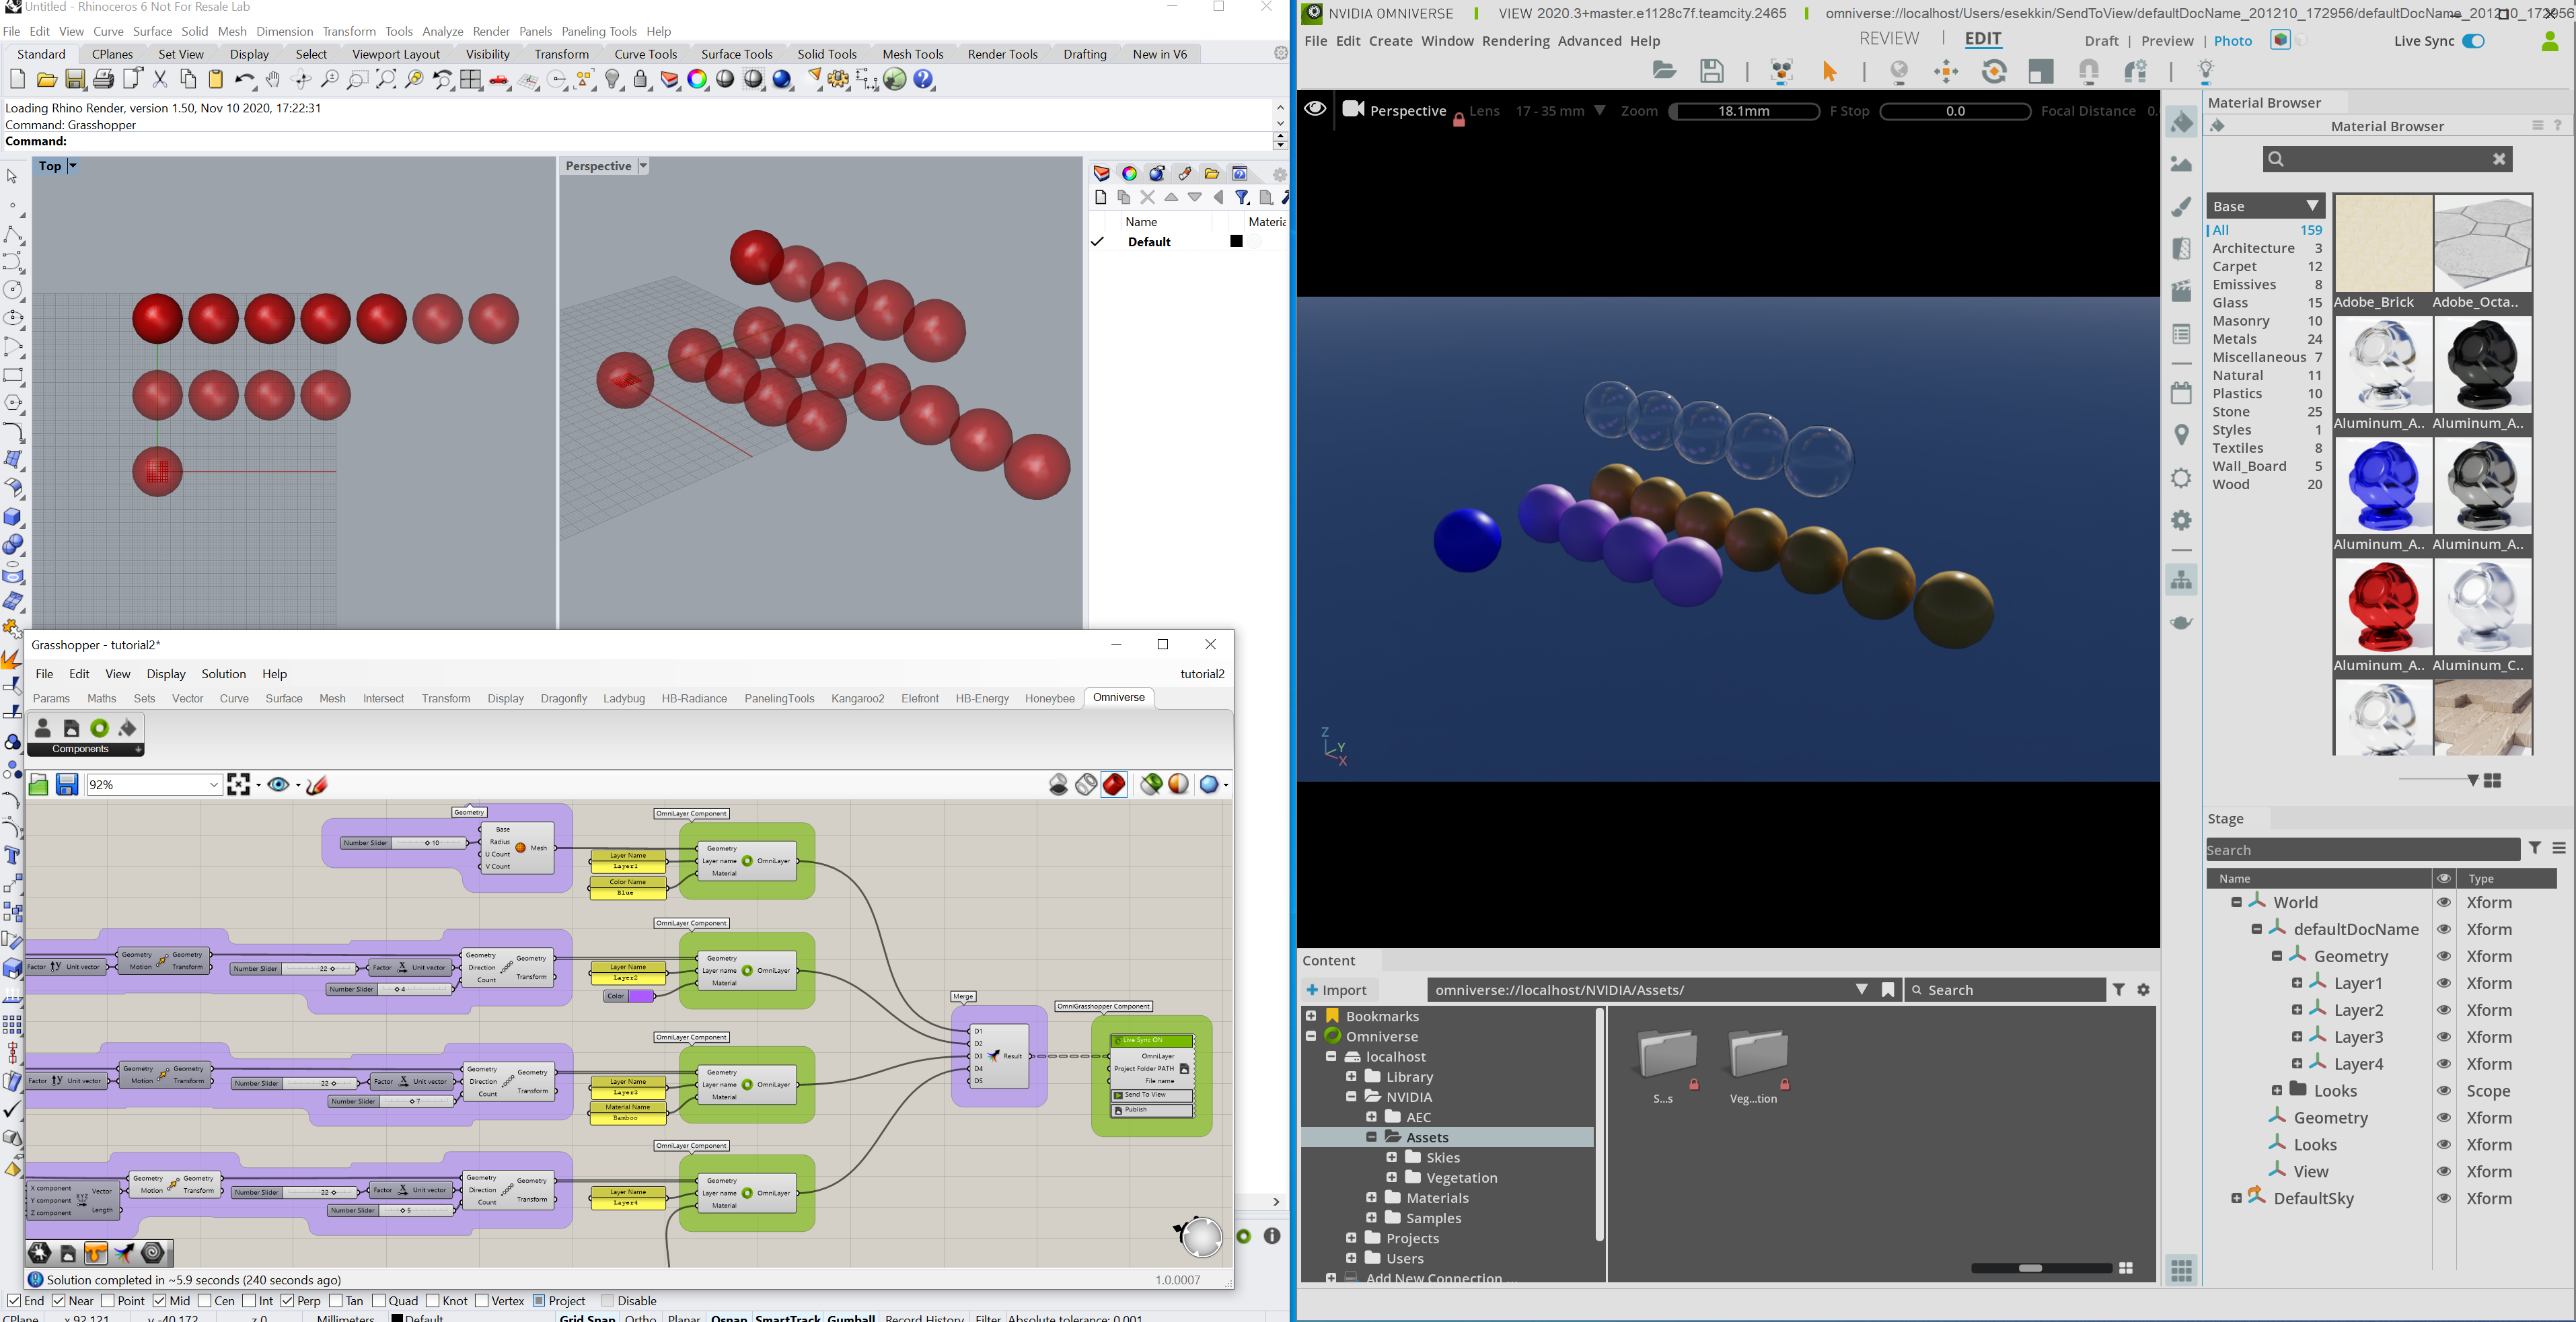
Connecting Models for Output
Using the OmniLayer Component (node) in Grasshopper allows you to convert geometry to OmniLayer group through the geometry input on the OmniLayer Component.
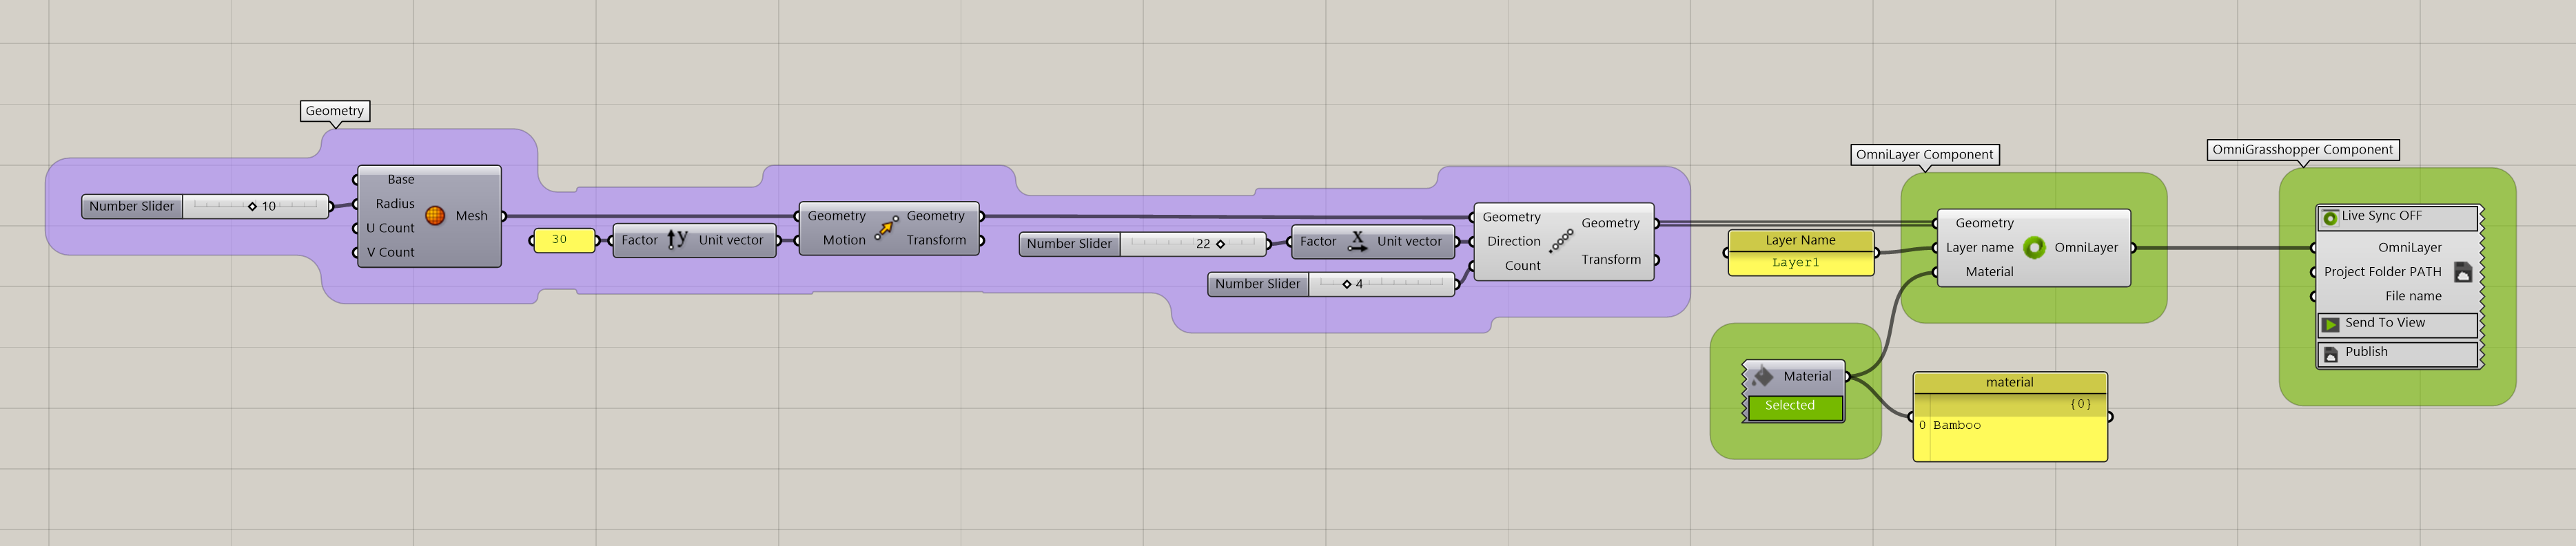
In the above example, notice how geometries need to be wired through OmniLayer, OmniGrasshopper does not directly accept a geometry input.
Connecting Simulation Results as Output
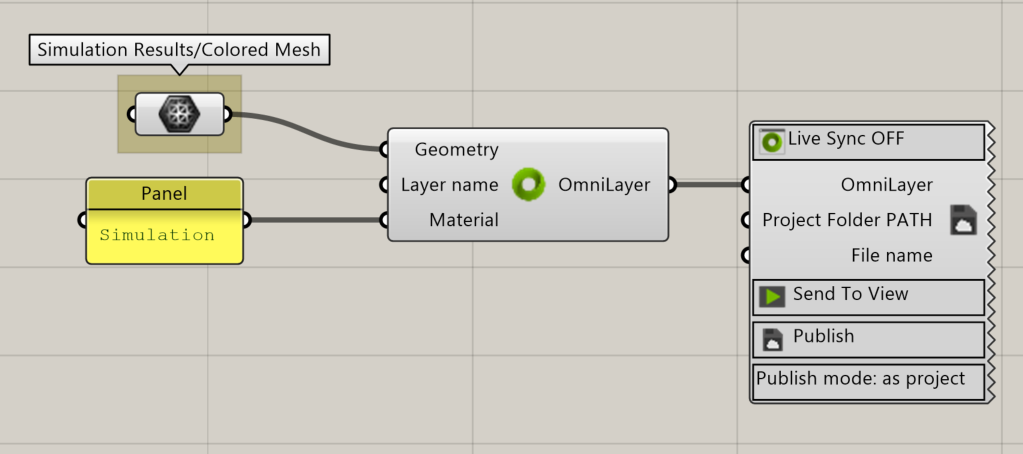
The setup for publishing colored mesh (face/vertex color shading) inputs from simulation results in Grasshopper is similar to the above mentioned publish process. The user needs to input the word “Simulation” to the Material input and the colored mesh results to the Geometry input of the OmniLayer Component.
Note
If any geometry is created and NOT connected to the OmniGrasshopper Component using the OmniLayer node, it will not be output in the final result to the Omniverse.
Exporting Grasshopper Data to the OMNIVERSE®
In order to send data to the OMNIVERSE®, you must first establish a connection to an NVIDIA Omniverse™ Nucleus server. This is done by clicking the Server Sign In button on an OmniBrowser component.
Add Simulation Data Support (Video)
Publishing Grasshopper Data on the OMNIVERSE®
Assuming you already have OmniLayer group connected to OmniGrasshopper Component and that you are connected to either your localhost server or another OMNIVERSE® Server on your Network, the next step is to publish. To do this, we will simply click the “Publish” button on the component.
In the below image, notice the dashed lines connecting the geometry input to OmniLayer node. This means a data tree is coming through the connection, we need this to be a flat list. To flatten this data, right-click on the input node Geometry item and select Flatten. The output should now be represented as a solid line.
Now we are all set and ready for publishing.
To start the publishing operation, simply click the “Publish” button on the component.
Note
Project Folder PATH: (optional) accepts a panel input, used to override the project path selected at the publish dialog box. As long as an input sting is defined the dialog box is skipped during publish - format: /Users/yourUserName/yourProjectName
Publish as Prop
Publishes the Grasshopper file using the Prop Export method (No Project Container).
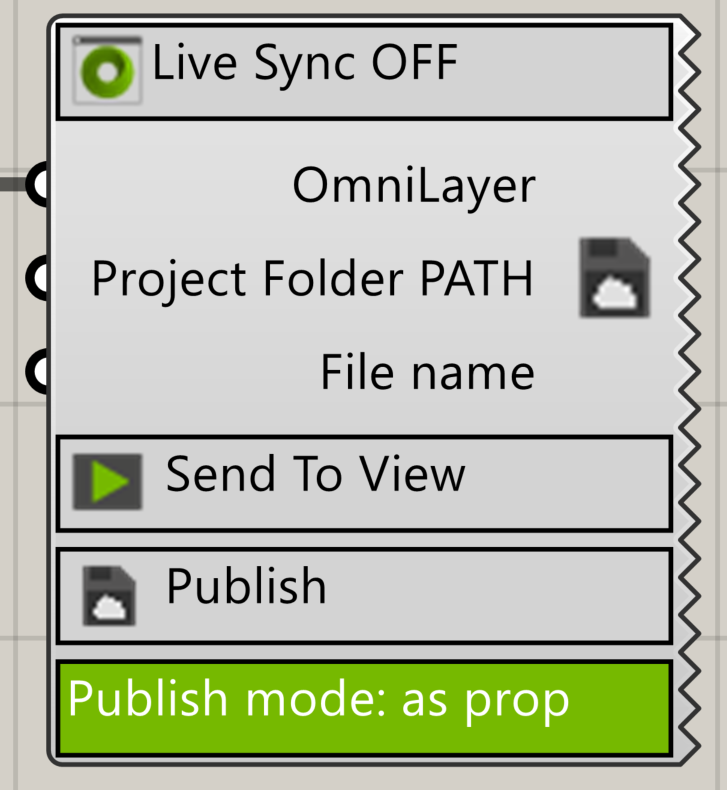
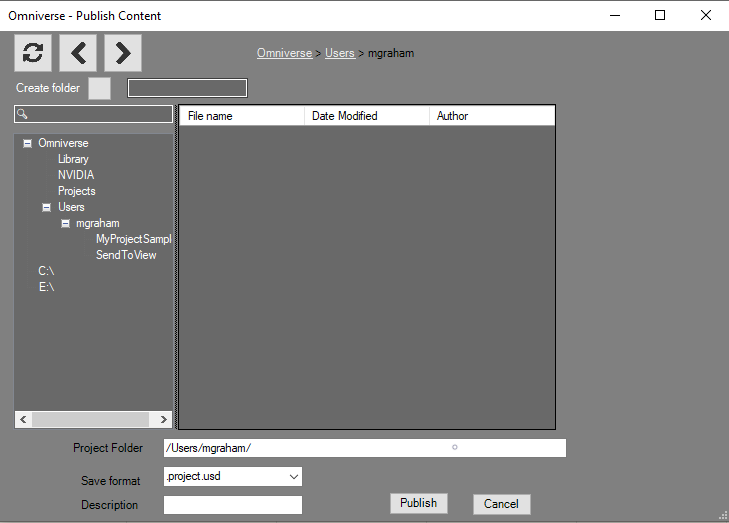
This is how the dialog will appear if “Publish mode: as prop” is set on the OmniGrasshopper component. Browse and select where you would like your prop file to be saved, give your project a name and click Publish to complete the operation.

Element |
Result |
|---|---|
Refresh |
Updates the Window with Latest Data
|
Left/Right |
Moves Through the Current Directory Structure in a Step By Step Fashion
|
Create New Folder |
Creates a New Directory at Current File Path
|
Left Pane |
Lists NVIDIA Omniverse™ Nucleus Directories (If Logged-In) and Local Drives / Directories
|
Right Pane |
Lists Files in Currently Selected Directory
|
Project Folder |
The location and name of the project to create
|
Save format |
Allows Selection of File Export Type
|
Description |
Text to be used as the text on the file checkpoint
|
Publish |
Publishes the Grasshopper file using the Project Workflow.
|
Cancel |
Stops the Export Process and Closes Publish Dialogue
|
Publish as Project
Publishes the Grasshopper file using the Project Workflow.
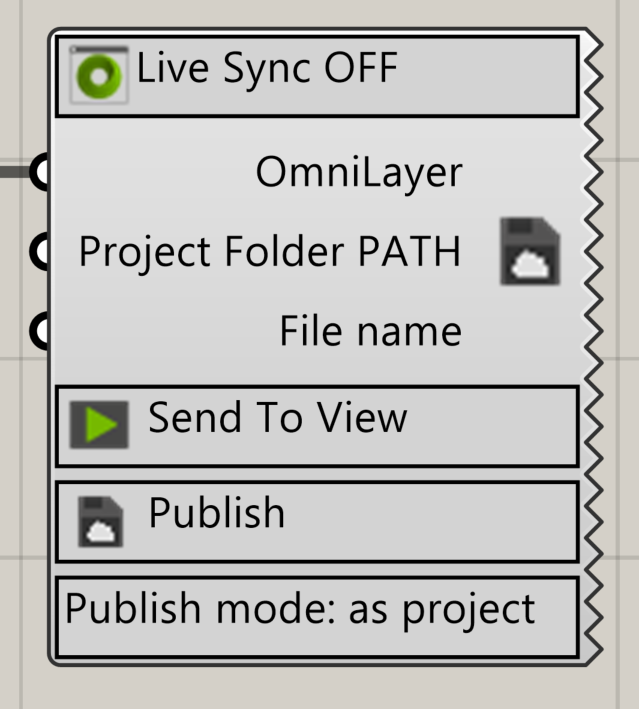
This is how the dialog will appear if “Publish mode: as project” is set on the OmniGrasshopper component. Browse and select where you would like your project to be saved, give your project a name and click Publish to complete the operation.
Element |
Result |
|---|---|
Refresh |
Updates the Window with Latest Data
|
Left/Right |
Moves Through the Current Directory Structure in a Step By Step Fashion
|
Create New Folder |
Creates a New Directory at Current File Path
|
Left Pane |
Lists NVIDIA Omniverse™ Nucleus Directories (If Logged-In) and Local Drives / Directories
|
Right Pane |
Lists Files in Currently Selected Directory
|
Project Folder |
The location and name of the project to create
|
Save format |
Allows Selection of File Export Type
|
Description |
Text to be used as the text on the file checkpoint
|
Publish |
Publishes the Grasshopper file using the Project Workflow.
|
Cancel |
Stops the Export Process and Closes Publish Dialogue
|
Using Grasshopper in Live mode
Live mode is available whether Publish or Send To Omniverse has been used to create a file. To enable live mode, simply Export using either Publish or Send to Omniverse, then enable Live Sync on OmniGrasshopper Component. While ON, your model will update in realtime and can be viewed / managed in realtime by other OMNIVERSE® apps.
Note
Join or Create live session dialogs for Grasshopper match the dialogs for Rhinoceros. The PS output of the OmniGrasshopper node will list live session participatns.
Sending Grasshopper Models to Omniverse
Sending to USD Presenter or USD Composer is virtually the same process as Publishing. Once again it is assumed that geometry is connected to the OmniGrasshopper Module and that you are already connected to a localhost Server or Network Server.
Simply click Send to Omniverse and USD Presenter or USD Composer will launch with your model loaded and ready to go.
To adjust Send to Omniverse options, right click on the icon of the OmniGrasshopper, and select Settings from the menu. This dialog will be displayed:
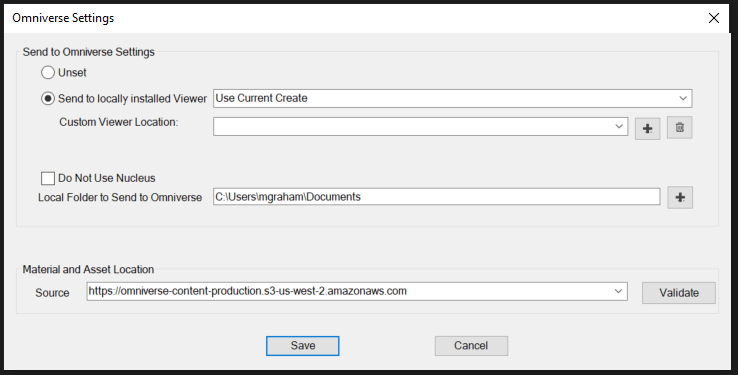
Send to USD Presenter Settings |
Result |
|---|---|
Unset |
No USD Presenter Settings. This setting disables Send to USD Presenter
|
Send to Local |
USD Presenter Launch Path
|
Use Current/Use Custom |
“Use Current” locates current USD Presenter Installs Automatically, “Use Custom” uses the Custom USD Presenter Location value
|
Custom USD Presenter Location |
Allows Selections of USD Presenter Installs not Found by Automatic
|
Do Not Use Nucleus |
Send to Omniverse will bypass Nucleus and save to the specified folder, OFF by default, must be OFF to use Live Workflow
|
Local Folder Path |
Path to save files to when Do Not Use Nucleus is enabled
|
Save |
Commits the Changes and Closes the Window
|
Cancel |
Closes the Window and Discarding the Changes
|