Using Omniverse Streaming Client
Installation and Usage
To install the Omniverse Streaming Client on user machines:
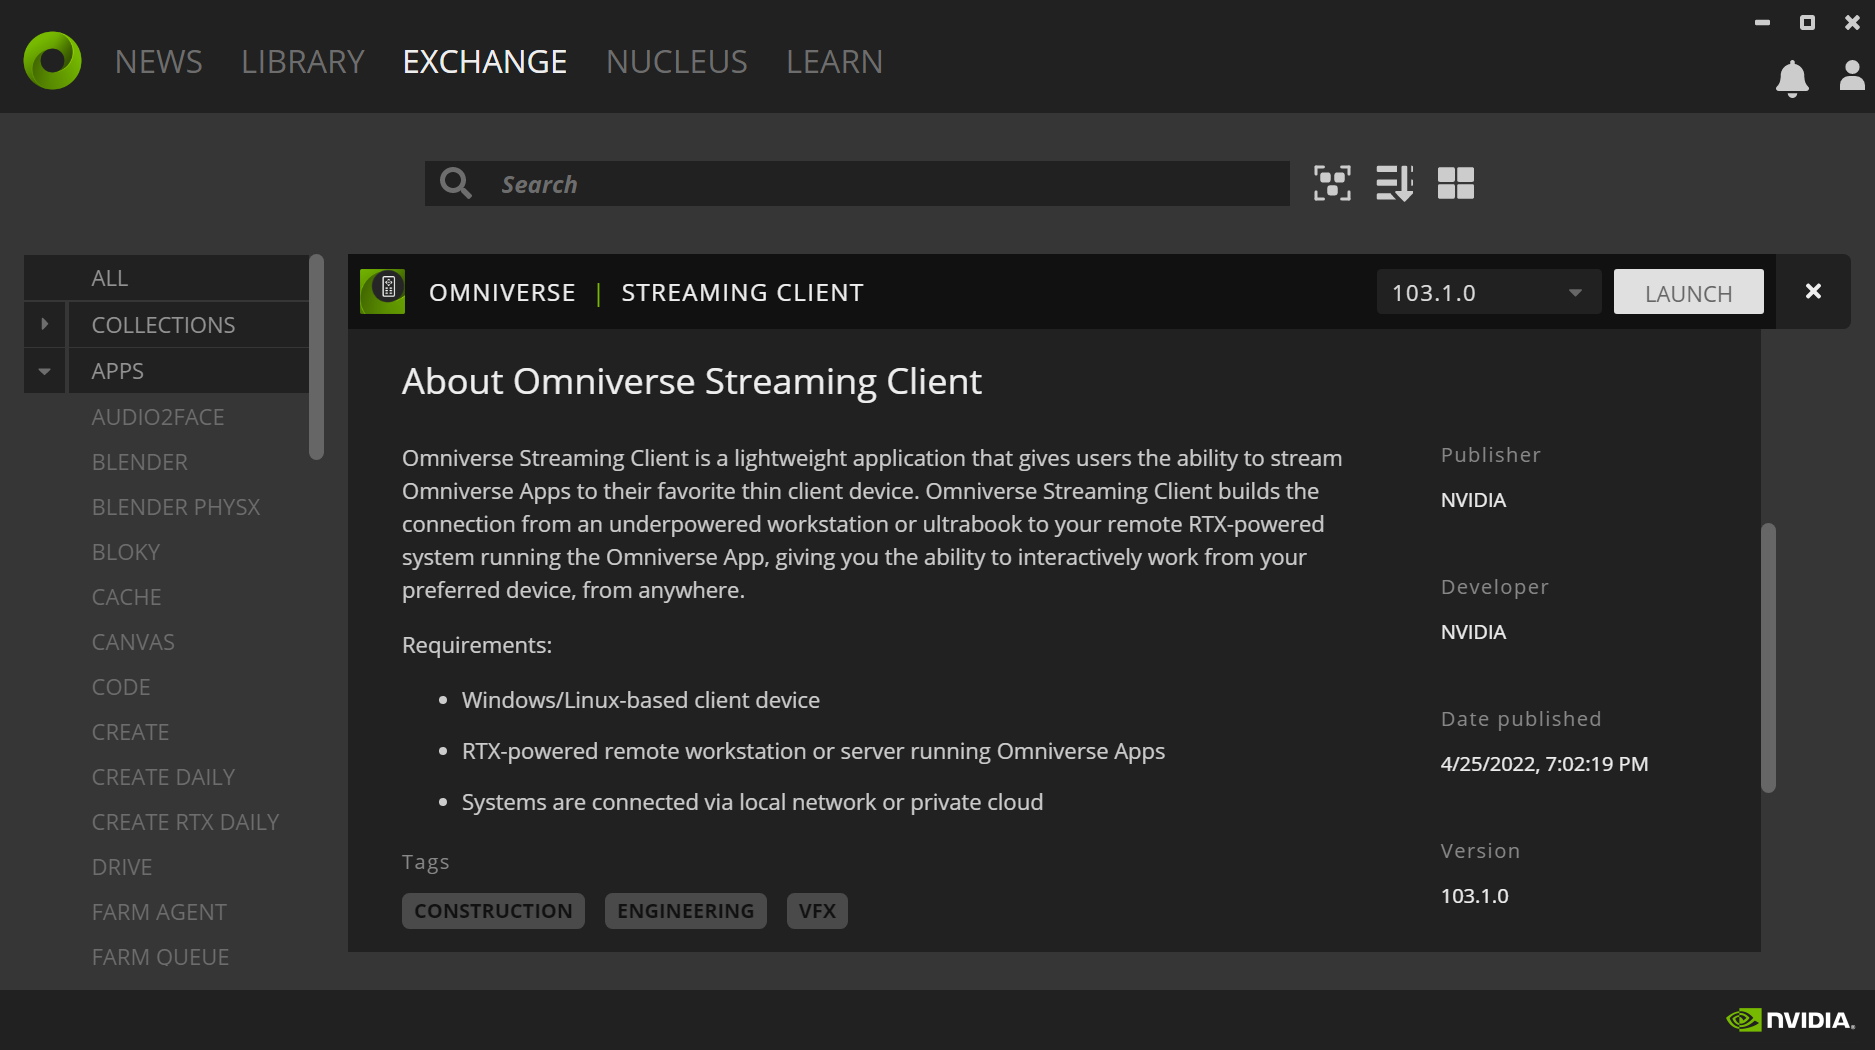
From the Omniverse Launcher, select Exchange from the top-level menu bar.
From there, click Omniverse Streaming Client from the left-hand Apps sidebar.
In the detail page of Omniverse Streaming Client, click the Install button.
Once the download completes, and Omniverse Streaming Client is installed, click the Launch button to start the client.
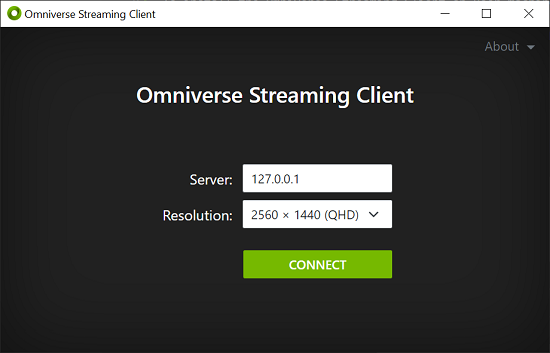
When prompted, enter the IP address or URL of the remote machine which is broadcasting to interact with the remote session:
Configuration
Server
The remote streaming server uses the omni.kit.livestream.native Extension to broadcast content, as well as receive mouse and keyboard inputs coming from clients.
To enable the Extension, launch any Omniverse application using the following command-line arguments:
On Windows:
1.\kit.bat apps/omni.create.kit ^
2   --enable omni.services.streaming.manager ^
3   --enable omni.kit.livestream.native ^
4   --no-window
On Linux:
1./kit.sh apps/omni.create.kit \
2   --enable omni.services.streaming.manager \
3   --enable omni.kit.livestream.native \
4   --no-window \
5   --allow-root
Note
After connecting to a remote instance using the Omniverse Streaming Client, should you wish to increase the scaling factor of the remote session to best match the settings of the client, you may wish to restart the server session and provide a scaling factor using the following setting:
# Default value is set to `1.0`, and can be adjusted for best results:
--/app/window/dpiScaleOverride=1.5
A value of 1.5 indicates a scaling factor of 150% which may be common for Users using 4K monitors. Feel free to adjust the setting to best match your level of comfort.
Should the host be located on the infrastructure of a third-party Cloud provider, it may additionally be required that the following ports be opened, and that firewall rules allow traffic inbound and outbound traffic:
TCP:
47995to48012TCP:
49000to49007TCP:
49100UDP:
47995to48012UDP:
49000to49007
Client
On Linux, the following packages may be required on machines where the client is installed: libavcodec, libavformat, libavutil. These packages can be installed using the following command:
sudo apt-get install libavcodec57 libavformat57 libavutil55
Windows environments do not require any additional dependencies or configuration, other than ensuring firewall rules do not restrict access to the ports listed above.
Debugging
Client
Should you experience any issues while attempting to connect to a remote server, you may wish to refer to the kit-remote.log file located in the installation directory of the Omniverse Streaming Client.
This location can be accessed from the Omniverse Launcher using the following steps:
From the Omniverse Launcher, select Library from the top-level menu bar.
From there, click Omniverse Streaming Client from the left-hand Apps sidebar.
Click the burger menu next to the Launch button, and select the Settings option.
From the Streaming Client Settings modal dialog, click the folder icon next to the version of the client you were using.
Within the file browser window which should appear, locate the
kit-remote.logfile and open it in a text editor to gather additional information about the last session.
Server
You may additionally gather additional information on the server-side of the connection by providing the following setting to the Omniverse application hosting the stream: --/app/livestream/logLevel=debug.