Installation
Overview
The documentation below provides detailed information for content creators, artists, and developers to get started using Nucleus Workstation on Windows or Linux.
System Requirements
Nucleus Workstation sizing recommendations are here.
Installing Nucleus Workstation
Nucleus Workstation is downloaded and installed using the Omniverse Launcher.
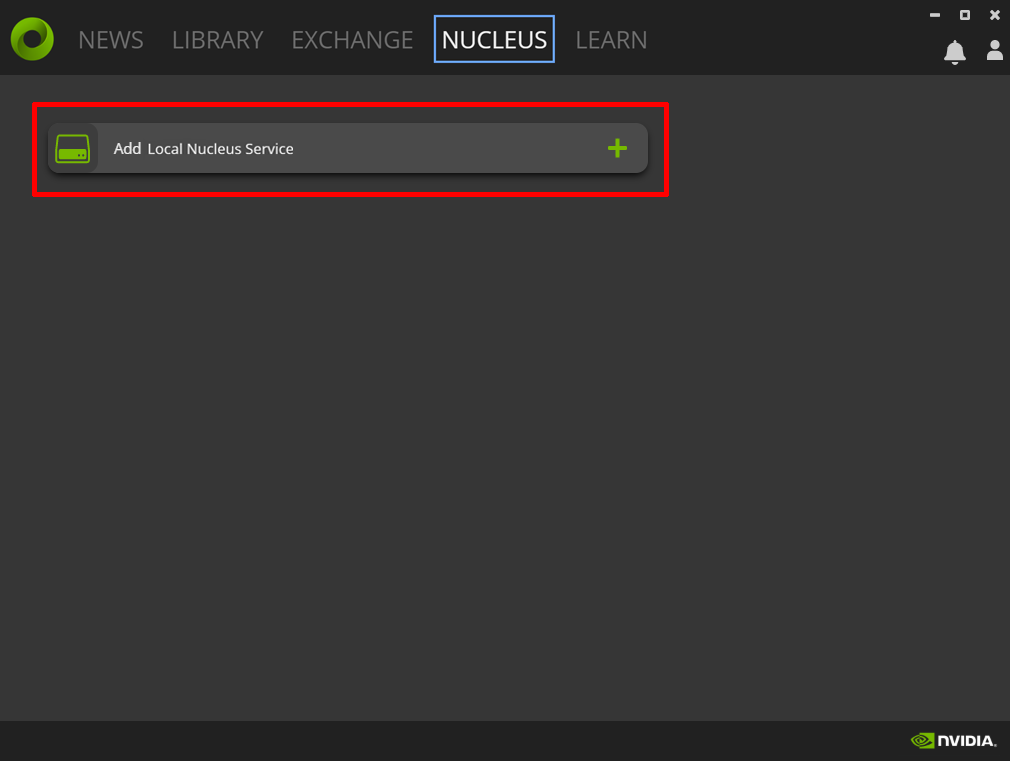
To begin installation, open the Omniverse Launcher and click the Nucleus tab, then click Add Local Nucleus Service.
Set your preferred data path and click Next. Enter your desired credentials for the Administrator Account and then click Complete Setup.
Nucleus Workstation will now download and install. There are several ways to verify the installation:
Click the menu icon next to Local Nucleus Service and click Settings to launch System Monitor. Verify all services are running.
Click the folder icon next to Local Nucleus Service to launch Nucleus Navigator. Log in using the Administrator account.
Connect to System Monitor by navigating to
http://localhost:3080in a browser. Verify all services are running.Connect to Nucleus Navigator by navigating to
http://localhost:34080in a web browser.
Important
Nucleus Workstation runs on a network interface and it’s IP Address or hostname must be accessible by all intended Clients (e.g., USD Composer), including Nucleus itself. Running Nucleus Workstation behind a firewall or using a Cloud Service Provider (CSP) and port forwarding traffic inbound is not supported.